

Landscape Photography Equipment Guide
Choosing the right landscape photography equipment can make a big difference when you’re out in the field, but knowing what you actually need can be difficult. With countless camera bodies, lenses, filters, tripods, memory cards and accessories available, it’s easy to spend money on gear that may not significantly improve your photography.
In this free landscape photography equipment guide, I’ll break down the essential camera gear I recommend for landscape photography, including camera bodies, lenses, memory cards and other useful equipment and accessories. I’ll explain what to look for when choosing each piece of equipment, what I personally use, and where certain types of gear can make a meaningful difference in the field.
Whether you’re just starting out with landscape photography and building your first kit, or you’re an experienced photographer looking to upgrade your equipment, this guide is designed to help you make more informed decisions and build a setup that suits the way you photograph.
I’ll cover practical considerations options for different budgets. After more than 10 years of photographing landscapes from the Australian coast and forests, to remote outback locations, these are the things I’ve found matter most when choosing photography gear.
Let’s take a look at the landscape photography equipment you actually need to get out there and start creating better images.

Part 1: Essential Equipment
Camera Body
It is important not to rush when purchasing camera equipment. Take time to consider all of your options, including a second hand purchase. Be aware that each camera manufacturer uses different lens mounts, so you should take into consideration what lenses are available for the camera body you own/purchase.
It is important not to rush when purchasing camera equipment. Take time to consider all of your options, including a second hand purchase. Be aware that each camera manufacturer uses different lens mounts, so you should take into consideration what lenses are available for the camera body you own/purchase.
I personally only recommend considering a DSLR purchase if you are buying secondhand. This is mostly because of the way that the market has shifted in recent years, with most camera manufacturers no longer releasing new DLSR cameras or lenses. The industry focus is all on mirrorless which means second hand retail value of DSLR cameras is much less than a few years ago, and I expect this trend to continue.
DSLR VS Mirrorless:
Mirrorless and DSLR cameras function differently, but there is no difference in image quality between two comparable models of each camera type. The camera's image sensor size is the main component that will determine image quality.
DSLR PROS
- Cheap when purchased second hand - (retail value slowly dropping too)
- More lens selection (mount has been around longer/ cheap third party options)
DSLR CONS
- Larger & Heavier in most cases (this includes lens selection).
- Autofocus not as fast/accurate (more relevant for other genres of photography).
- Good battery life
- Lacking video features
- Older or entry level models sometimes lack features such as live view with histogram display
MIRRORLESS PROS
- Smaller/lighter
- Better resale value
- More software features
- Much better autofocus (in general)
- Better video features (true hybrid photo/video cameras)
MIRRORLESS CONS
- Less lens options (especially third party). Excludes Sony E mount as it has been around longer & has many 3rd party/cheaper options available.
- Less battery life, especially on older models. However, this is improving with new releases (to the point I can barely tell the difference betweeen my Sony A7RV Mirrorless & Nikon D850 DSLR).
Image sensor size (the main hardware factor for image quality):
Different camera models come with a range of image sensor sizes. The sensor is one of the most important things to consider when purchasing a camera, as it effects image quality in several ways.
In most cases, the larger the image sensor, the better. Of course there are exceptions where perhaps the build quality of an image sensor between one camera brand and another may actually result in a smaller sensor (e.g. APS-C) from a brand to out perform a full-frame sensor on another. This is uncommon. In most cases, a full frame camera from each of the 3 most popular camera manufacturers (Canon, Nikon, Sony) will produce images of a very similar quality.
The most common image sensor sizes in Mirrorless/DSLR cameras (in order of smallest to largest) are: Micro 4/3 (MFT), APS-C/Crop Sensor, Full Frame, and Medium Format.
Cameras with a full frame image sensor are often considered the industry standard. Whilst Medium Format cameras do have the benefit of improved image quality, they are not as popular. Due to their often bulky size, price point, lack of lens selection, and other compromises (such as slower frame rate & autofocus), many of these cons aren't too relevant for landscape photography, so if the size and price point doesn't bother you, take medium format cameras into consideration. Many of the cons are being worked improved on in each release to make medium format cameras more appealing to the mainstream of camera users.
Cameras with a full frame image sensor are often considered the industry standard. Whilst Medium Format cameras do have the benefit of improved image quality, they are not as popular. Due to their often bulky size, price point, lack of lens selection, and other compromises (such as slower frame rate & autofocus), many of these cons aren't too relevant for landscape photography, so if the size and price point doesn't bother you, take medium format cameras into consideration. Many of the cons are being worked improved on in each release to make medium format cameras more appealing to the mainstream of camera users.
Benefits of a larger image sensor:
Resolution
Larger sensors often have more megapixels. High resolution will ensure that images are high quality when enlarged for printing, and will also allow for more creative control in post processing as you can crop the image whilst retaining more detail.
Dynamic Range
Larger sensors tend to have a more dynamic range. They can capture more colour information, and more details in the shadows/highlights of a scene, giving a richer looking image.
Image Noise
Larger sensors have larger photosites, producing a higher signal to noise ratio, which results in less image noise/grain when shooting in low light situations or with a high ISO. (E.g. Wide-Angle Astrophotography). Cameras with a full frame image sensor, but low megapixel count (such as the Sony A7SIII) are known for their exceptionl low light performance.

Lenses
There are three lenses that are often referred to by photographers as "The Holy Trinity".
In landscape photography, these lenses are:
Wide-angle zoom: 14-24mm f/2.8 lens Standard zoom: 24-70mm f/2.8 lens telephoto zoom: 70-200mm f/2.8 lens
These lenses with the f/2.8 aperture are designed to perform well in low light and will allow fast autofocus. This lens selection will have you pretty well covered for most landscape photography situations and sub-genres, however, there is more to consider, and you might find a different lens lineup works better for you.
The thing in particular that has pushed me away from the "Holy Trinity" lens lineup in recent years is the expense, size/weight, and relevance that comes with the f/2.8 aperture zoom lenses. As a landscape photographer, I usually am closing down aperture to f/6.3 - f/14 in order to gain depth of field in my images.
For a camera manufacturer to produce wide aperture lenses (such as anything from f/2.8 - f/1.8), they need to be physically larger than lenses with a smaller aperture (such as f/4). The same is true for a zoom lens that is able to hold a constant aperture throughout the range.
What I recommend working towards with your lens lineup for better functionality, budgeting, and space saving is this:
- A wide angle and wide aperture prime lens e.g. 14mm f/1.8 or 20mm f/1.8 for astrophotography/low light landscape photography.
- A wide angle zoom lens with a more modest aperture e.g. 16-35mm f/4 (Sony) or 14-30mm f/4 (Nikon) which will serve you for the majority of your landscape photography whilst saving size, weight, and cost over a f/2.8 version.
- Either a mid-range zoom 24-105mm lens and/or and ultra-telephoto lens such as the versatile Tamron 50-400mm zoom for telephoto landscape photography or more distant subjects. A mid-range zoom is also a good all-rounder lens used to dabble in wildlife or portraiture photography.

Focus on the finer details of the landscape and expand your composition possibilities with a mid-range or telephoto zoom lens.

Ultra Wide-Angle zoom lenses are a great tool for including foreground interest in your landscape photography compositions.
Tripod
A sturdy tripod is one of the most important tools for landscape photography!
By having your camera on a sturdy tripod, you are able capture tack sharp images using a much slower shutter speed than possible handheld. A tripod is essential for photography in low light situations, long exposure photography (to capture water/cloud movement), and when photographing the night sky. Using a tripod will allow you to review and really fine-tune your compositions when out on location whilst simultaneously limiting, if not completely removing camera shake. This results in a much clearer photograph.
Features to look for in a tripod:
- Adjustable leg angles. A very helpful feature for setting up on uneven ground and getting a low angle whilst keeping the camera in as safe a position as possible.
- A Ball Head will allow you to level the camera quickly and easily, even if the tripod itself is not completely level. This will make your job as a landscape photographer much easier. The combination of a ball head and adjustable leg angle will have you setting a tripod up in places you didn't think possible.
- Arca-Swiss quick release compatibility. Arca-Swiss clamps are a universal tripod mounting system that are used across all of the good tripod brands. Third party mounting accessories such as L-Brackets & Rotating lens collars are all compatible with the Arca-Swiss plates. Manfrotto is one brand to be weary of as not only do they have many tripods that don't use the universal camera mounting system, they also have completely different quick release plates between their own tripod models. I used to work in a camera store where people would often come in trying to find a replacement for their lost Manfrotto mounting plate and we had to research & order the right one in for them because there are too many variants to stock.
- Carbon fibre options, to keep the weight down and increase portability. It does make a difference when travelling or hiking. Carbon fibre tripods are also stronger and not prone to bending like the aluminium options.
- Waterproof options (if applicable to you). I highly recommend considering a waterproof tripod if you enjoy photographing waterfalls/creeks and seascapes. You can put any tripod in the water of course, but over time the tripods that aren't designed to be submerged are more likely to fail.
Other considerations:
Size (and weight) of the tripod. Choose something that suits you and your existing camera equipment. If you use a mirrorless set up or other small, light weight cameras then of course you don't need to purchase the largest tripod on the market to keep your gear sturdy. You may get away with a travel tripod much easier than someone using a full frame DSLR set up.
Cheap tripods are generally flimsy, unstable, and restrictive. They don't have much place in landscape photography. However, if that is all you have to start with, it is still better than nothing.

Bombo Headland, NSW

Govett's Leap, NSW

Weeping Rock, NSW

Great Ocean Road, VIC

Mount Buffalo, VIC

Hopetoun Falls, VIC

Noosa, QLD

Elabana Falls, QLD

Currumbin Rock, QLD

Blue Boathouse, WA

Sugarloaf Rock, WA

Nature's WIndow, WA
Memory Cards
There isn't too much to worry about when it comes to selecting a memory card for landscape photography, however there are some considerations to be made.
For starters, you need to know what memory card(s) your camera actually requires. It is different between camera models. Having a camera with two cards slots is great because you get extra storage, and also redundancy if a card fails or you leave one at home (it happens to the best of us at times).
Card configurations:
Some common memory card configurations on modern cameras are: Two SD card slots, One SD slot, and one CF card slot, two CF card slots, Dual card slots (I believe this is Sony specific) where each slot can take either type of memory card (SD or CF), or just a single slot for either option.
Cameras with two card slots can be configured to either double up on files so you have redundancy without losing data if the first card fails, or you can have the second card as an overflow if the first becomes full.
Speed:
CF cards generally have faster read/write speeds, allowing you to take photographs in quick succession without reaching a bottleneck and waiting for the camera to write all of the files to the card. This is not really relevant for us landscape photographers, but you can also get SD cards of different speed ratings. V90 being the fastest, and the ratings go all the way down to V6. I would recommend trying to get a SD card of at least V30 if you have a high megapixel full frame camera.
Capacity:
You definitely do not want to have cards less than 32GB as you will fill these up fast, especially when shooting RAW files (which I highly recommend doing). At the same time, you don't want a card too big such as a 256gb or 512gb, because if it does fail, you'll lose way more images. I find the sweet spot to be 128gb, and these are usually reasonably priced as well.
Advice:
DO NOT use micro SD cards in a SD adapter for your camera. Doing this doubles the potential for your card to become corrupt because there is two pieces of hardware that can fail instead of one. In addition to this, the SD adapters will probably slow down your read/write speeds.
I personally have never had a card fail on me in 11 years, however, it does happen. I can highly recommend Sandisk, Lexar, and the Sony Tough SD cards, as they have never disappointed me.

Part 2: Recommended Additional Equipment:
Filters
Polarising (CPL): A CPL filter blocks scattered light from entering your lens, reducing glare. The result is an increase in contrast, saturation, texture, and overall vibrancy in your photographs. Polarising filters also block around 1-2 stops of light from your image, which allows you to use slower shutter speeds to receive a nicely exposed image, which can be useful for capturing movement in water.
CPL filters are especially useful when photographing forests, waterfalls, and seascapes from the waters edge.
Neutral Density (ND): ND filters are useful in landscape photography when you want to restrict the amount of light entering the lens to allow for a slower shutter speed. I sometimes use ND filters when photographing waterfalls &/or seascape images throughout the day. I use a 3 or 4 stop ND filter on to use a slower shutter speed in these brighter conditions. During sunrise/sunset shoots, I find no need for ND filters because the ambient light is low enough to allow for my desired shutter speeds. I have not personally found any need for a ND filter darker than 6 stops (ND64).
I DO NOT recommend graduated ND filters. They are designed/marketed for landscape photographers wanting to overcome the issue of a sky being very bright & foreground very dark during sunrise/sunset. The problem with these is that if anything in the image protrudes past the horizon (e.g. a tree or mountain), that also will appear much darker than the rest of your foreground, and it looks very unnatural. There are much better ways to deal with this challenge, which I explain further on into the guide.

Cable Release/Lightning Triggers:
When photographing lightning, I highly recommend a dedicated Lightning Trigger (such a MIOPS, Strike Finder) to greatly improve your hit rate for lightning strikes. A shutter release cable is also something that can come in handy for lightning photography at night time because it allows you to effectively use bulb mode on your camera. For me this is a redundant item because my MIOPS Smart+ trigger also allows use of bulb mode via a mobile app.
Shutter release cables are also useful when you are using a tripod and timing is crucial (e.g. photographing a wave crashing against the rocks) and you don't want to introduce camera shake. It removes the need for a 2 second shutter delay.


Camera Mounting Systems:
L-brackets and Rotating Collars allow for much easier and more efficient camera-tripod mounting. Significantly reducing the time between rotating your camera from landscape (horizontal) to portrait (vertical) orientation.
I used to swear by the L-brackets until I discovered the Silence Corner Atoll rotating collars, now I'll never go back.
Purchasing Camera Accessories:
If you are interested in purchasing any filters, tripods, camera mounting systems, camera backpacks, or other camera equipment, feel free to contact me for assistance.
I am an authorised reseller and/or affilliate in Australia for brands such as NiSi, Explorer Photo Video, Leofoto, Silence Corner, Summit Creative, Nitecore, and more. I can assist you with purchasing products from any of these brands and sometimes offer discounted prices.
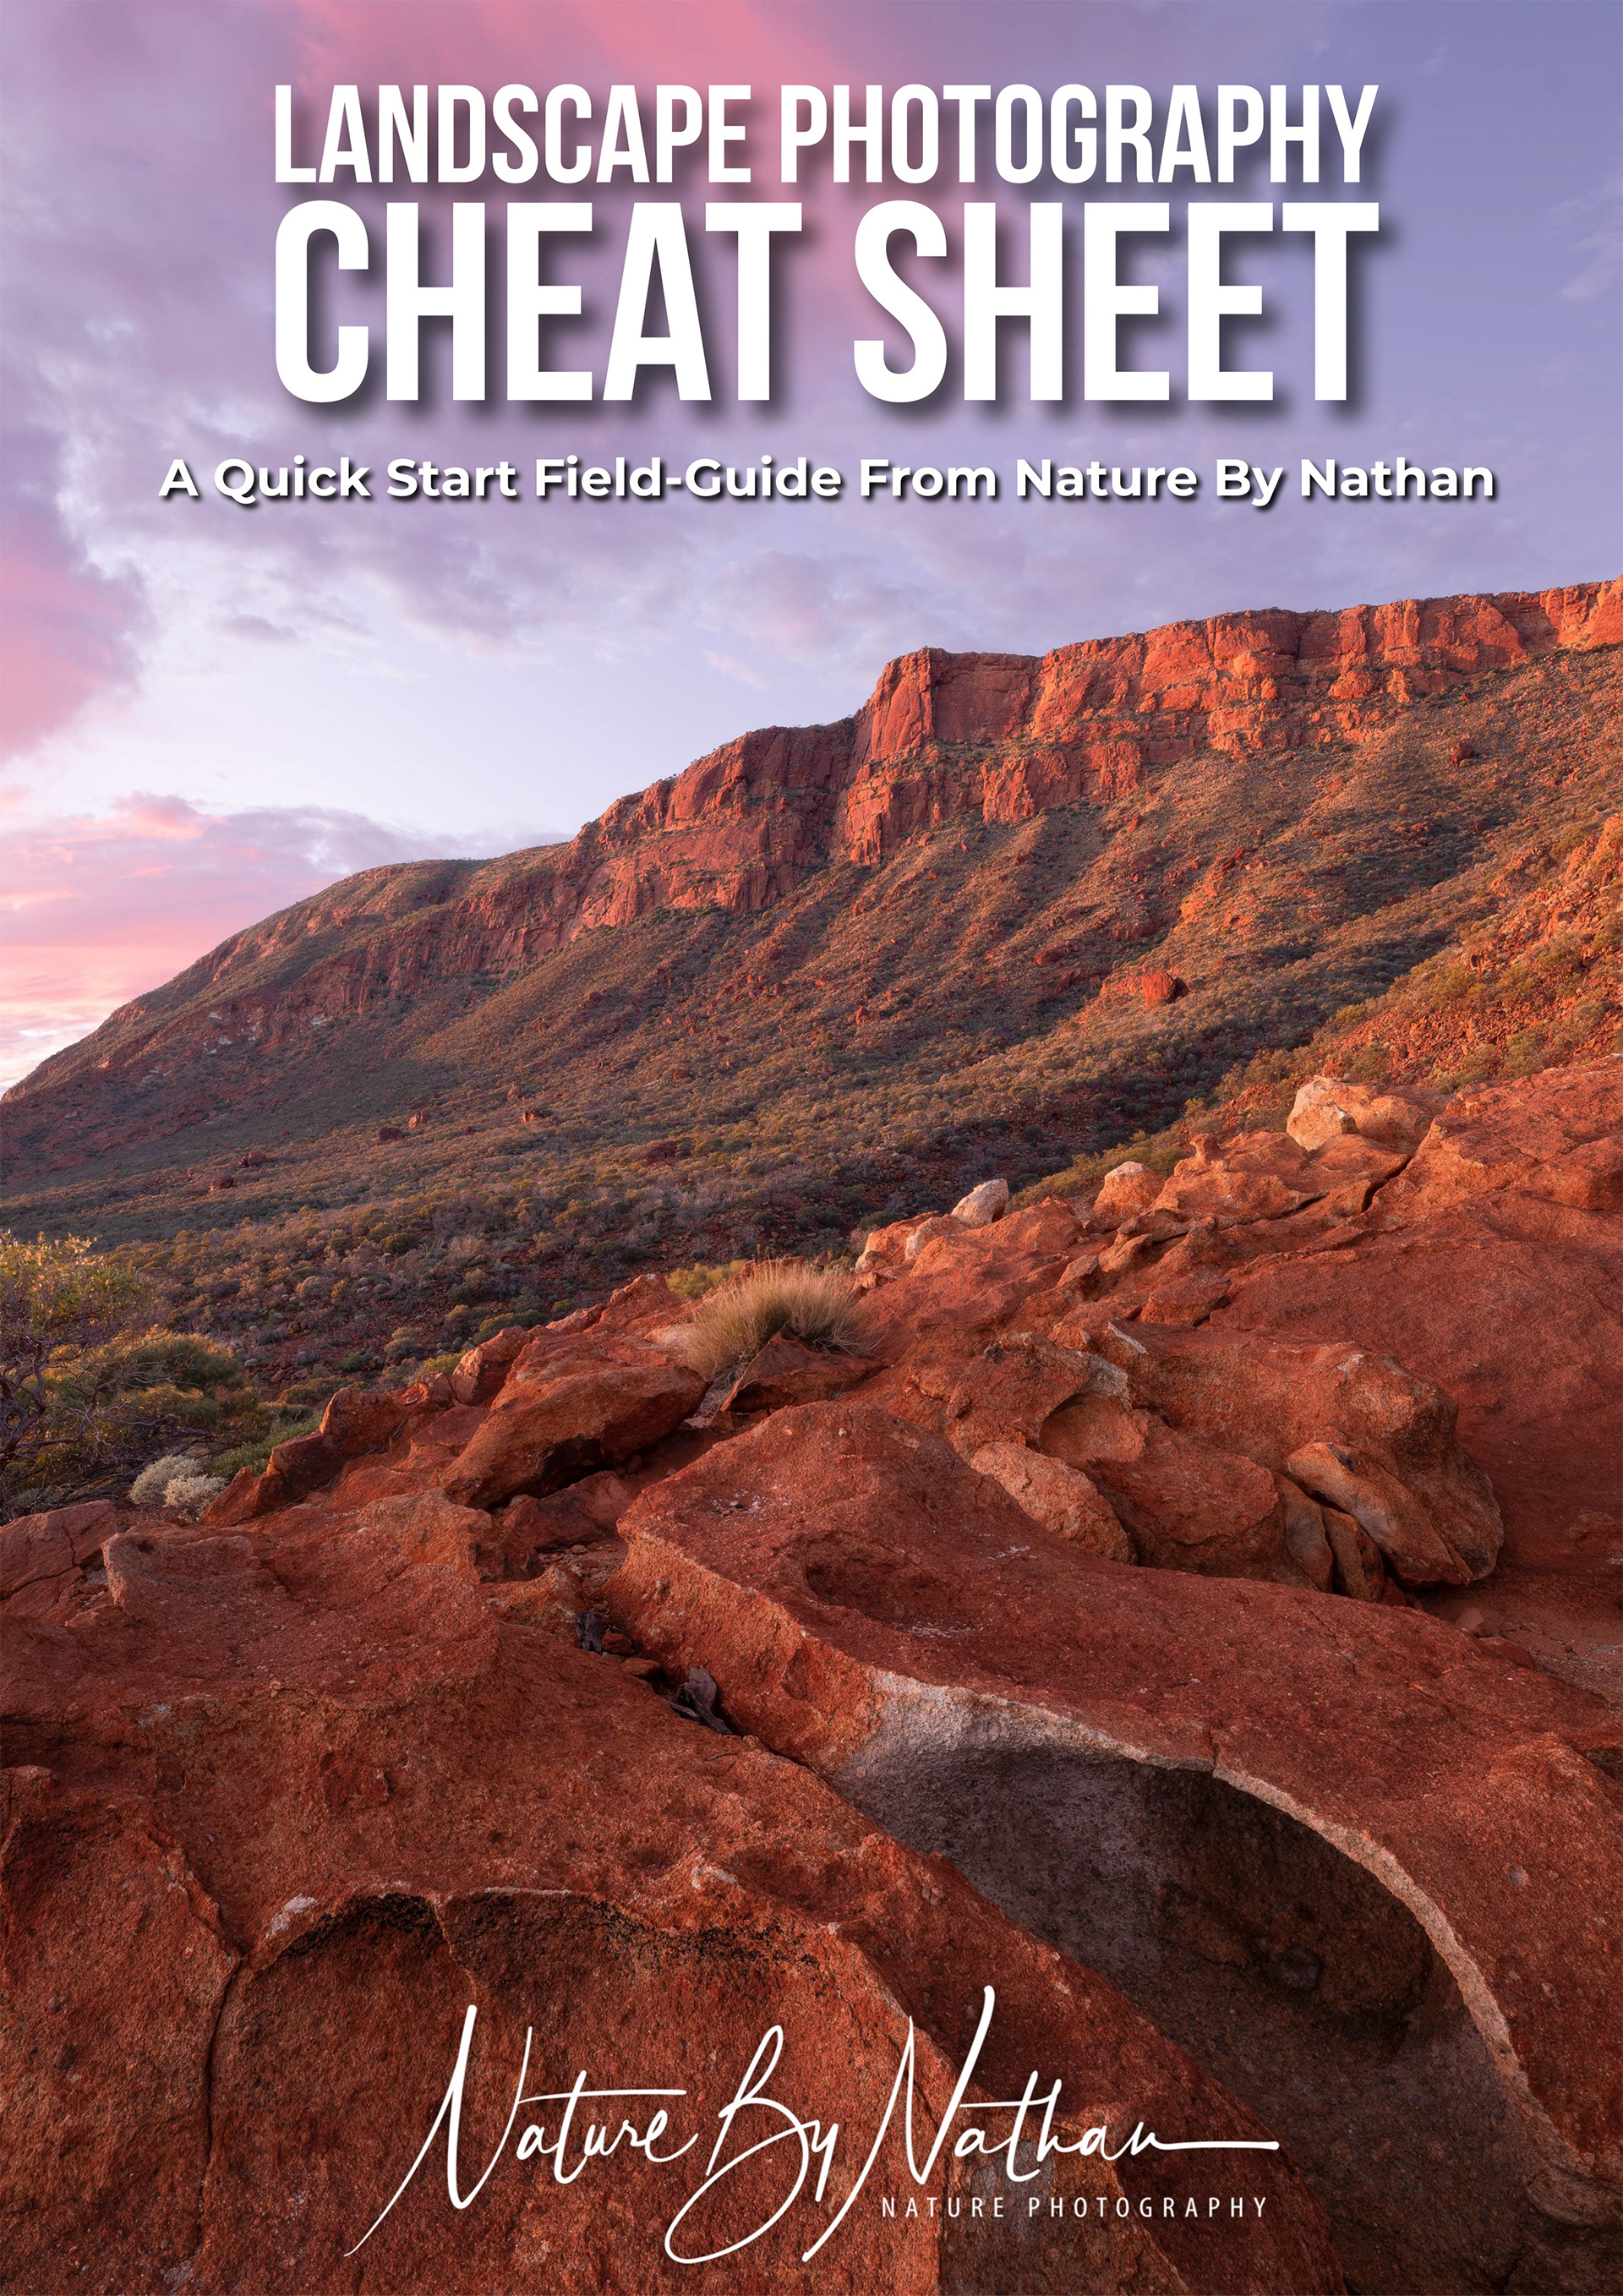
Ready to learn more about landscape photography?
This FREE Landscape Photography Cheat Sheet includes a quick start field-guide covering my step-by-step process to capturing landscapes whilst out on location - as well as compositional advice and other photography tips.
Download the PDF file to your mobile device or print it out for reference whilst you are on the field.
Download the PDF file to your mobile device or print it out for reference whilst you are on the field.