
Creativity Closer to Home: Making the Most of Your Local Landscapes
With the ever increasing costs of living, photography trips are becoming harder to justify - but the good news is that landscape photography really doesn't depend on travel or bucket-list locations like social media would lead us to believe! Chances are you may have been overlooking opportunities to get creative closer to home all this time.
I have spent the majority of my time as a landscape photographer in the Perth Hills of Western Australia - a place with plenty of natural beauty - but it isn't the sort of bucket-list destination that many photographers dream of. In fact, I have never heard of a photographer travelling to this area specifically to see the hills. It lacks the dramatic scenes and iconic locations that entice people to visit.
However, I am grateful to have spent so much time learning my craft in such a place. It meant there was so much to explore and photograph without pre-conceived ideas of composition, forcing me to get creative, understand the weather, the light, and the landscape. I spent time location scouting, and actually learning to see.
This article aims to share some tips on making the most of your local area - with hopes to inspire you to keep busy with landscape photography without travelling far.
5 Tips To Keep Busy With Landscape Photography Locally:
Tip 1: Revisit Locations.
One of the best things you can do on your landscape photography journey is revisit the old locations that you have photographed previously. New composition opportunities can be revealed by more getting to know an area better - observing natural changes in the landscape, and different weather conditions.
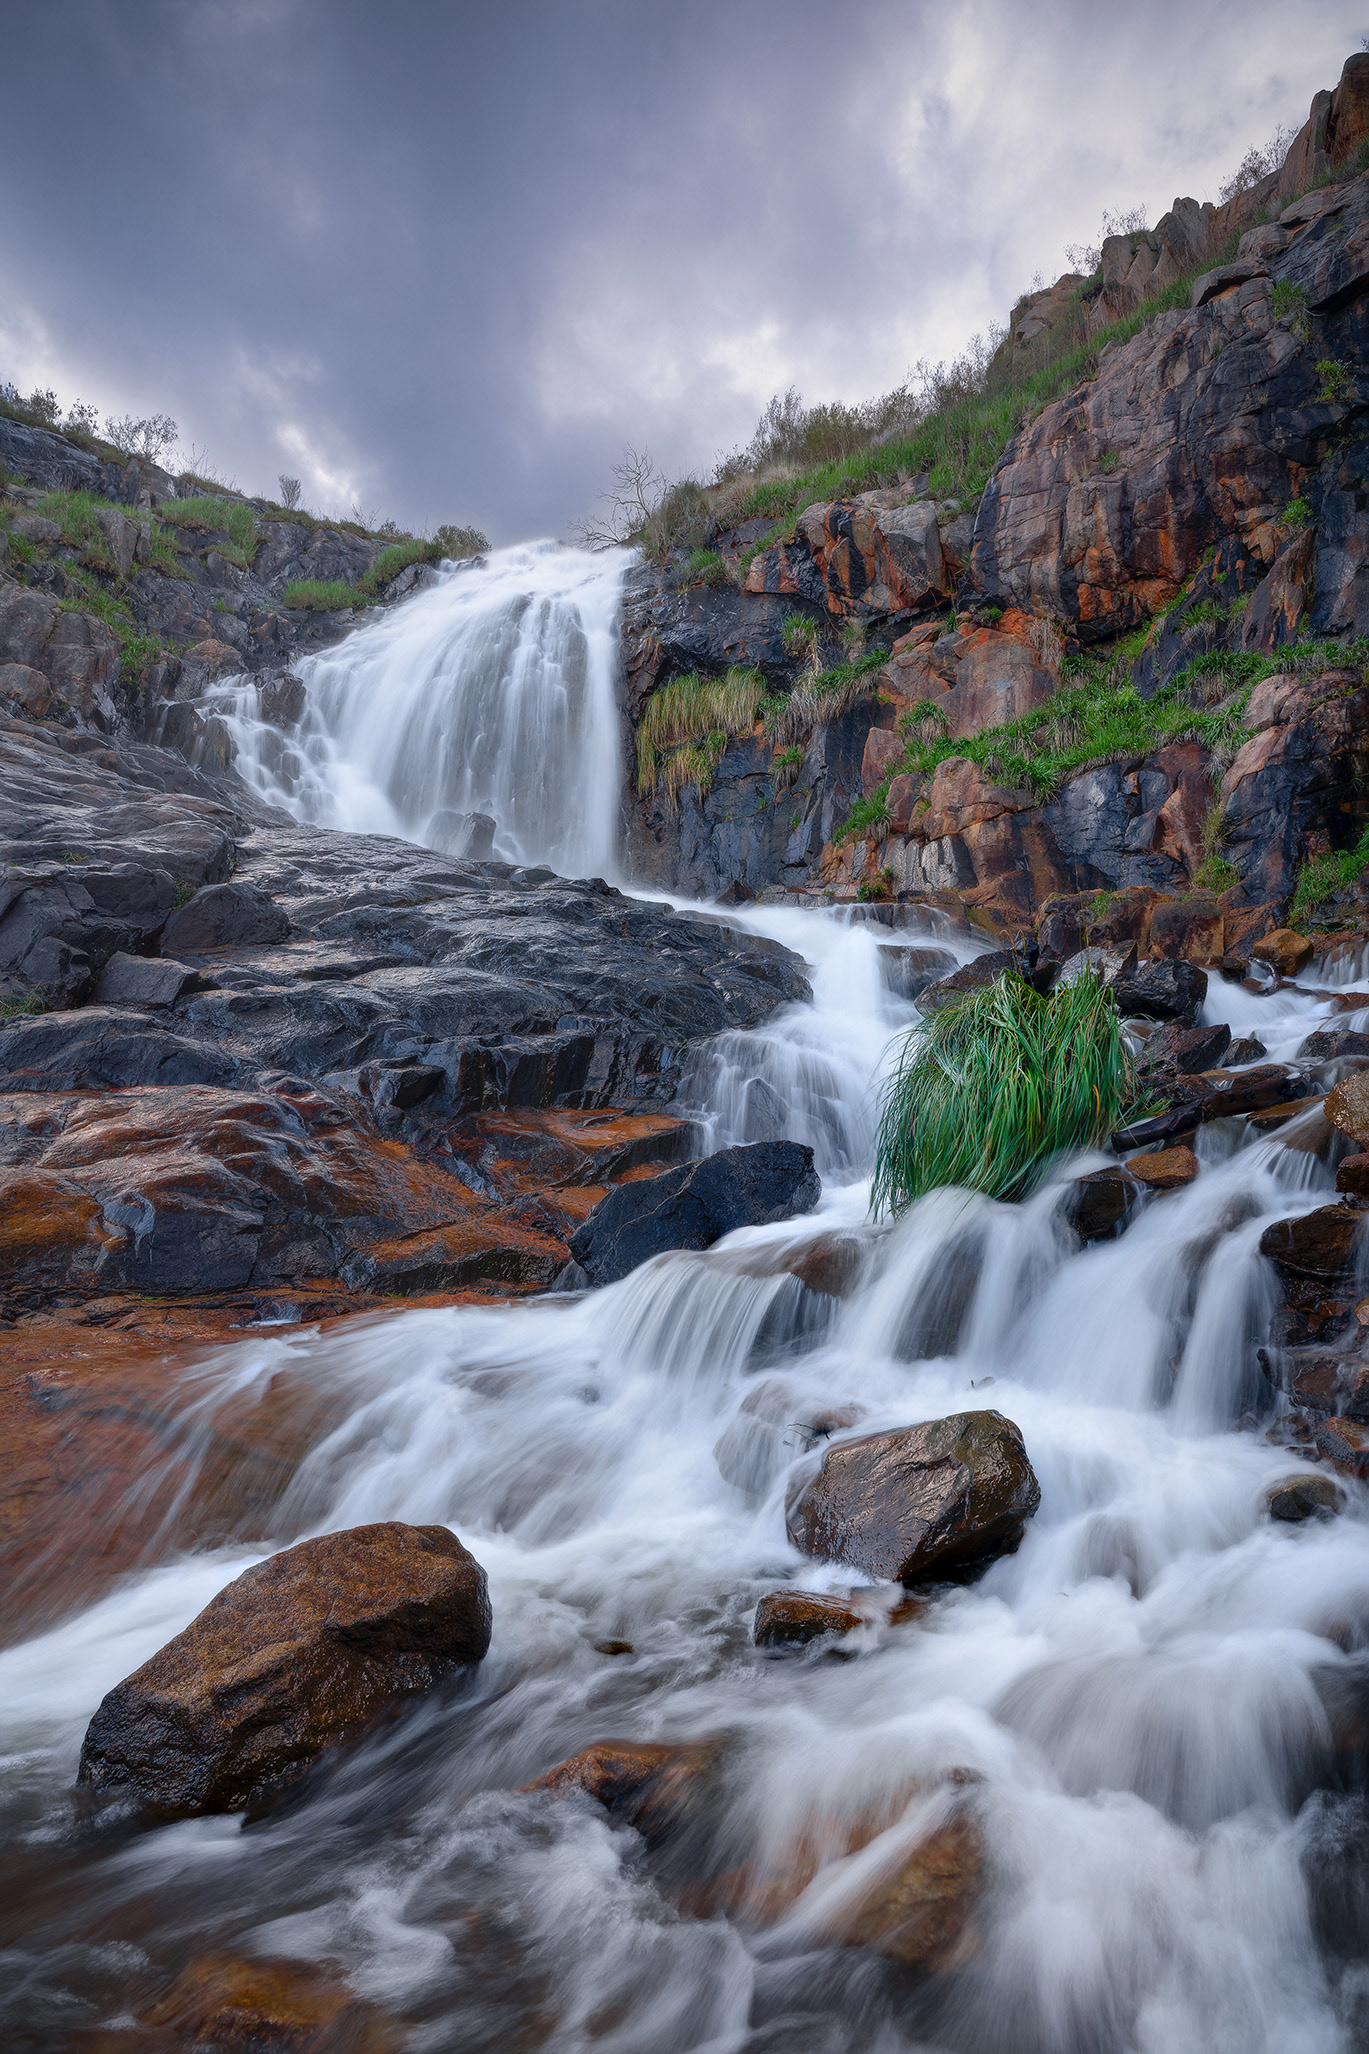
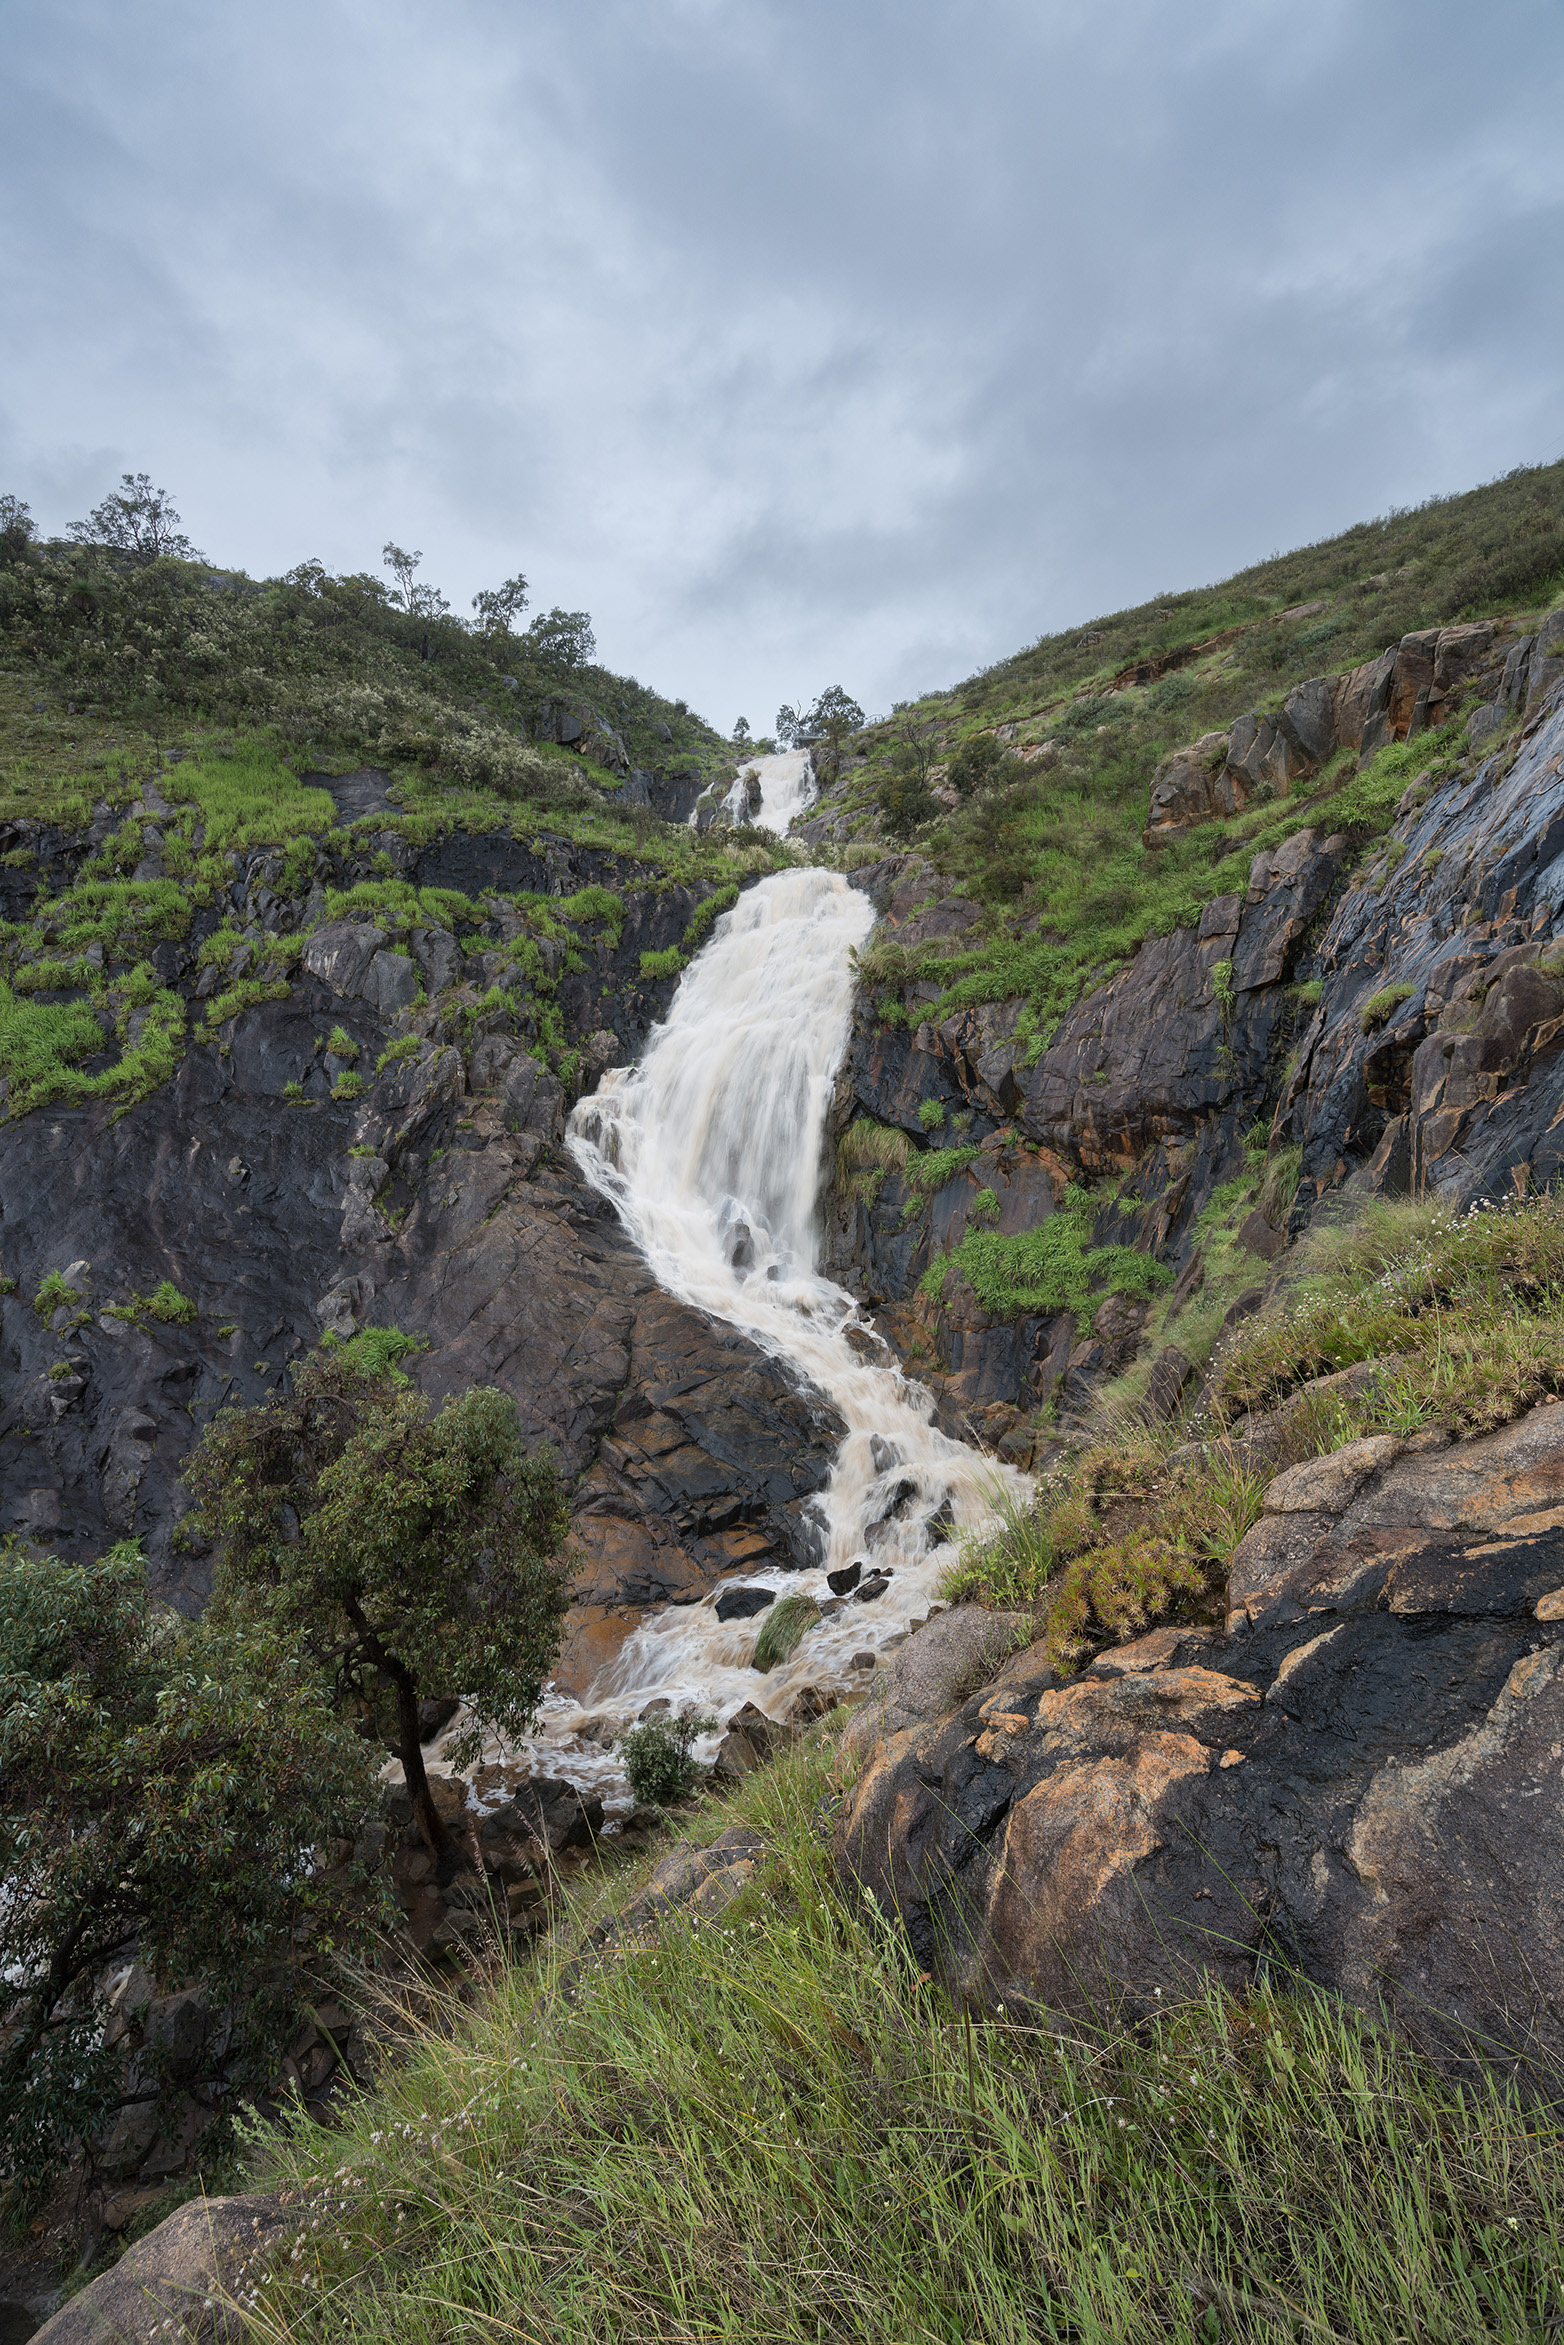
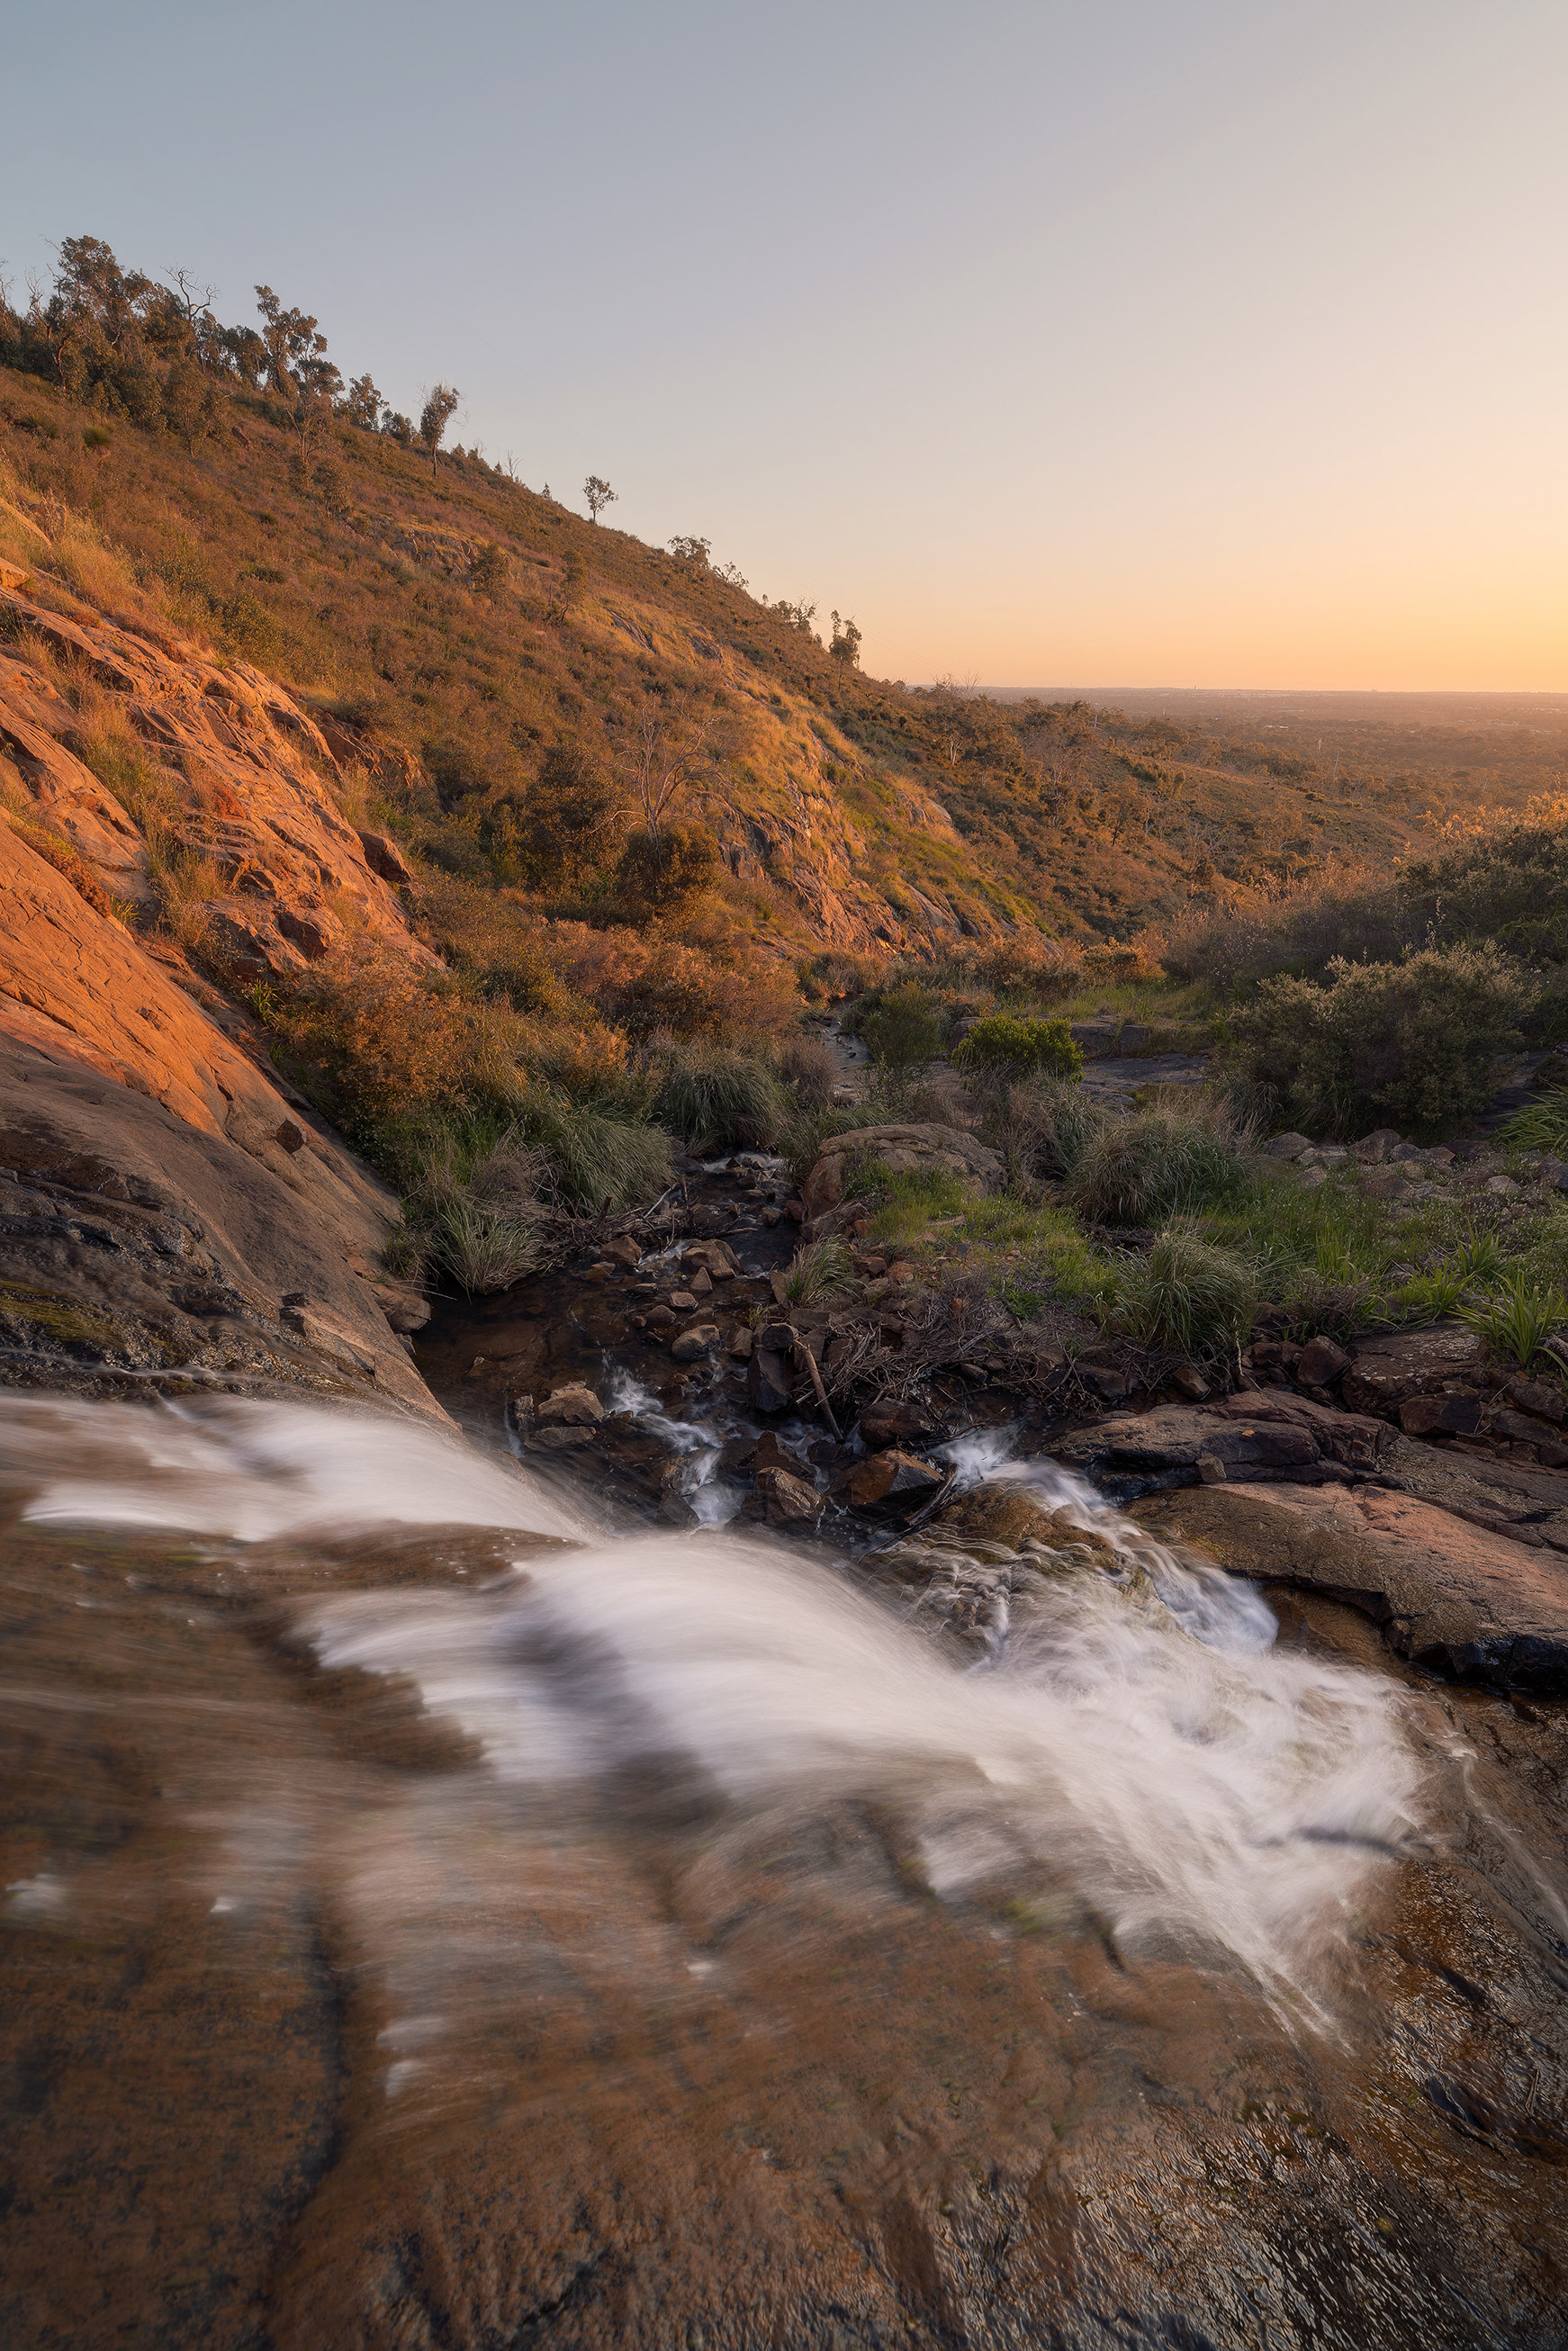
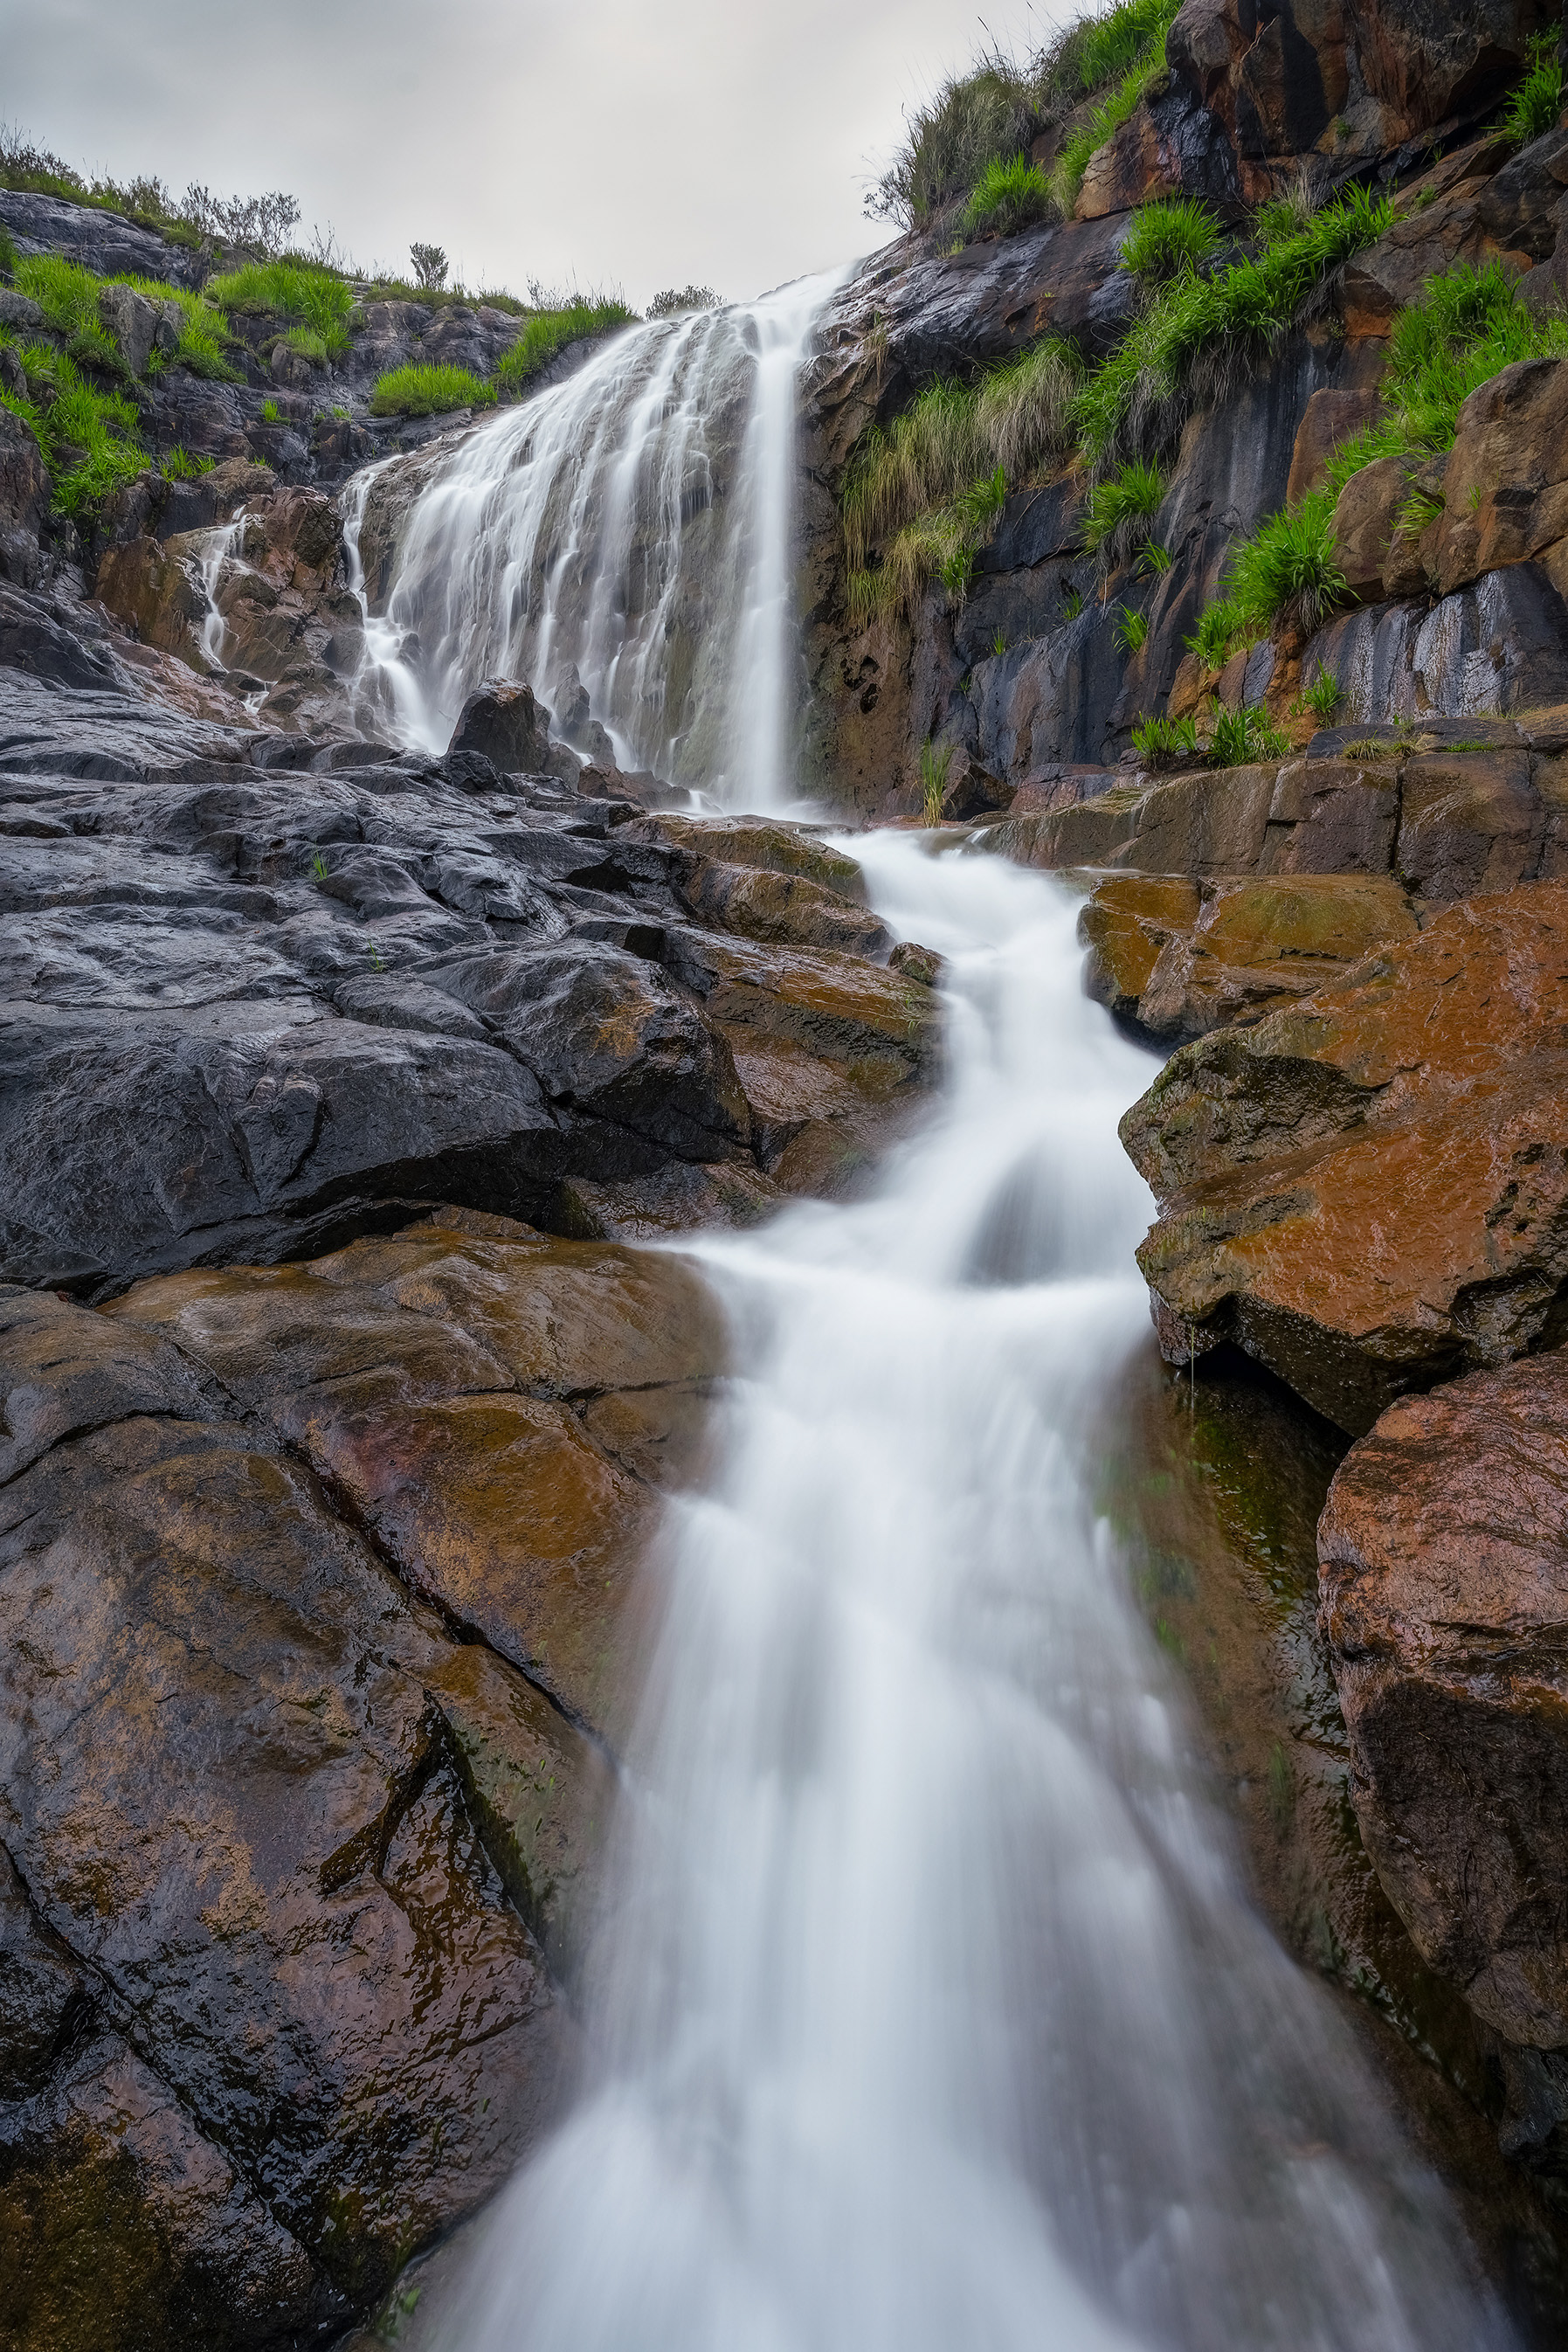
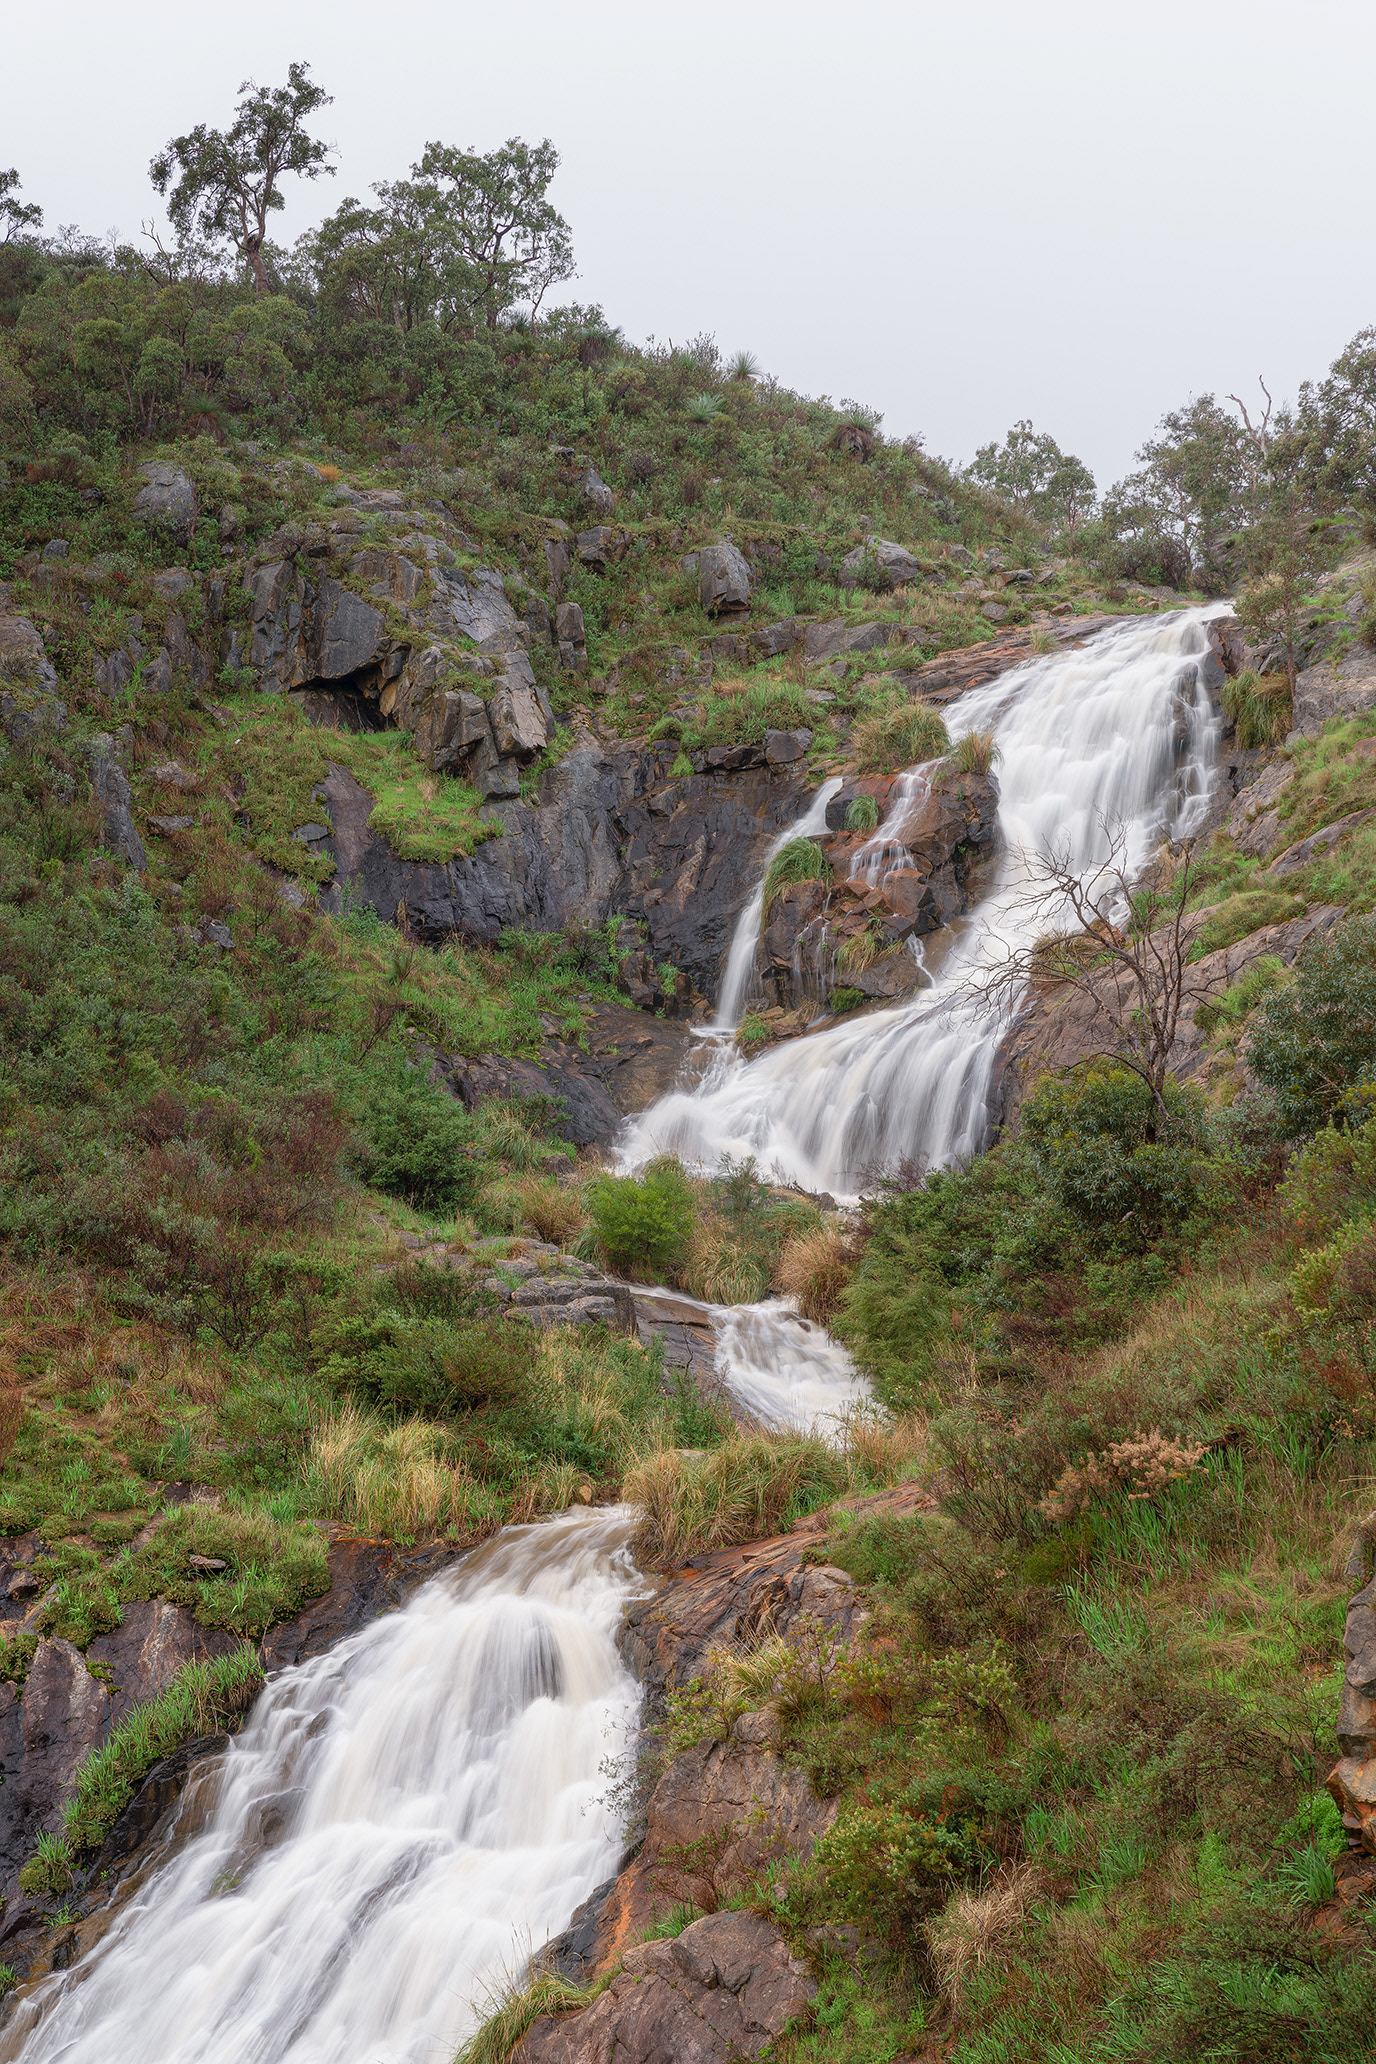
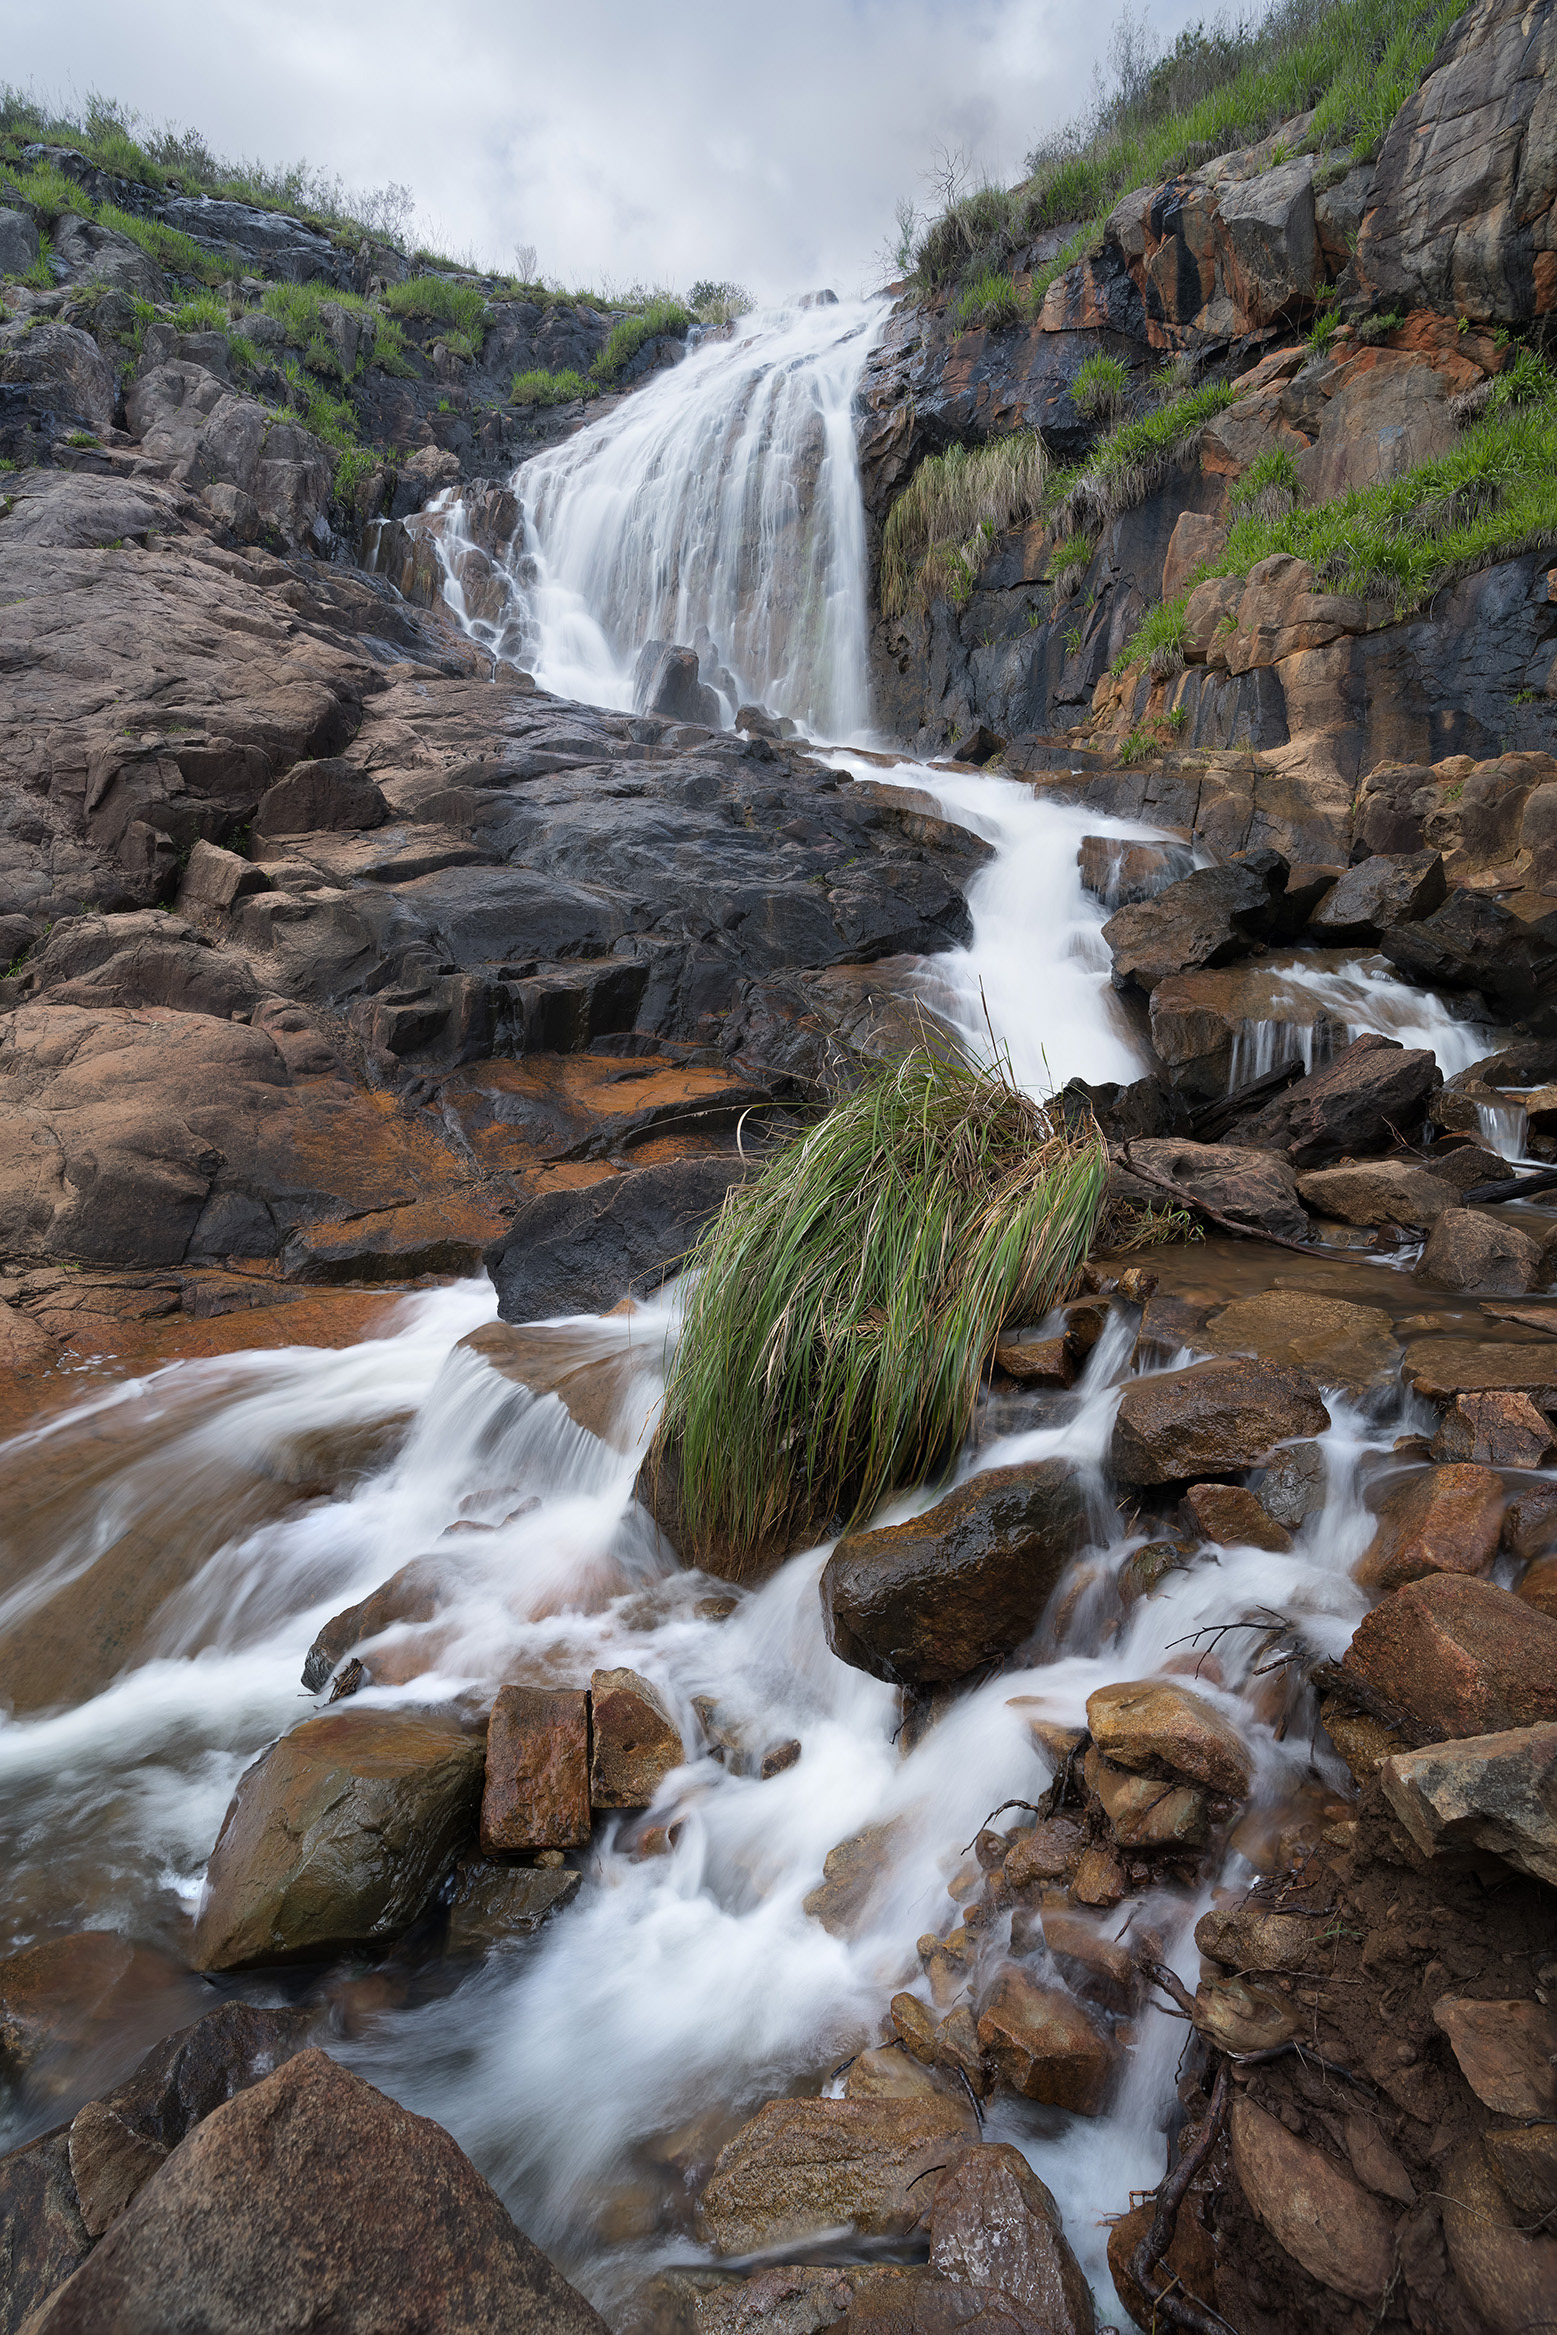
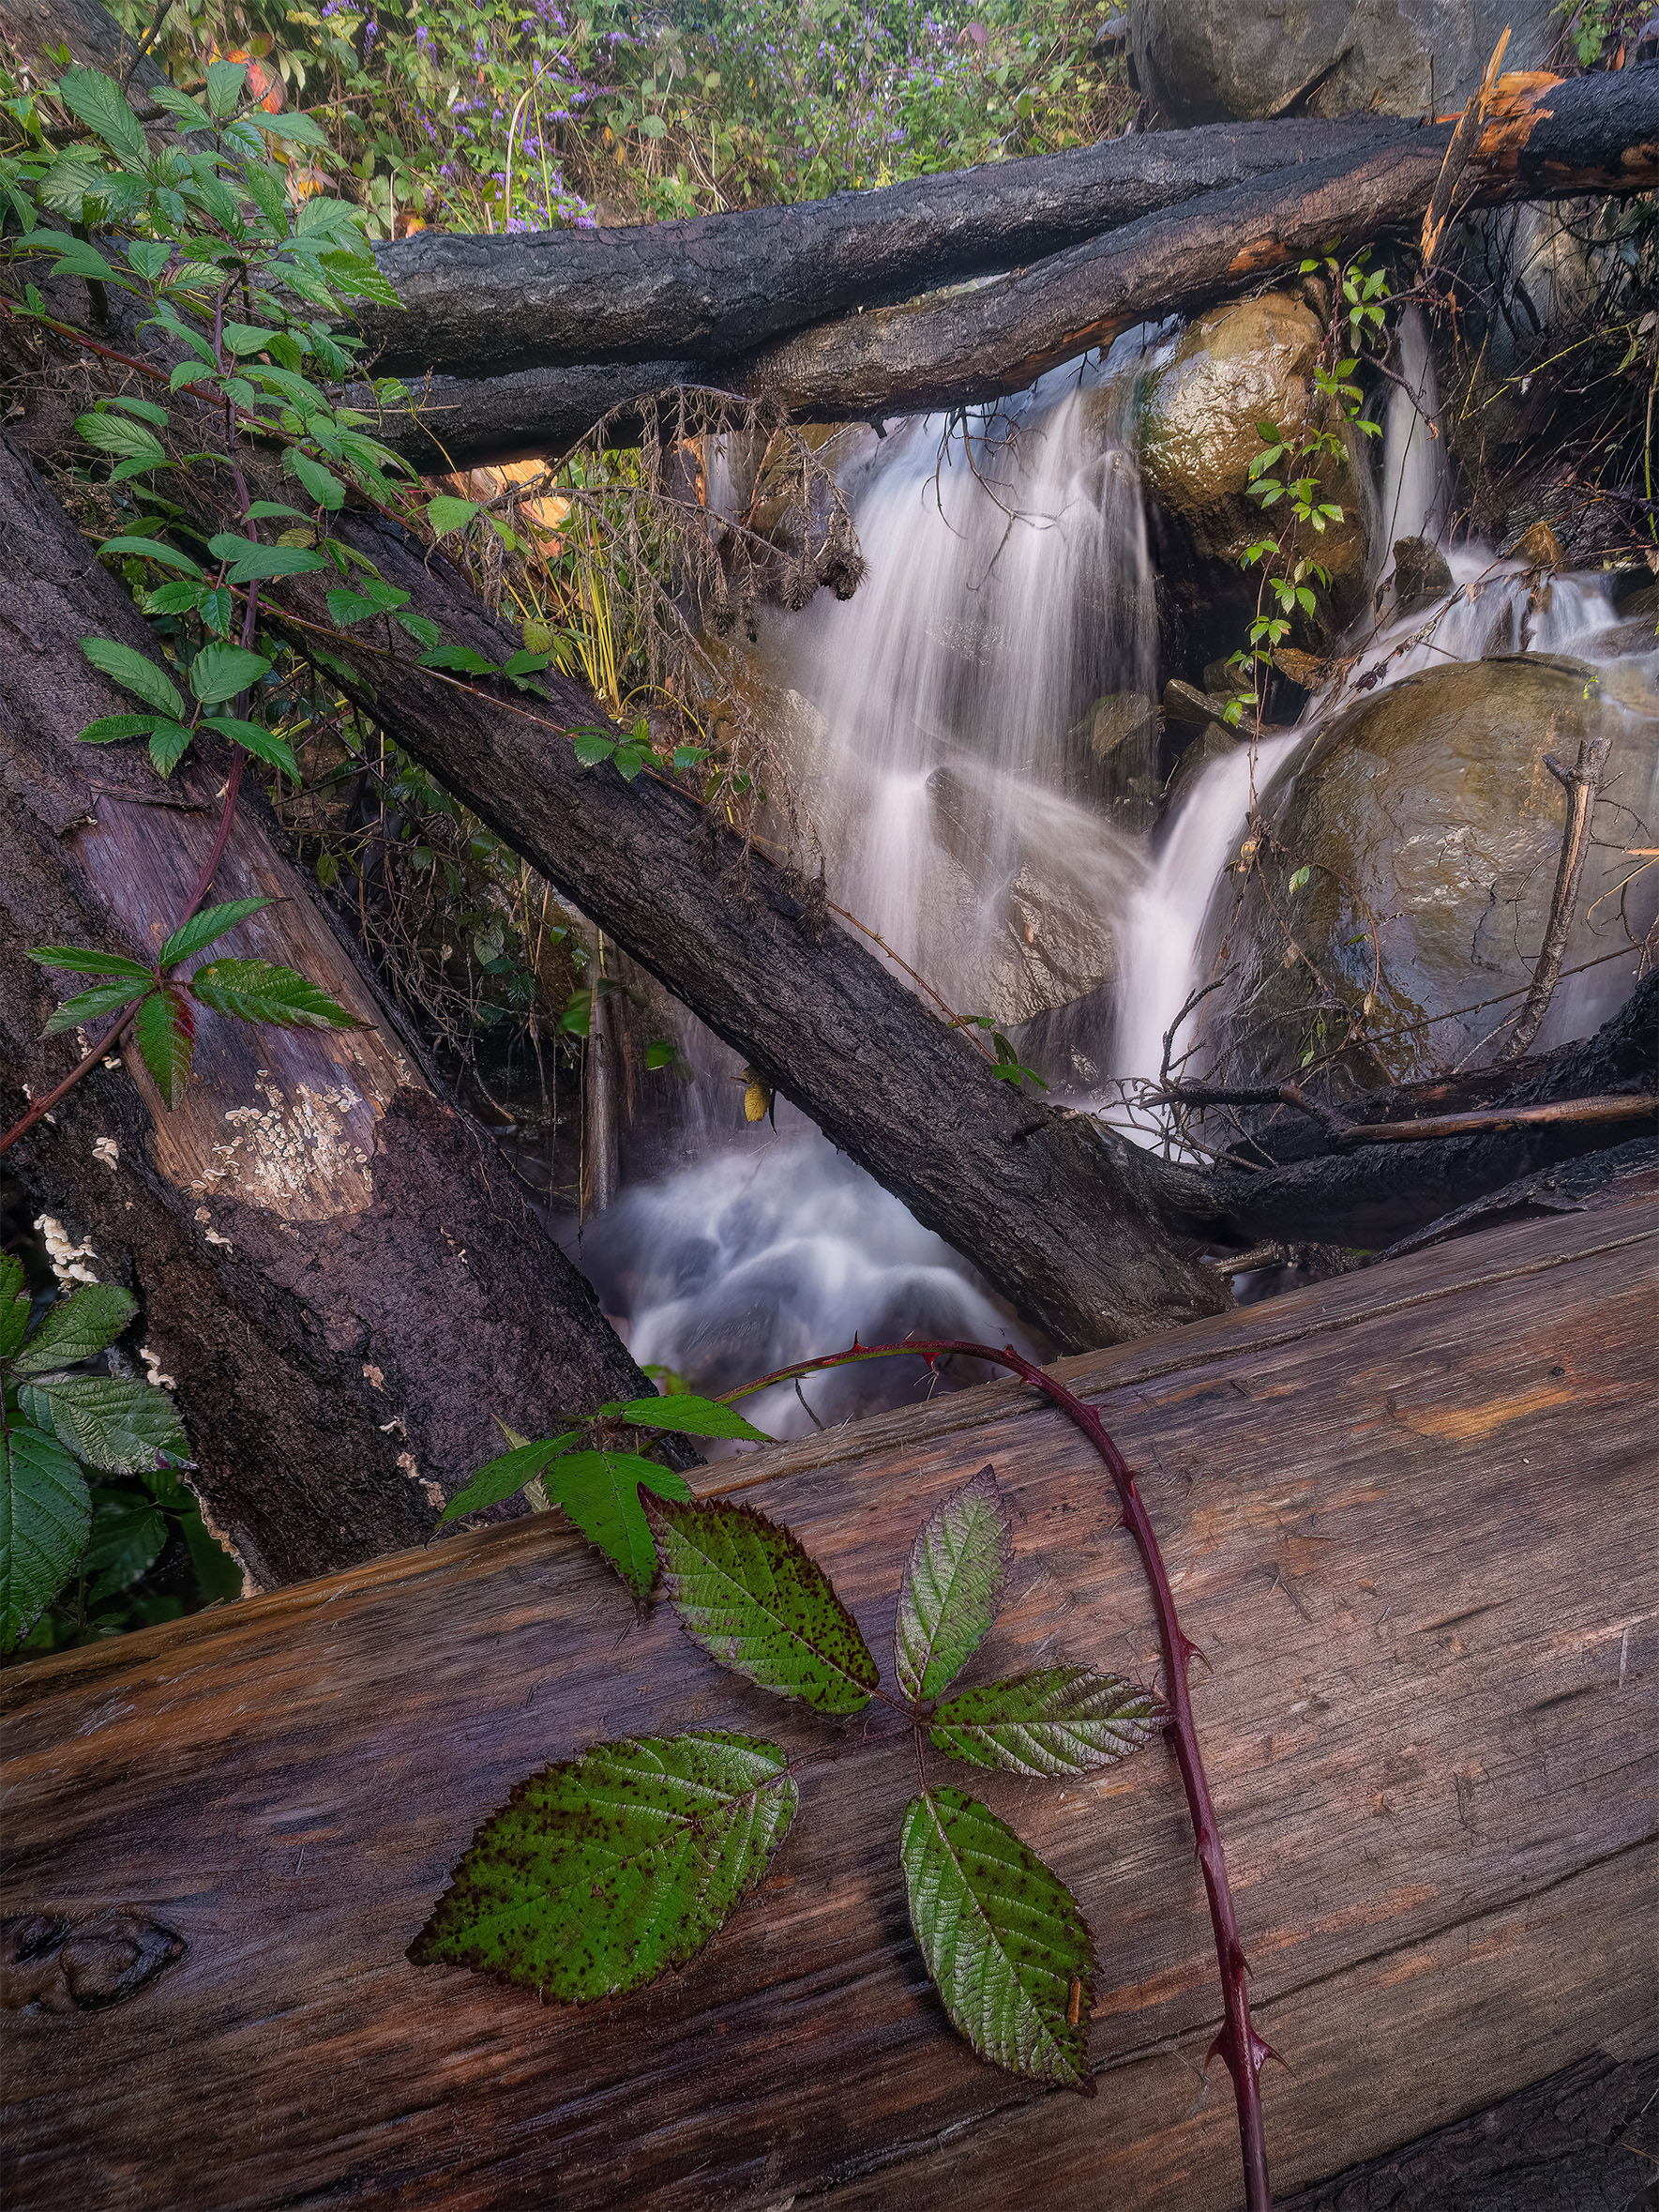
If you live by the coast, the seaside is always changing with different tides and swell, seasonal shifts in sand deposits on the beach may reveal or hide rock formations, completely transforming your photographs of the same location. Heading inland, the flow levels of creeks and rivers will change with the seasons too - try visiting a local creek immediately after rainfall to see the difference in flow. See the 6 below images for an example on how the same scene can be captured from many different angles, and in different conditions, to produce completely different photographs. All of these were captured within the 16-35mm focal range.
If you live by the coast, the seaside is always changing with different tides and swell, seasonal shifts in sand deposits on the beach may reveal or hide rock formations, completely transforming your photographs of the same location. Heading inland, the flow levels of creeks and rivers will change with the seasons too - try visiting a local creek immediately after rainfall to see the difference in flow. See the 6 below images for an example on how the same scene can be captured from many different angles, and in different conditions, to produce completely different photographs. All of these were captured within the 16-35mm focal range.
Tip 2: Learn New Skills.
In addition to the physical changes in the landscape, you might find new skills that you have learned open up more photography opportunities in familiar locations. If you already have a good understanding of manual exposure settings (shutter speed, ISO, aperture), perhaps it is time to step it up a little bit and learn skills such as focus stacking, exposure blending, and manually creating panoramic images.
Focus stacking is a post-processing technique where you blend multiple frames of the same scene, each focused at different distances, into a single image that’s sharp from the foreground right through to the background. It’s a way of working around the natural depth of field limits of a lens, letting you maintain edge-to-edge sharpness, whilst shooting within an ideal aperture range, and without having to stop down to very small apertures (resulting in a soft image). Watch my focus stacking video explanation and tutorial on Patreon.
Exposure bracketing and blending is a post-processing approach where you capture multiple frames of the same scene at different exposure levels (brightness), then combine them into a single image that captures detail across the full dynamic range of the scene. It’s particularly useful in high-contrast conditions such as photographing a sunset, or in a shaded valley/gorge where the sky is visible in your composition. This technique allows you to capture detail in both the highlights and shadows creating a natural looking image without relying on extreme post-processing of single exposures. By blending the exposures together, you can produce a more balanced and natural result while avoiding clipped highlights or blocked shadows. Watch my video on exposure bracketing on Patreon.
Shooting and stitching a panorama is a technique where you capture a series of overlapping frames and combine them in post-processing to create a single, wider image. It’s a practical way to expand your field of view beyond what your lens focal length allows, while also increasing overall resolution and detail. By carefully aligning and blending the images, you can produce a seamless result that fits more of the scene into your photograph - sometimes overcoming the need to purchase new equipment. Watch my video on stitching a panorama in Lightroom on Patreon.
Once you have mastered each of these techniques on their own, you can try combining them to remove even more limitation on your photography! The images below were captured using at minimum one of these techniques each.
Once you have mastered each of these techniques on their own, you can try combining them to remove even more limitation on your photography! The images below were captured using at minimum one of these techniques each.

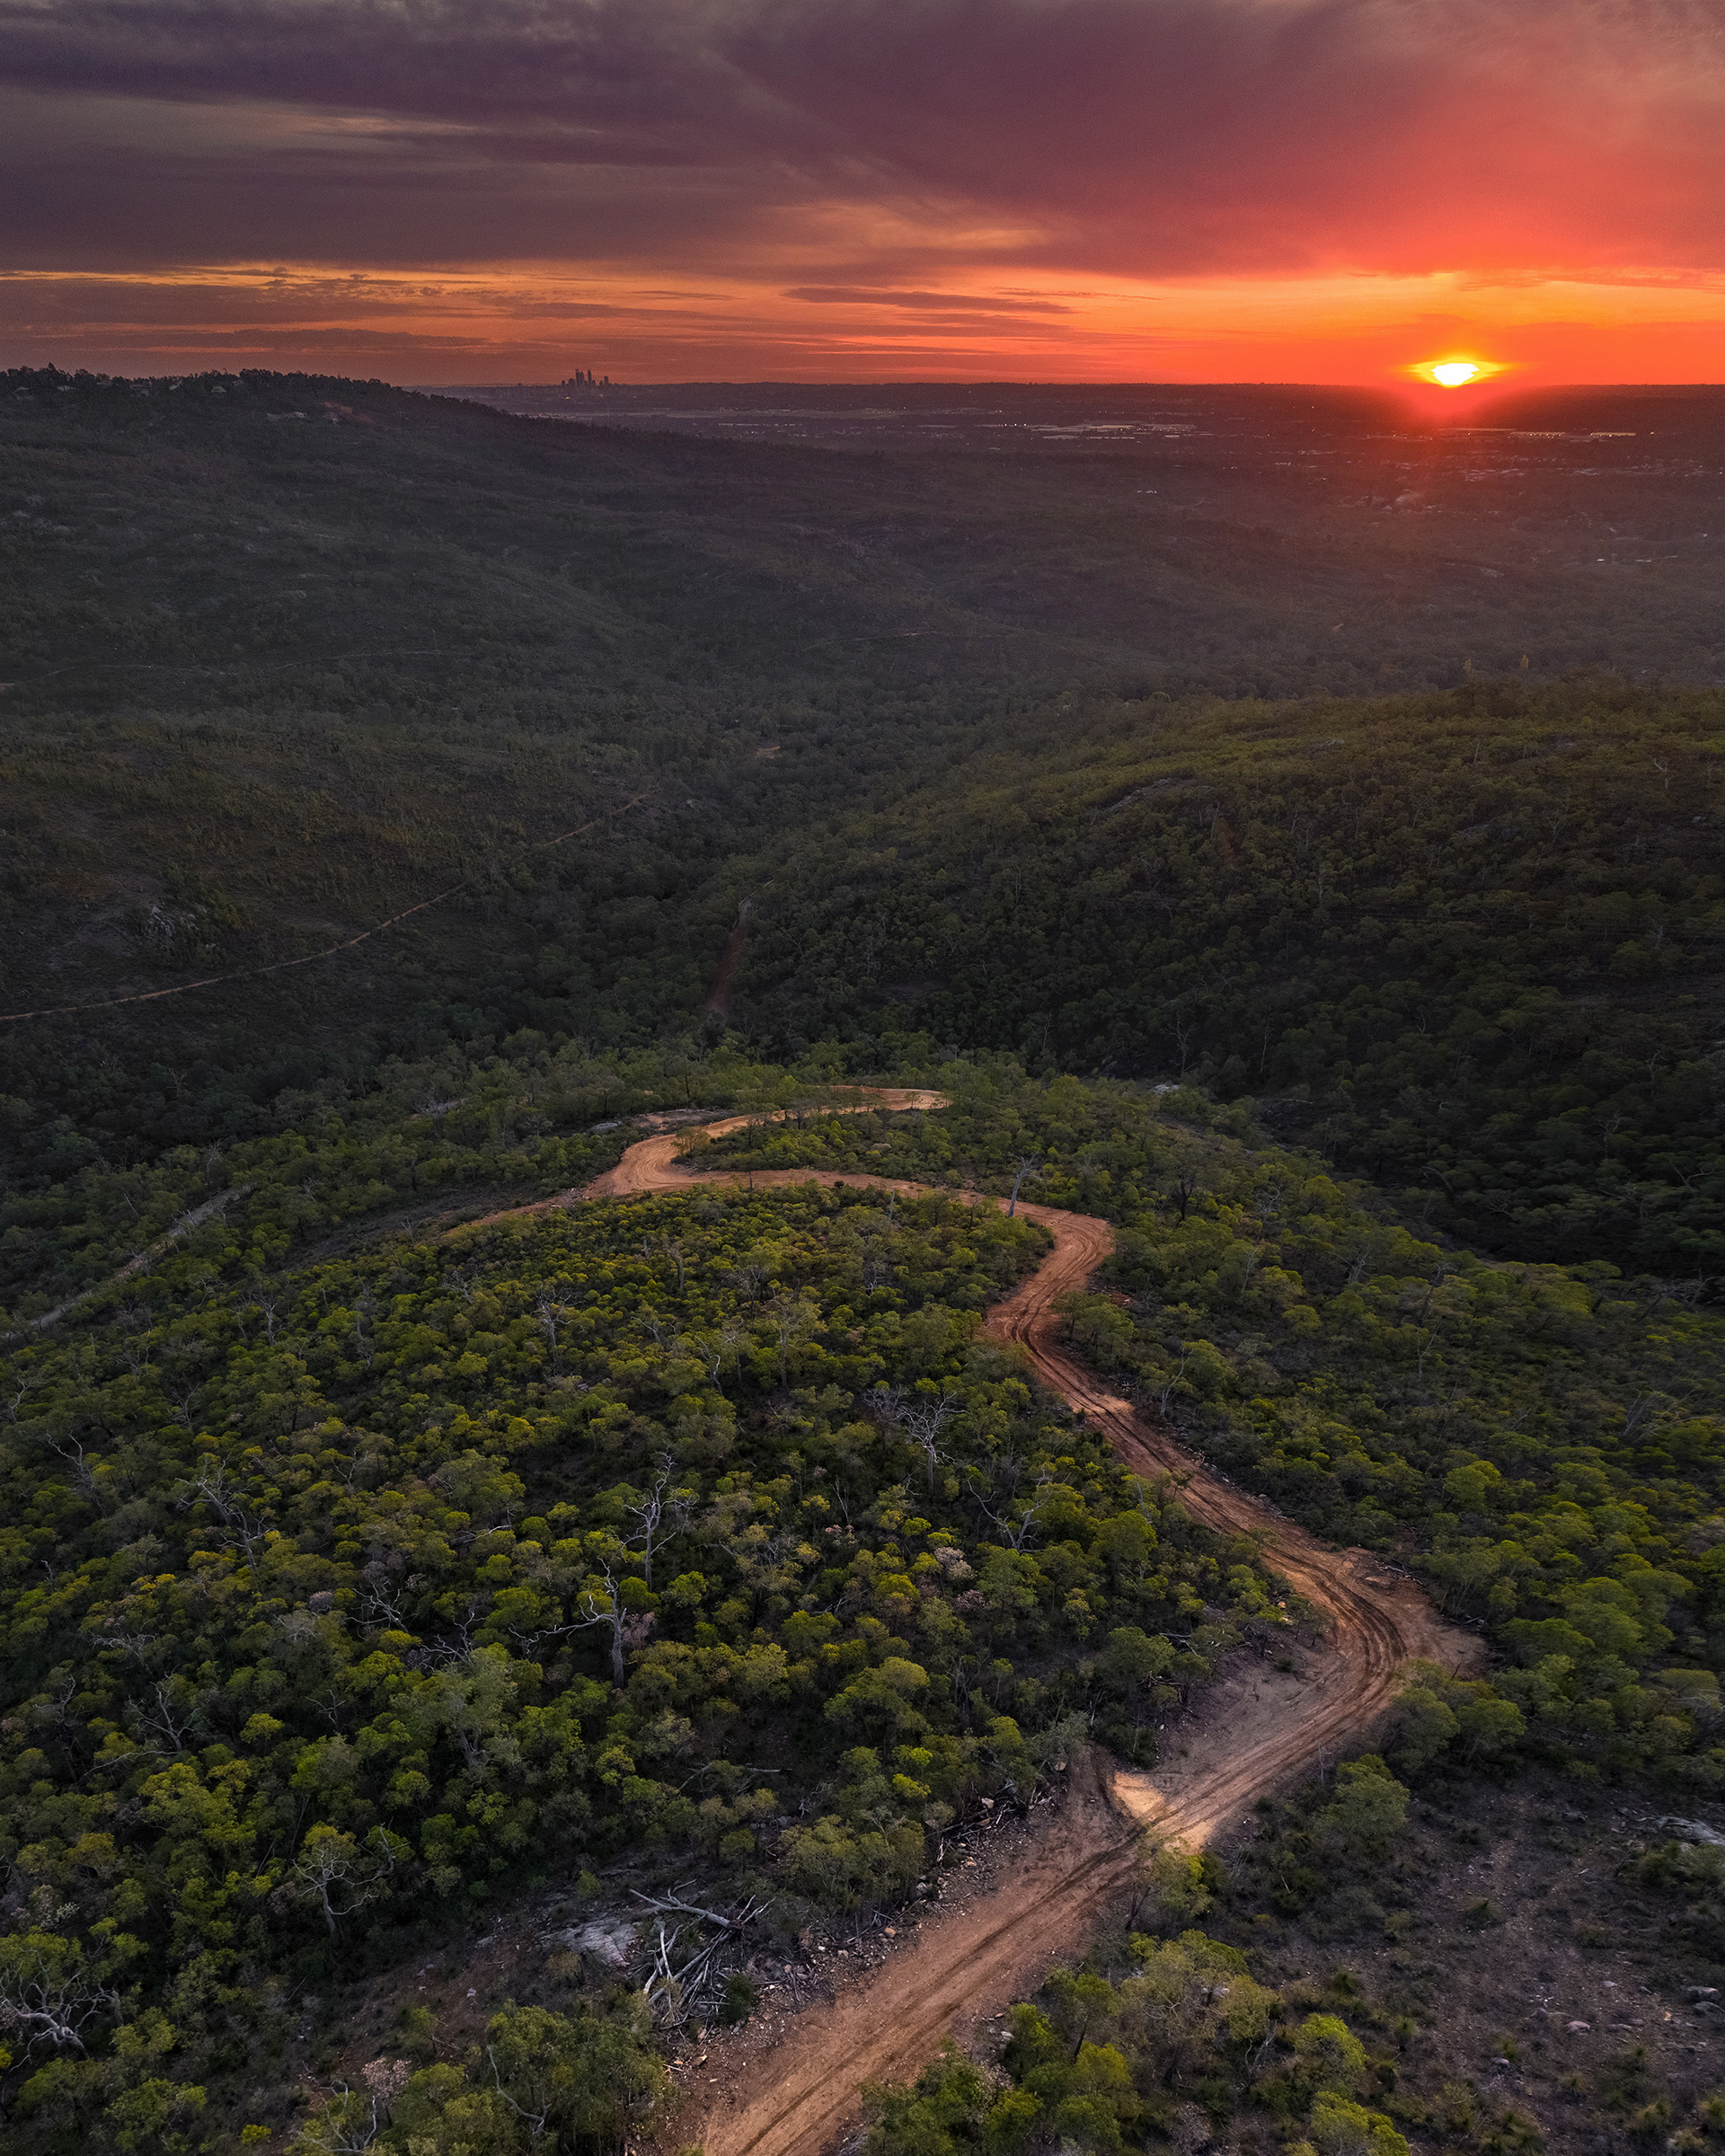
An exposure bracketed/blended photograph of a Perth Hills sunset.
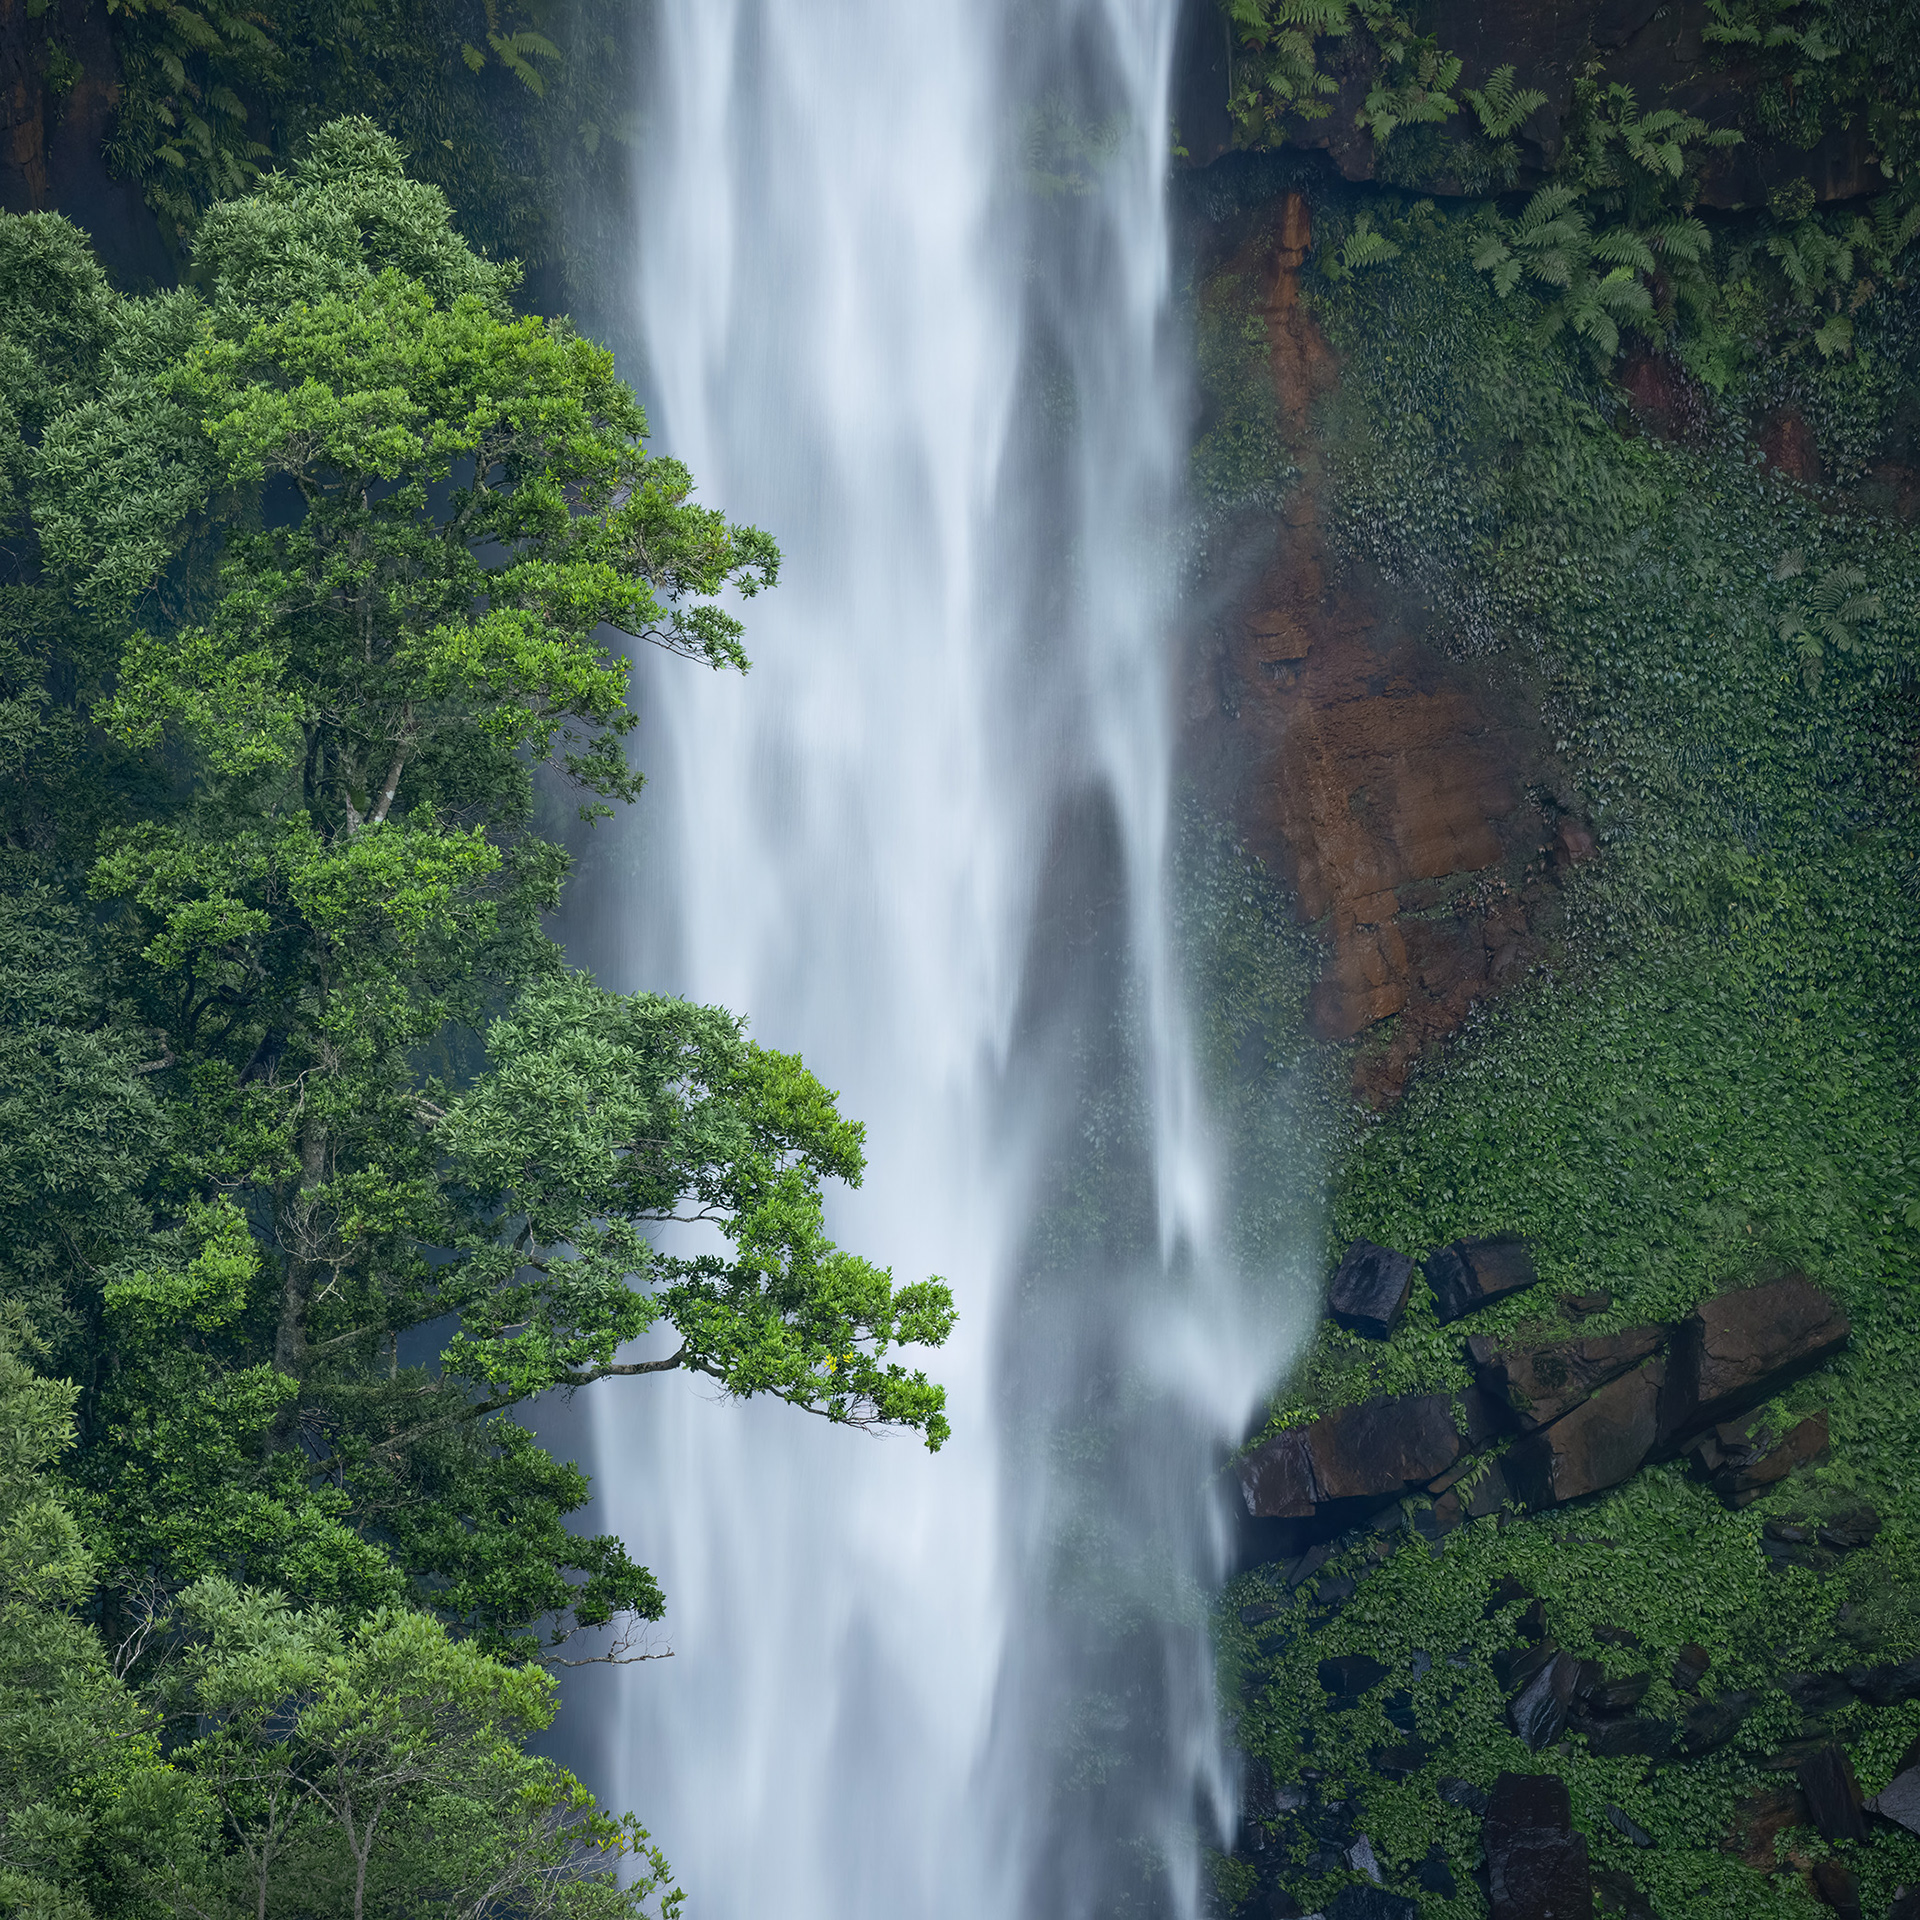
This capture of a waterfall deep in the Darling Range is a focus stacked image. It would not have been possible to have the entire image in focus otherwise.
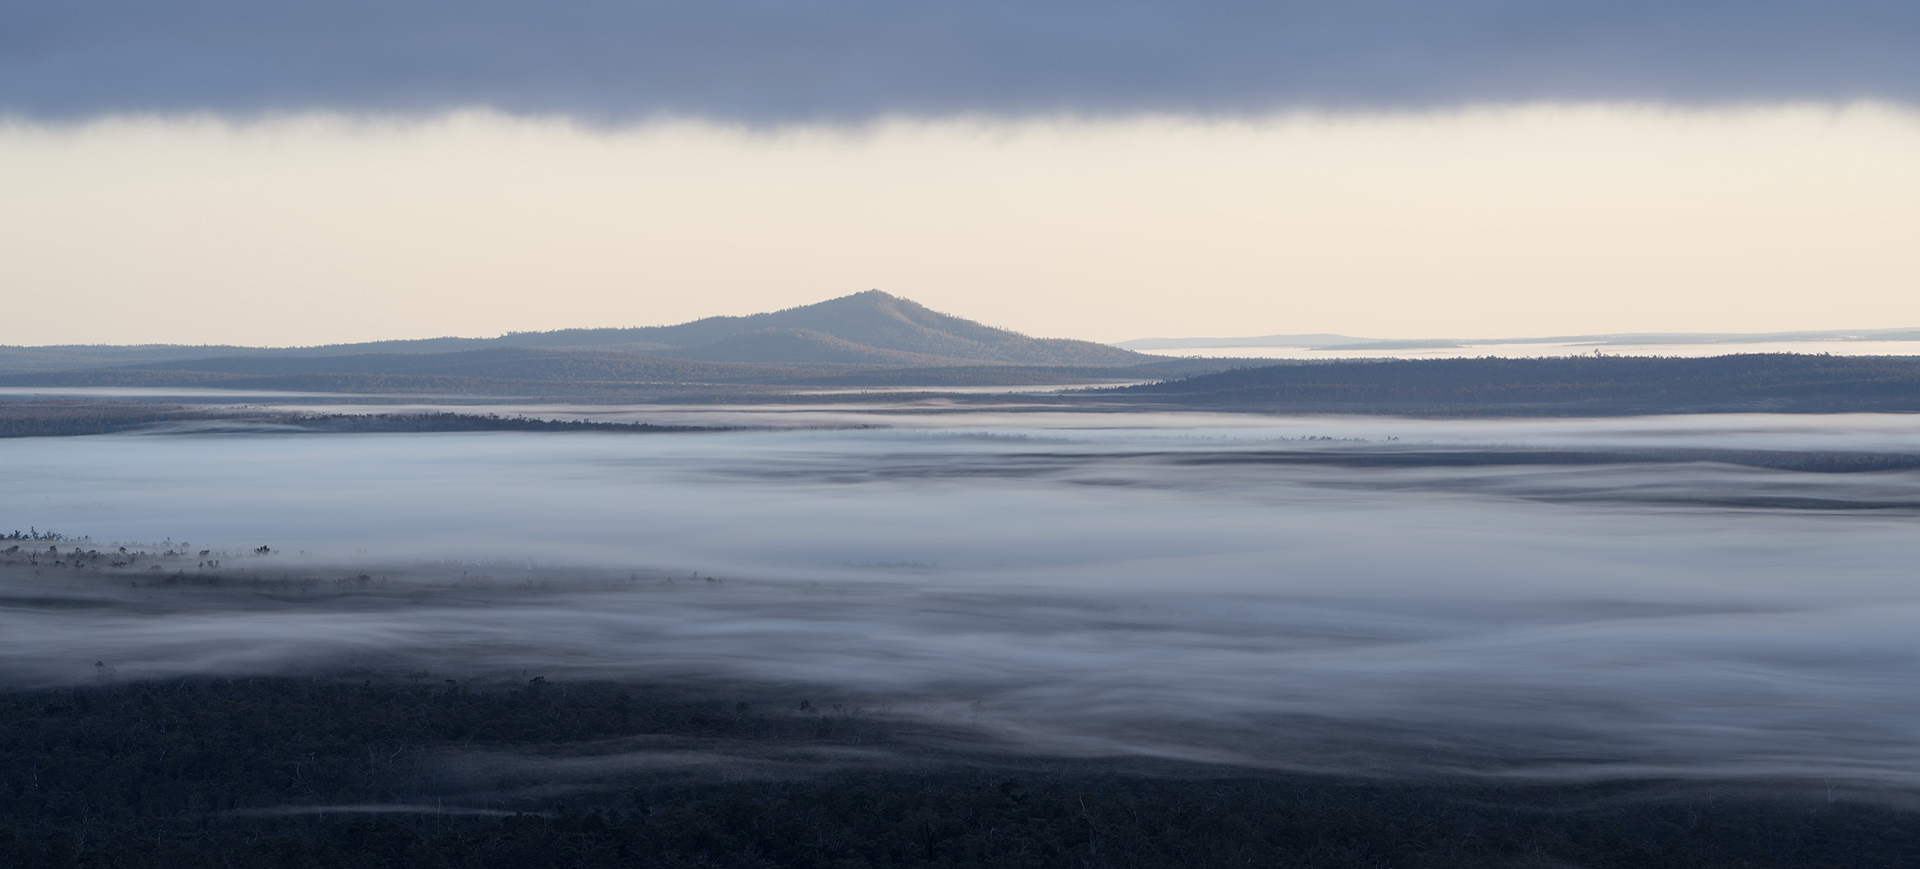
Panoramic image of a misty morning in the Darling Range.
Tip 3: Location Scouting - Explore Your Local Area In Depth.
Location scouting is one of the most rewarding, yet overlooked aspects in landscape photography. I'm a firm believer that the more you enjoy being outdoors, the better a landscape photographer you will become. Having a natural curiosity and urge to explore the outdoors even without the camera will reward you with potential landscape photography compositions appearing in places you least expect it. I can think of many instances where I was simply on a hike or walk in my local area without photography in mind, and have since returned to capture an image that basically jumped out at me unexpectedly.
That said, there is also a lot of benefit to dedicated location scouting outings. Maybe in the off season or when conditions are less than ideal for photography. A personal example of this I can share is searching for waterfalls in the Perth Hills. I often head out in the summer & autumn months, exploring creeks and valleys in the Darling Range whilst the seasonal creeks are dried up. I look for potential waterfalls and make a list of potential areas to return to once the winter rains arrive. This takes out a lot of the guess work when conditions are good - resulting in many more successful shoots! 35 of those Perth waterfall locations are listed in my Guide To The Waterfalls Of Perth.
Location scouting can be as simple as curiously walking a little further up the trail past your intended destination just to see what else is around, or it can start with studying maps and online imagery, and then setting of in search of a specific place. I share my full location scouting and planning workflow over 14 pages in The Landscape Photography Handbook - my 110 page PDF E-book covering every aspect of landscape photography.
All of the below photographs were captured in a single valley close by to where I lived in the Perth Hills for many years - this is just one of many similar valleys in the region, and it has provided a diverse portfolio of images over the years (Tip 5 could be applied on a few of them one day). Despite it's close proximity to many keen photographers, I have never met another person out here, nor have I seen many other images of the area.
That said, there is also a lot of benefit to dedicated location scouting outings. Maybe in the off season or when conditions are less than ideal for photography. A personal example of this I can share is searching for waterfalls in the Perth Hills. I often head out in the summer & autumn months, exploring creeks and valleys in the Darling Range whilst the seasonal creeks are dried up. I look for potential waterfalls and make a list of potential areas to return to once the winter rains arrive. This takes out a lot of the guess work when conditions are good - resulting in many more successful shoots! 35 of those Perth waterfall locations are listed in my Guide To The Waterfalls Of Perth.
Location scouting can be as simple as curiously walking a little further up the trail past your intended destination just to see what else is around, or it can start with studying maps and online imagery, and then setting of in search of a specific place. I share my full location scouting and planning workflow over 14 pages in The Landscape Photography Handbook - my 110 page PDF E-book covering every aspect of landscape photography.
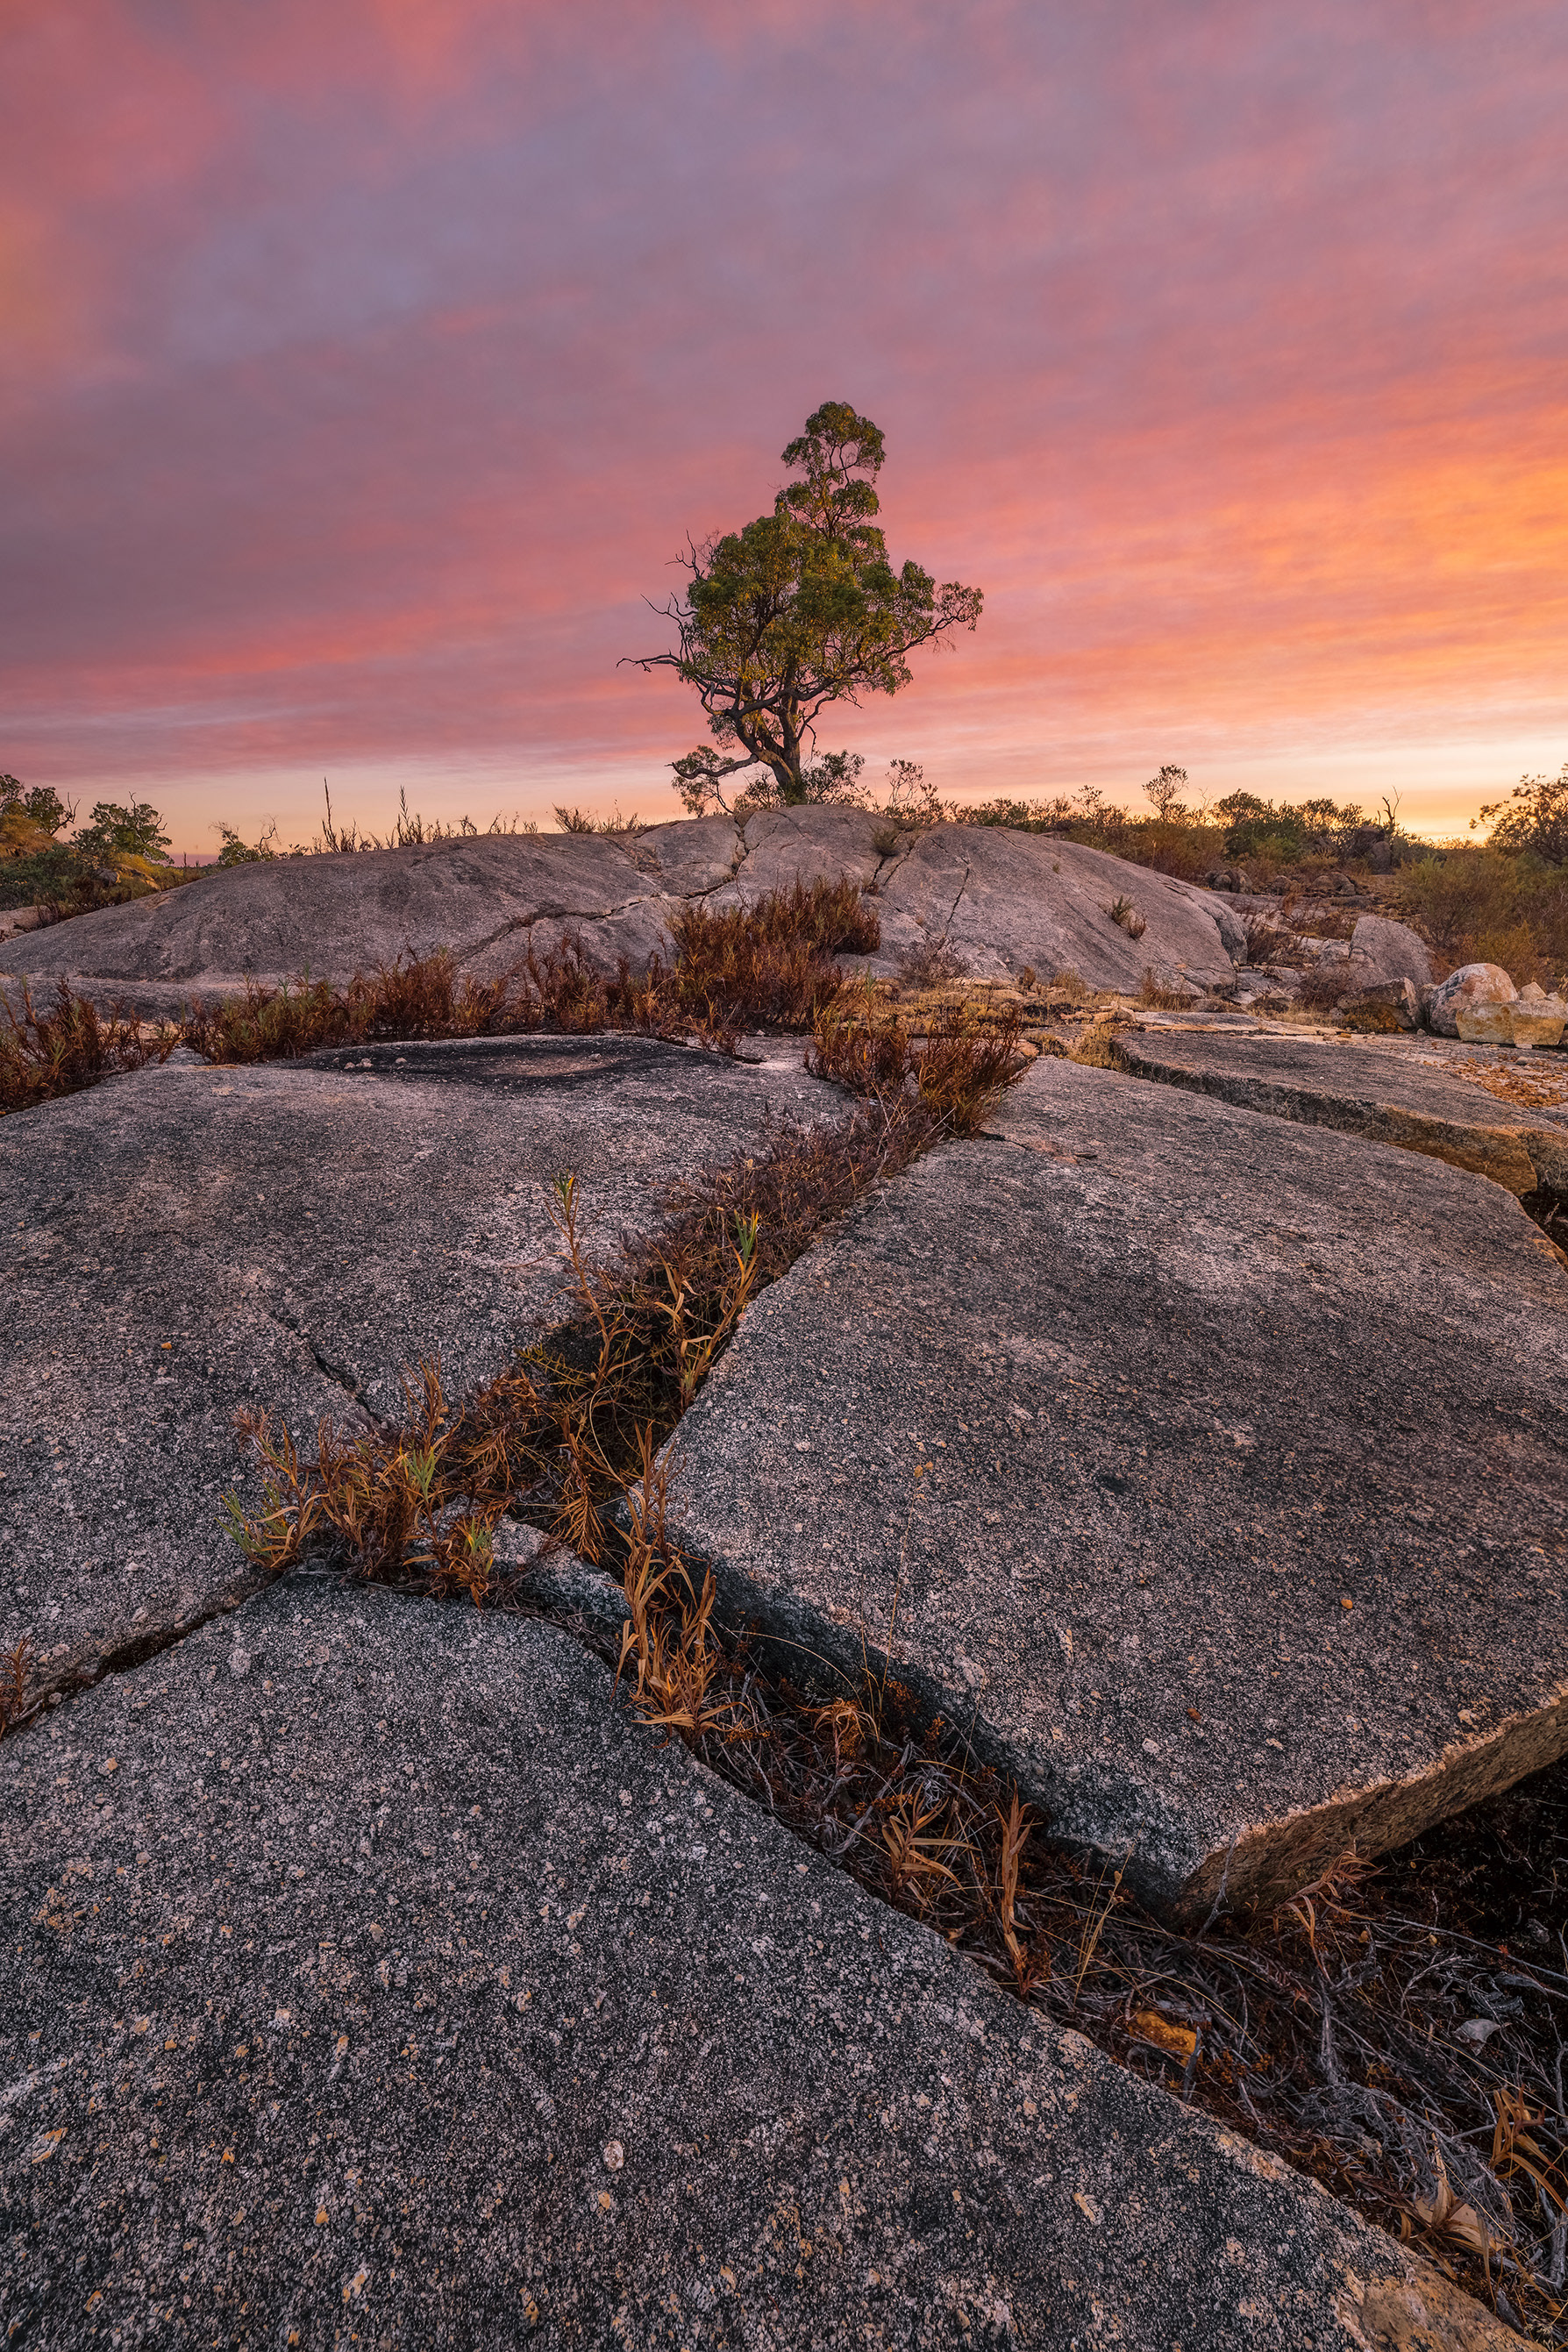
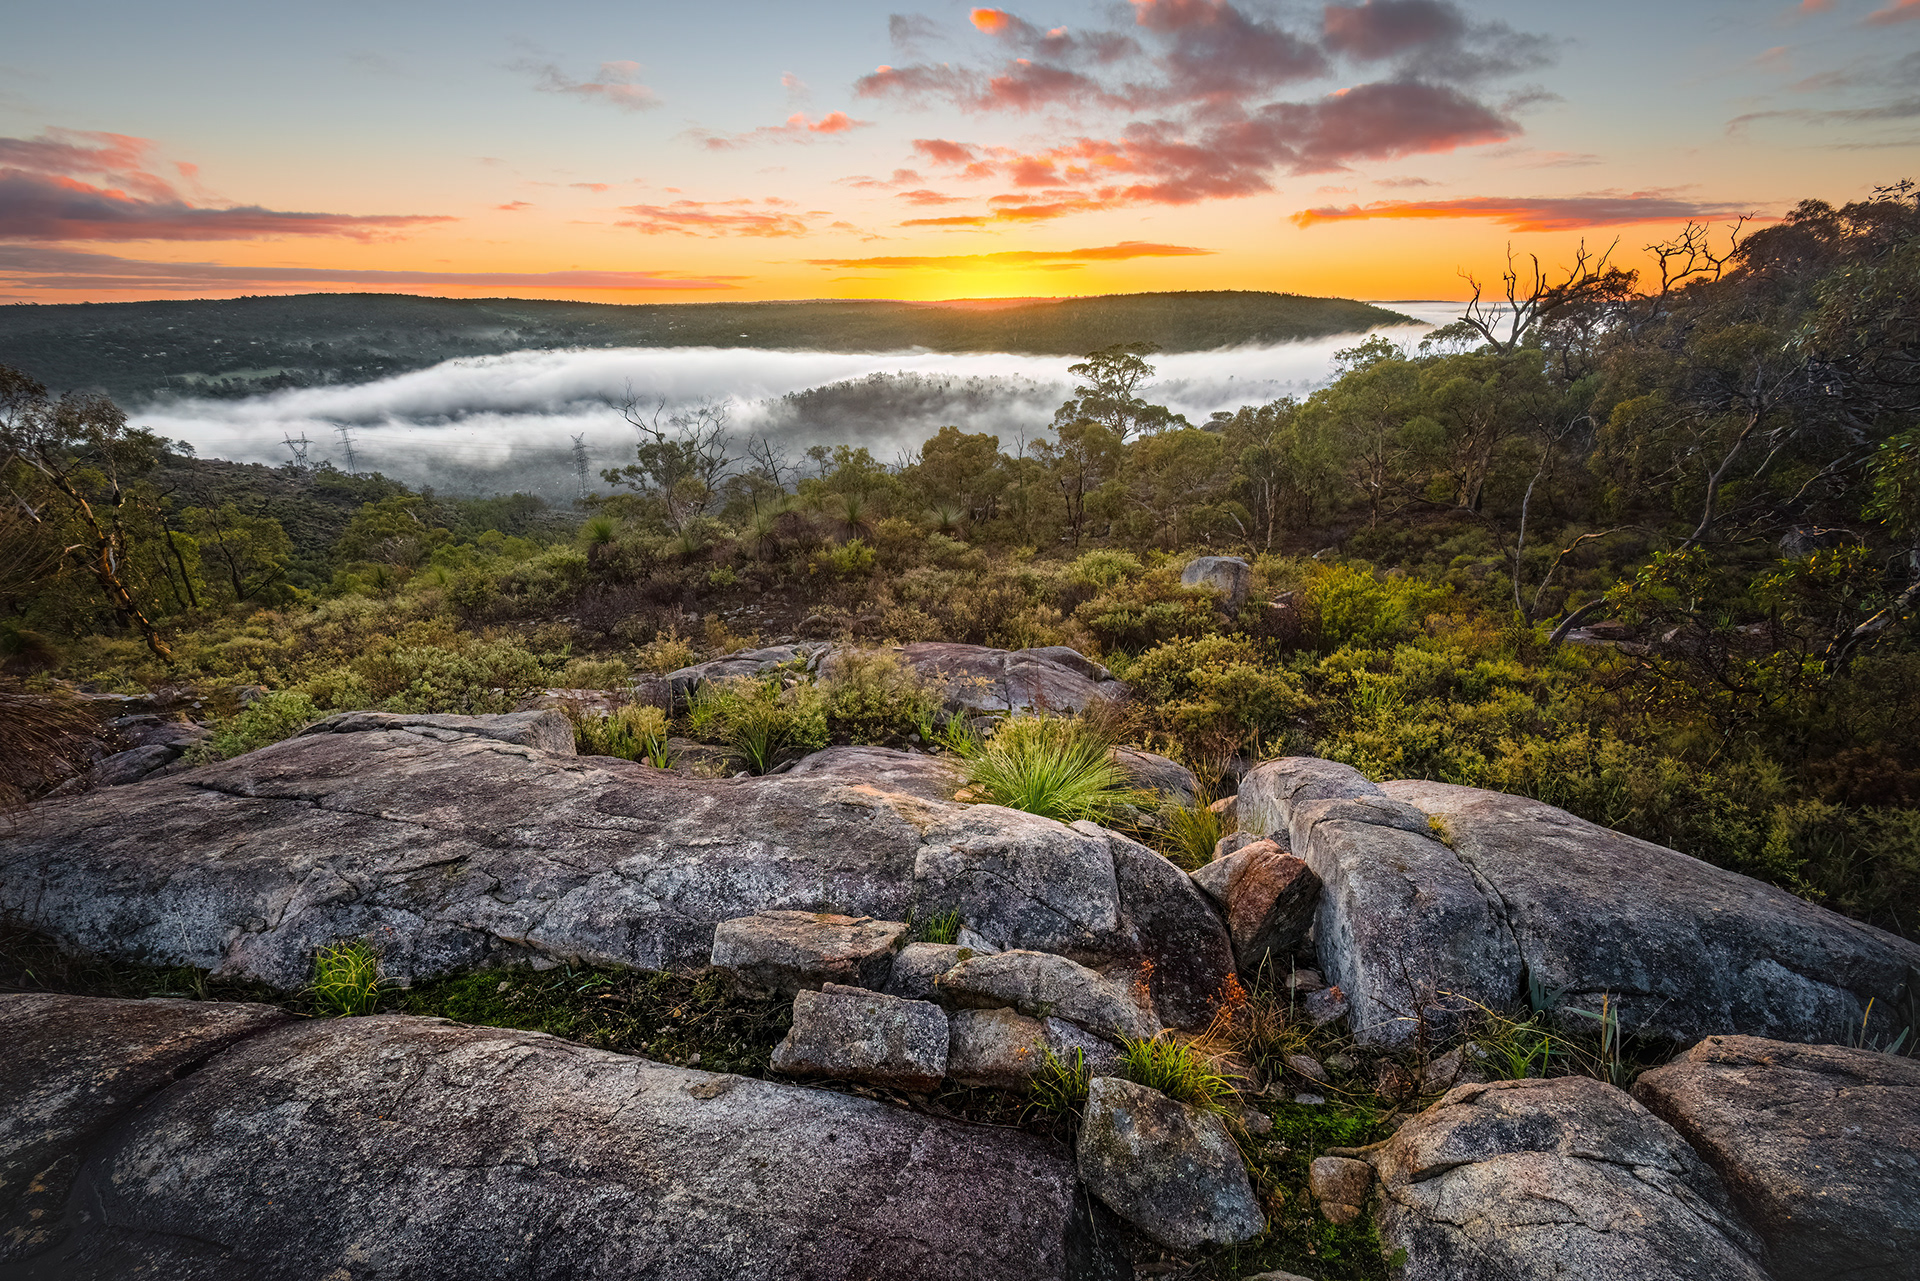
All of the below photographs were captured in a single valley close by to where I lived in the Perth Hills for many years - this is just one of many similar valleys in the region, and it has provided a diverse portfolio of images over the years (Tip 5 could be applied on a few of them one day). Despite it's close proximity to many keen photographers, I have never met another person out here, nor have I seen many other images of the area.
When location scouting pays off. A perfect leading line & spectacular sunset in the Perth Hills.
A lone tree catching the last light of the day - Perth Hills WA.
A "river" of fog flows through a valley in the Perth Hills, WA
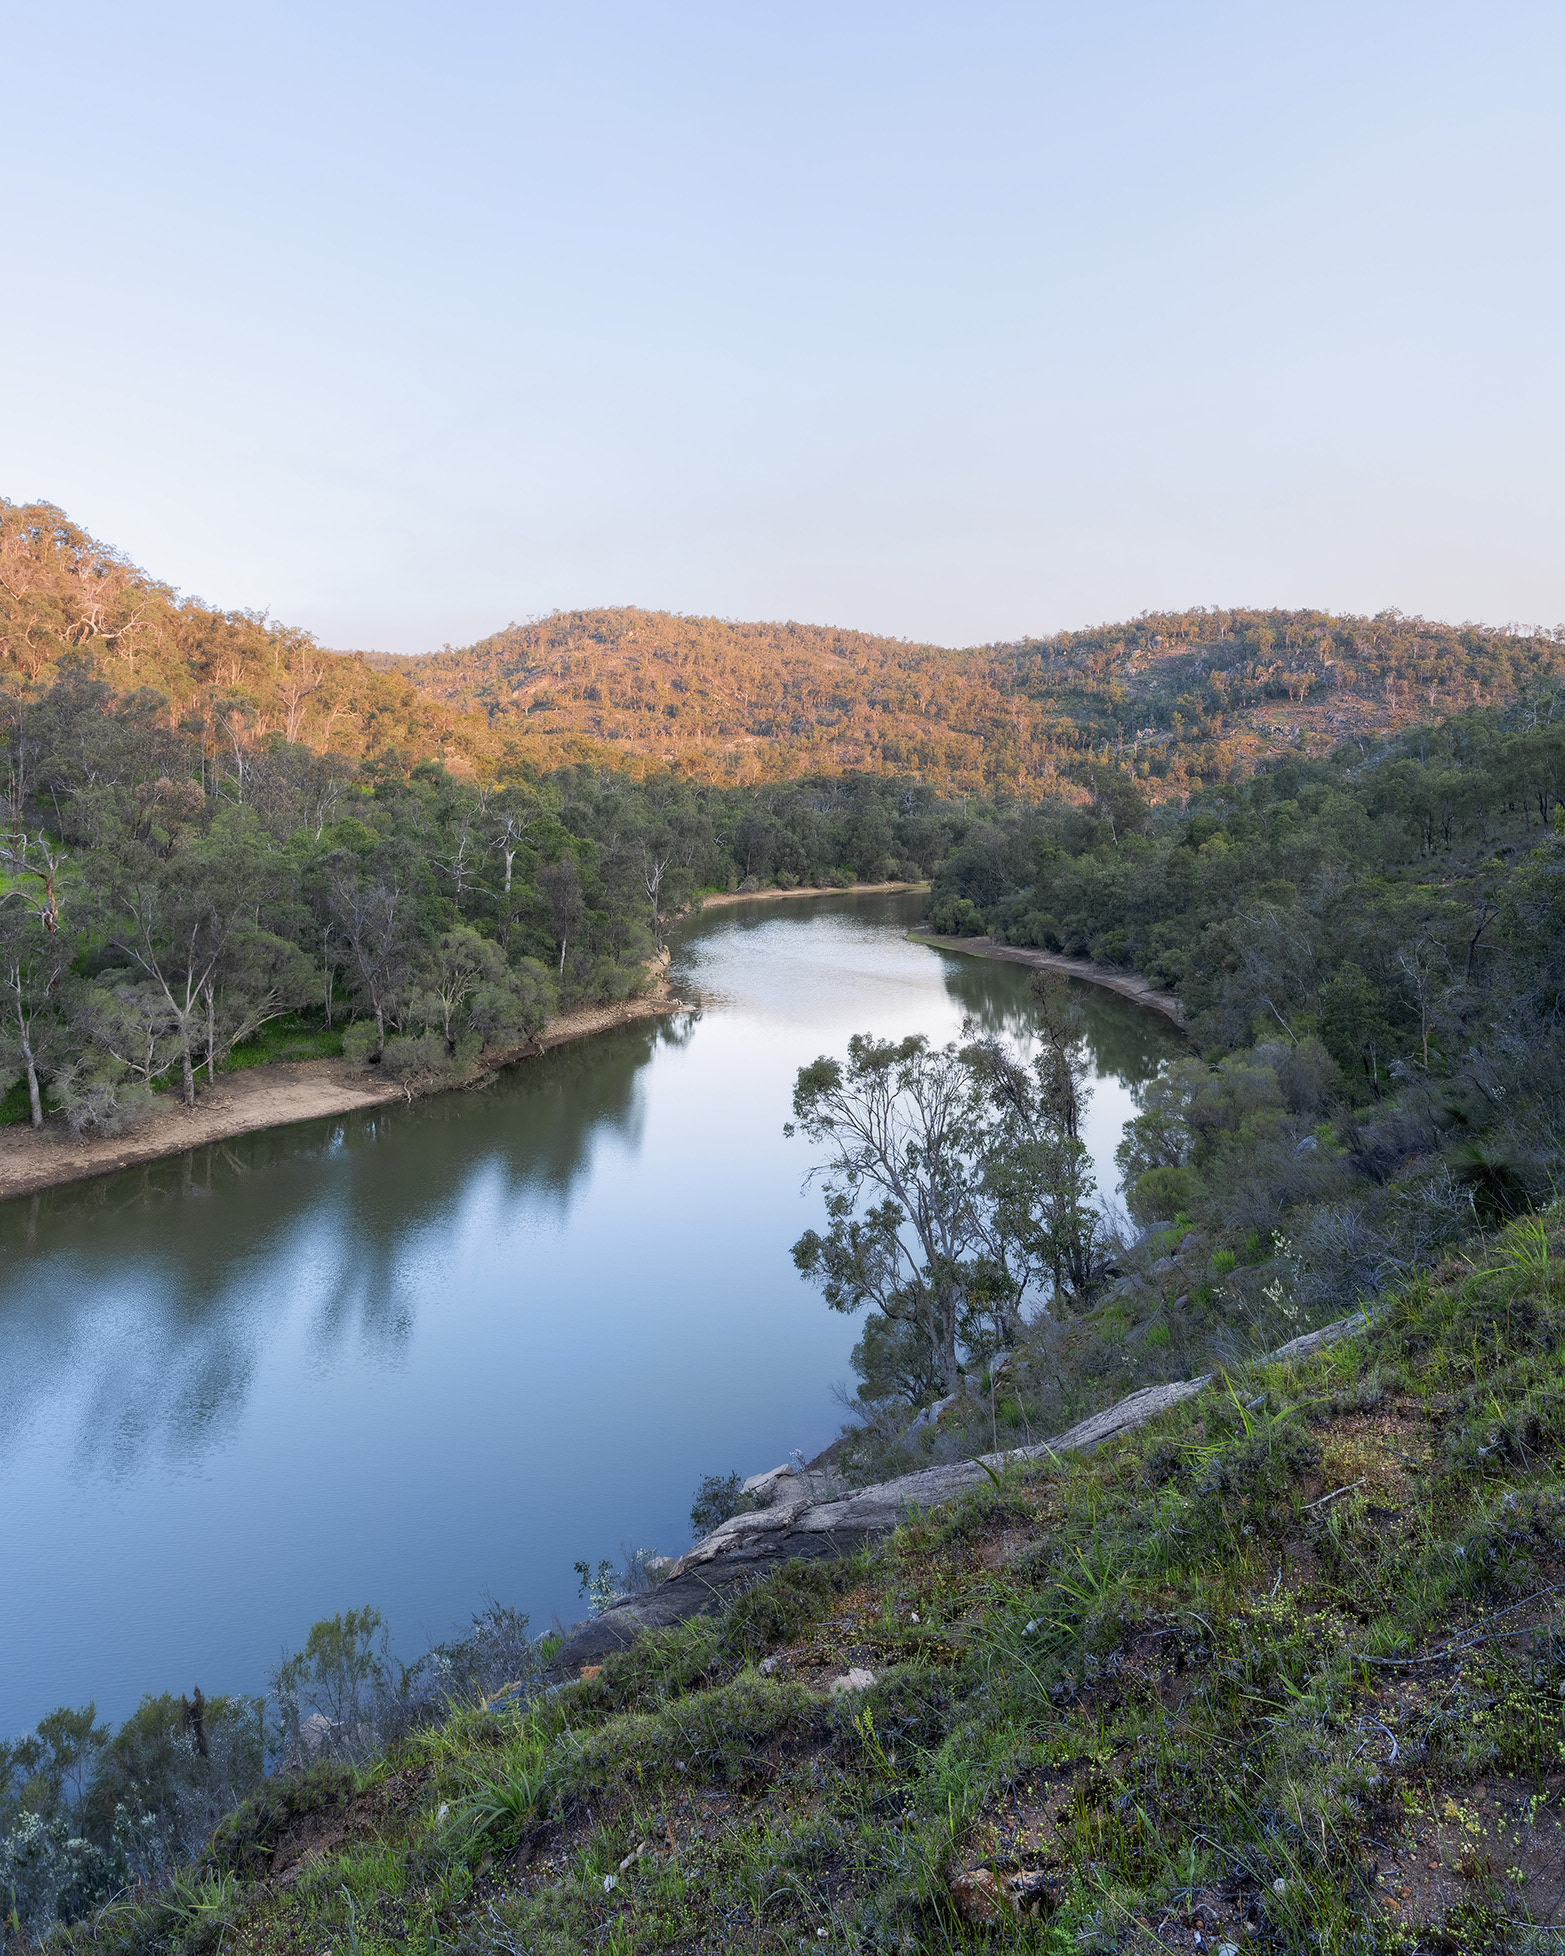
A calm and sunny afternoon in the Perth Hills, WA
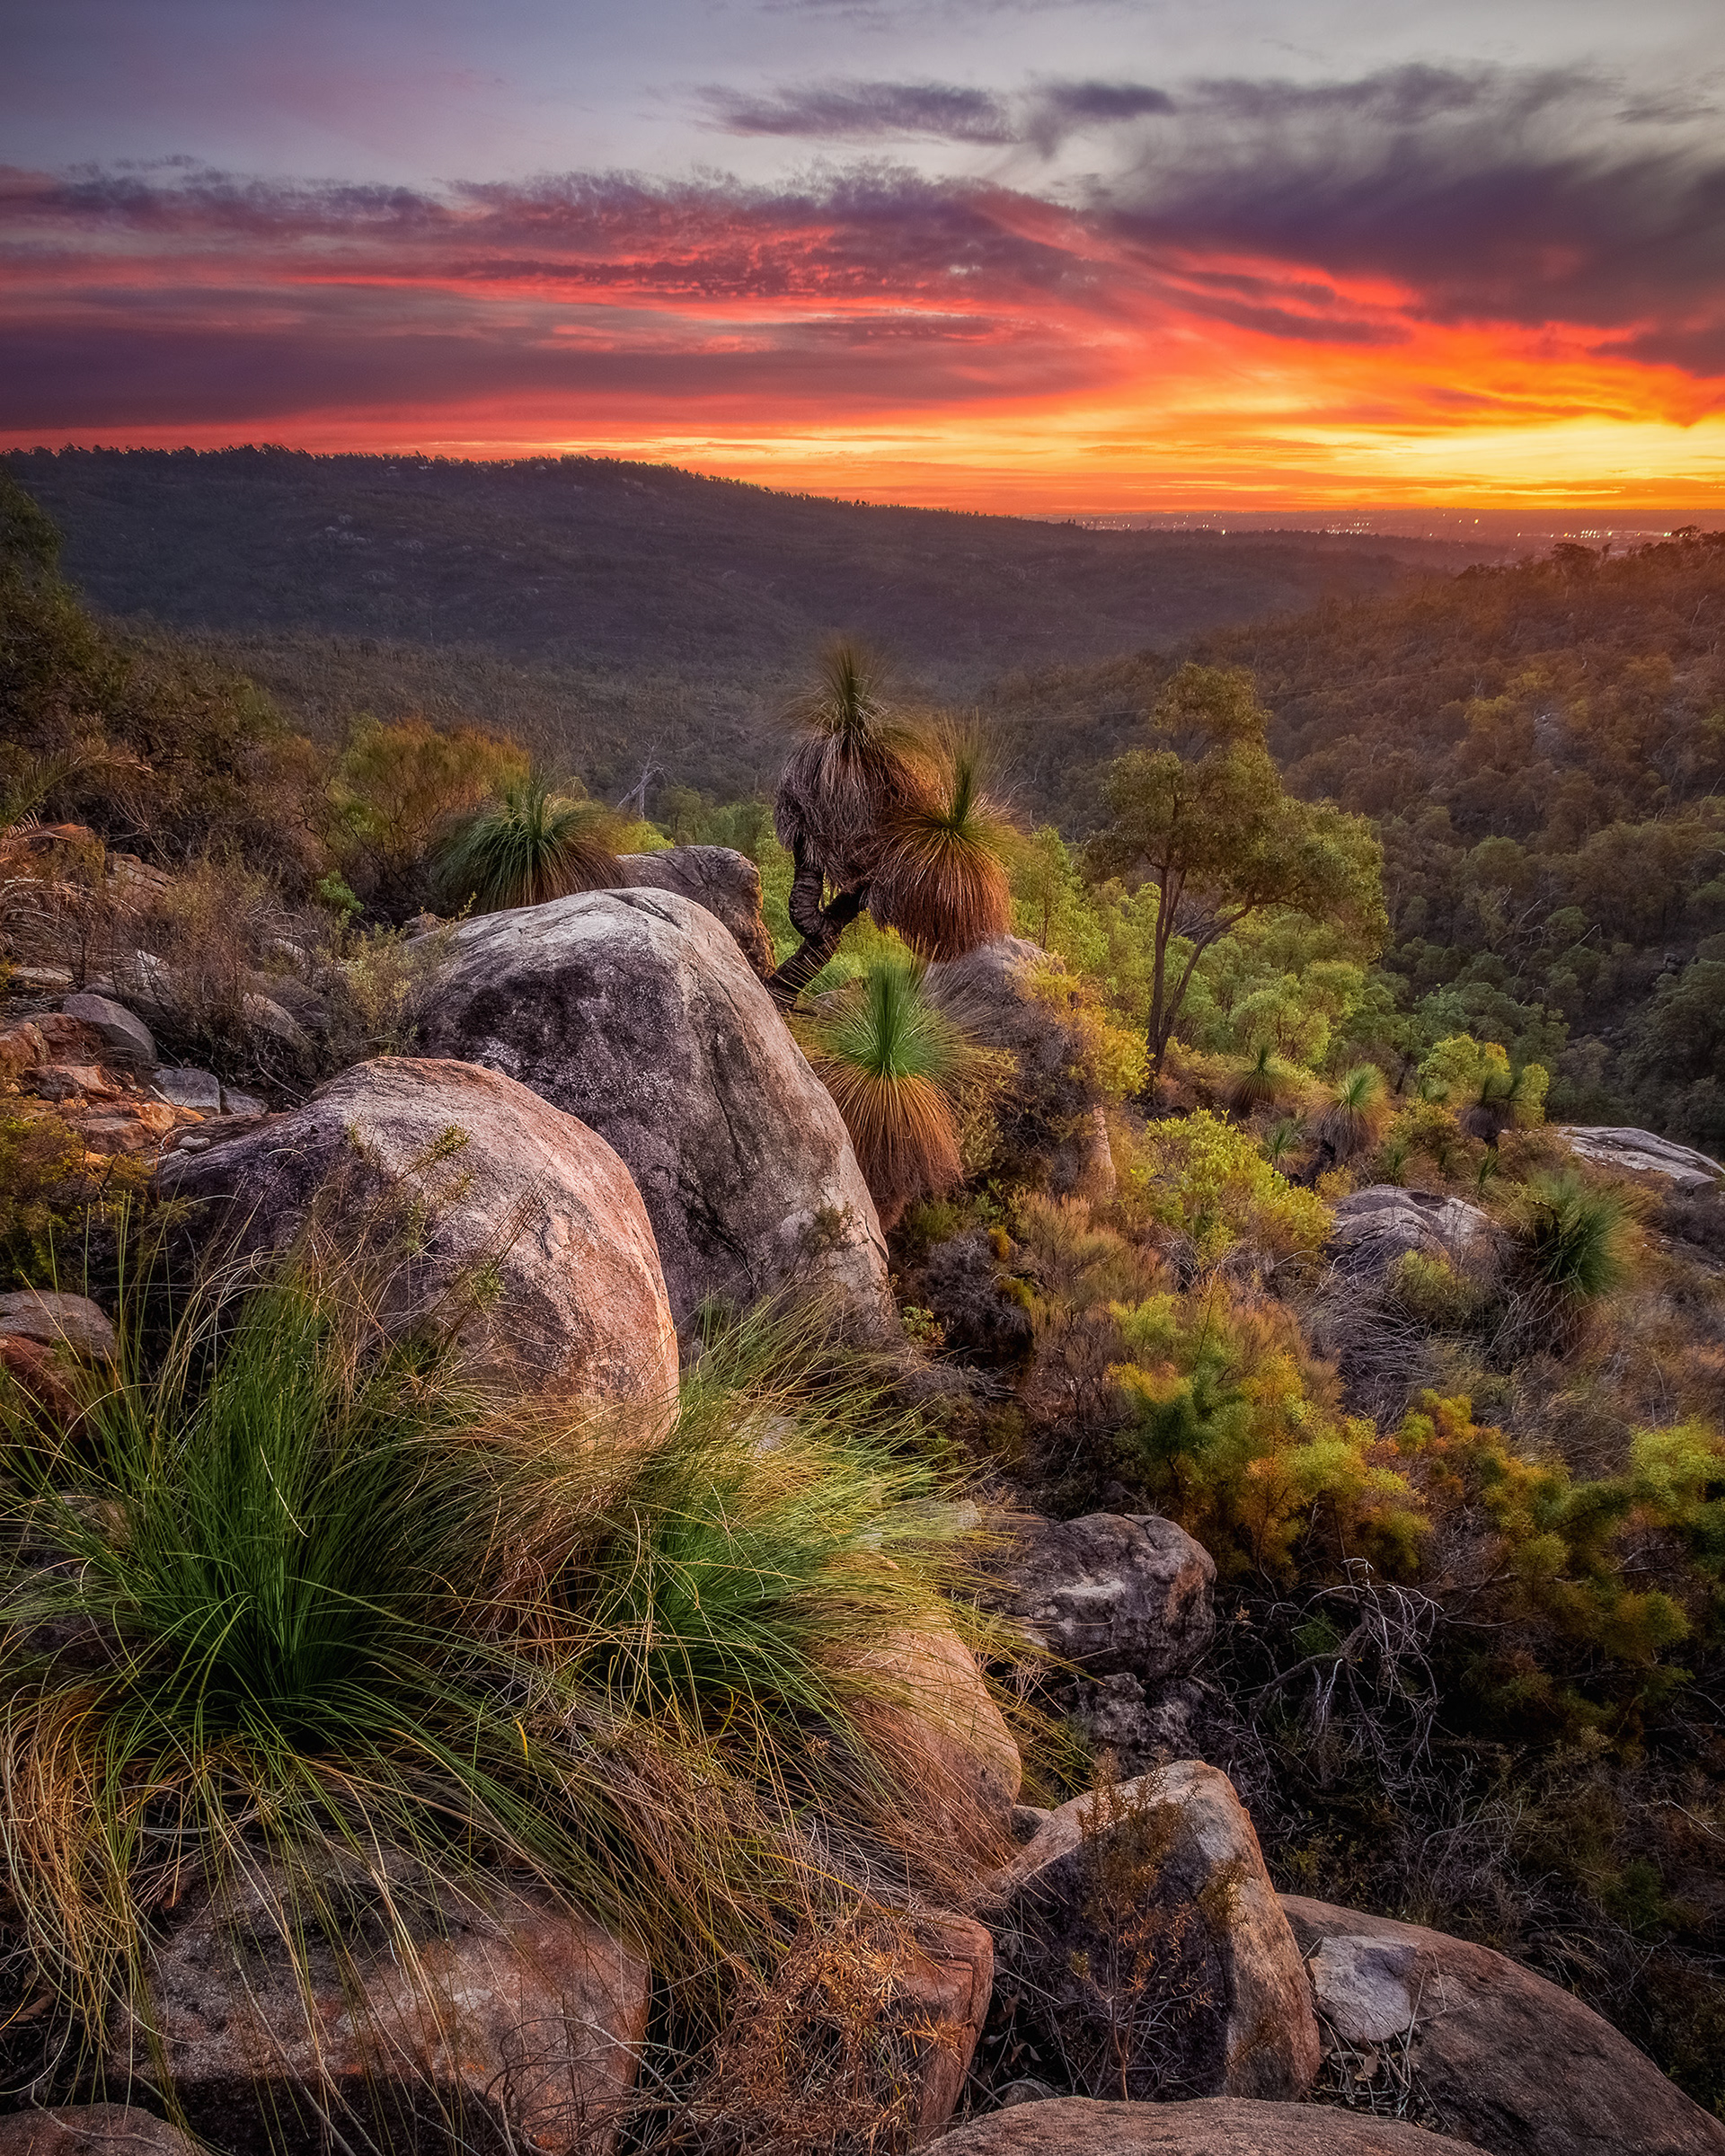
A spectacular sunset unfolds behind some native grass-trees in the Perth Hills, WA.
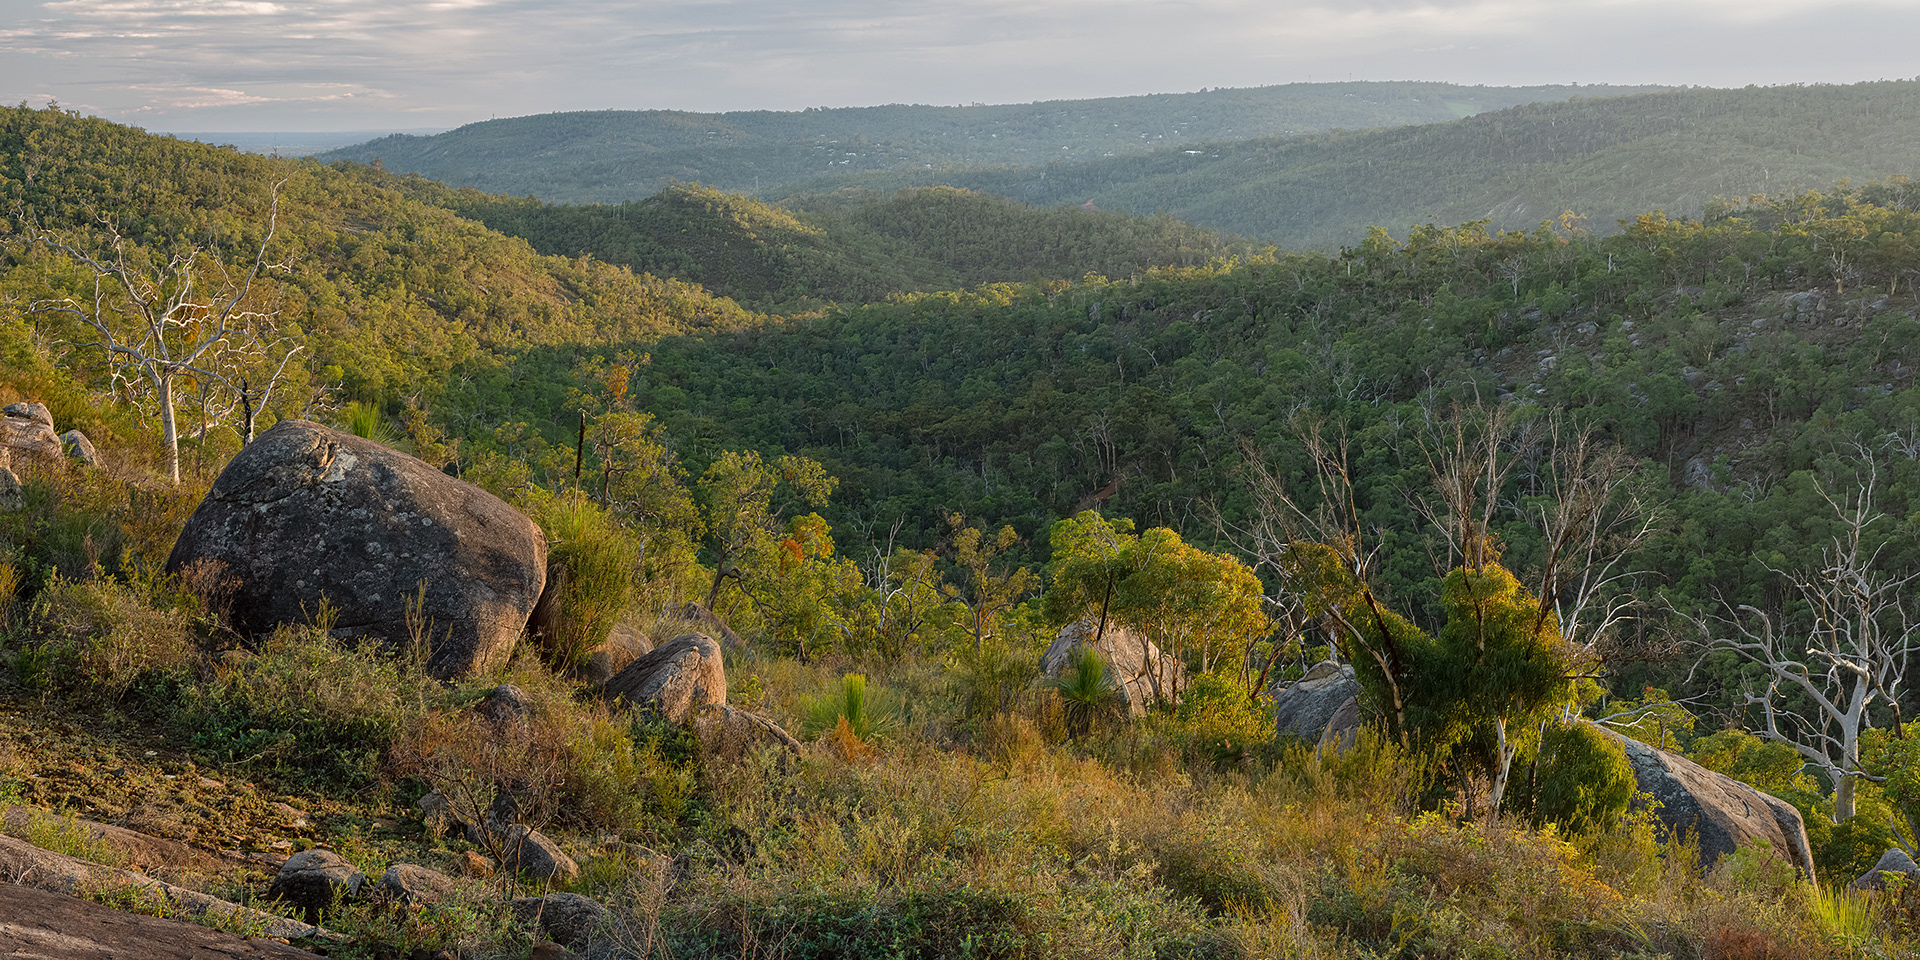
Rolling hills near Perth, WA.
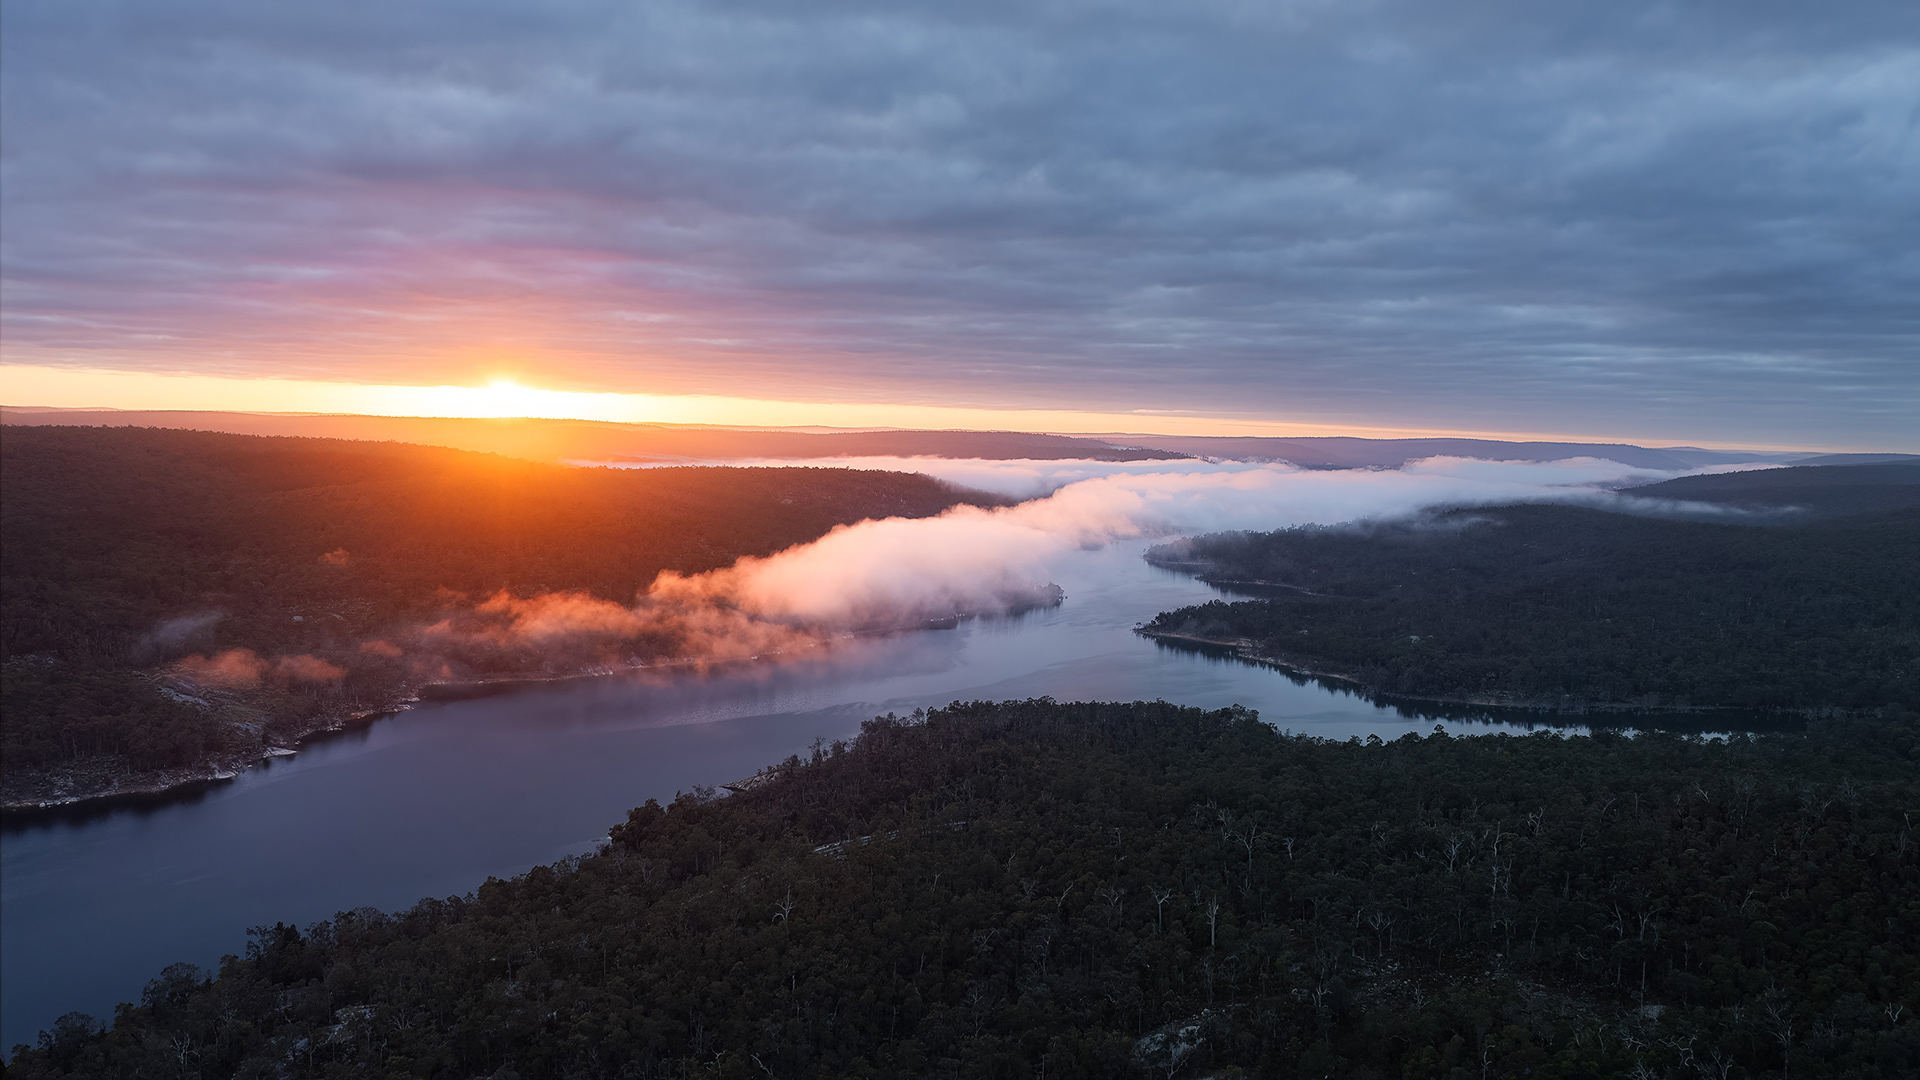
Morning light & mist over a lake in the Perth Hills.
A winding dirt road leads to one of the most spectacular sunset viewing locations in the Perth Hills WA.
Tip 4: Take A Closer Look With A Telephoto Lens, Or Get A Unique Perspective With A Drone.
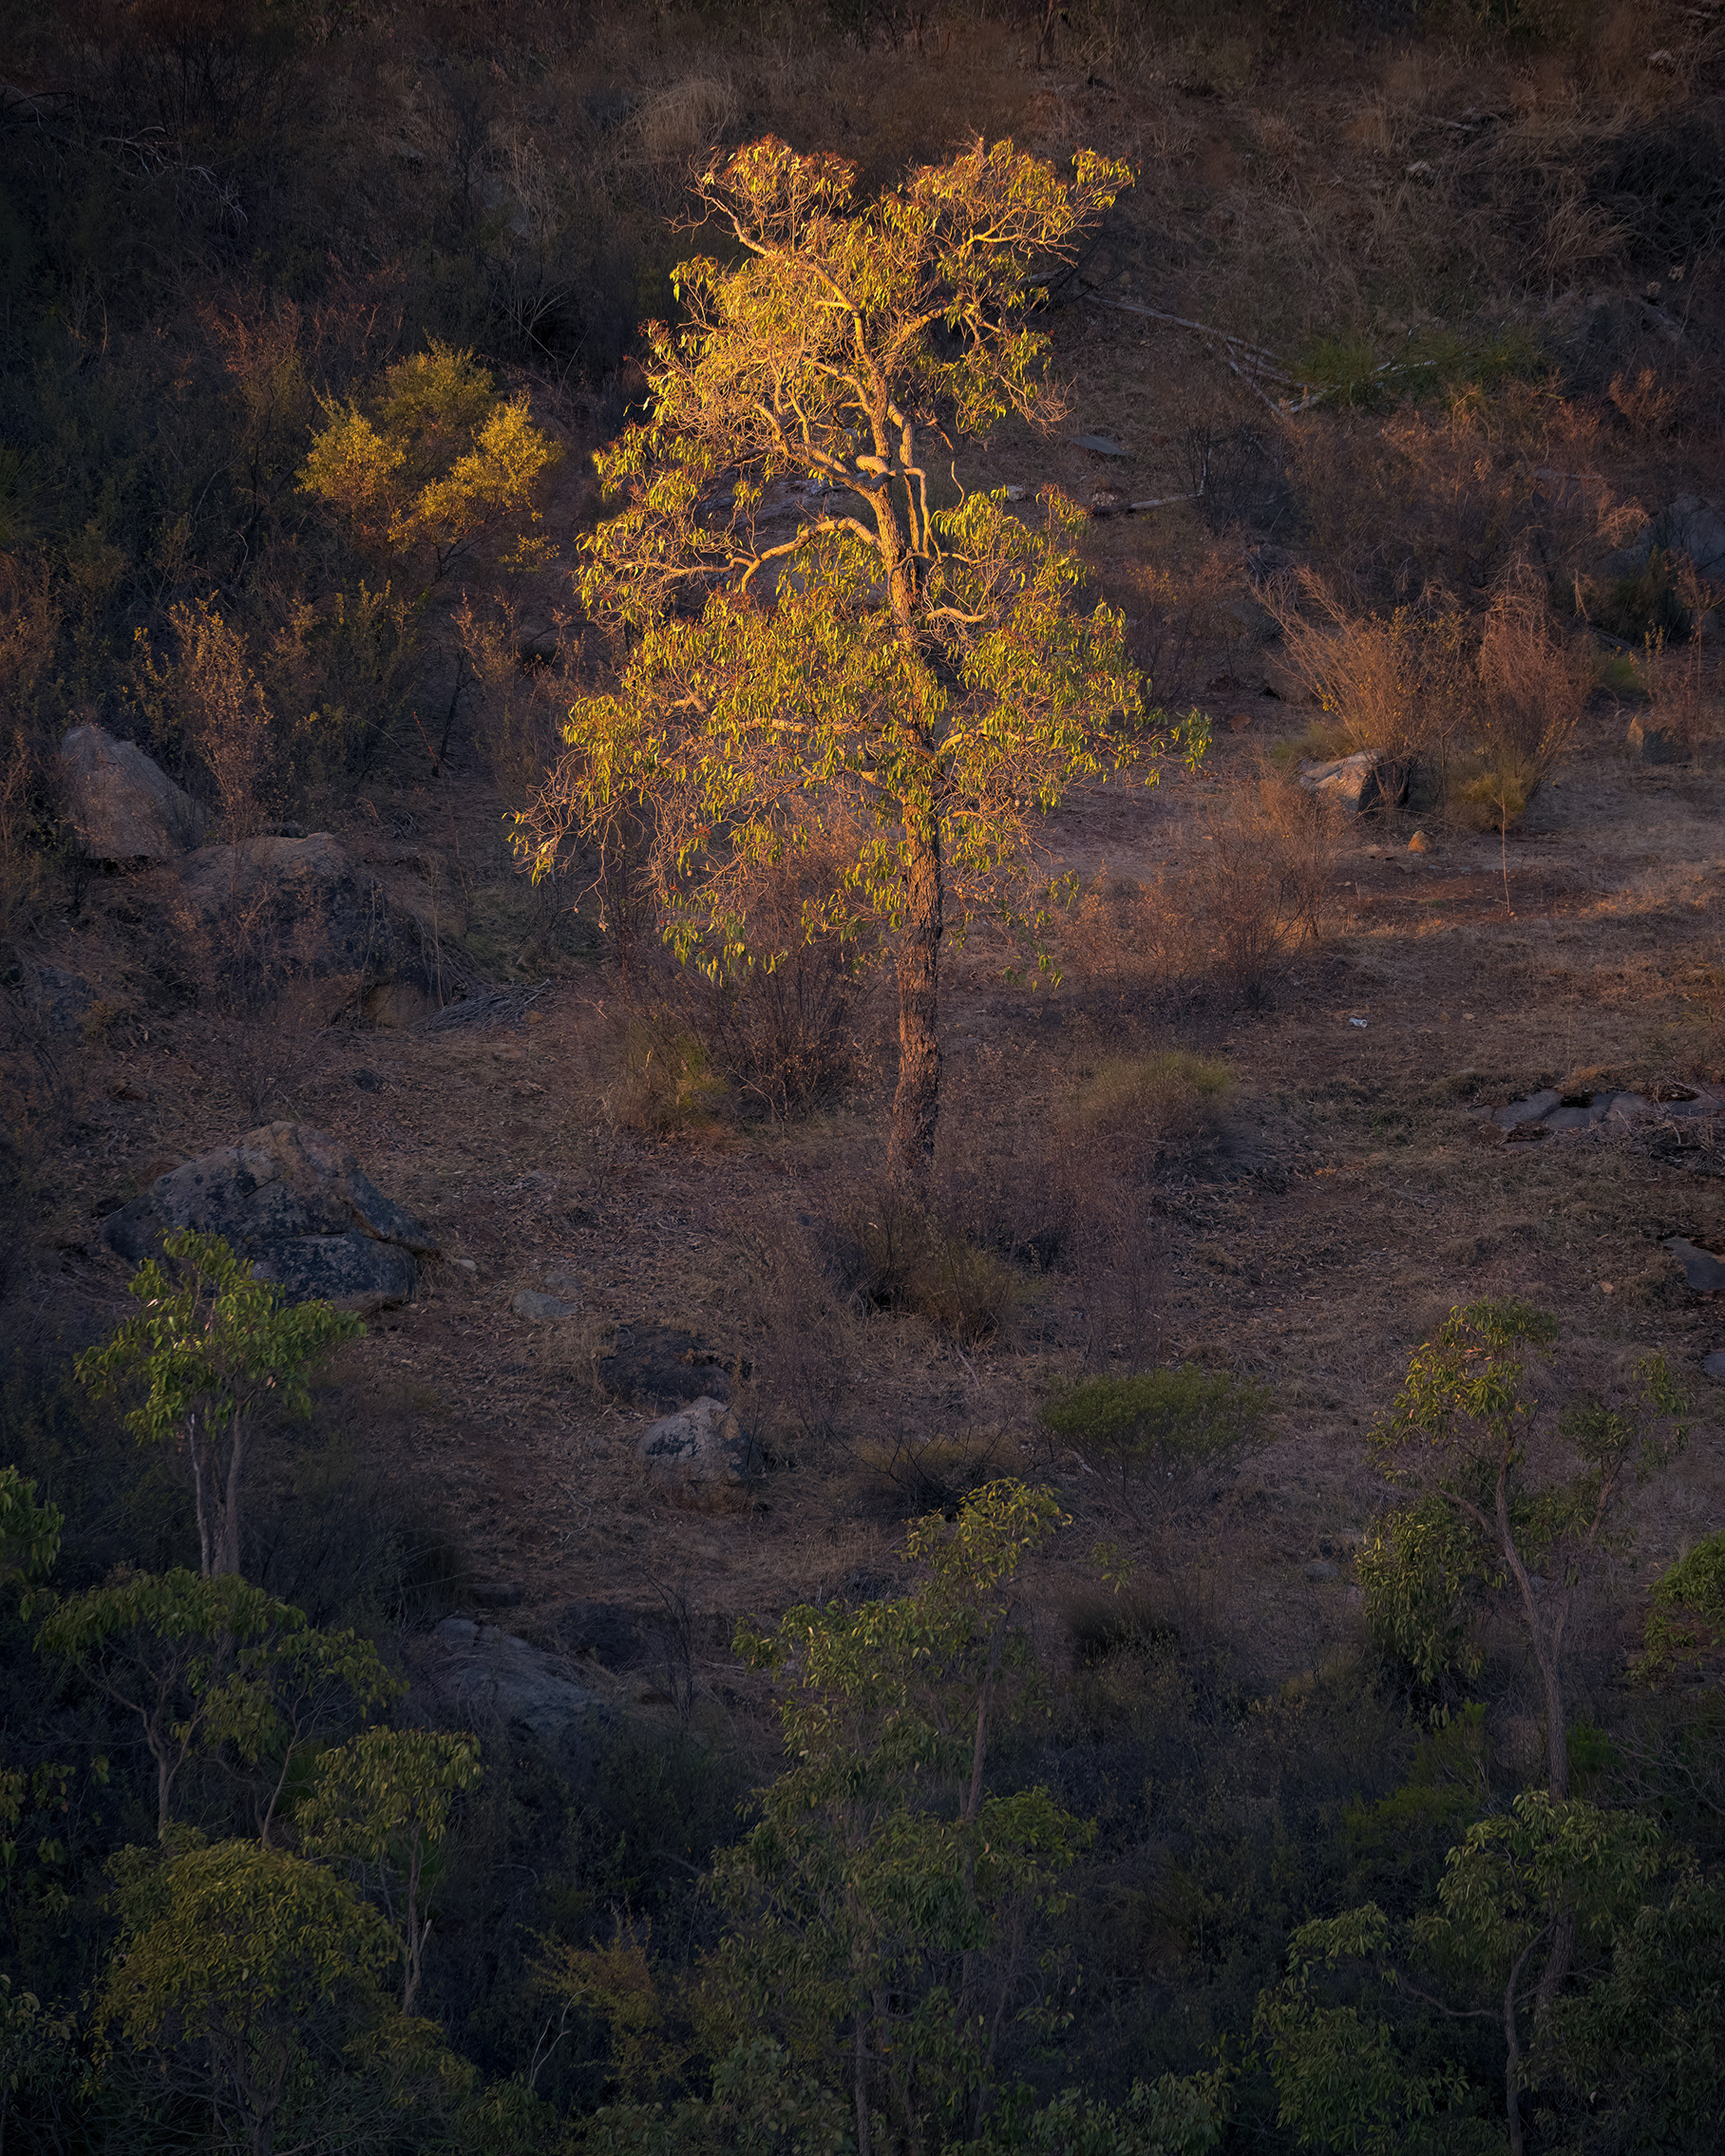
Using a telephoto lens or a drone are two very different approaches, but both can significantly expand how you see and photograph a landscape. A telephoto lens allows you to isolate smaller sections within a scene - compressing distance and drawing attention to details that might otherwise be lost, like patterns in flowing water or a single subject in the light.
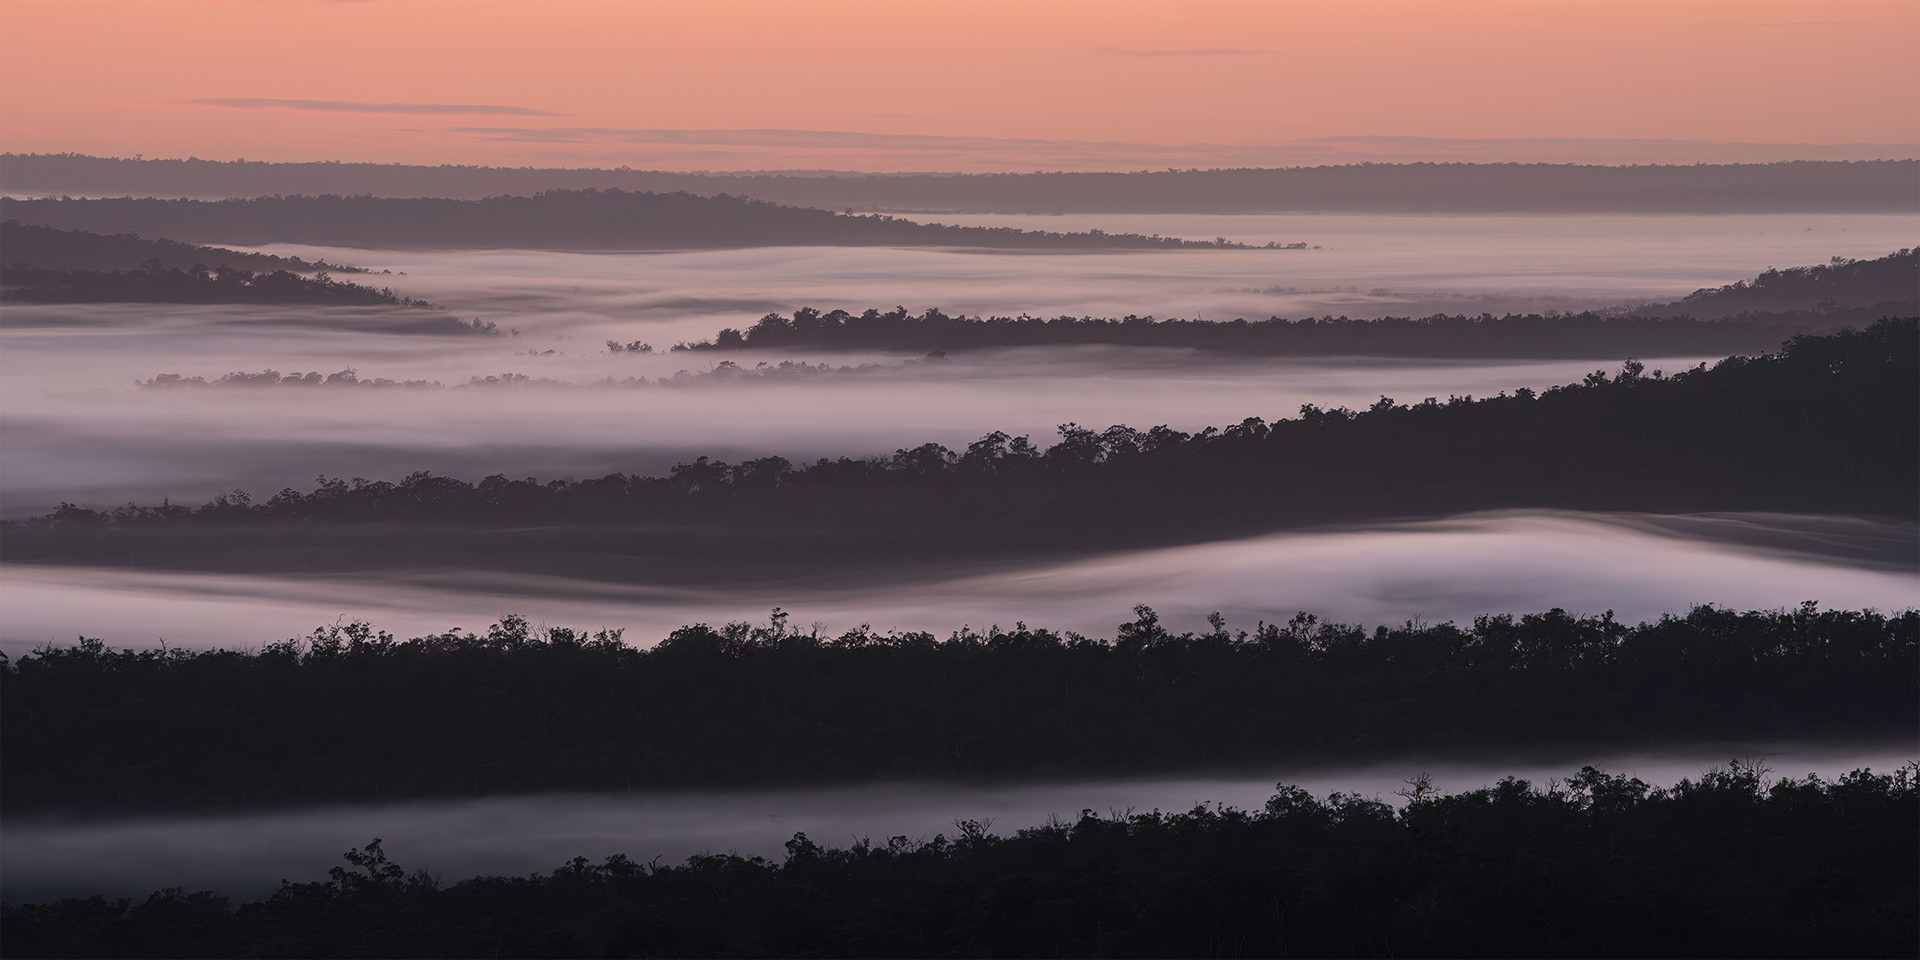
A drone, on the other hand, opens up entirely new perspectives - giving you access to angles that simply aren’t possible from the ground. Moving beyond obvious top-down views and exploring subtle elevation - such as shooting just above the tree line - can reveal completely new compositions that otherwise couldn't be seen. The collection of images below shows a mixture of telephoto & aerial photography compositions - demonstrating the diversity of these two tools across a variety of different Australian landscapes.
A drone, on the other hand, opens up entirely new perspectives - giving you access to angles that simply aren’t possible from the ground. Moving beyond obvious top-down views and exploring subtle elevation - such as shooting just above the tree line - can reveal completely new compositions that otherwise couldn't be seen. The collection of images below shows a mixture of telephoto & aerial photography compositions - demonstrating the diversity of these two tools across a variety of different Australian landscapes.
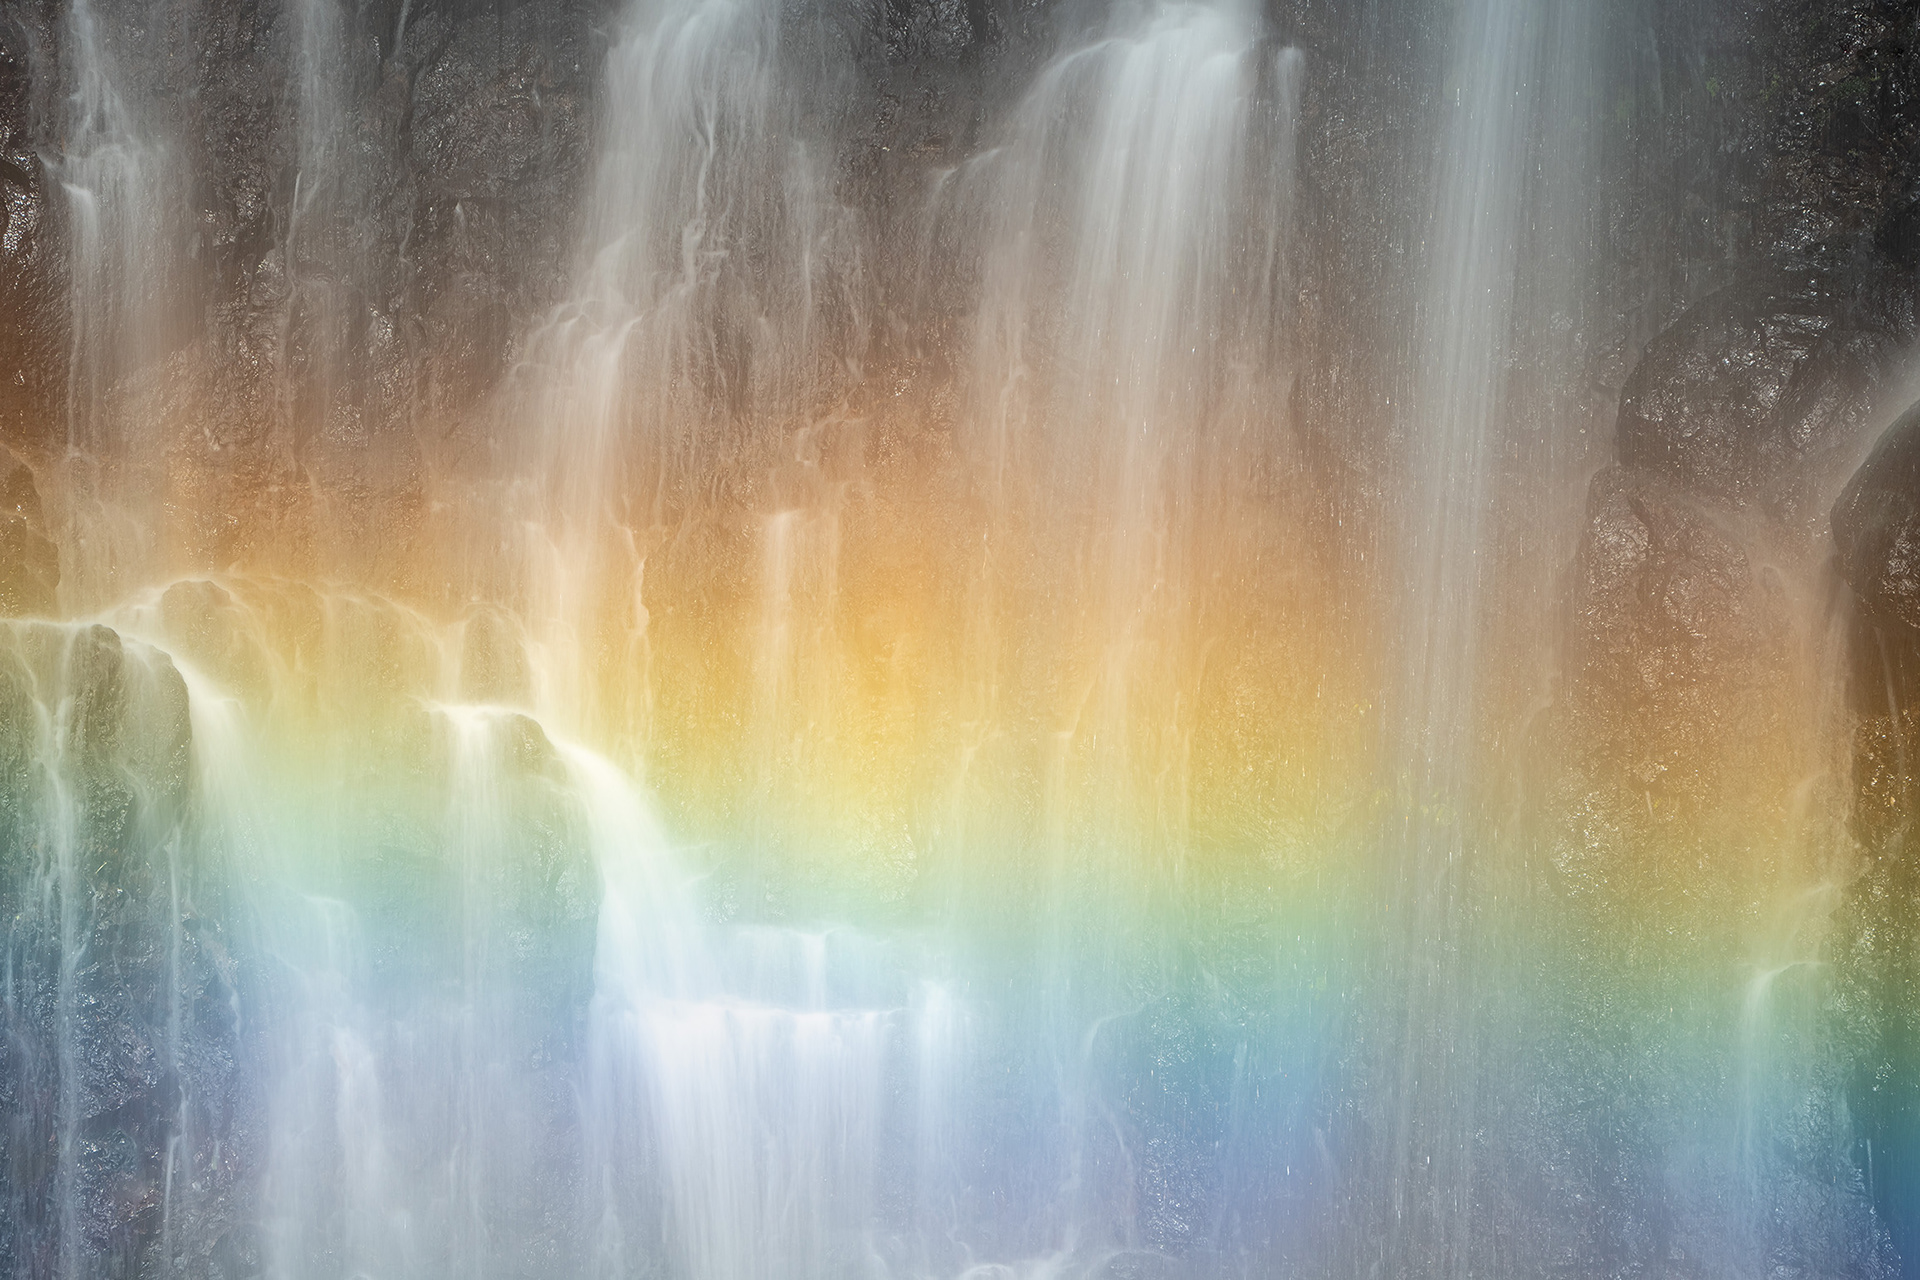
A close-up of one of the NSW Southern Highlands largest waterfalls.
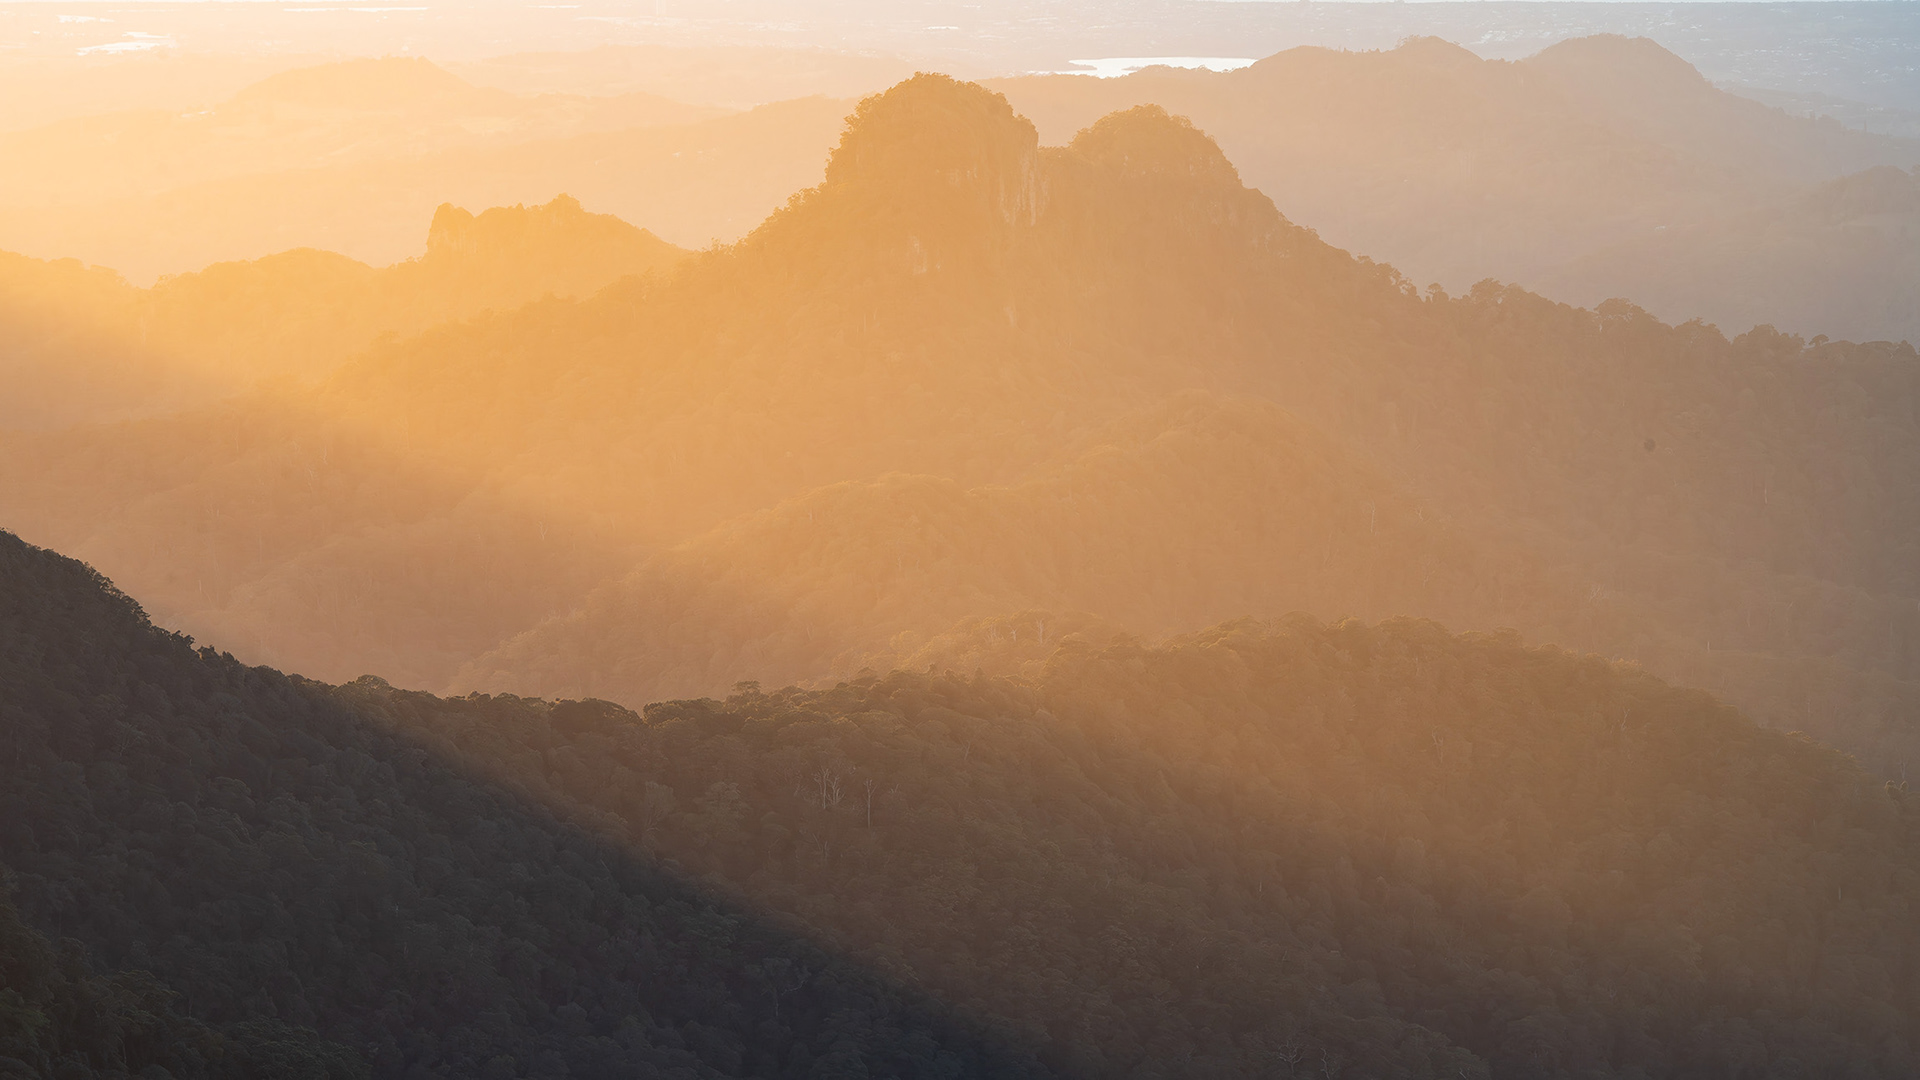
Zooming into the distant mountains of Springbrook National Park.
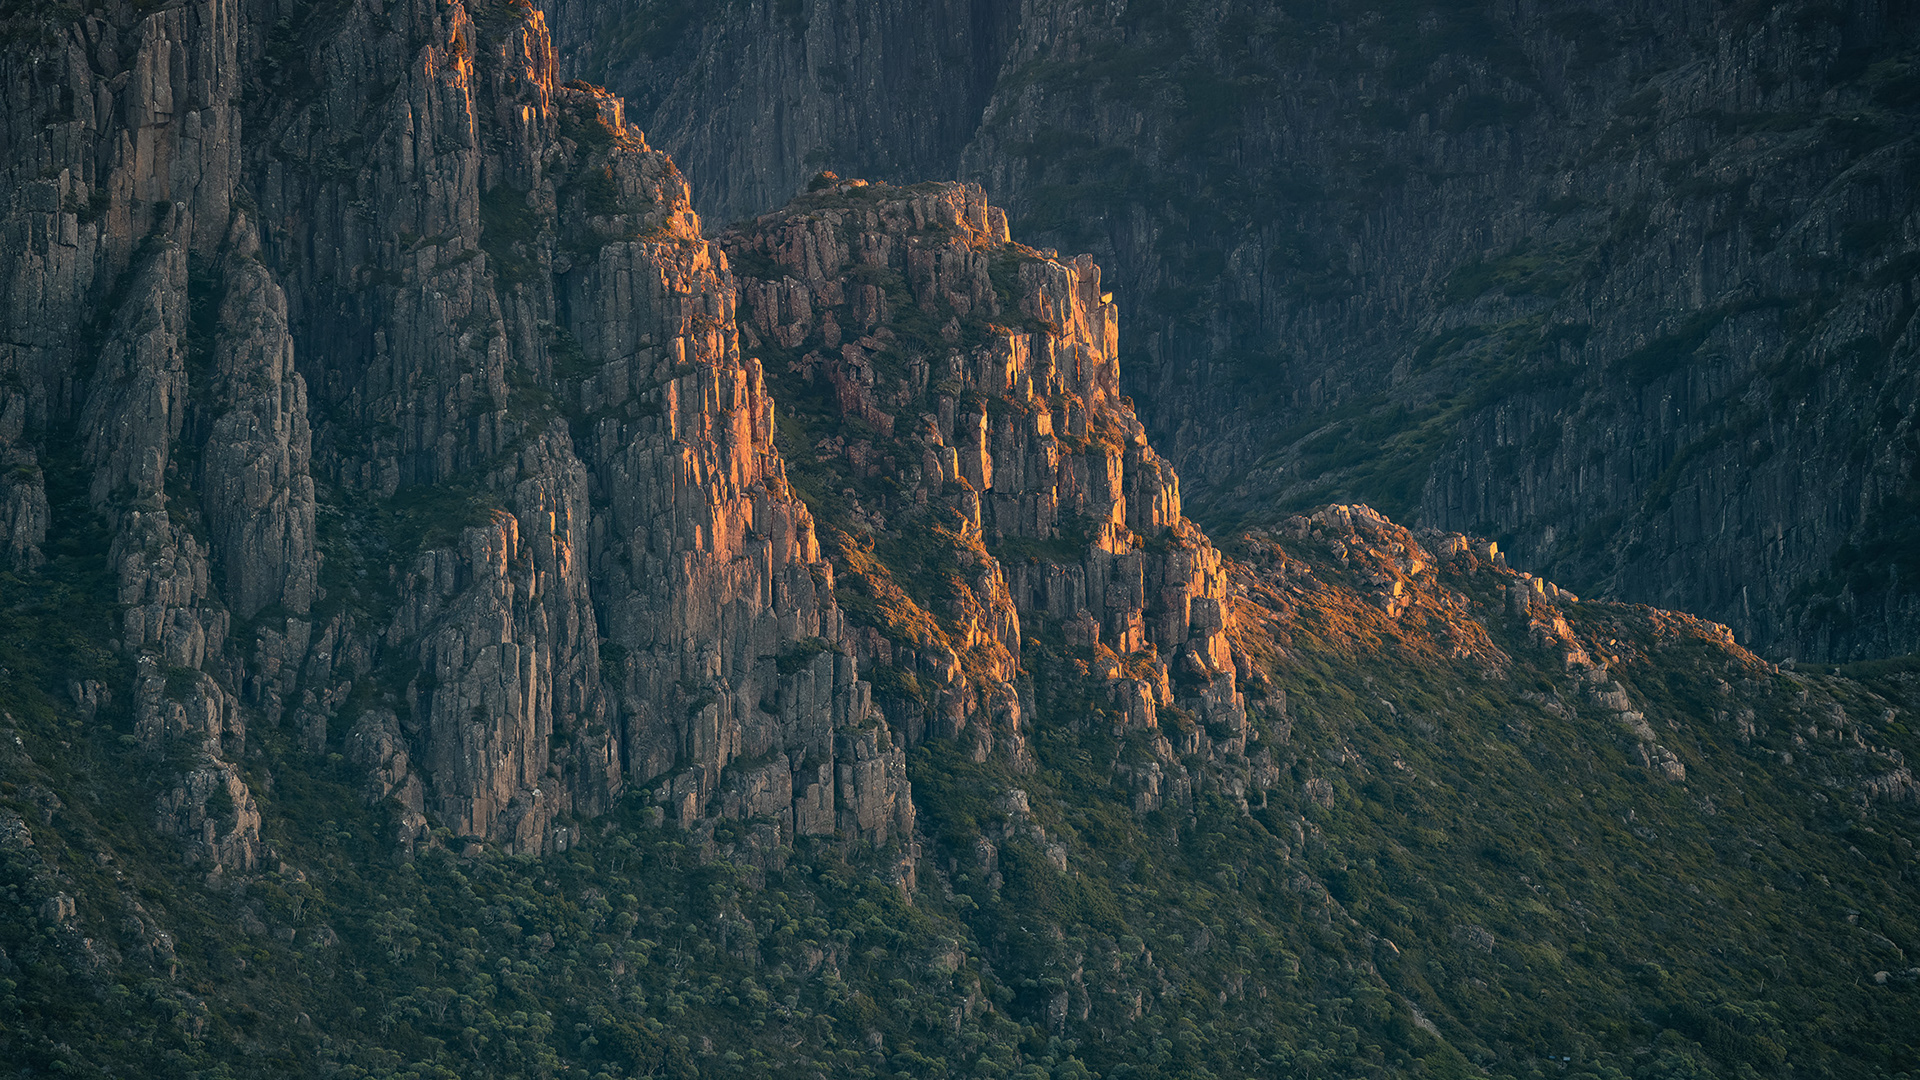
Close up details of Cradle Mountain - A unique view of Tasmania's most iconic location.
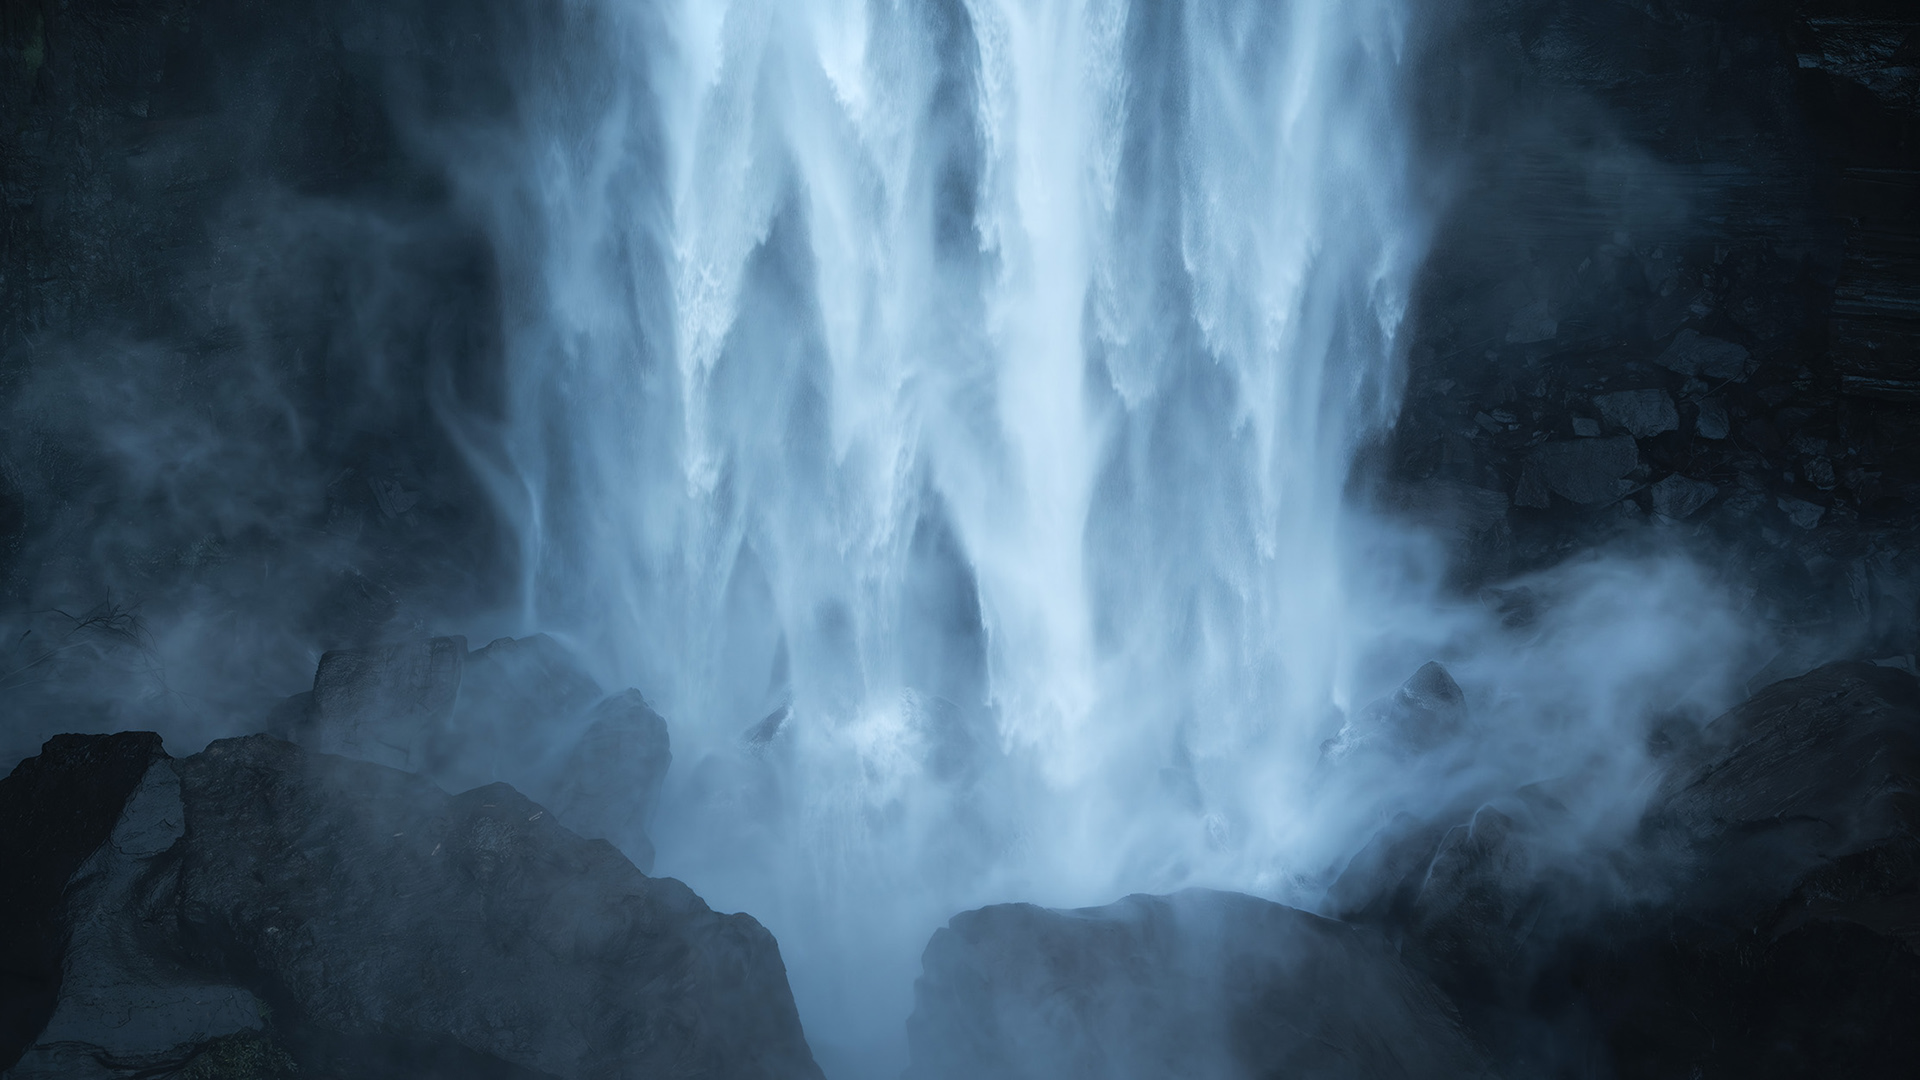
A close-up of one of the NSW Southern Highlands most powerful waterfalls.
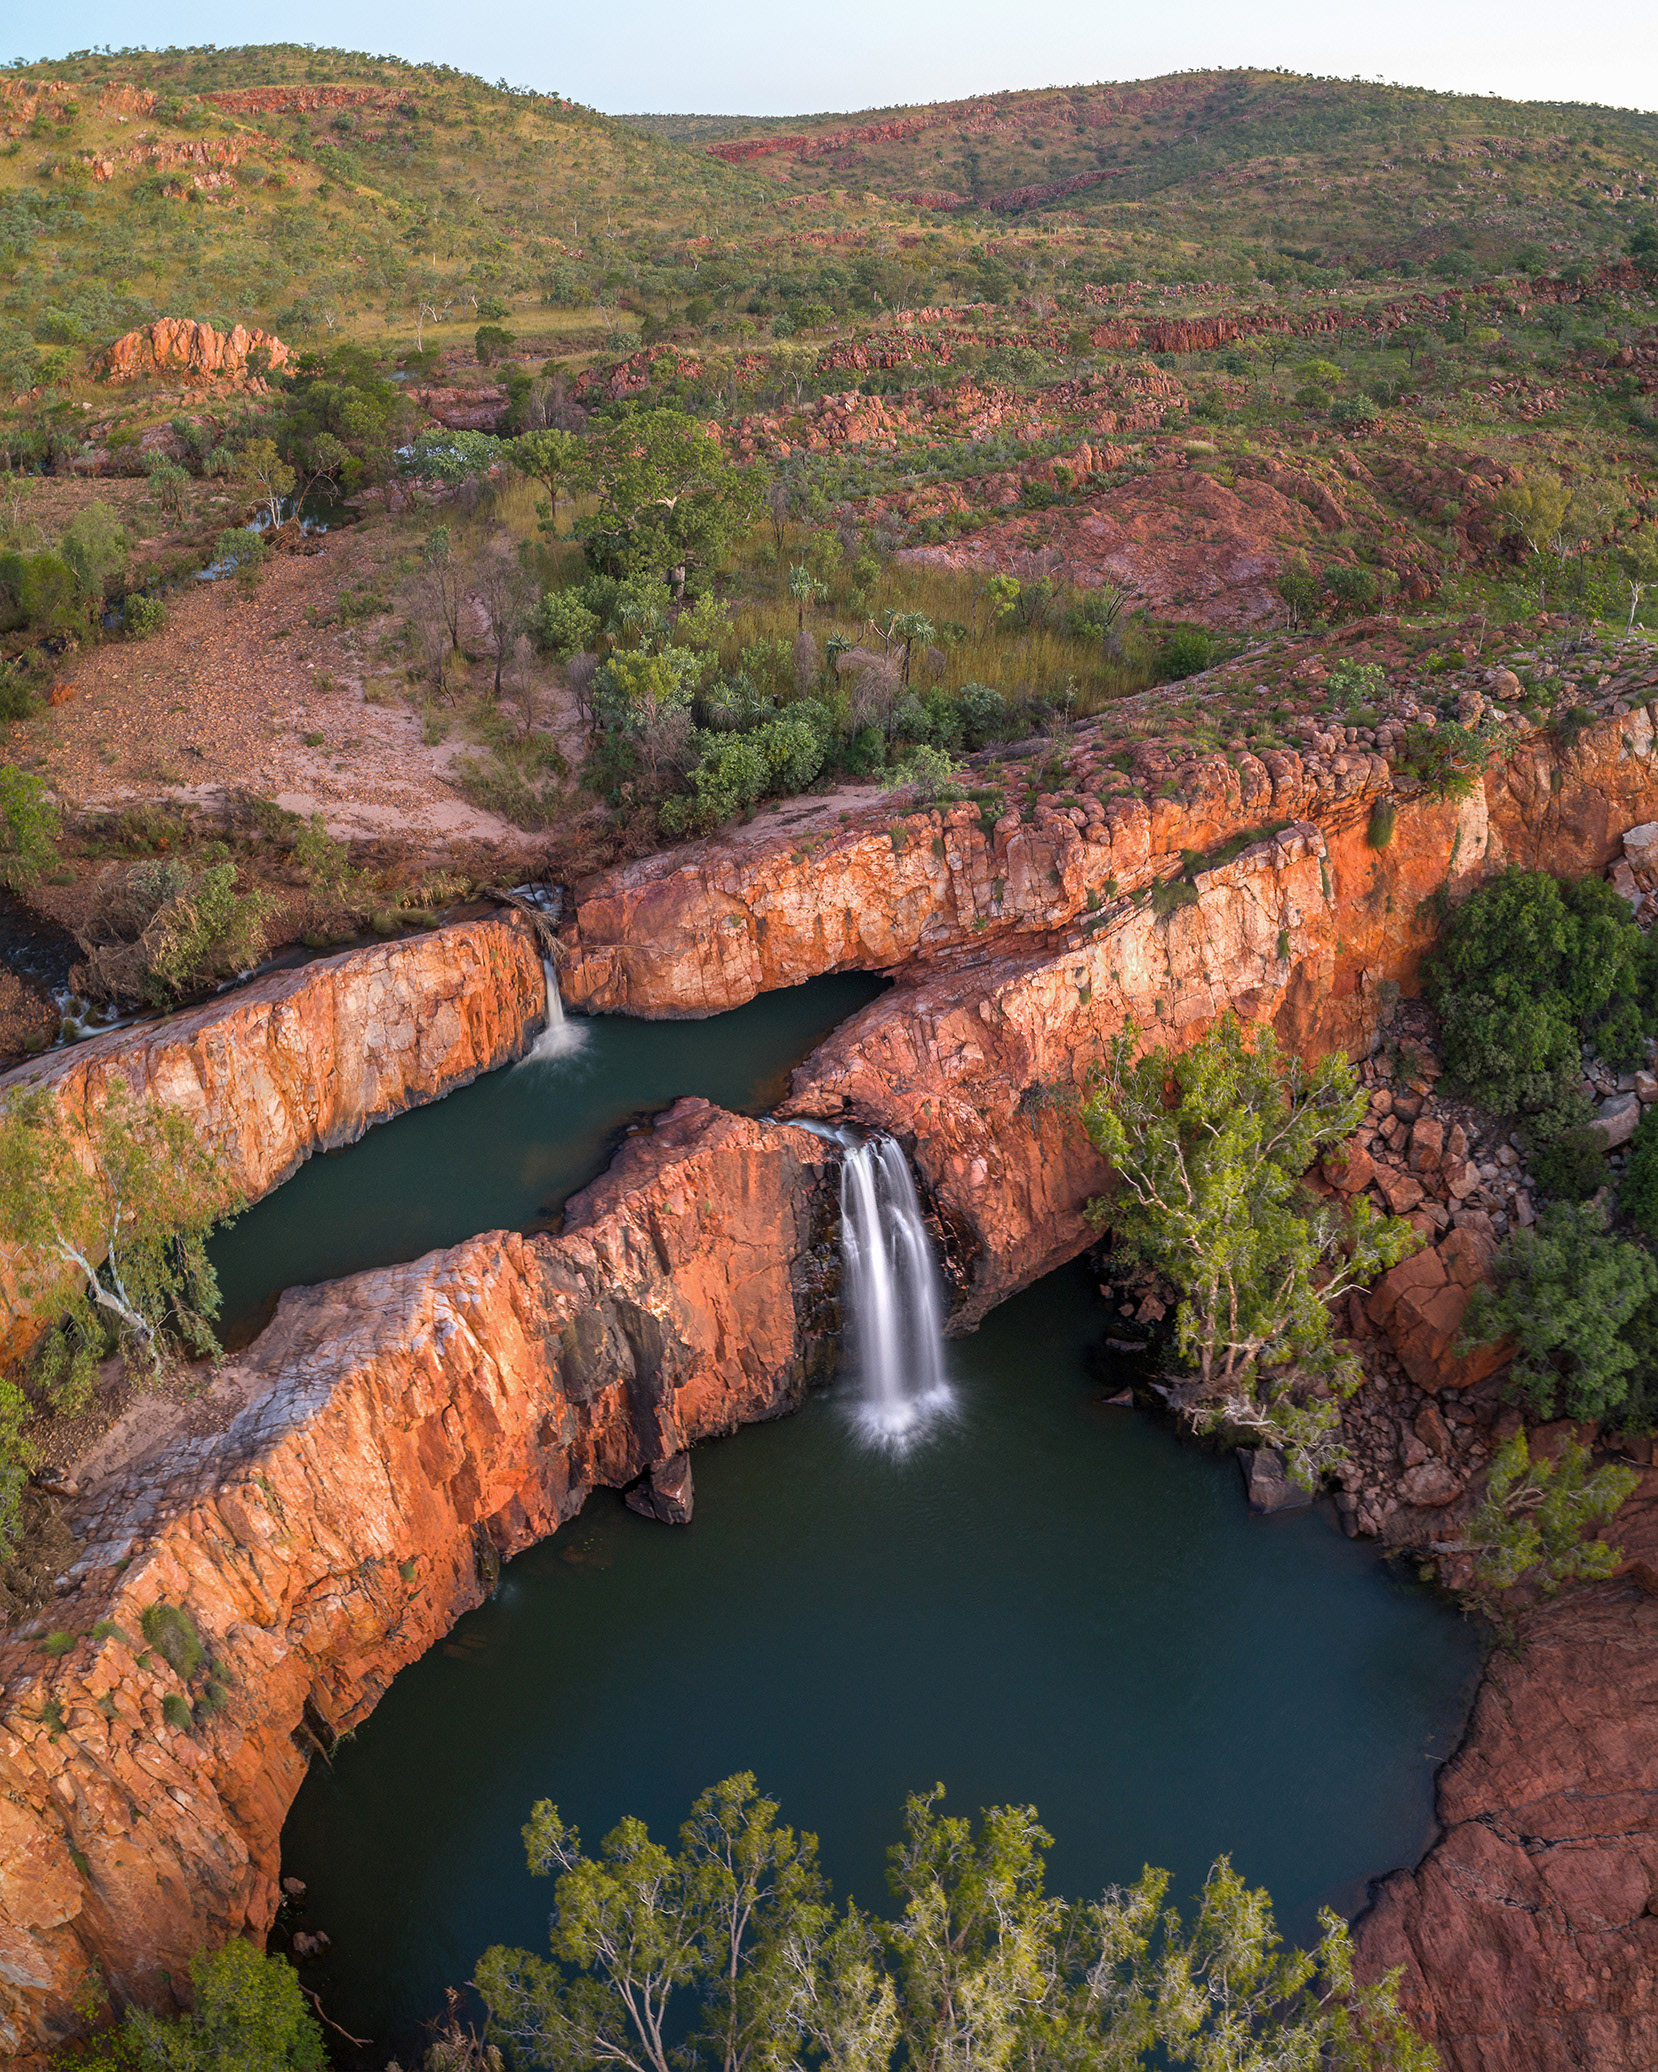
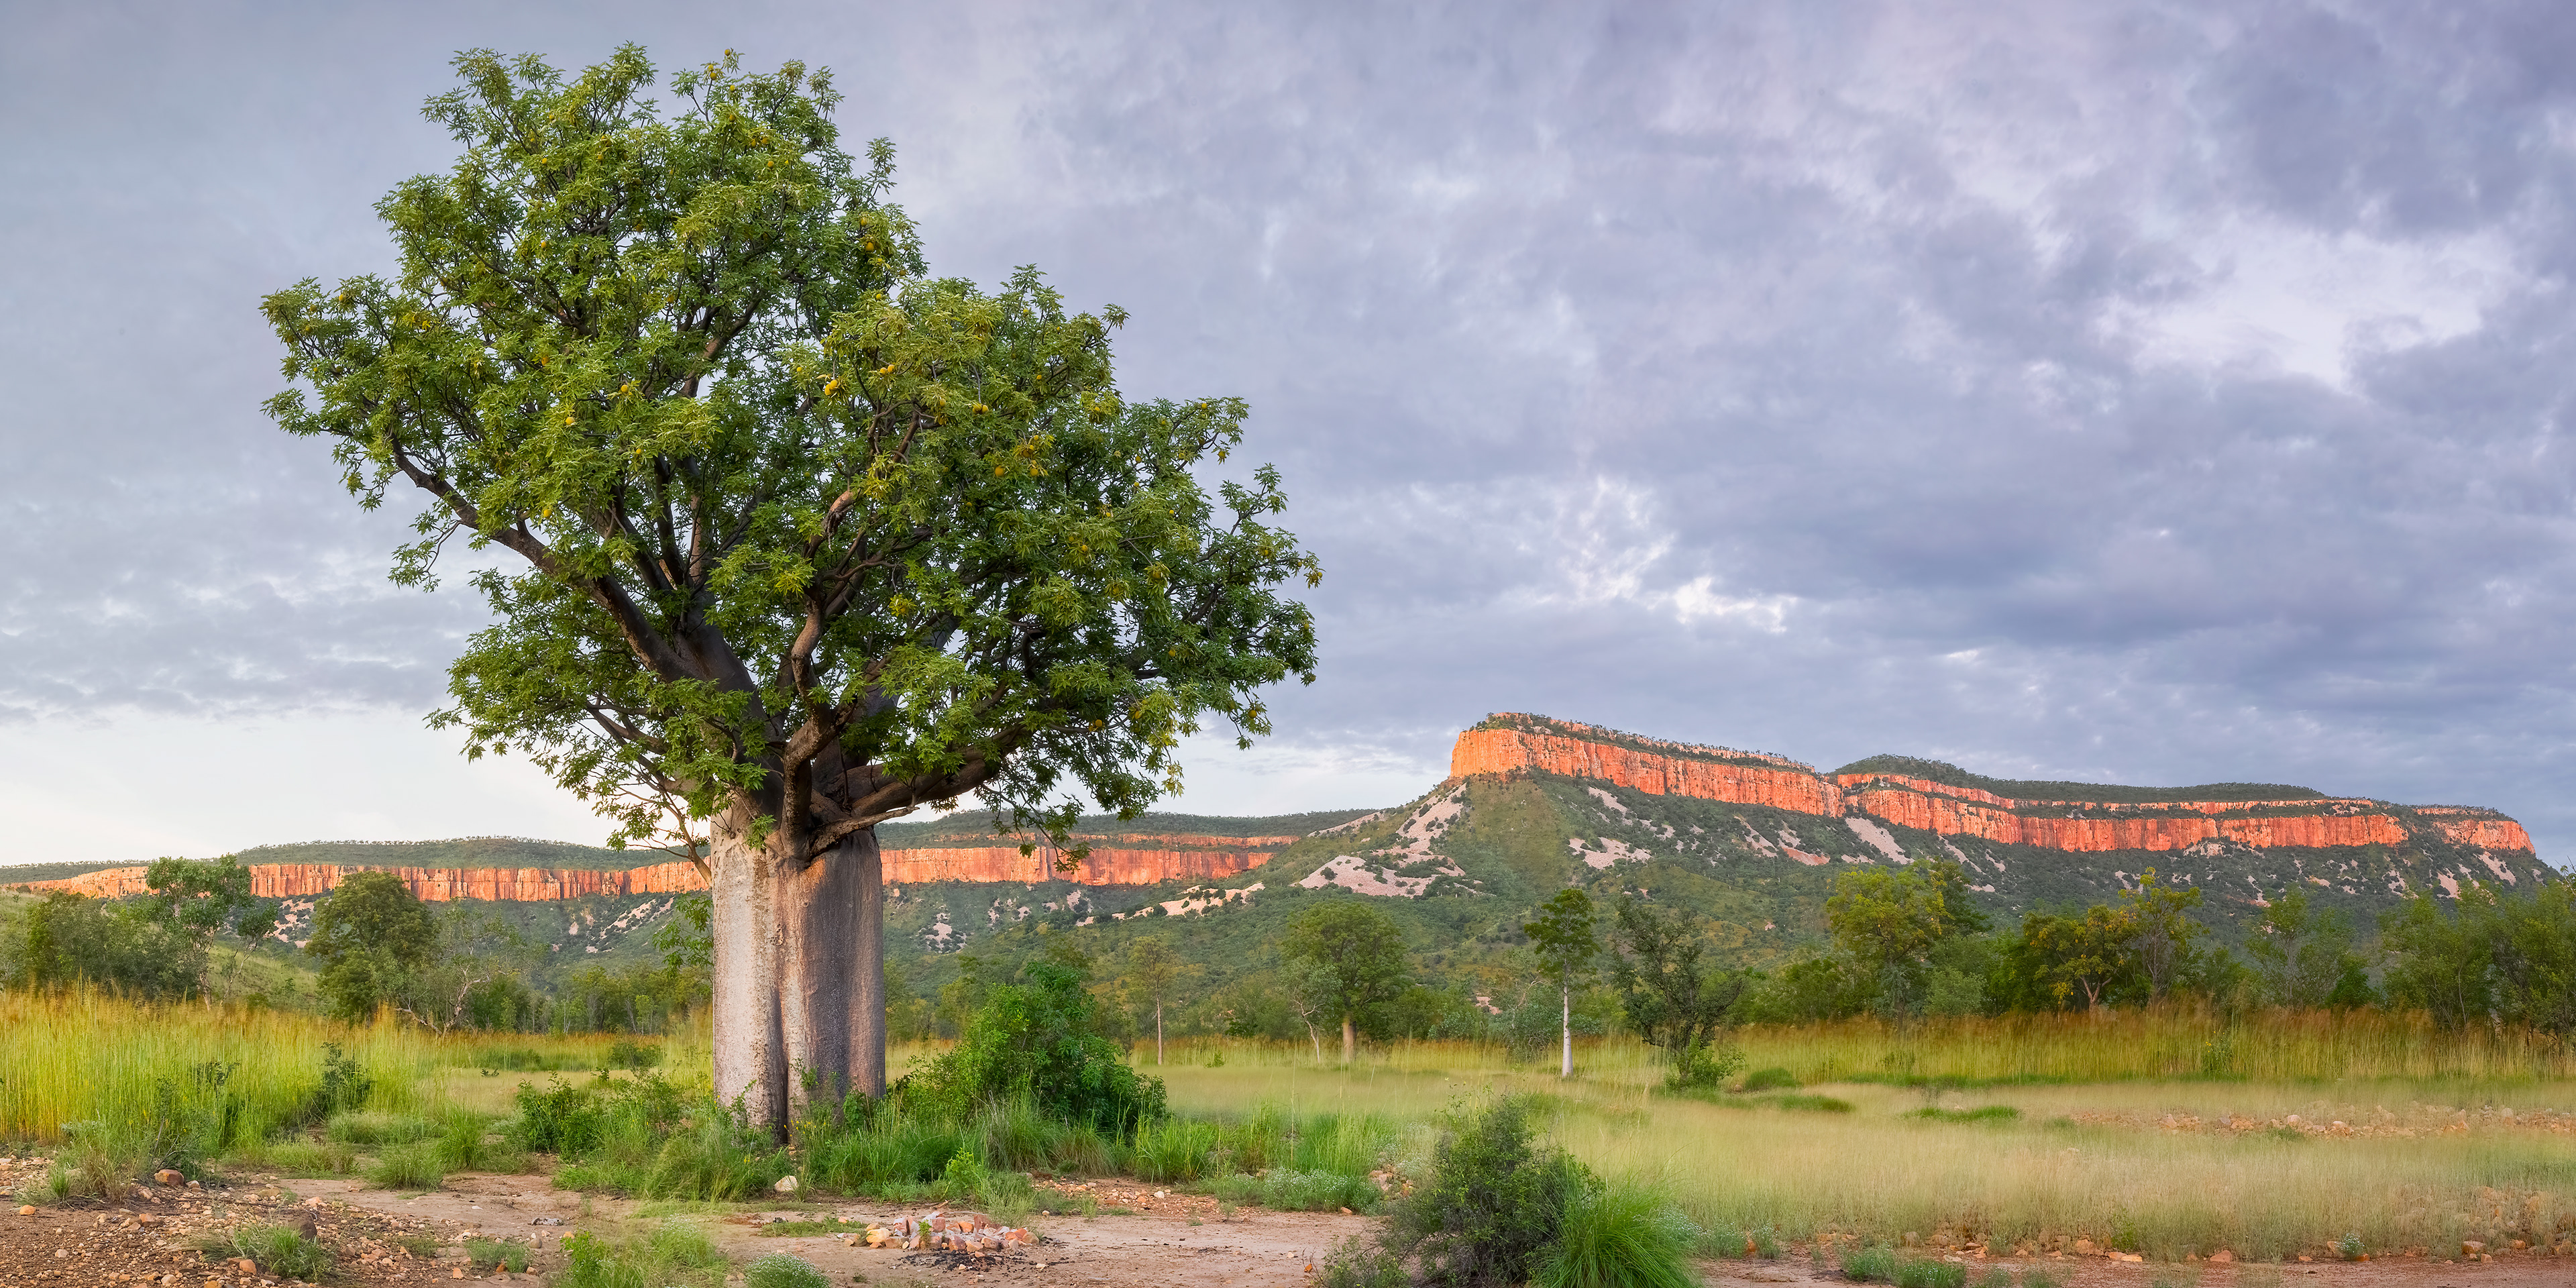
An elevated perspective of a beautiful Kimberley Waterfall.
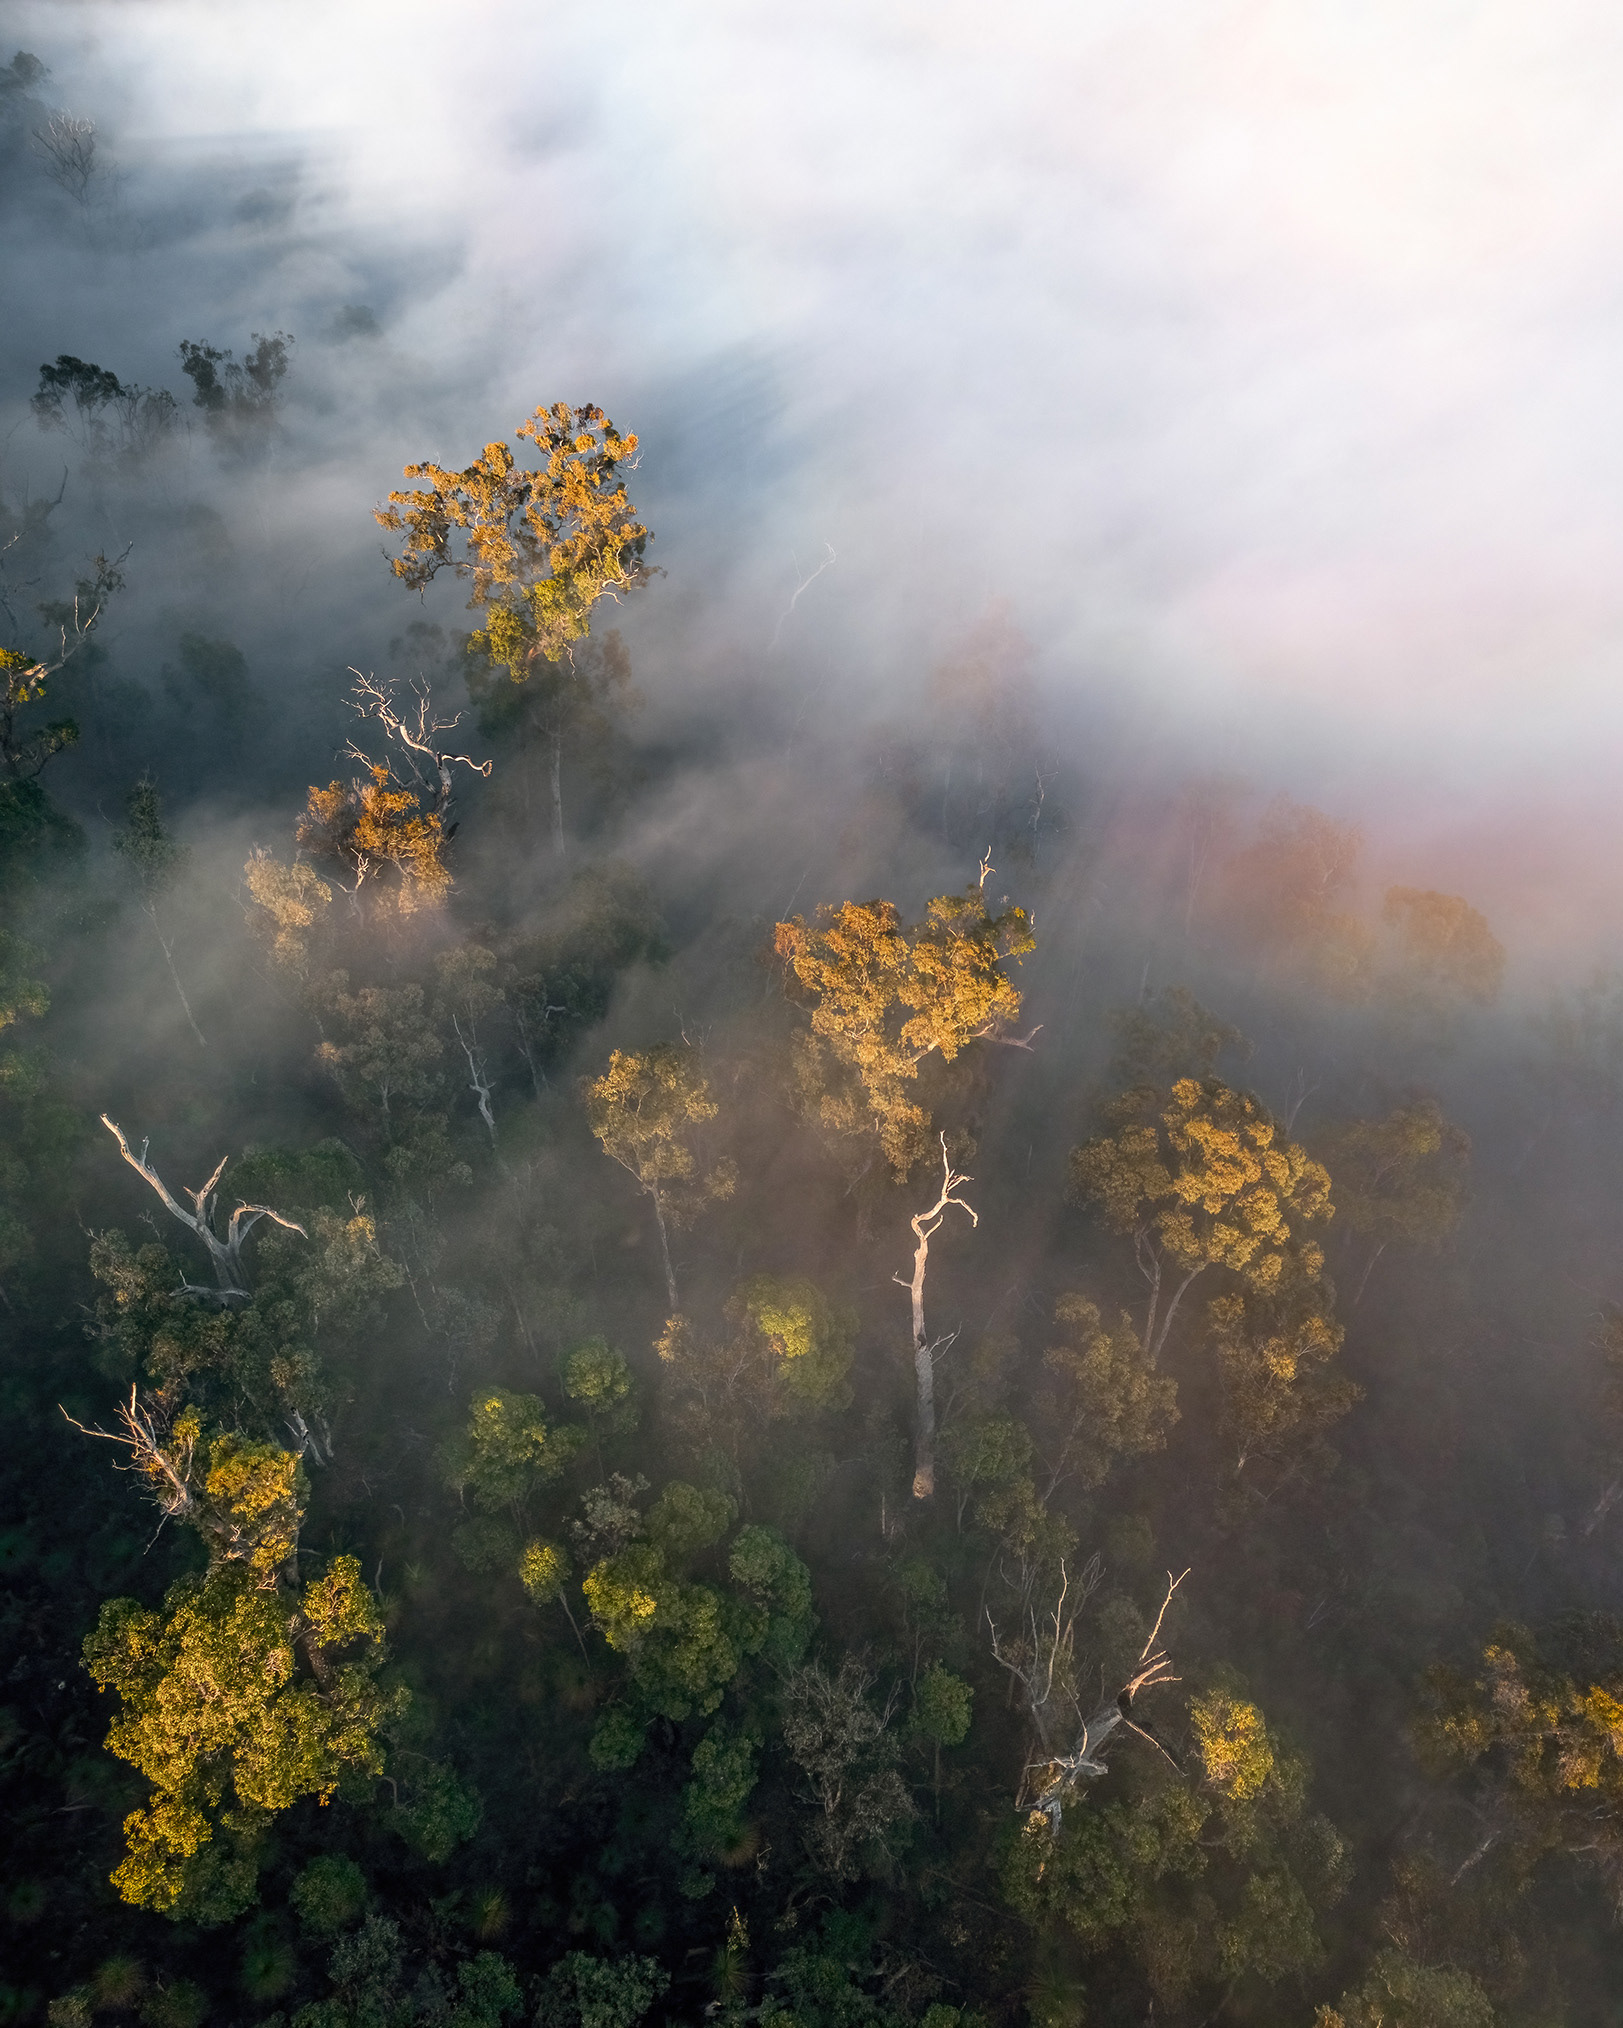
Looking down on the fog-filled Perth Hills forests from above.
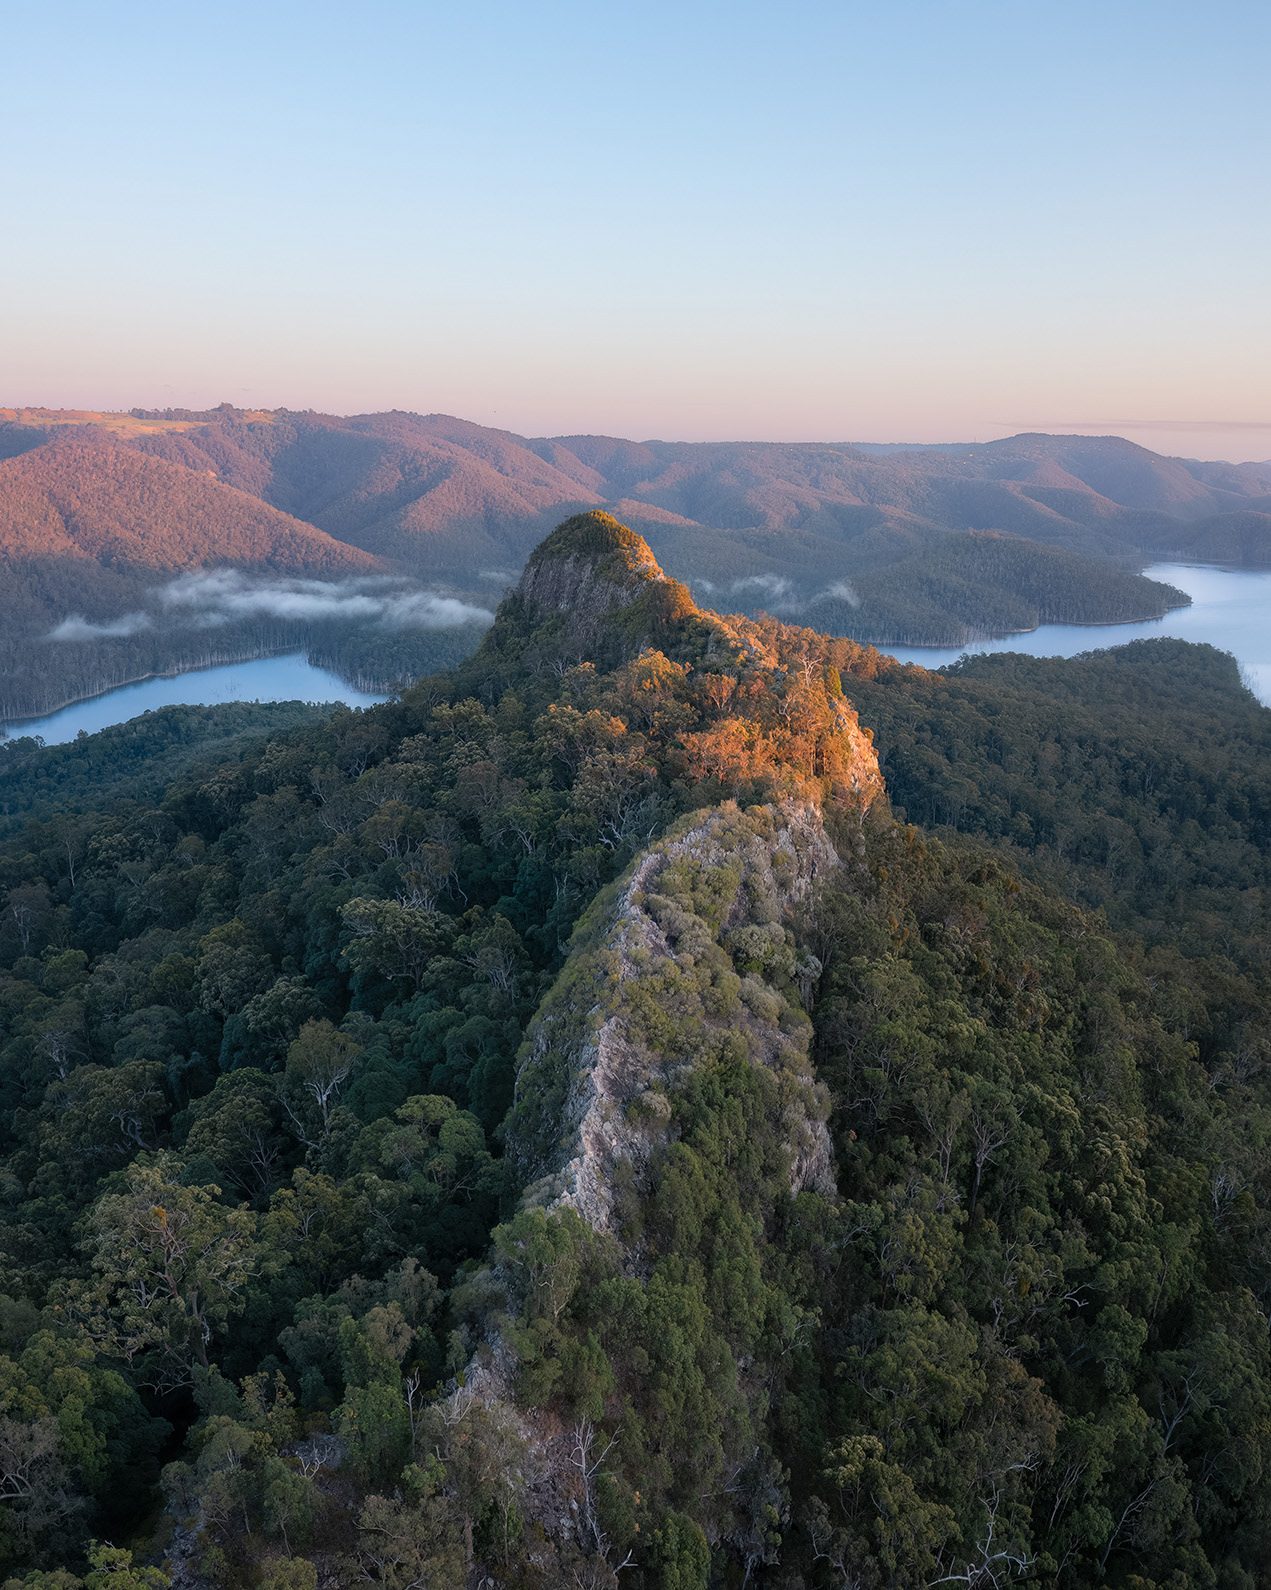
An aerial perspective was the only way to show the full length of this rugged ridge-line in Southeast Queensland.

Distant details in the Perth Hills.
Details of Larapinta Falls, Lamington National Park.
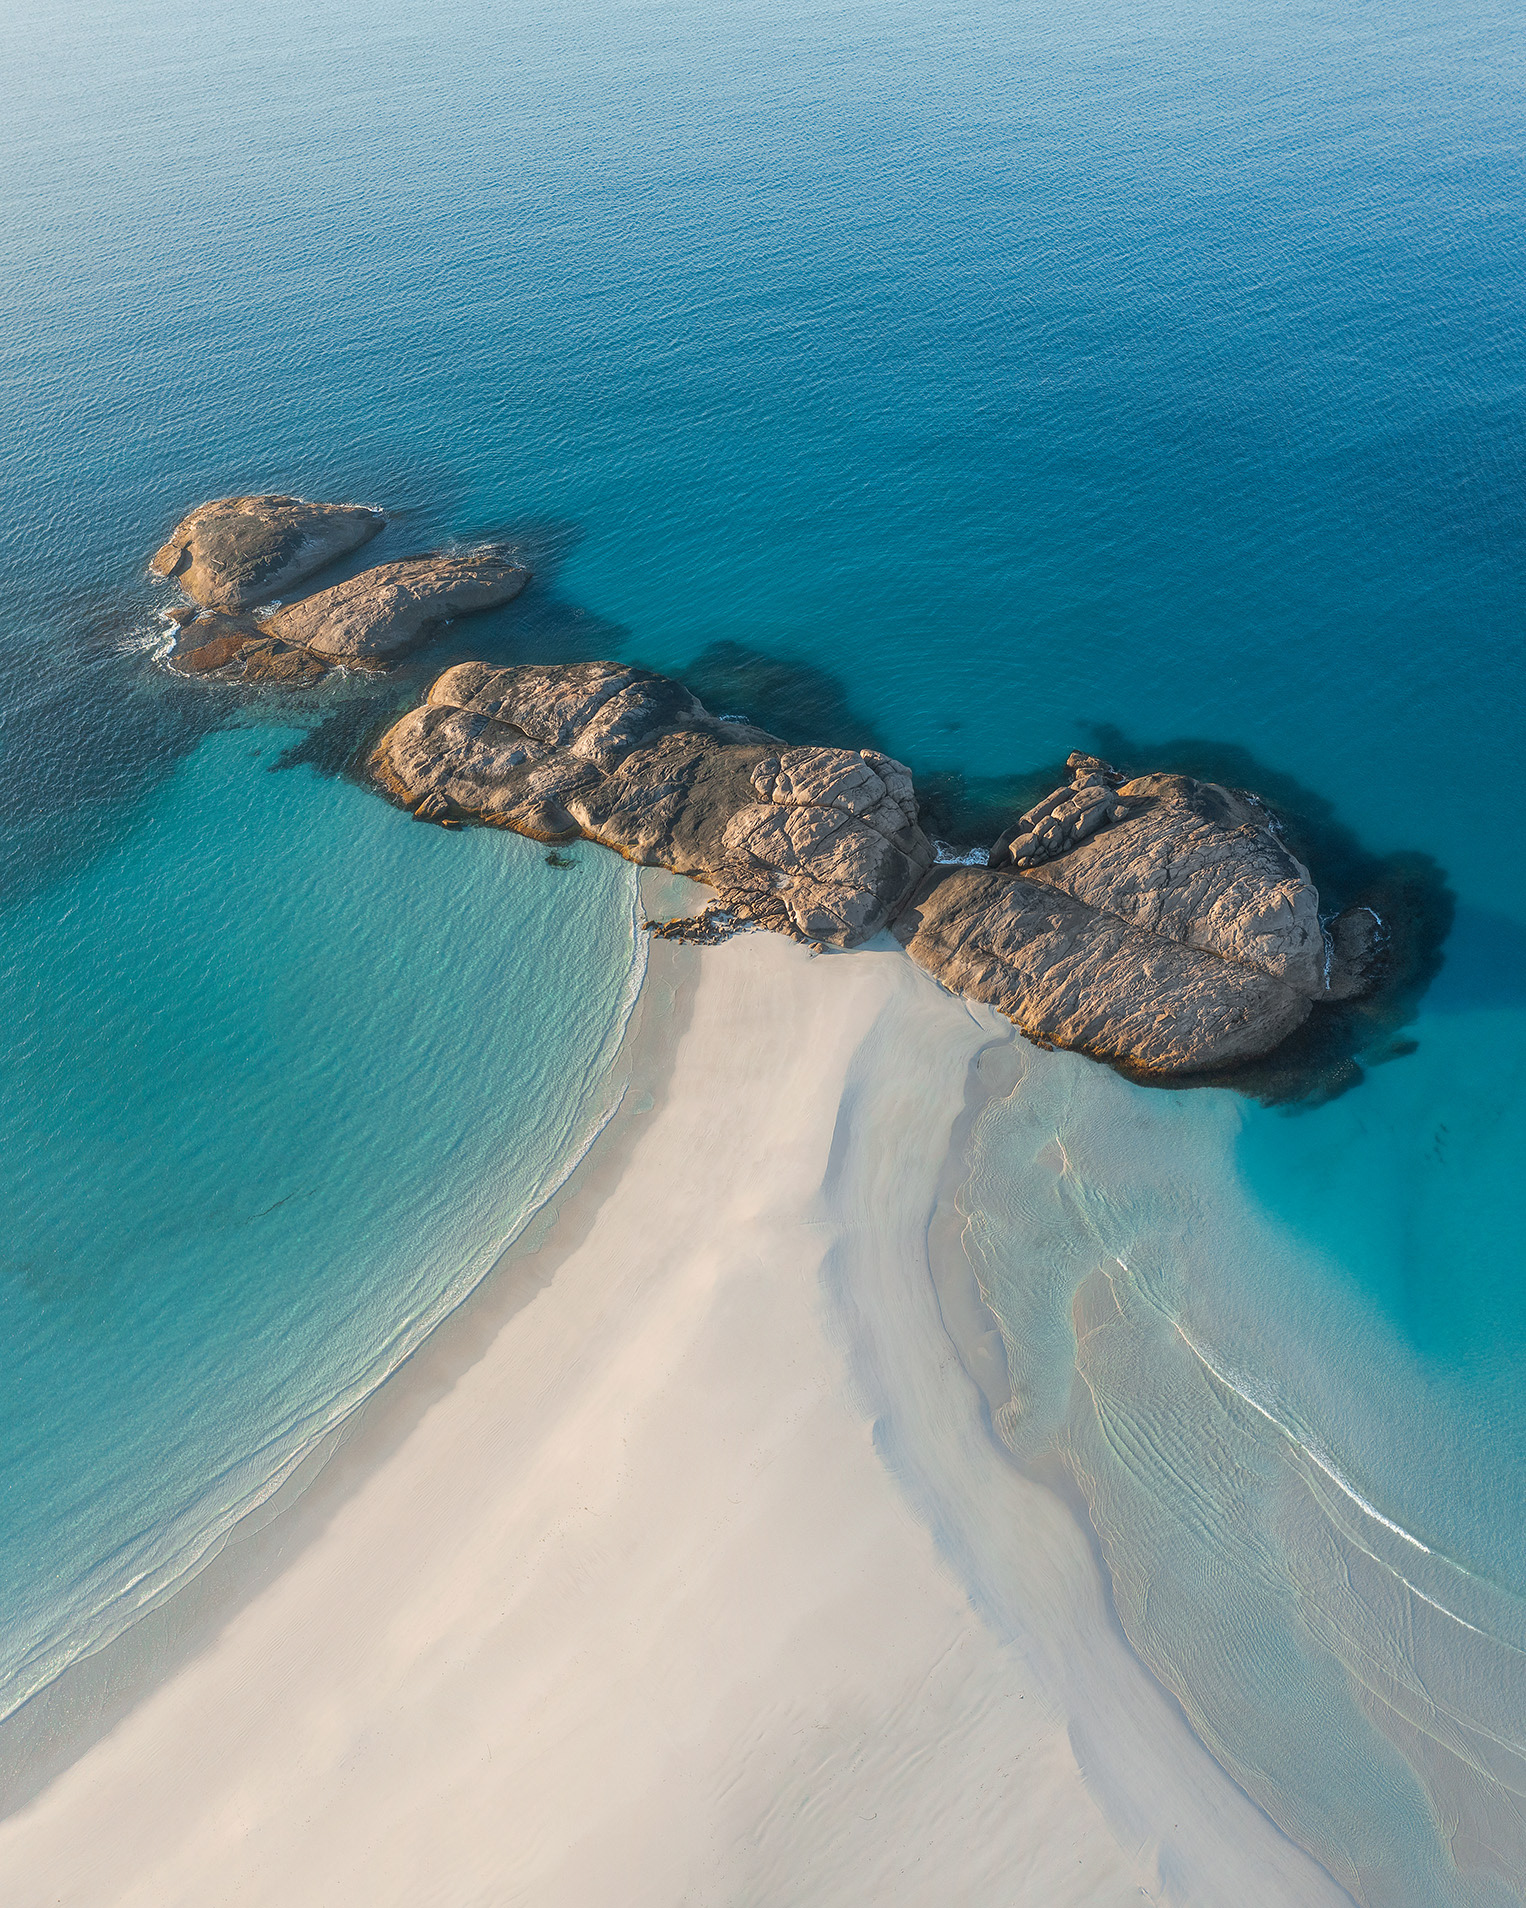
Esperance, Western Australia - as seen from above.
Tip 5: Re-Process Older Images & Learn New Techniques.
Re-processing older images is a simple way to keep improving without needing to shoot something new. As your skills develop, so does your understanding of light, colour, and contrast. Things you likely approached very differently in the past. Going back through your archive with fresh eyes gives you the chance to apply new techniques, refine your editing, and often pull more out of an image than you originally could. It’s also a useful way to experiment, test different approaches, and see how your style has evolved over time. My collection of 45 post-processing tutorials is available to watch on Patreon, it is sure to share some new techniques and ideas that you can incorporate to your photo-editing workflow.
The image below was captured back in 2021, and recently updated to reflect my current editing preferences.
The image below was captured back in 2021, and recently updated to reflect my current editing preferences.
Take the next step in progressing your landscape photography with continuous online learning.
Over the past eight years, I’ve loved sharing my passion for photography through in-person workshops and online tutorials. My current focus is teaching through Patreon.
By joining me there, you’ll unlock access to my entire library of over 50 exclusive posts, packed with value. This includes E-books, video tutorials, editing walkthroughs, behind-the-scenes insights, and more. Whether you're just starting out or looking to refine your skills, there’s something for everyone.
You can get started for free, or subscribe for approximately 25c a day to unlock everything, including all future content. It’s flexible, no lock-ins - cancel anytime. Not a fan of subscriptions? Thats ok - many of my educational posts & tutorials can be downloaded from a once off purchase too.
👉 Check it out on Patreon and start levelling up your photography today.
Thanks for reading!
I hope these ideas have given you a few practical ways to stay motivated and keep creating, even when you’re close to home.
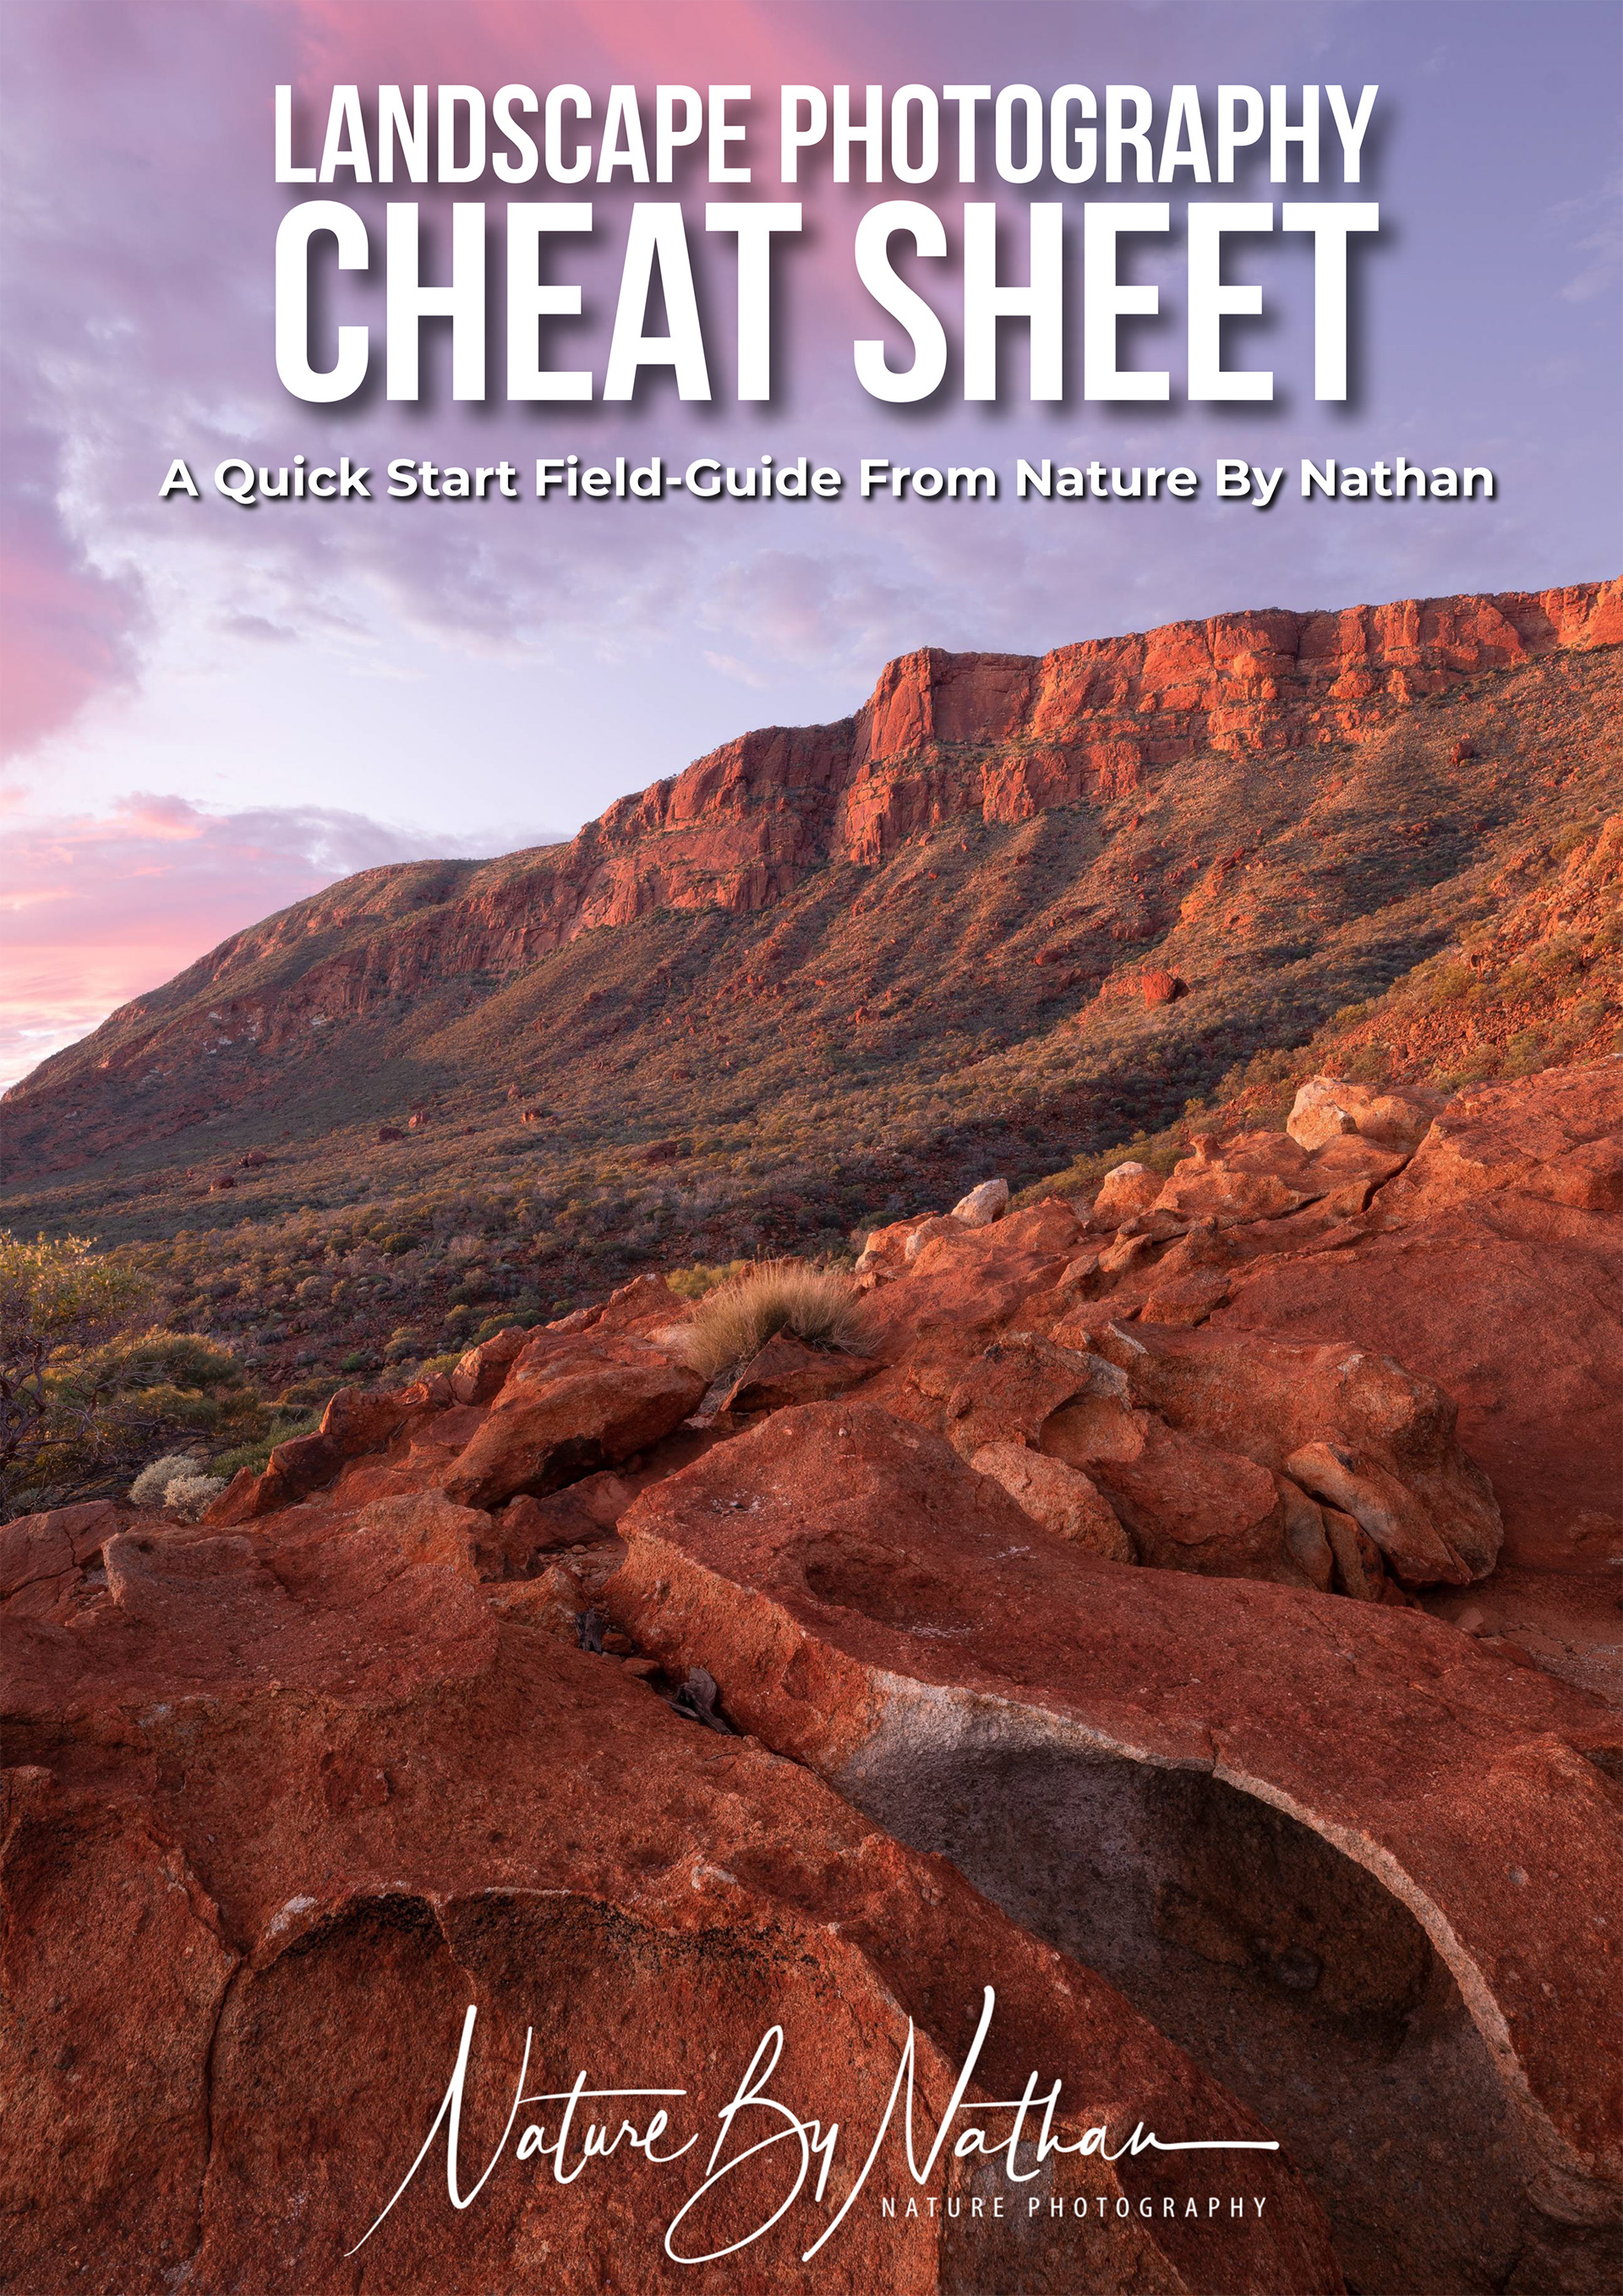
If you’re looking for something you can take with you into the field, I’ve put together a free Landscape Photography Cheat Sheet. It’s a concise, step-by-step guide to how I approach a scene on location - from setting up to composition tips and exposure settings.
Download it for free and keep it on your phone, or print it out. Use it as a simple guide the next time you head out to do some landscape photography.
Once you are ready to take the next step - have a look at my comprehensive 110-page Landscape Photography Handbook. Covering every aspect of landscape photography from equipment, through to making print-ready images.
Once you are ready to take the next step - have a look at my comprehensive 110-page Landscape Photography Handbook. Covering every aspect of landscape photography from equipment, through to making print-ready images.