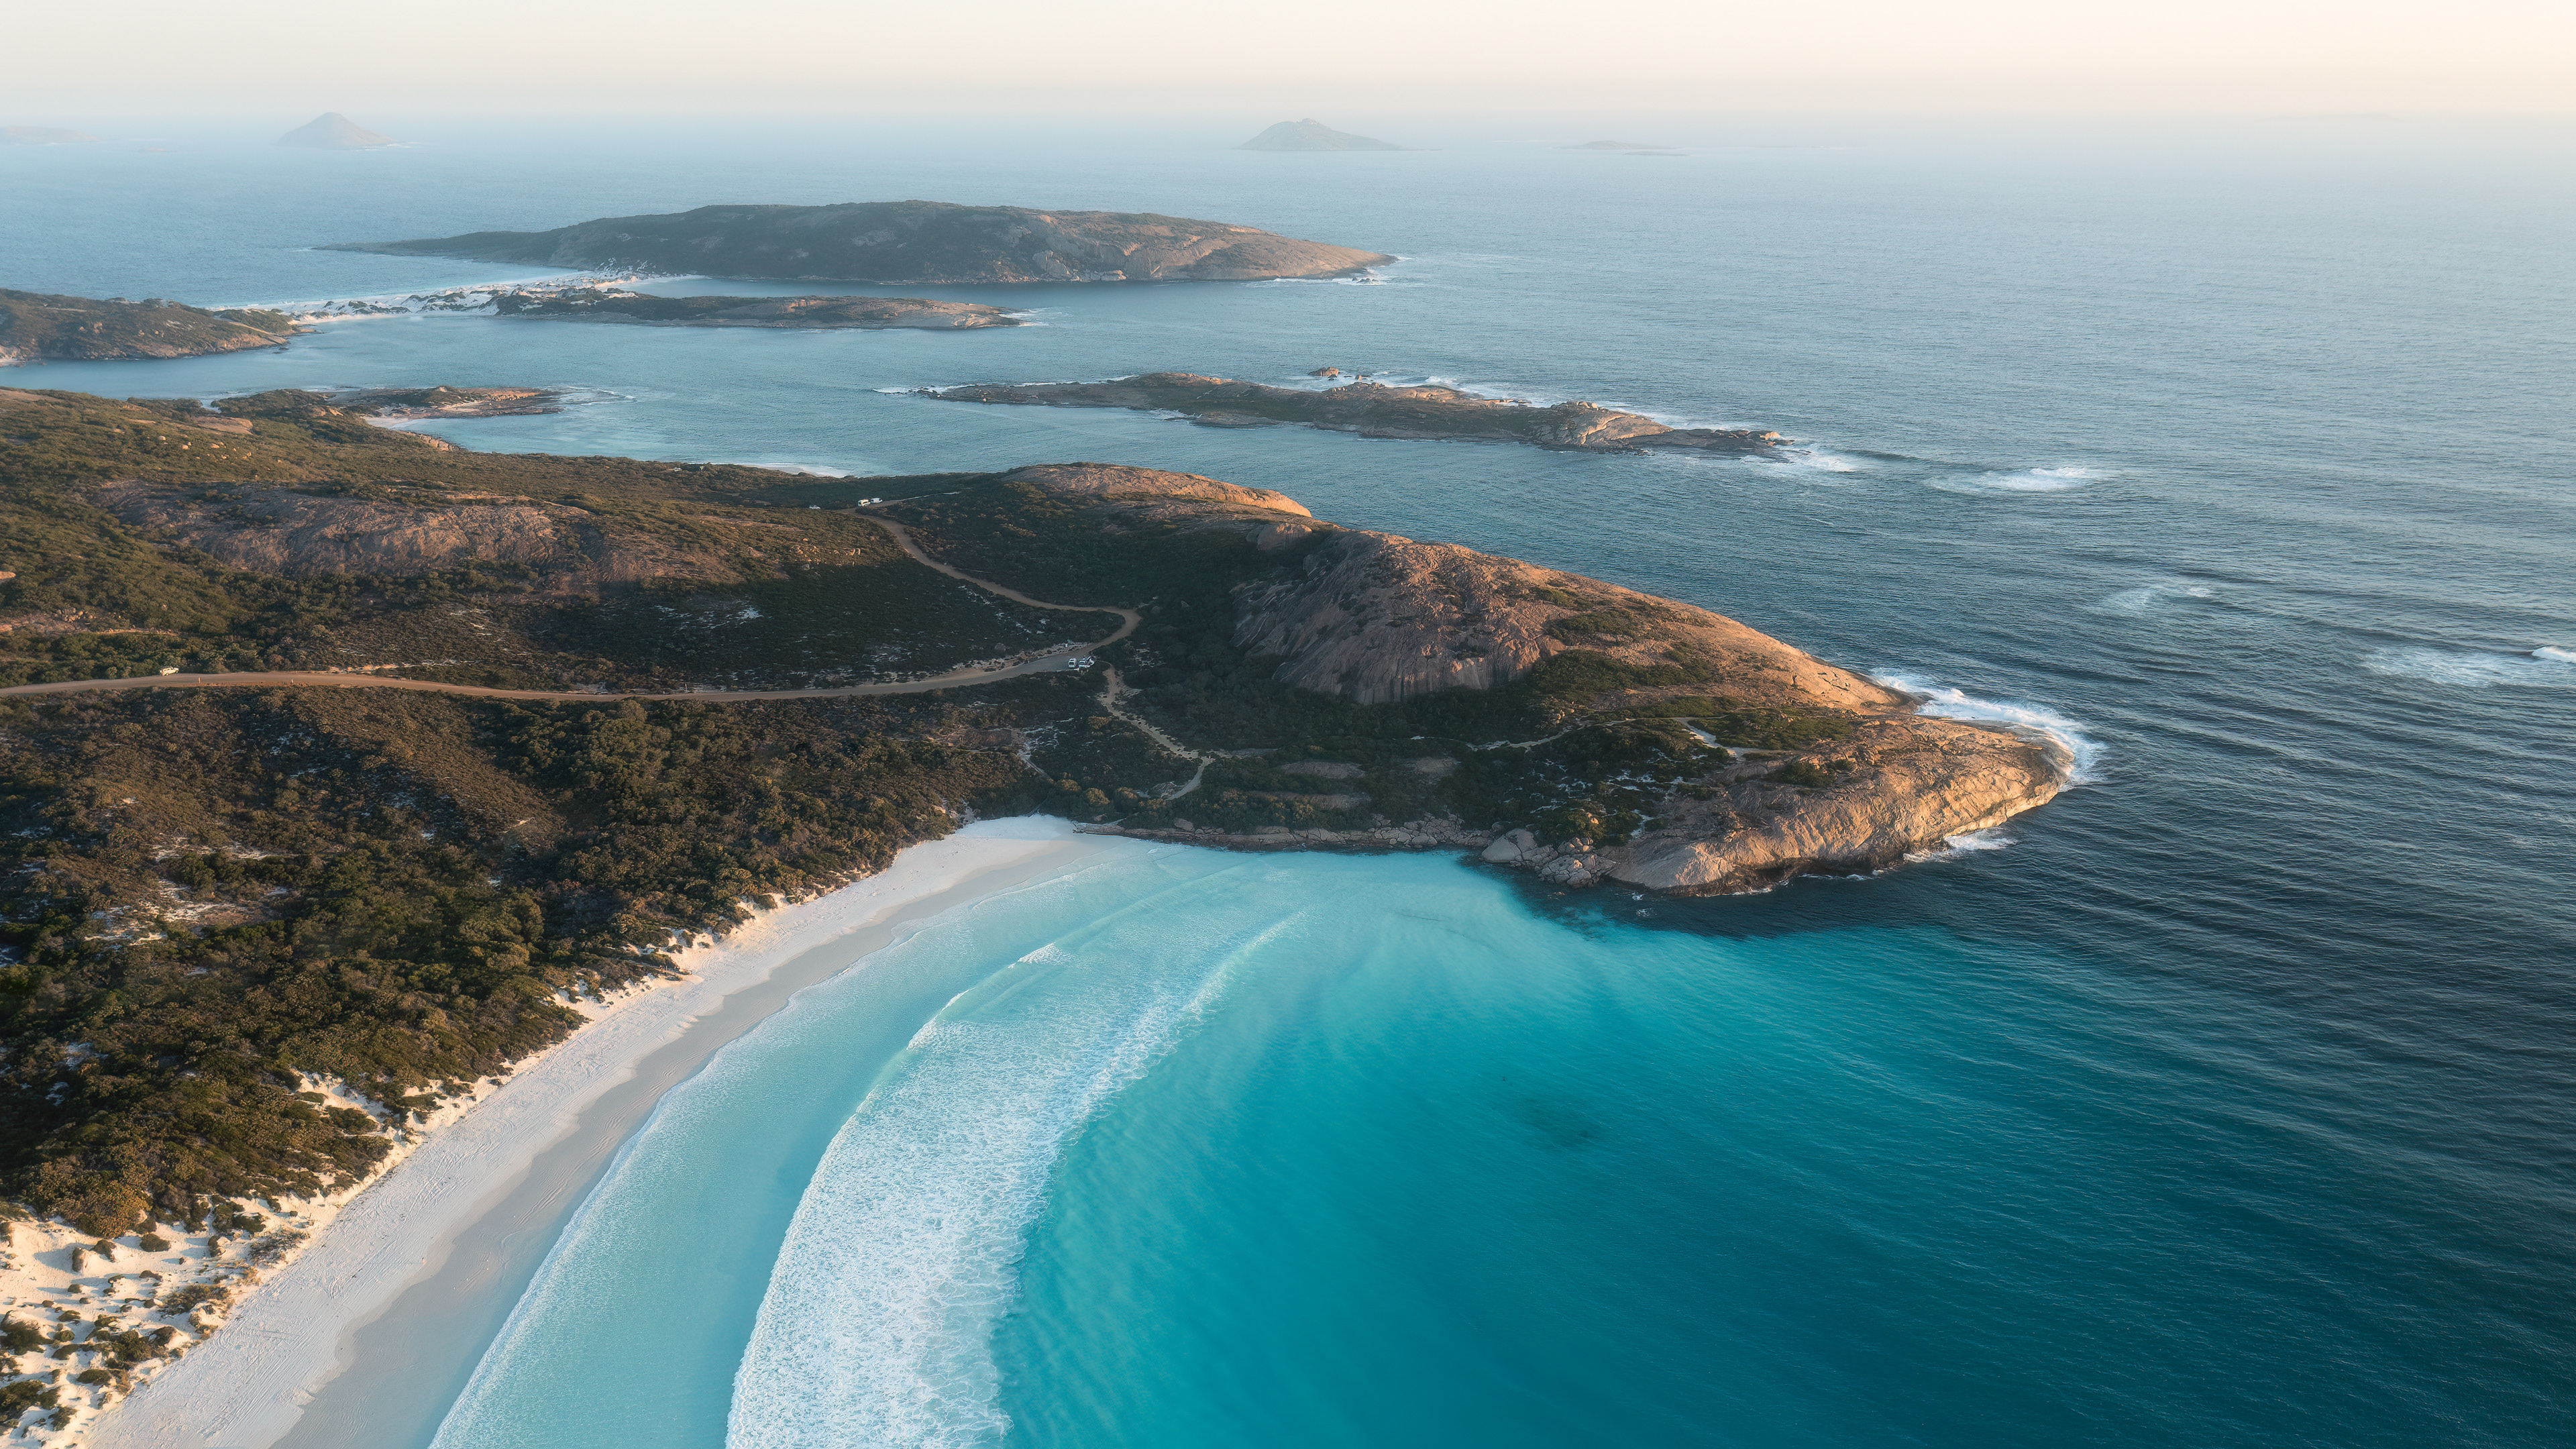
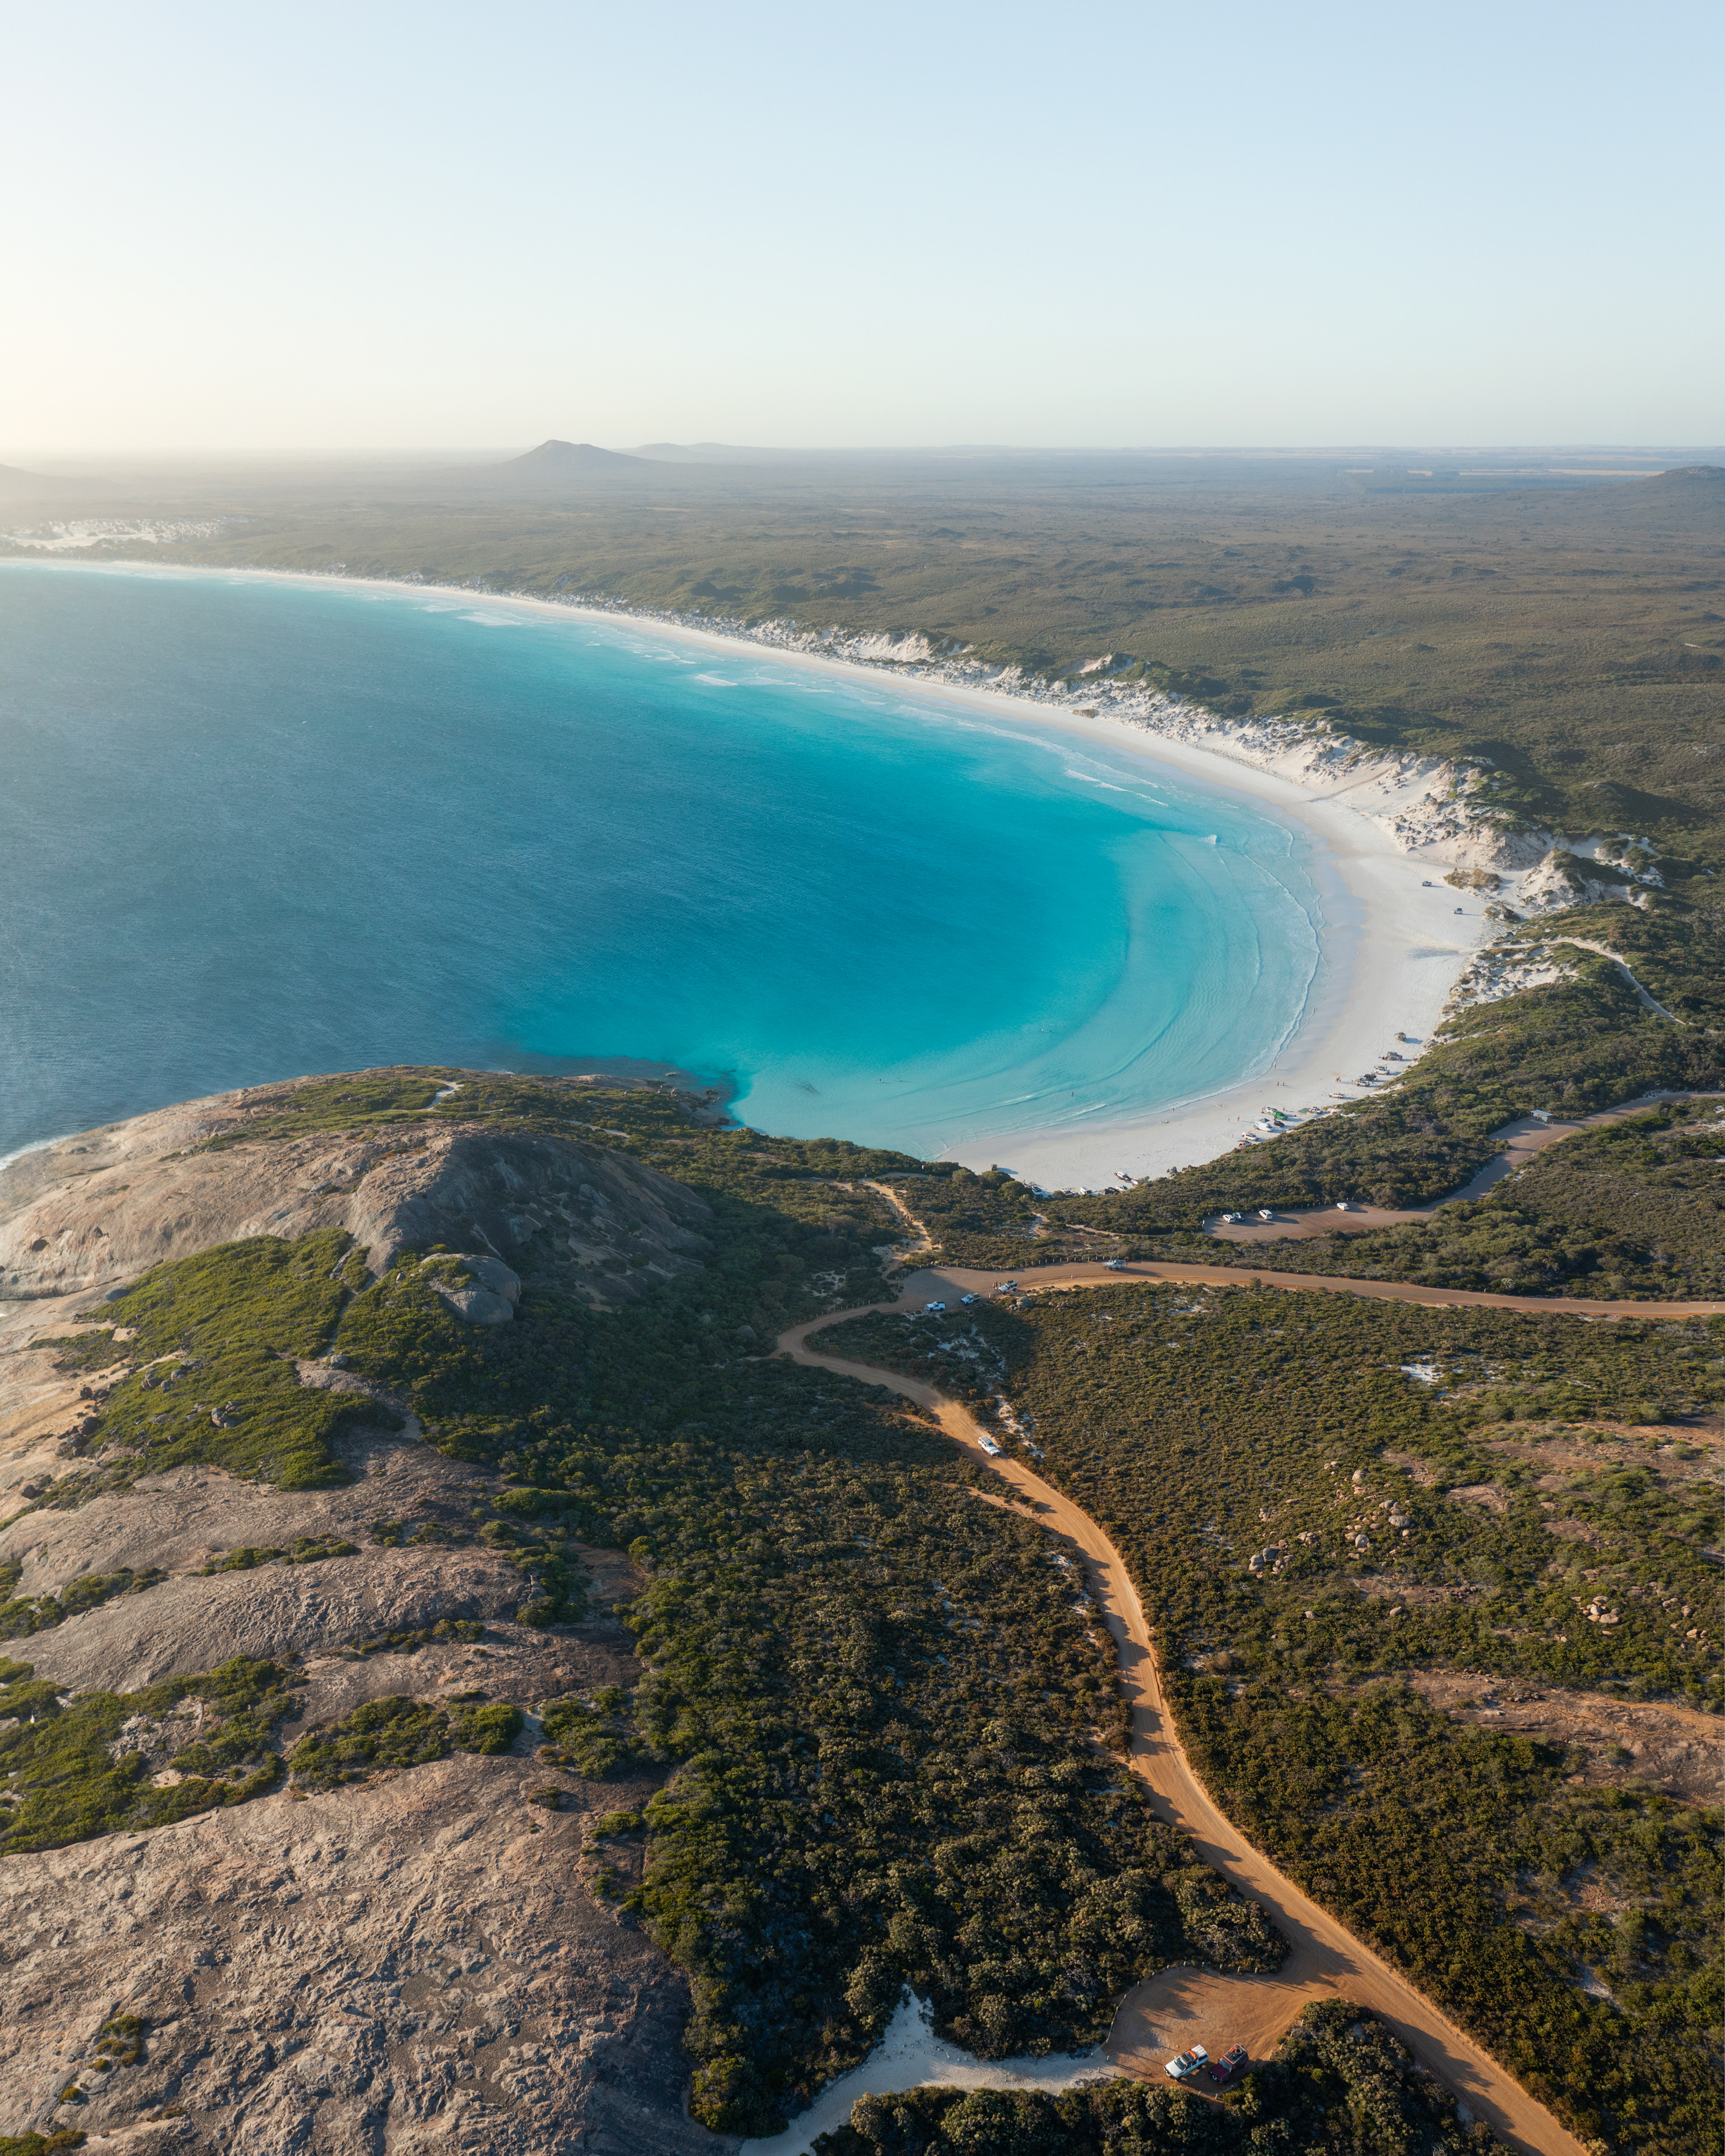
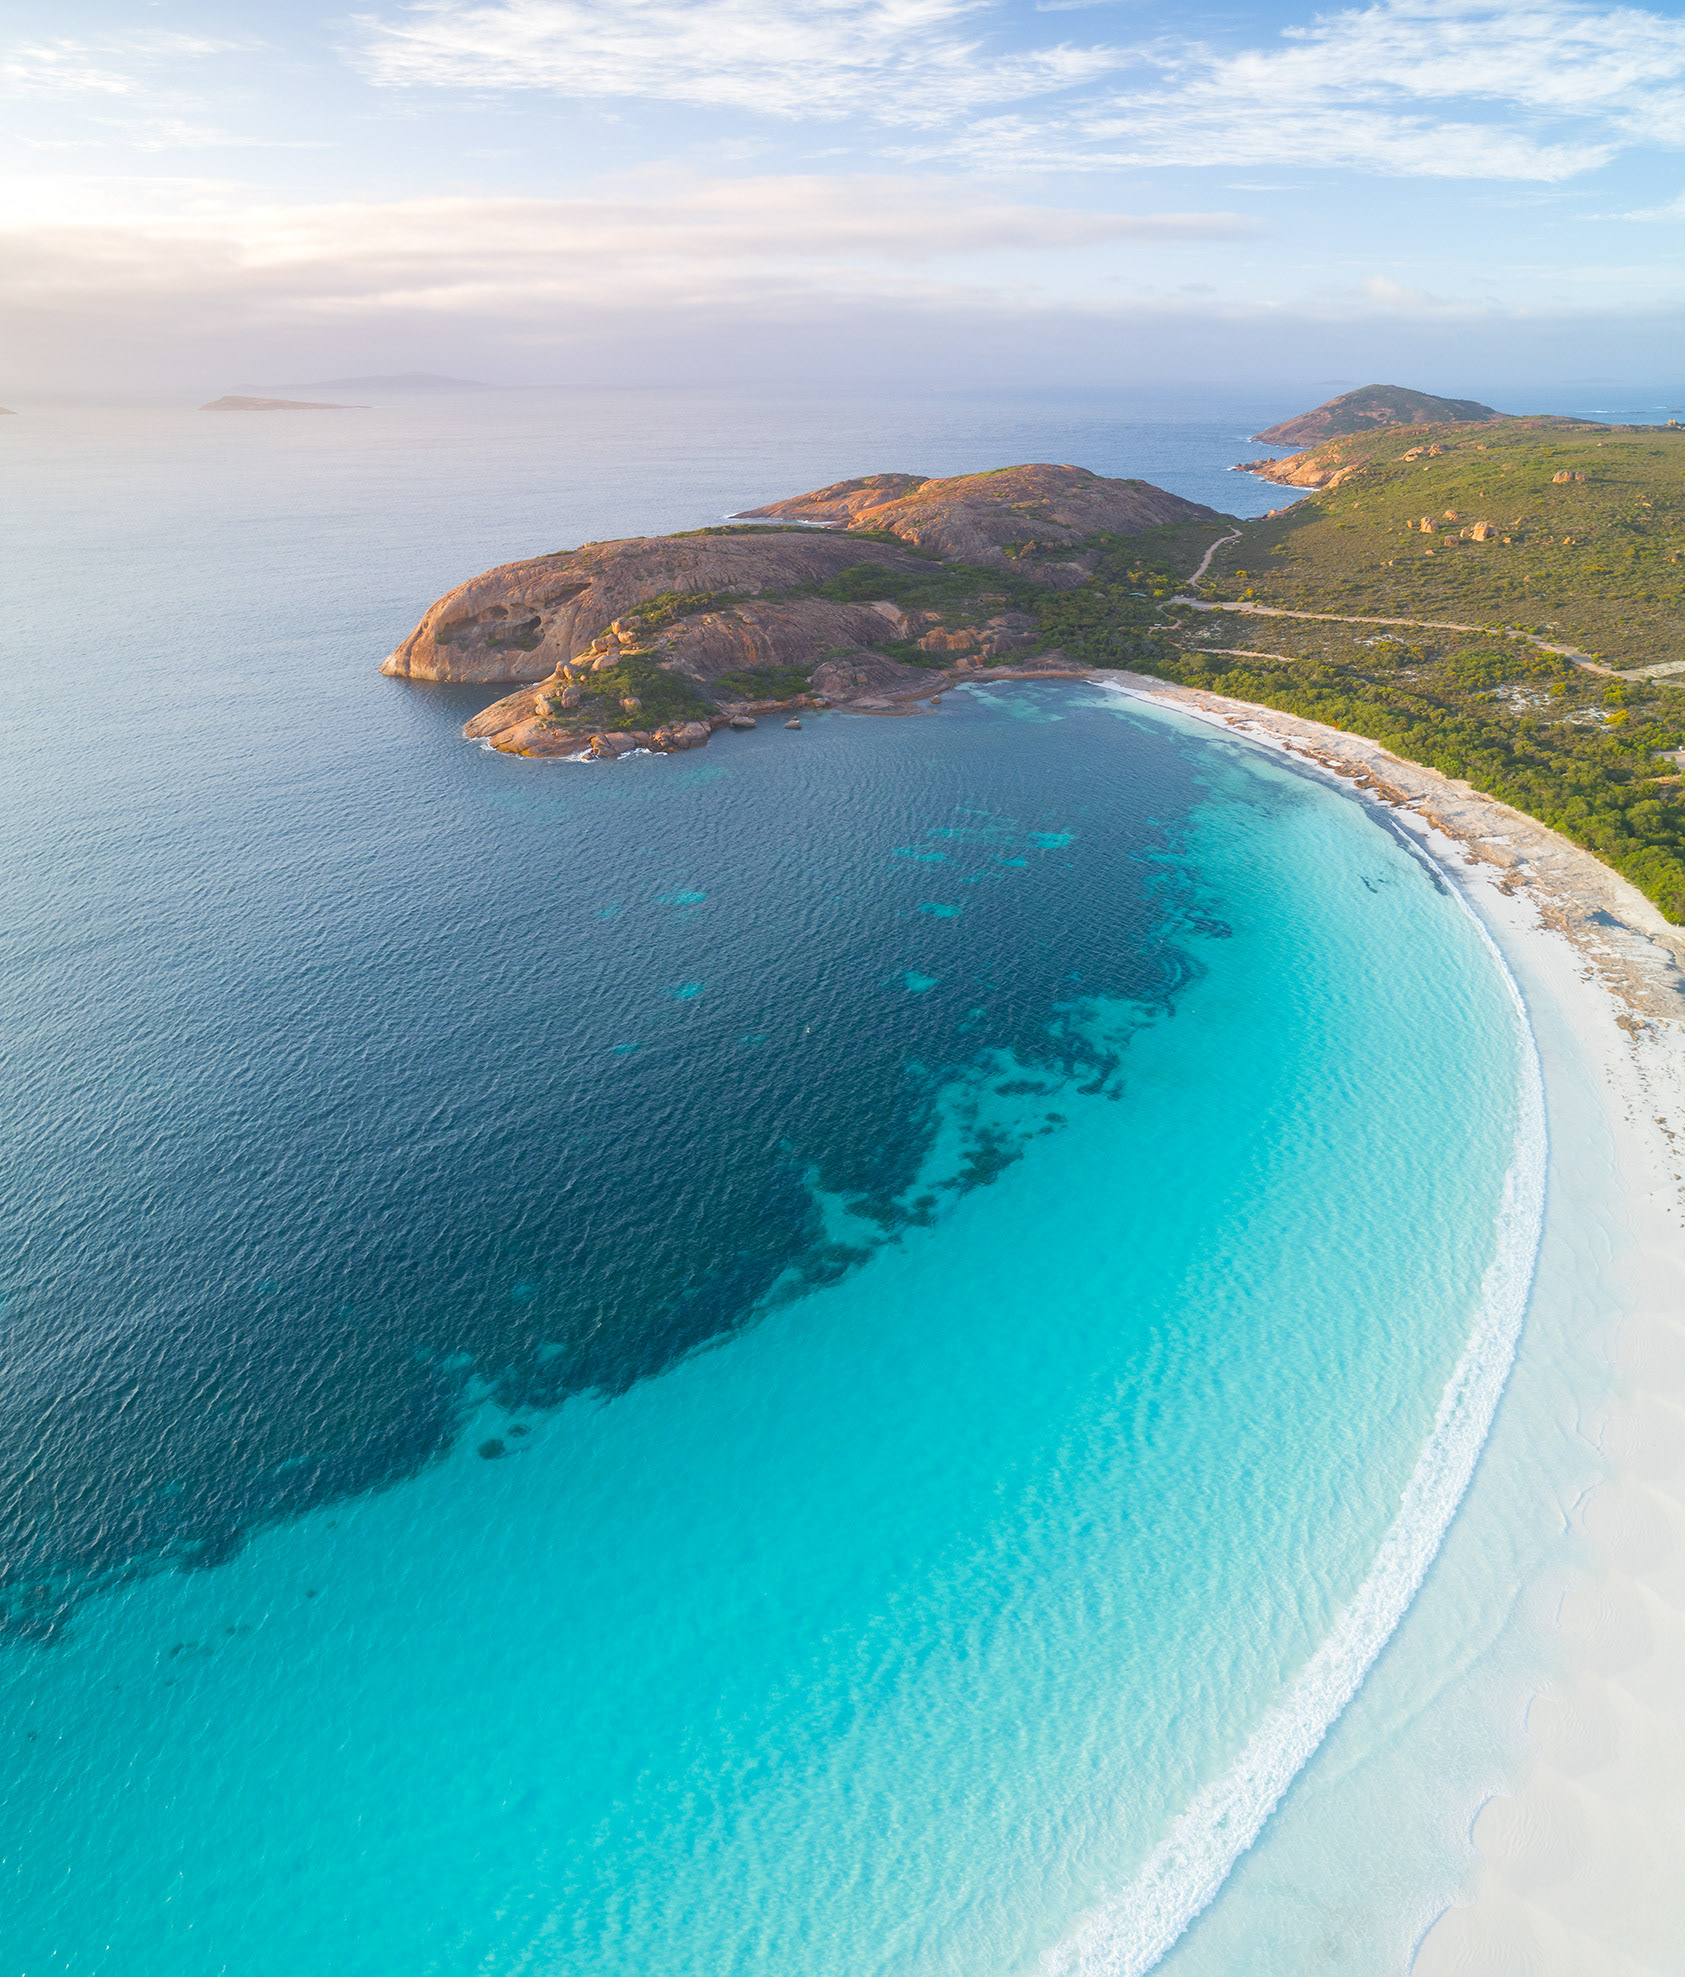
Goldfields - Esperance

Explore the dramatic contrast in landscapes of the Goldfields - Esperance Region in Western Australia. This collection of Australian Nature Photography highlights world-class Esperance beaches, vast red-dirt landscapes of the Goldfields, and a stunning appearance of the Aurora Australis.

Wharton Beach (2:3)
Wharton Beach (2:3)
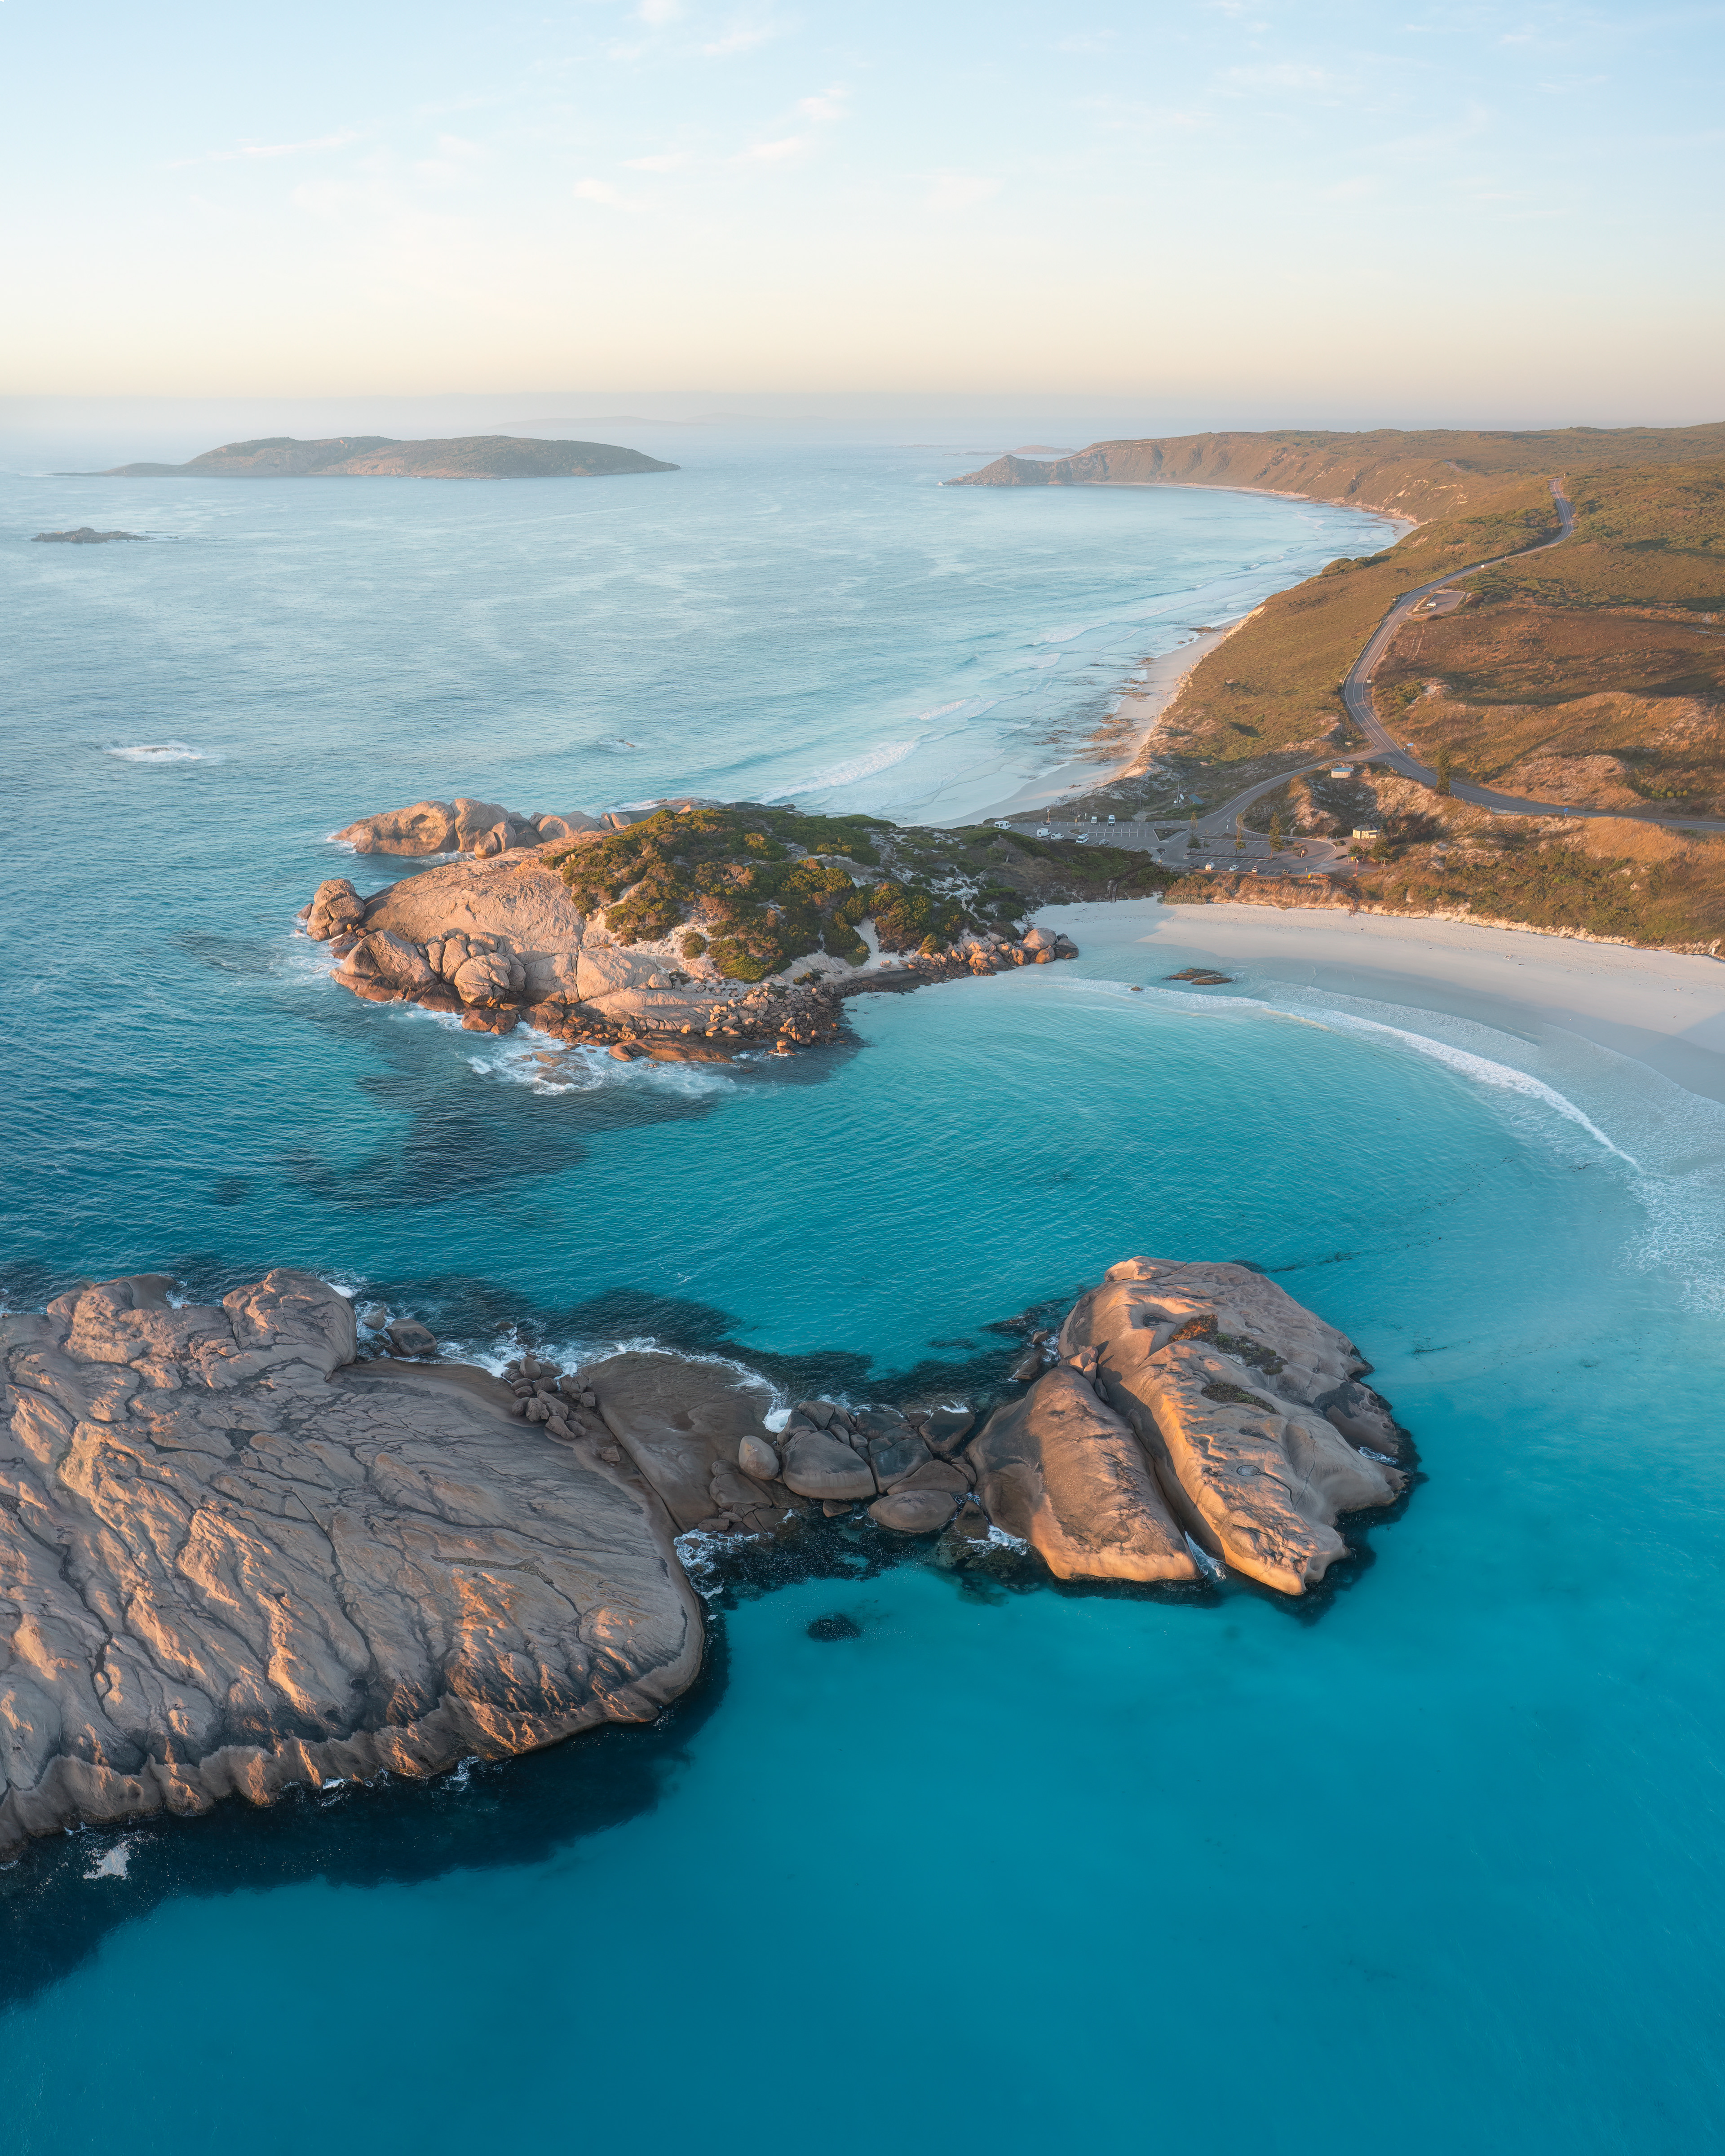
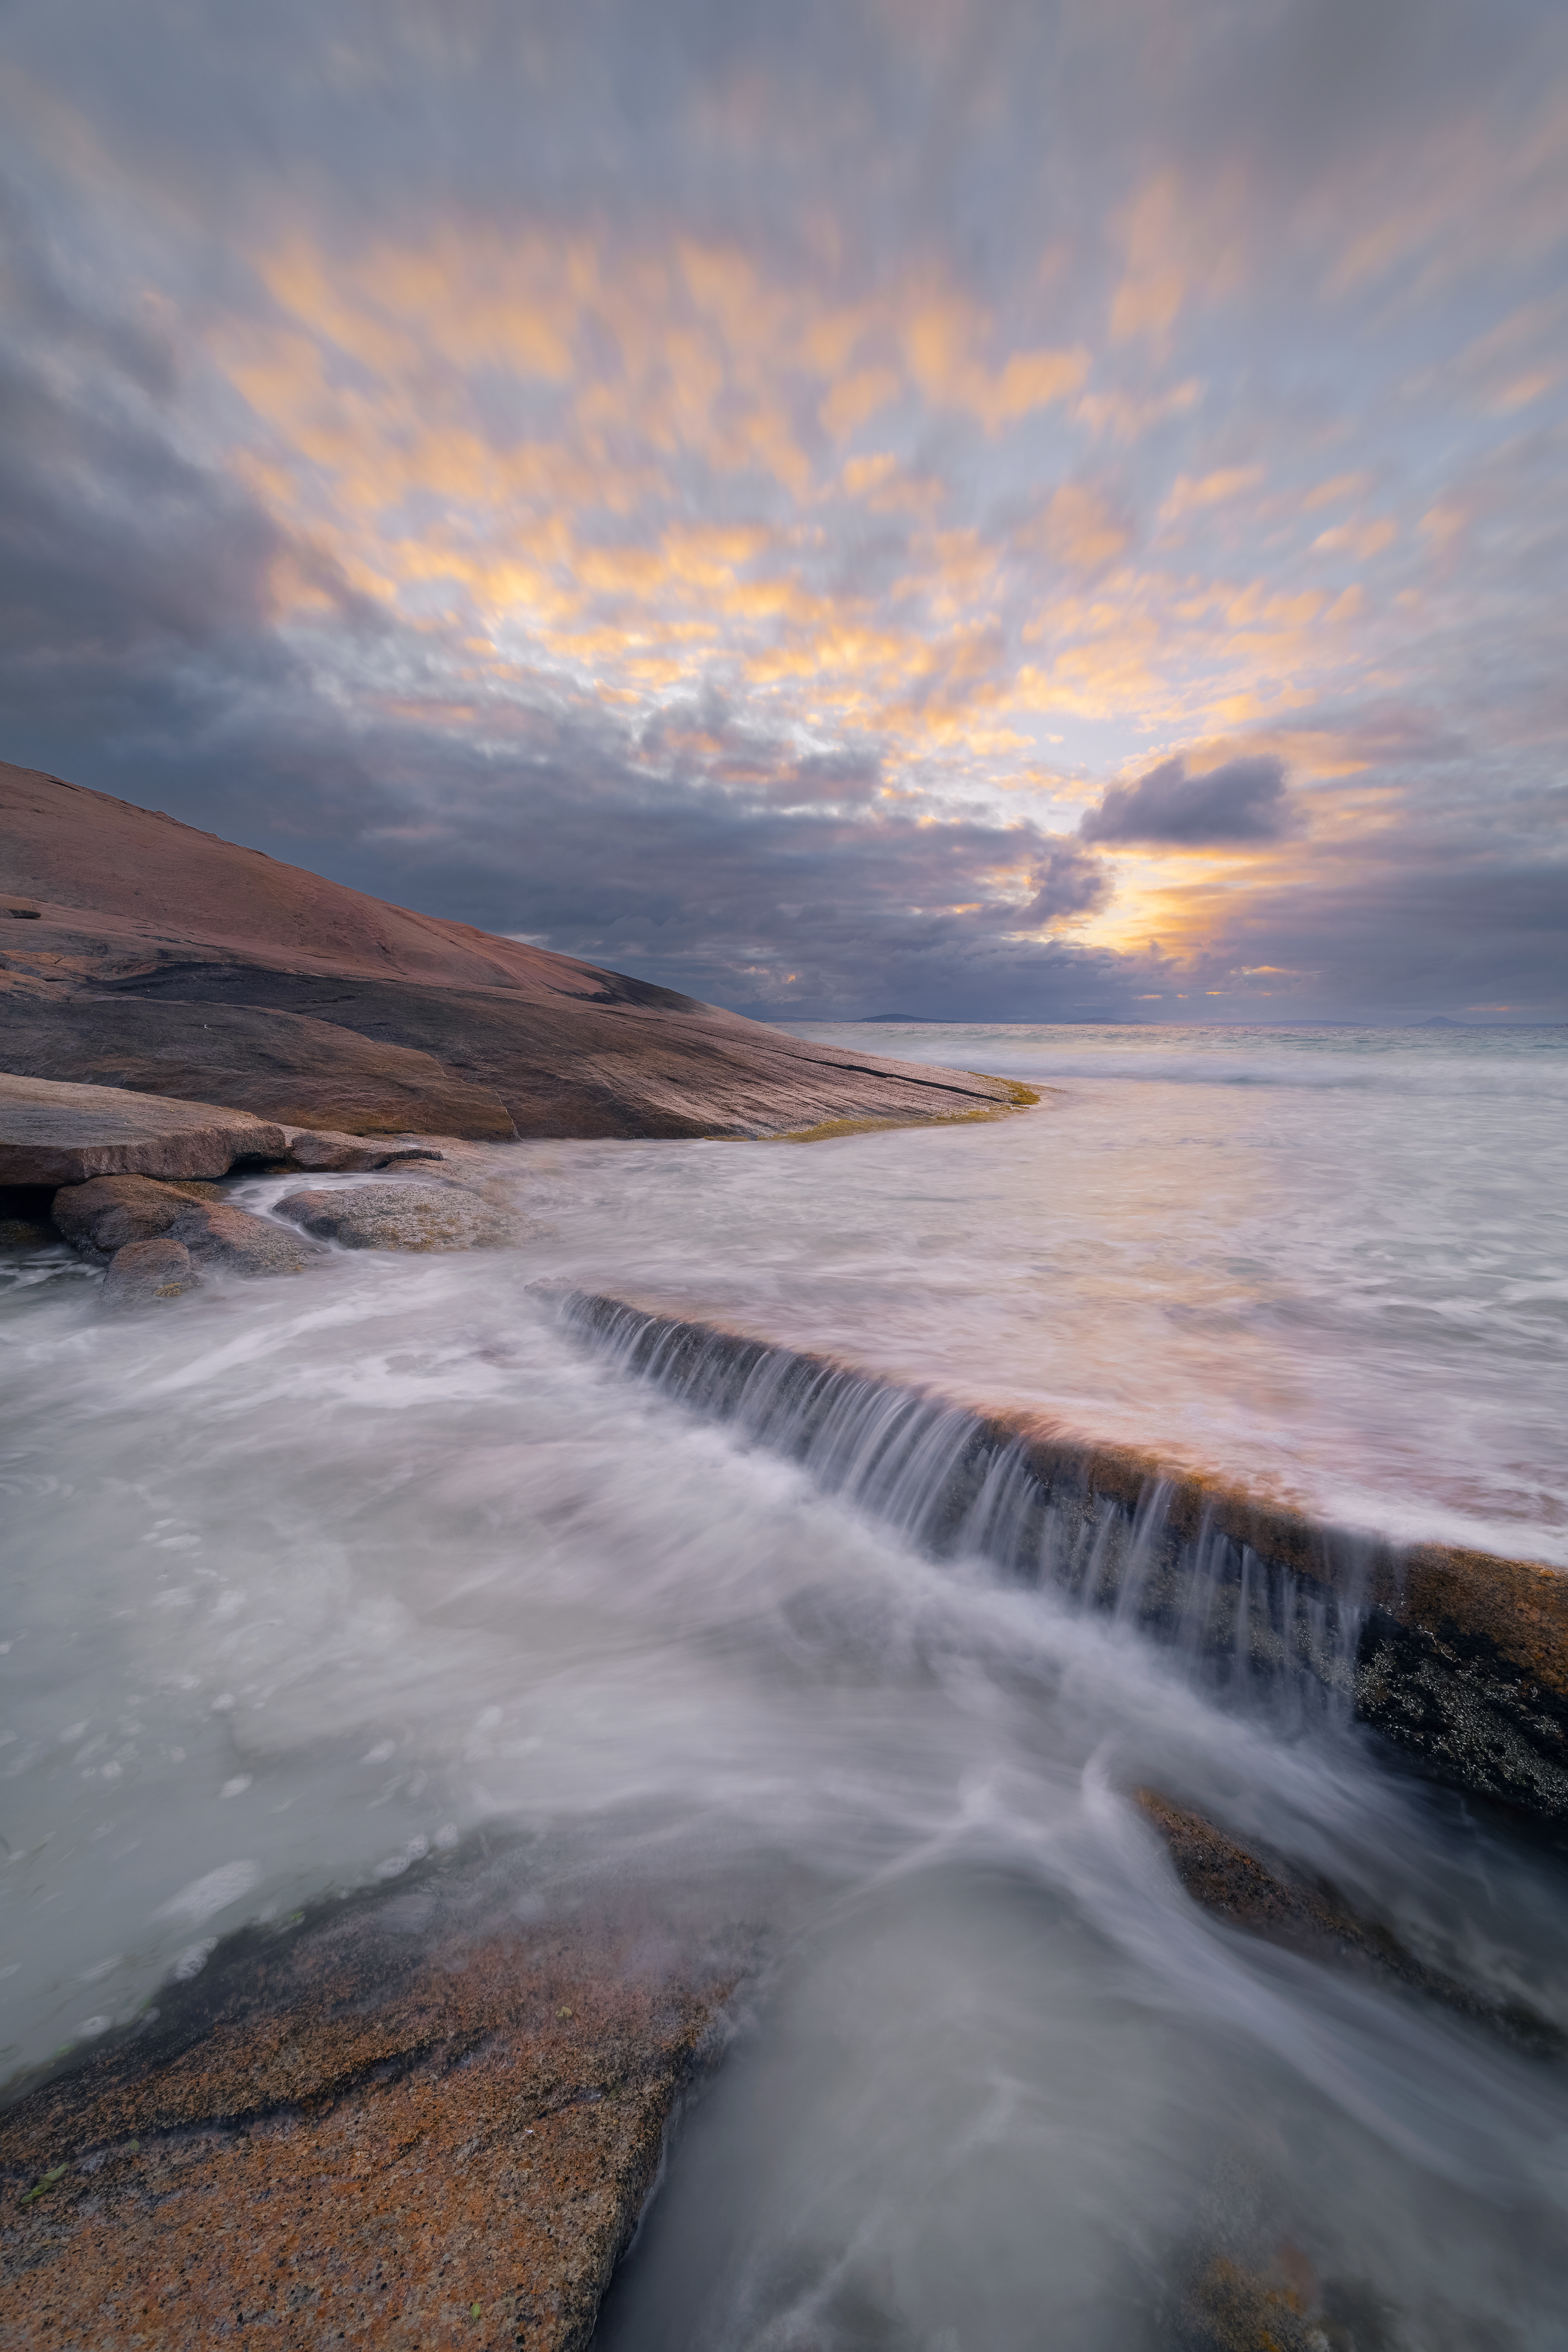
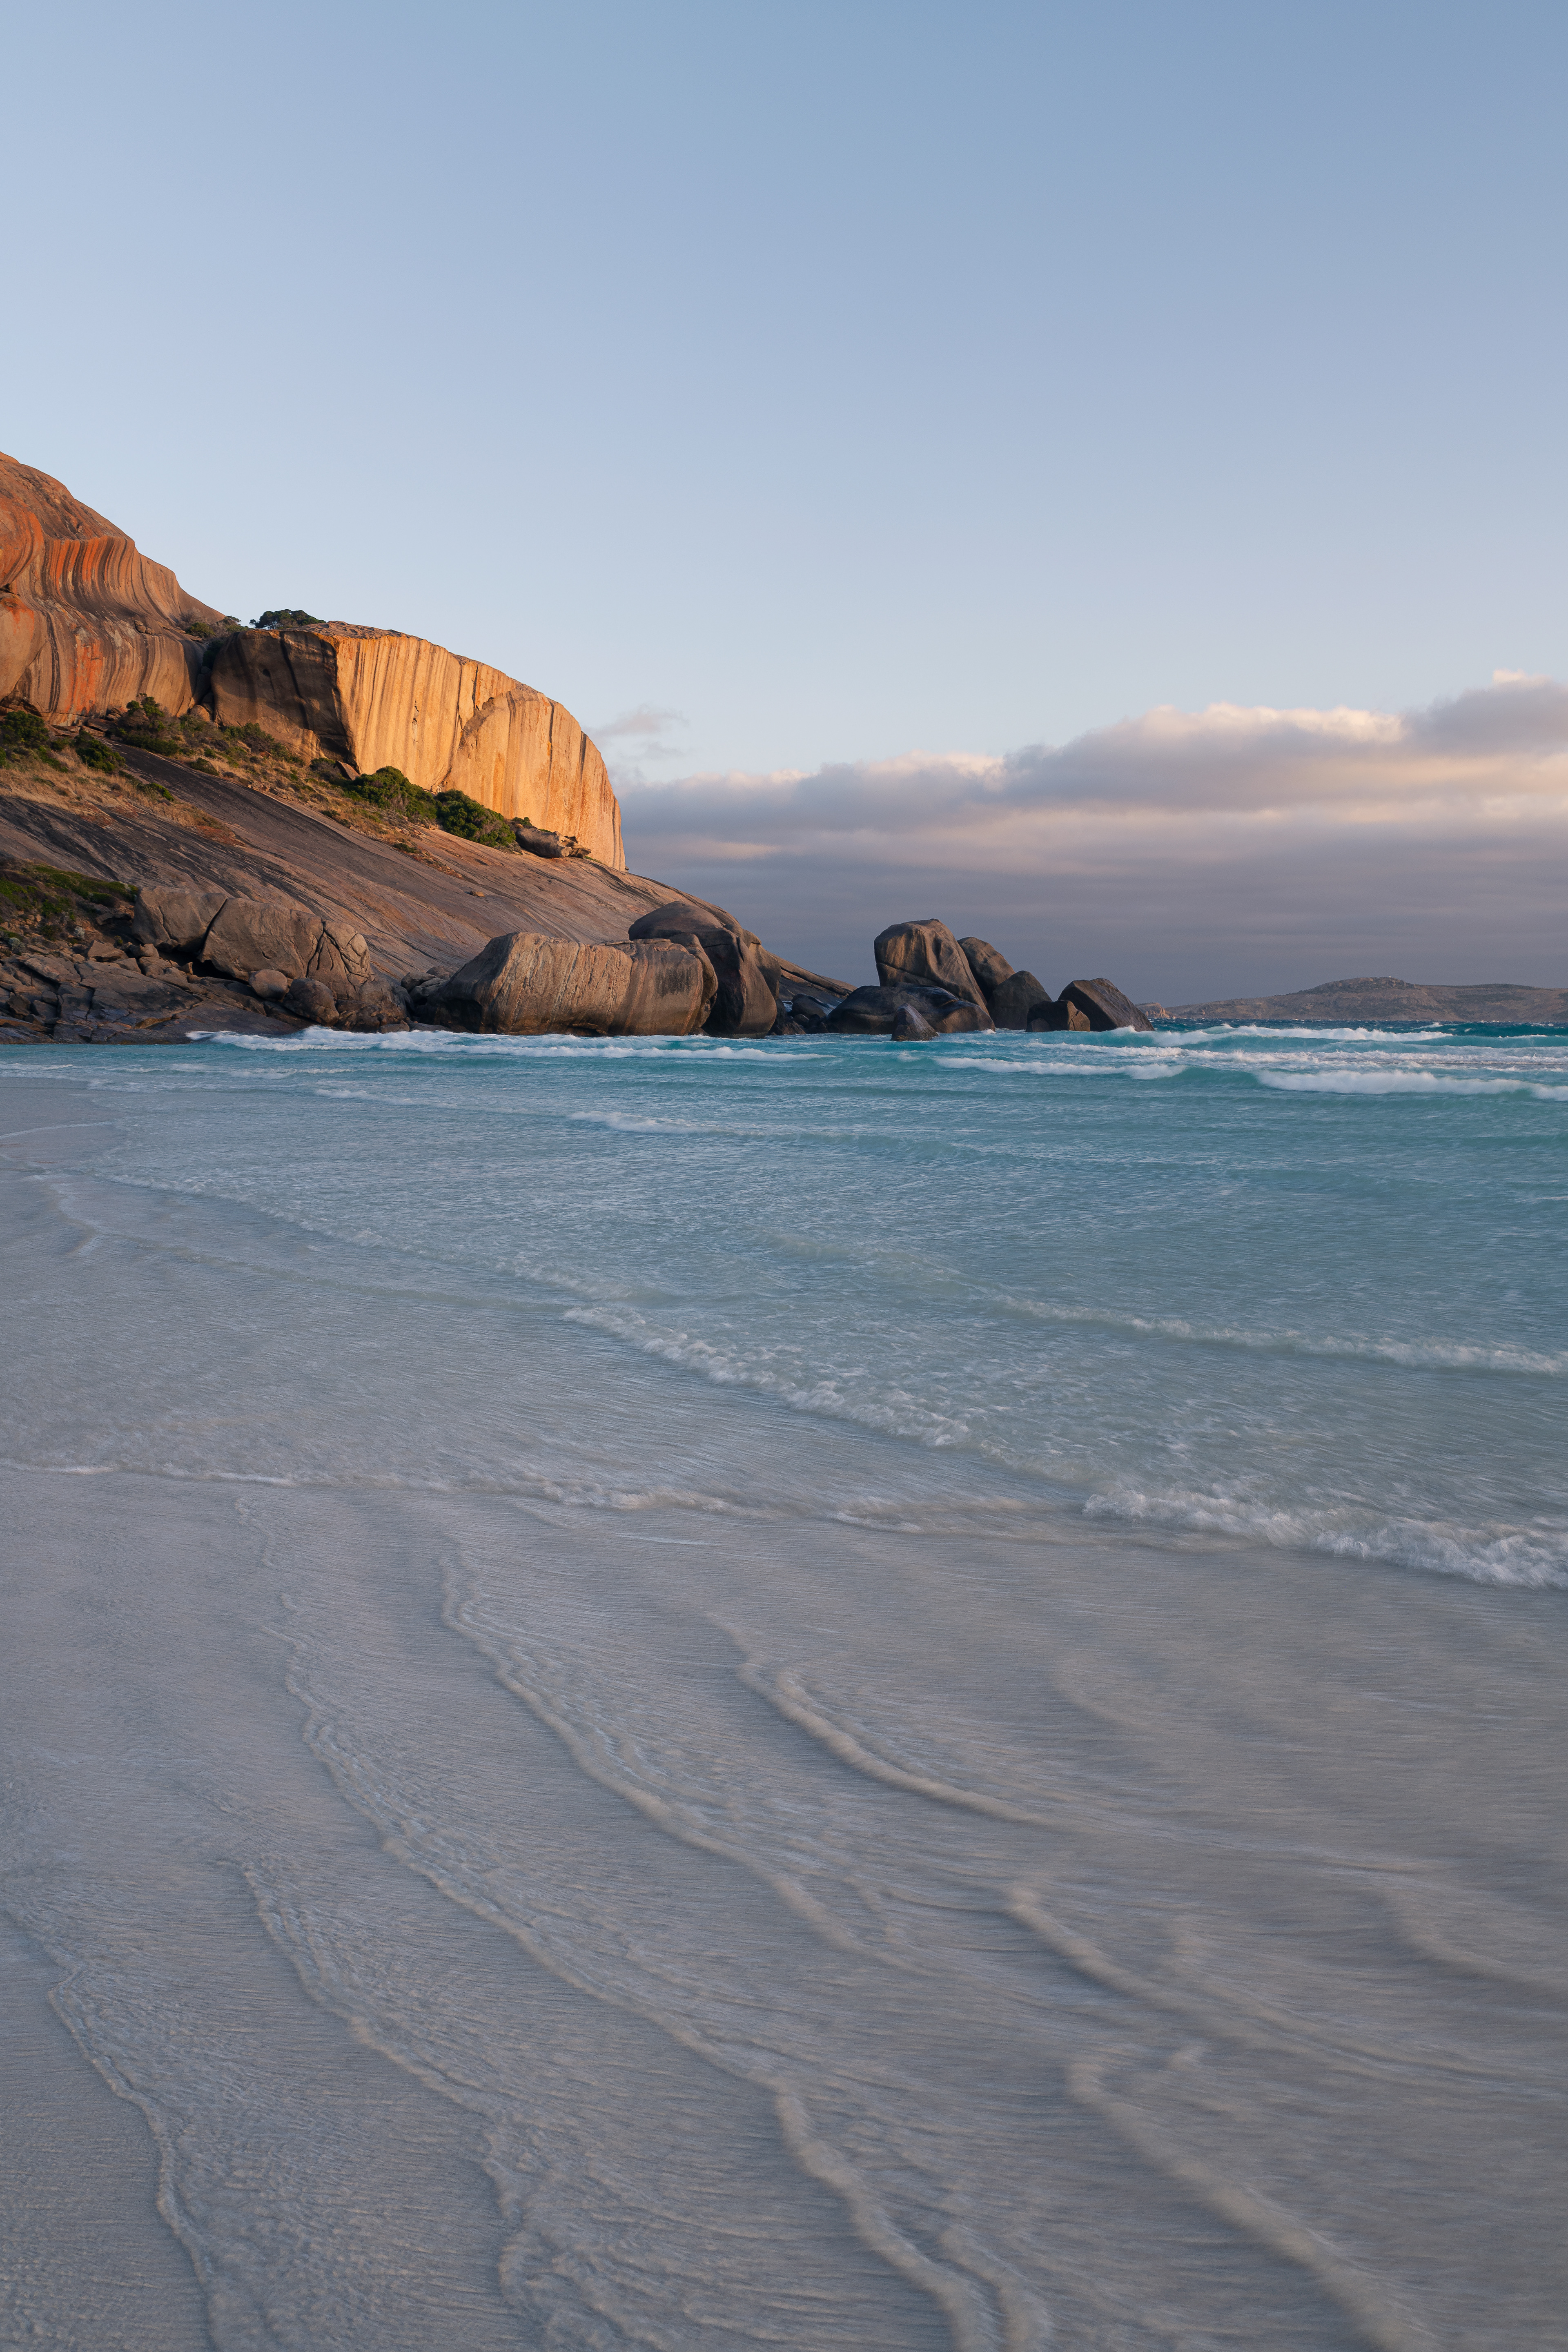
Twilight Beach (4:5)
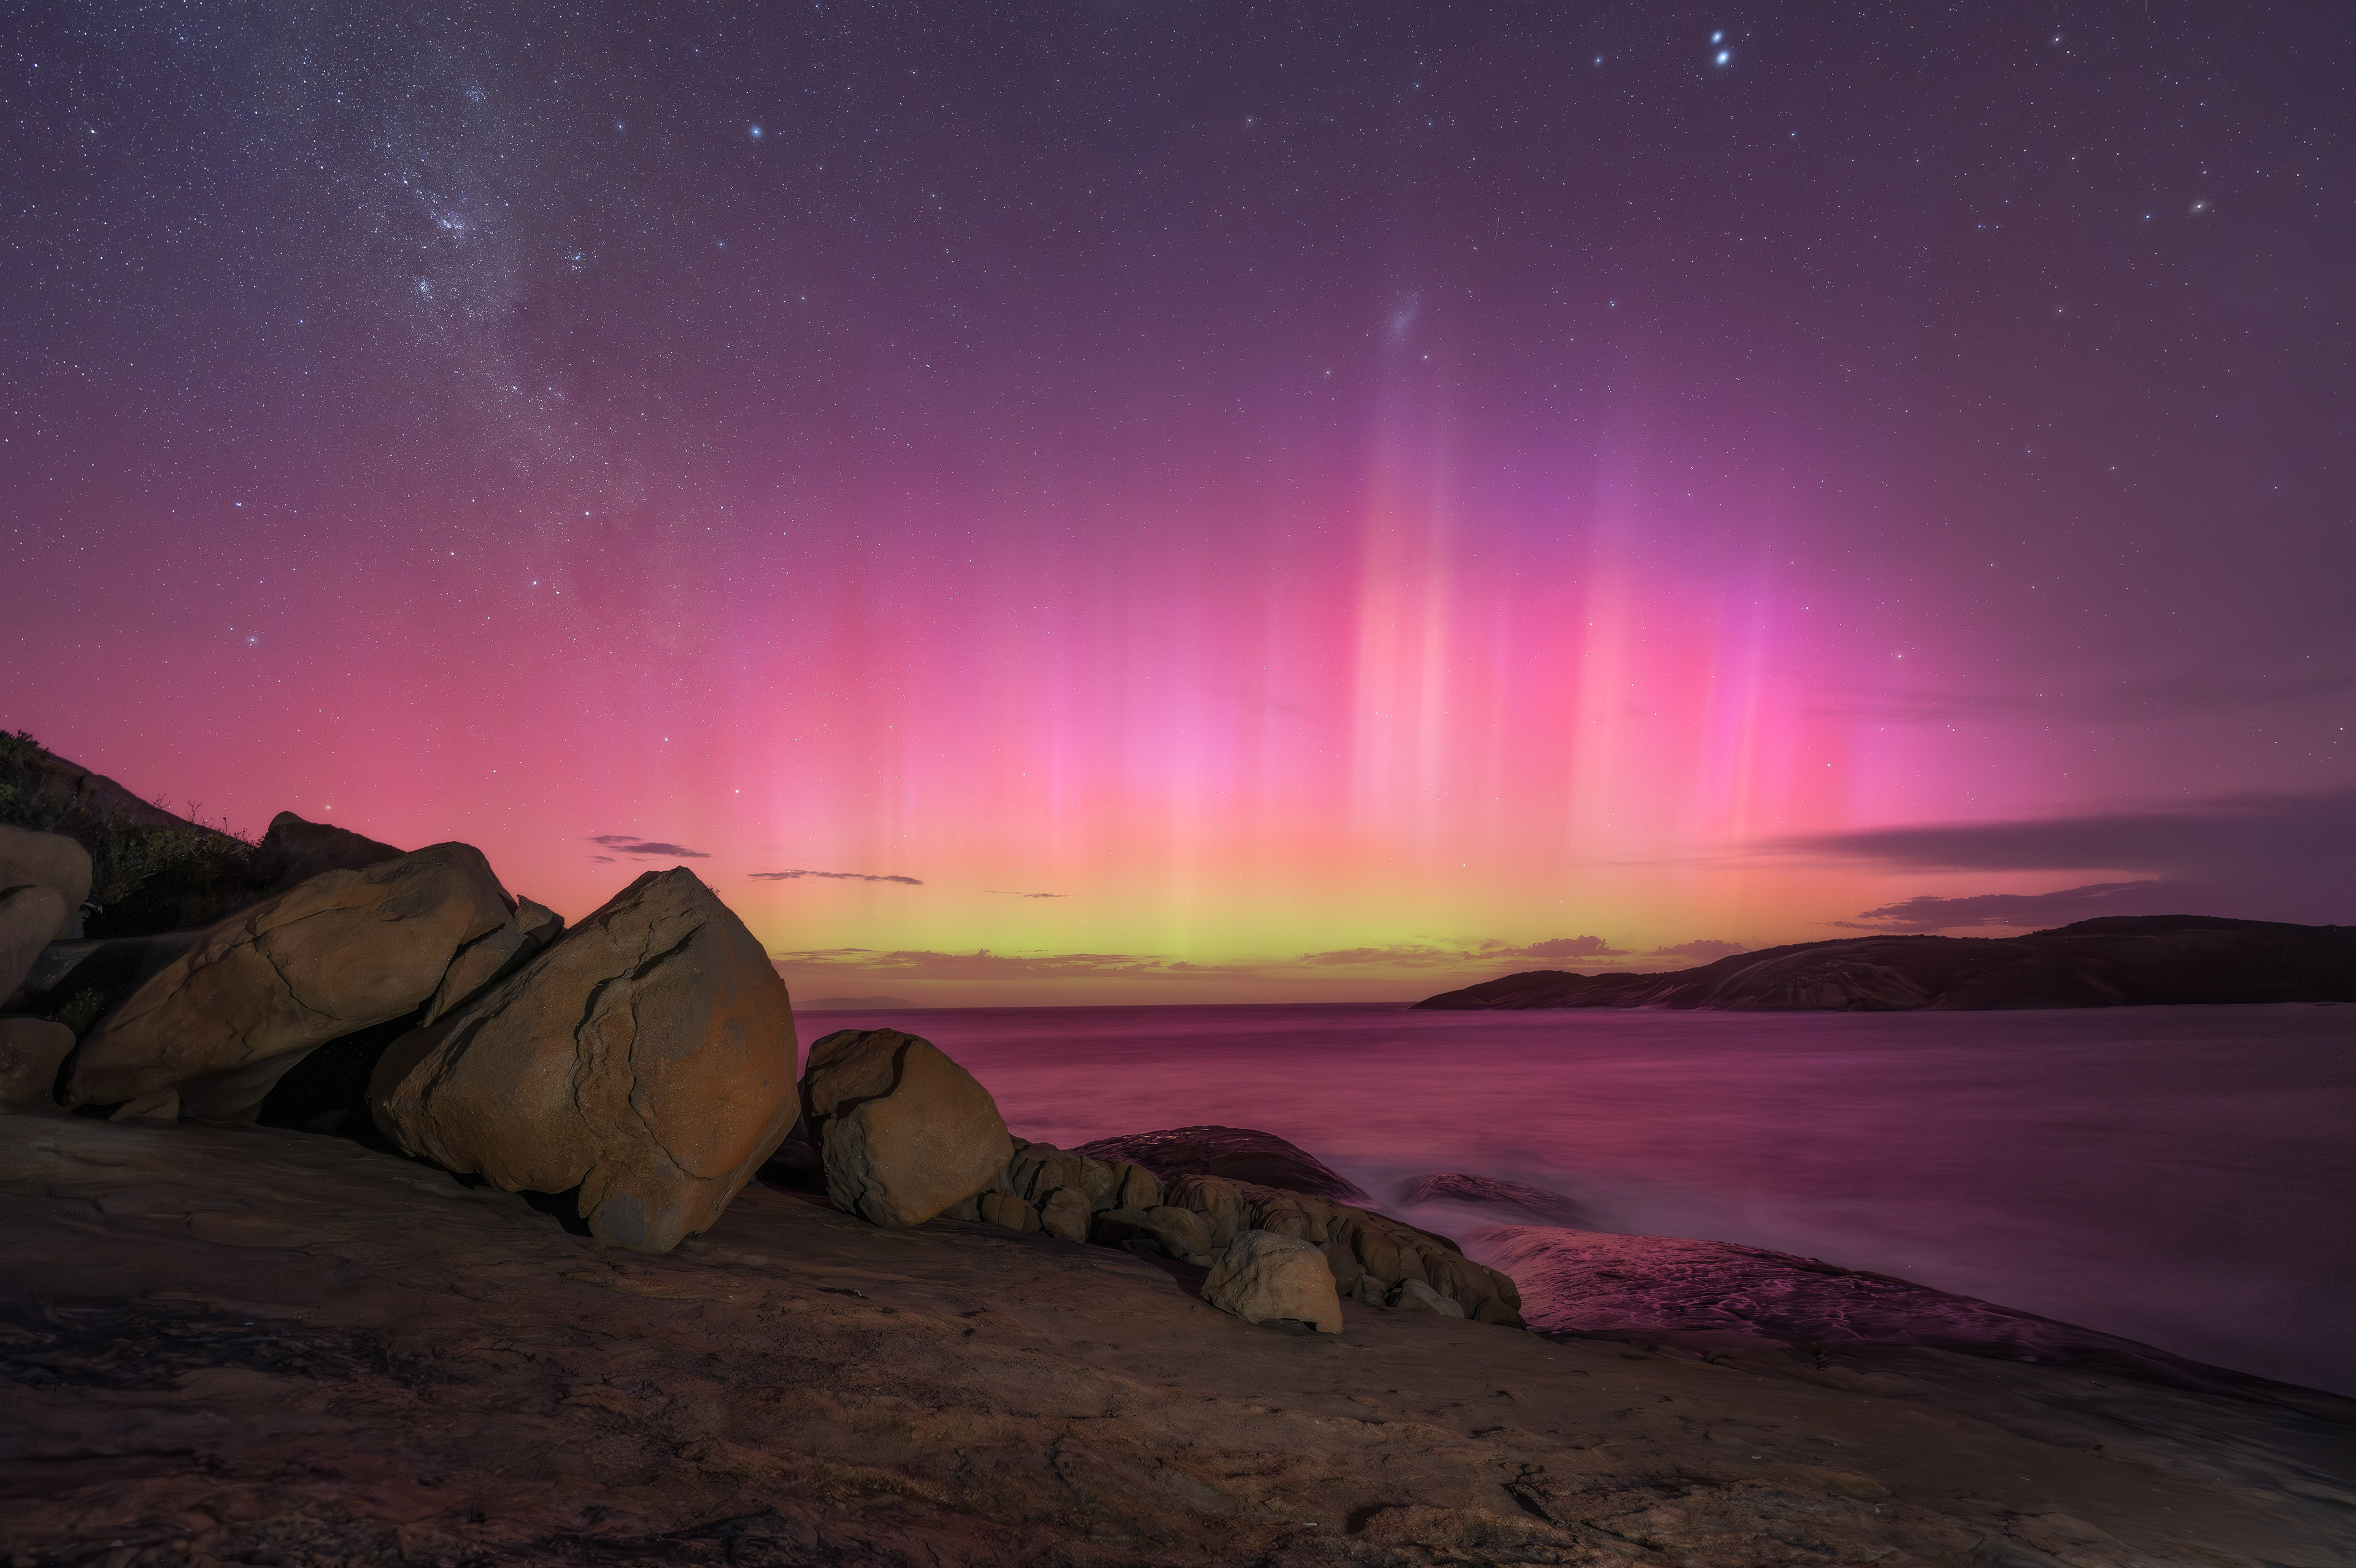
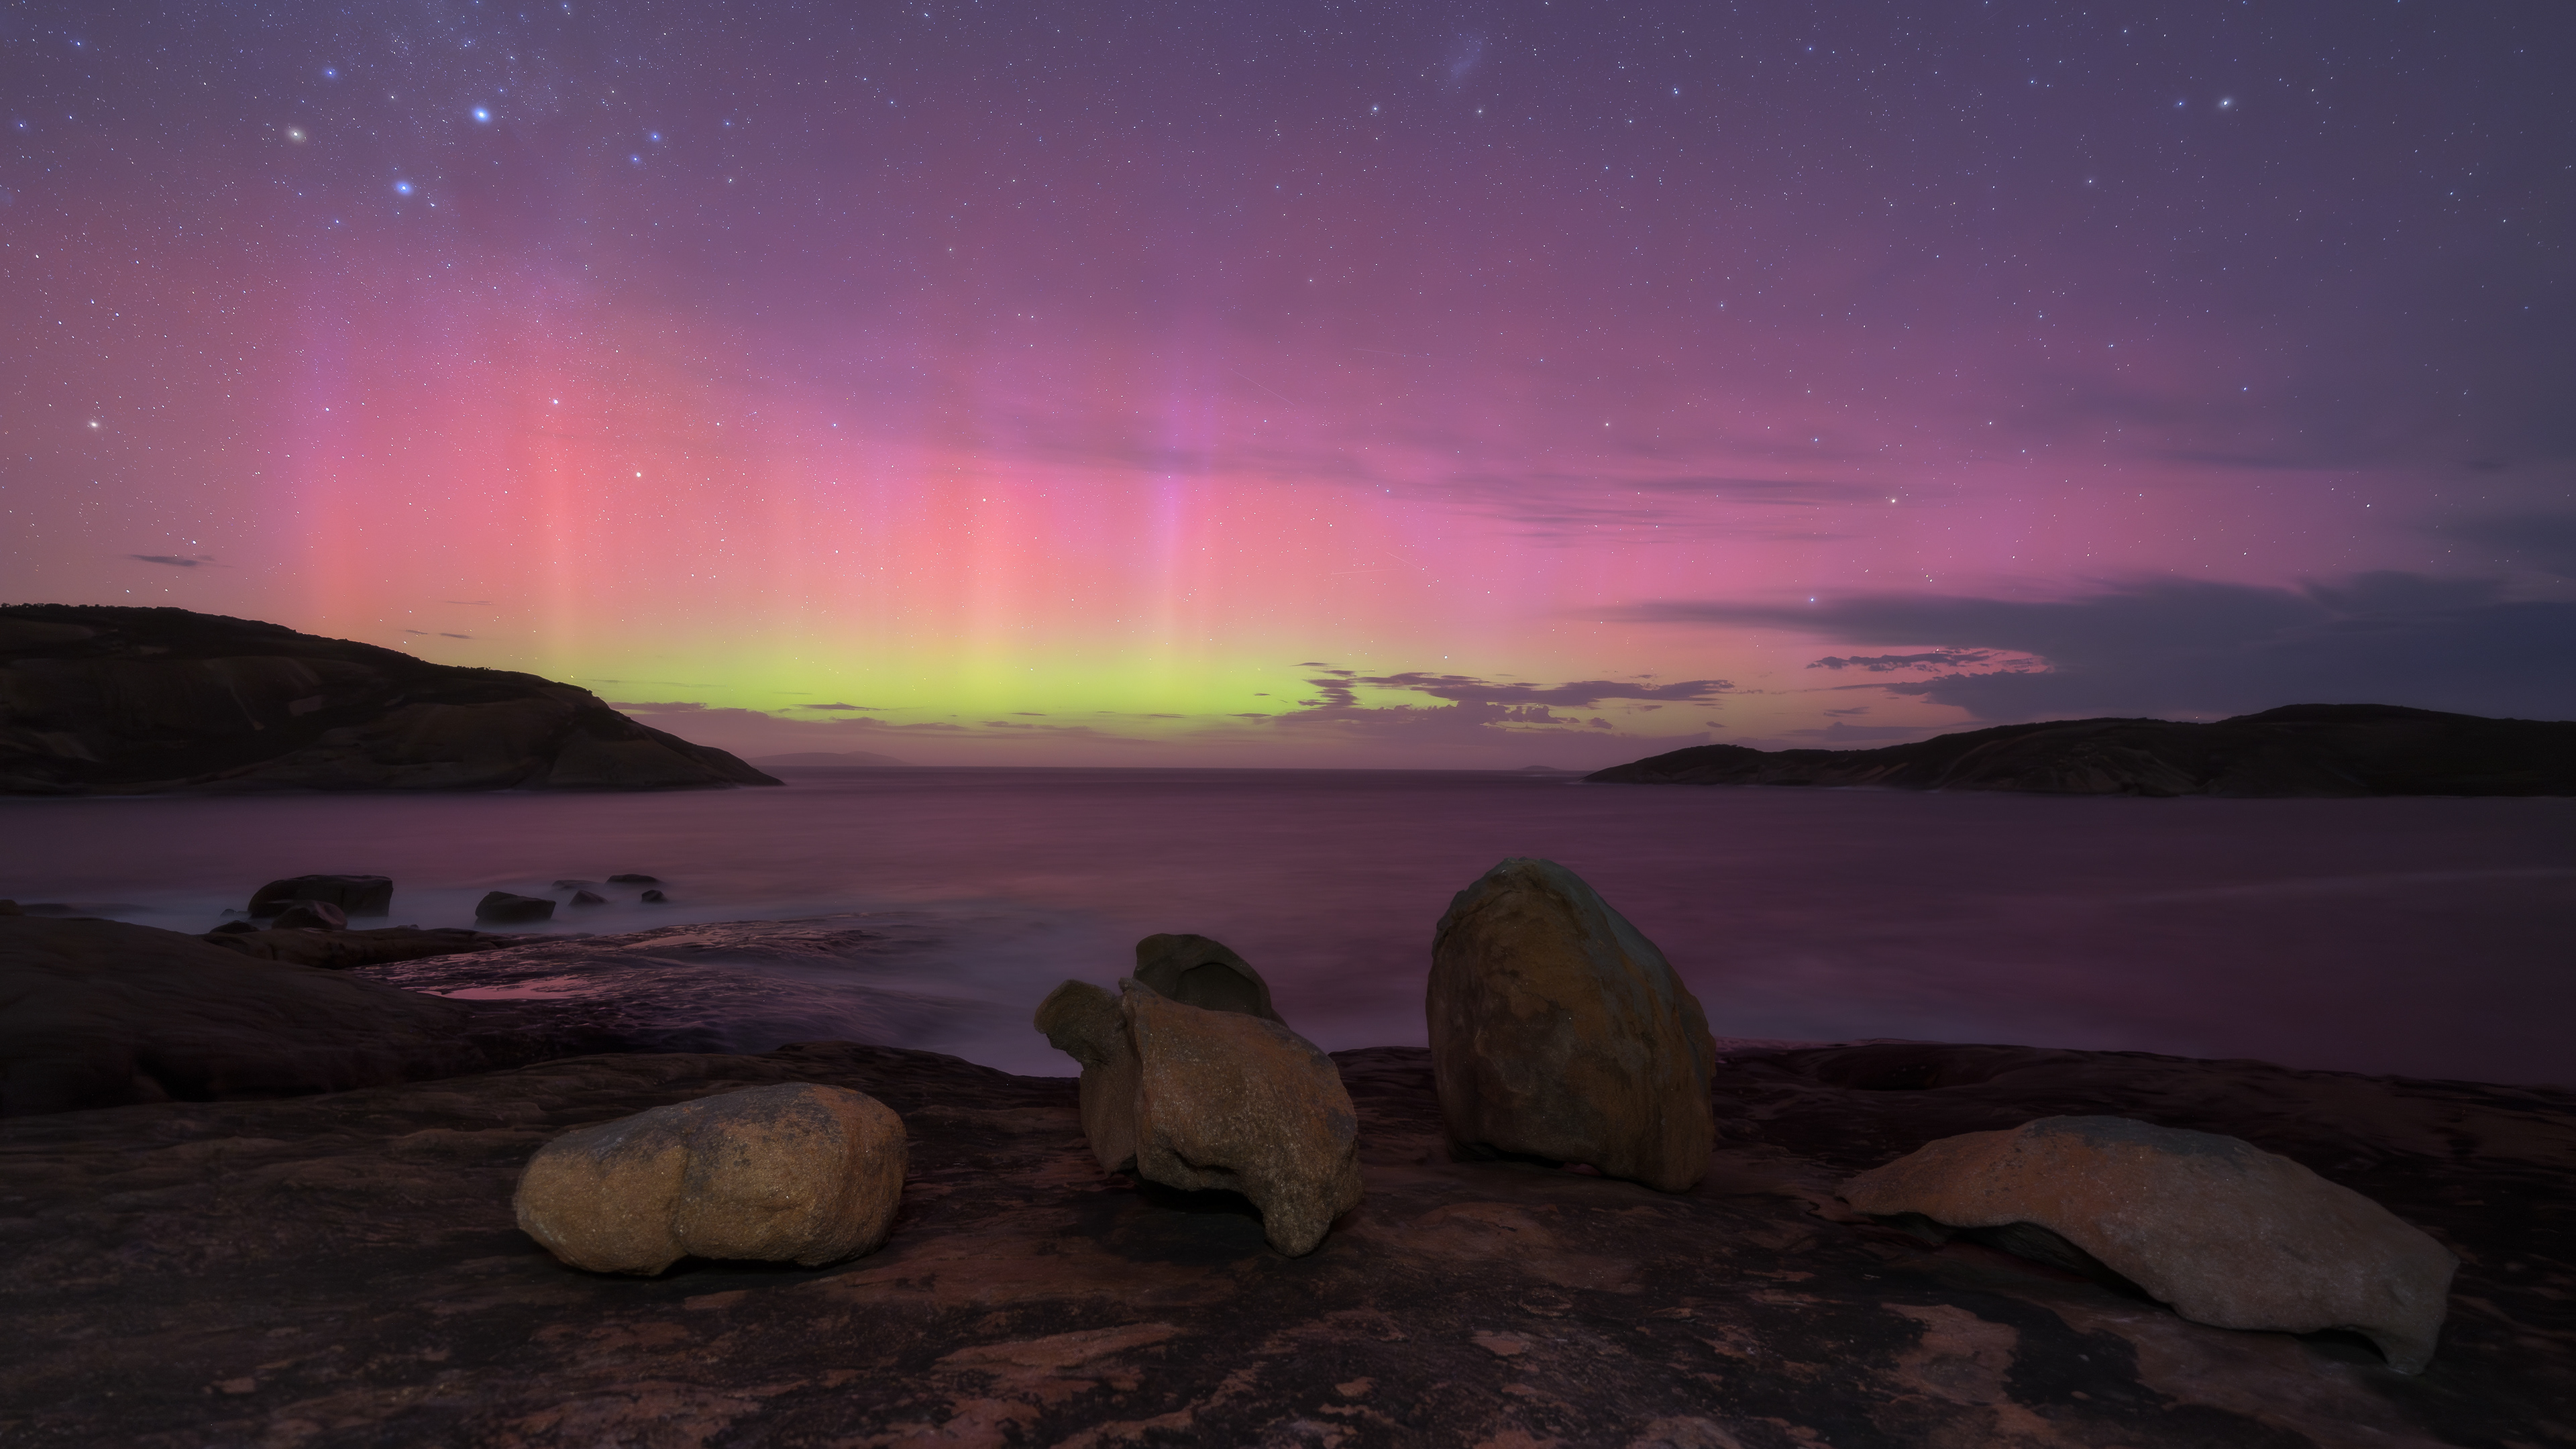
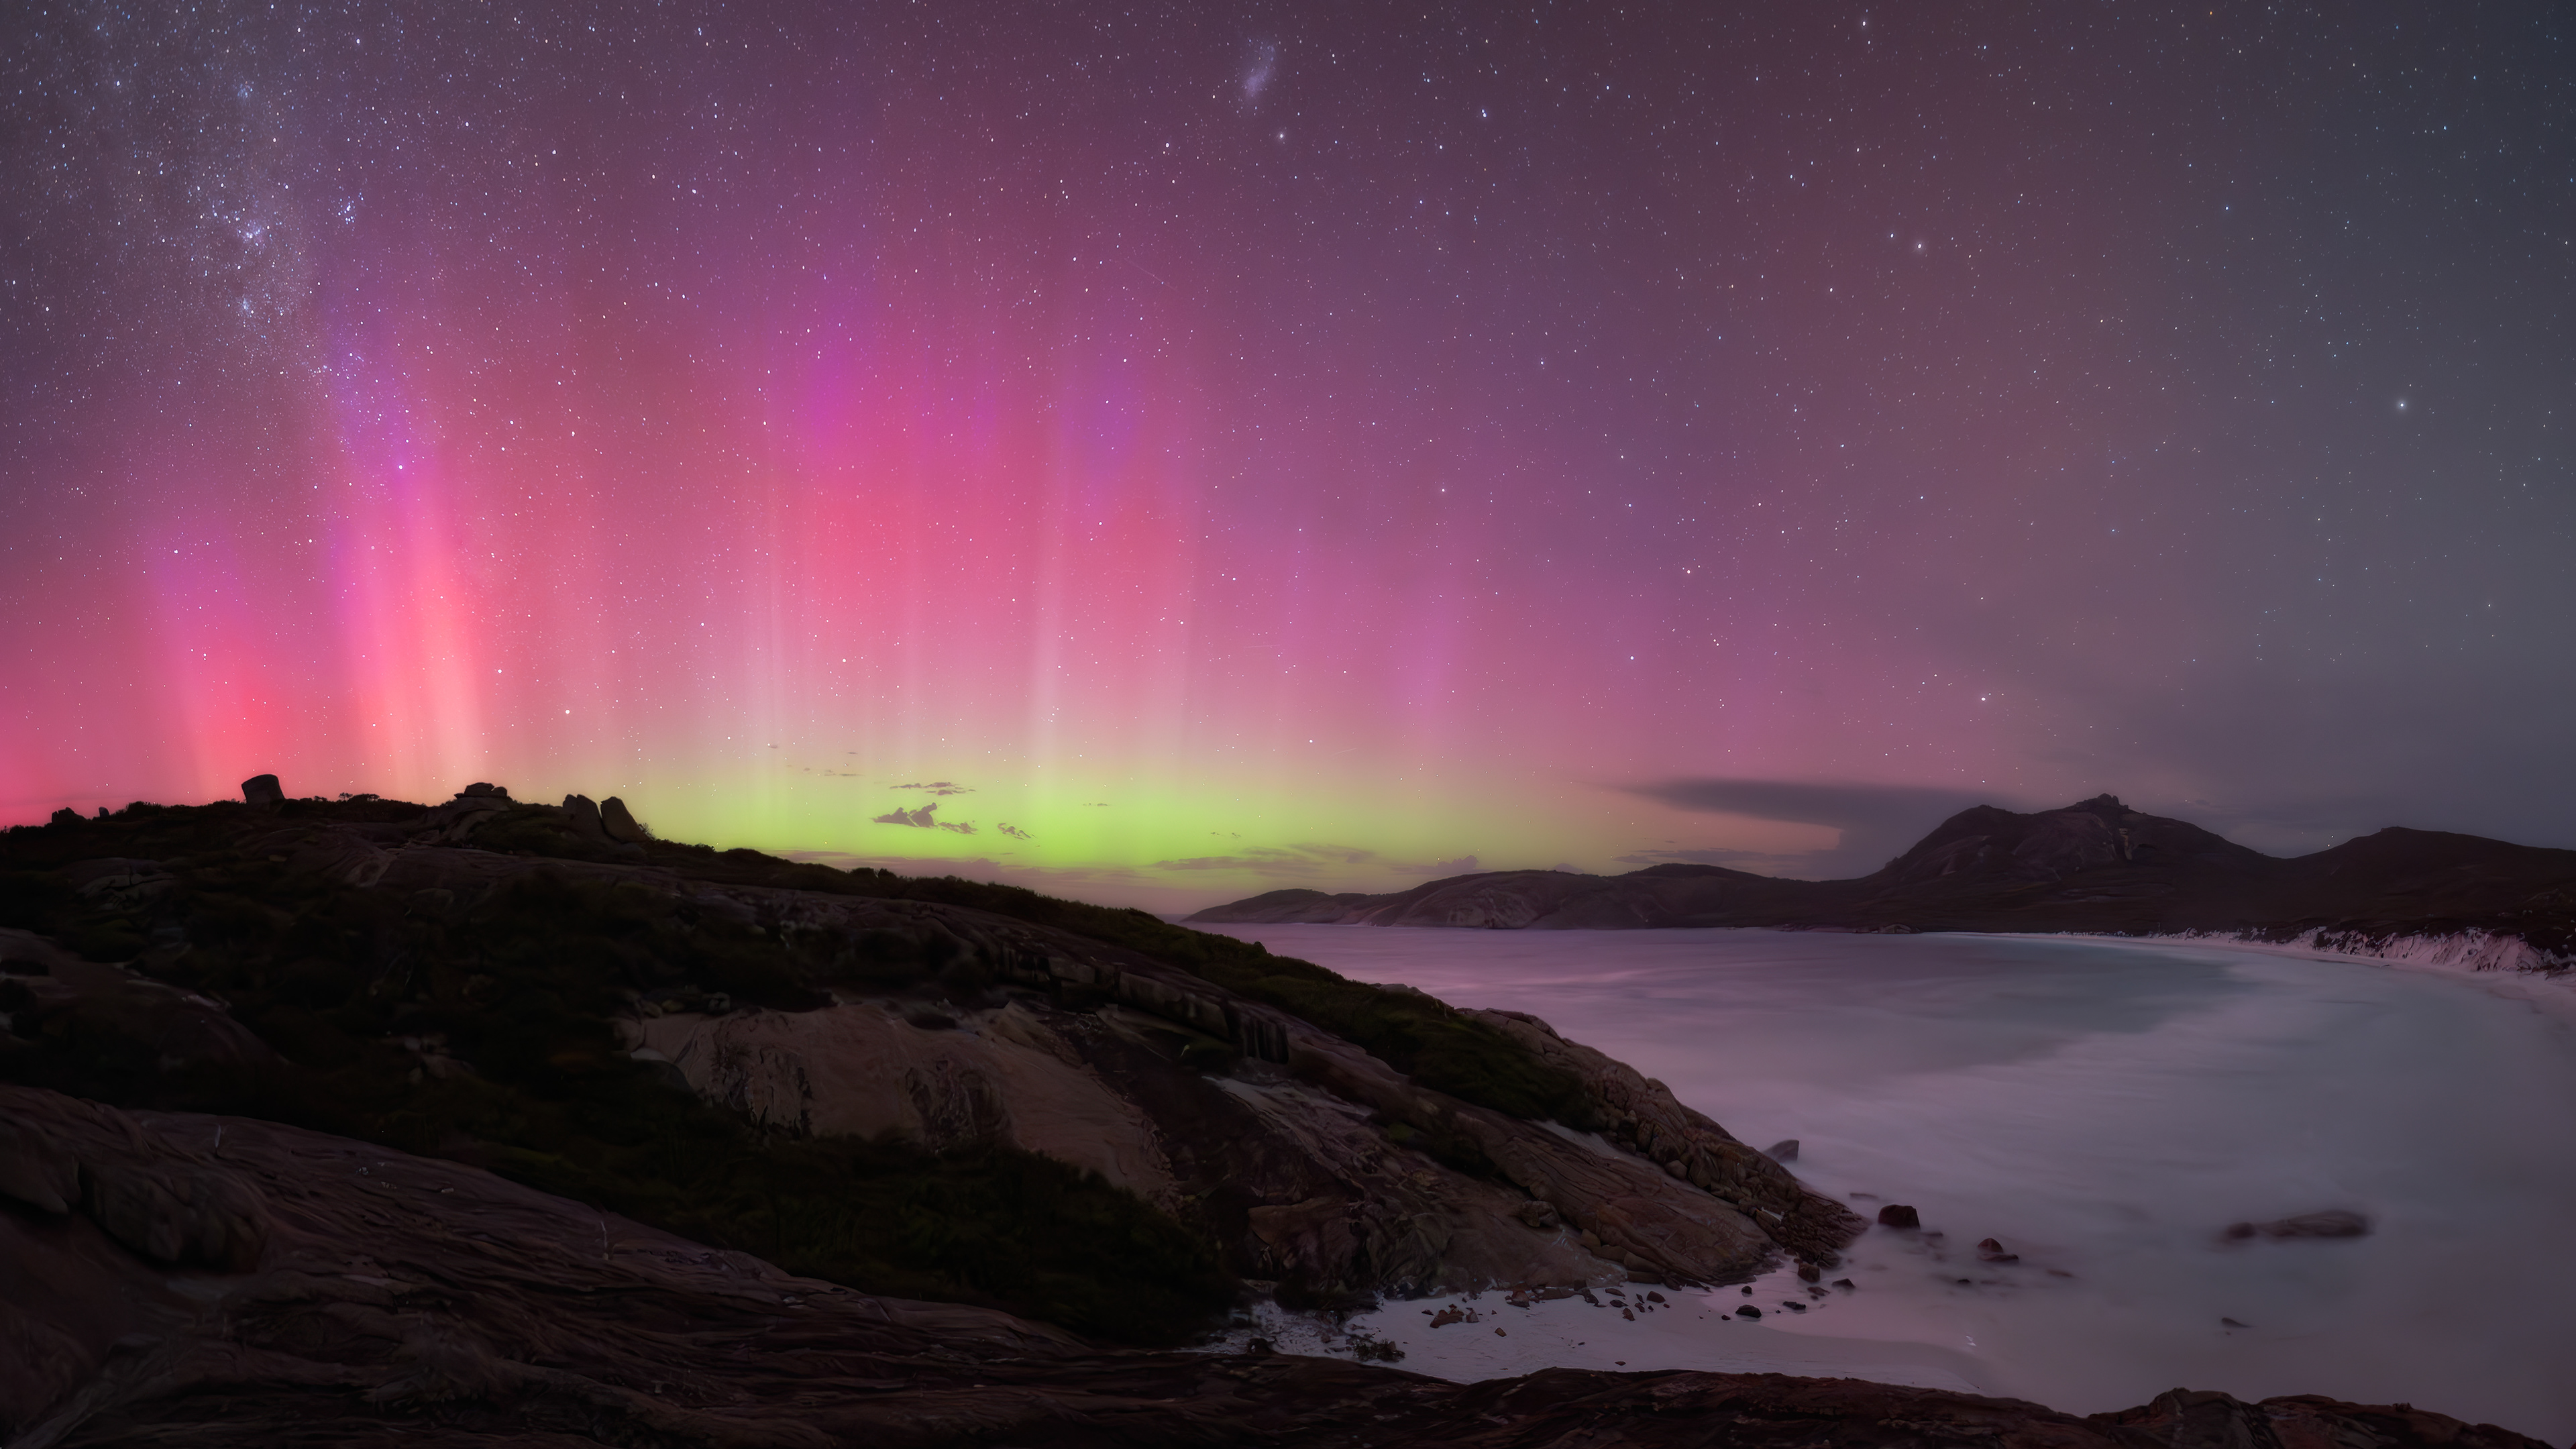
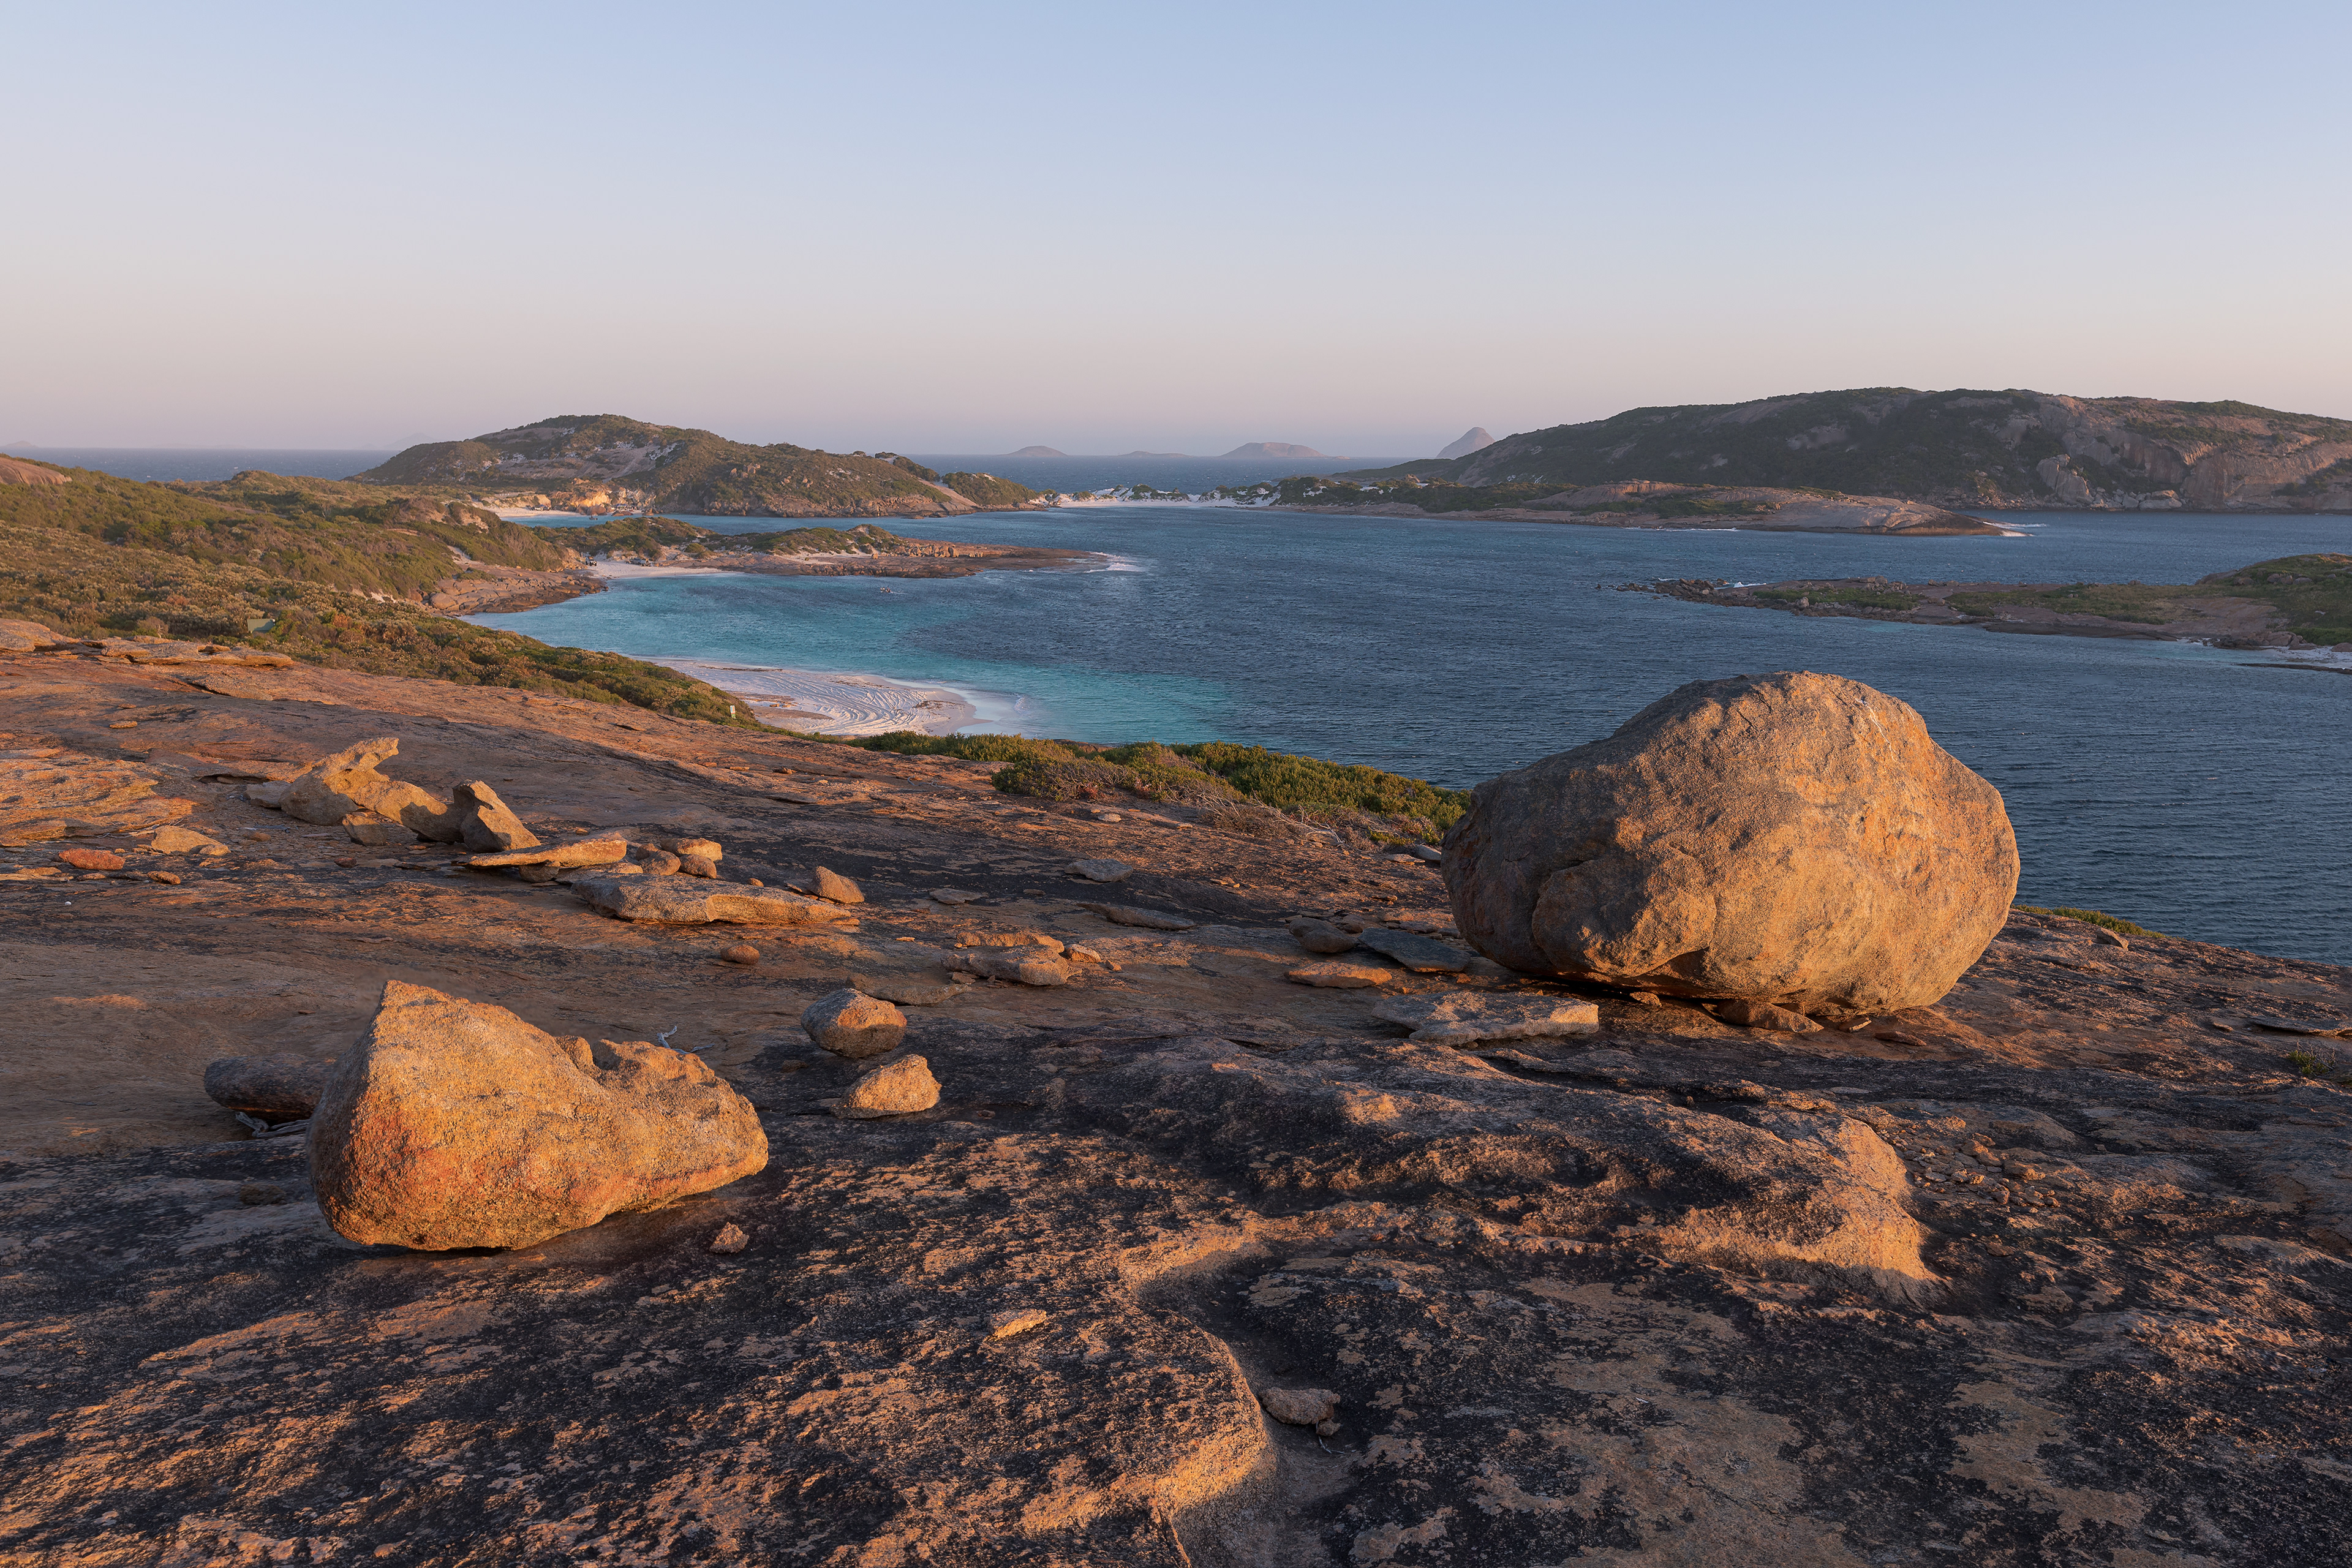
Thistle Cove Aurora 01 (2:3)
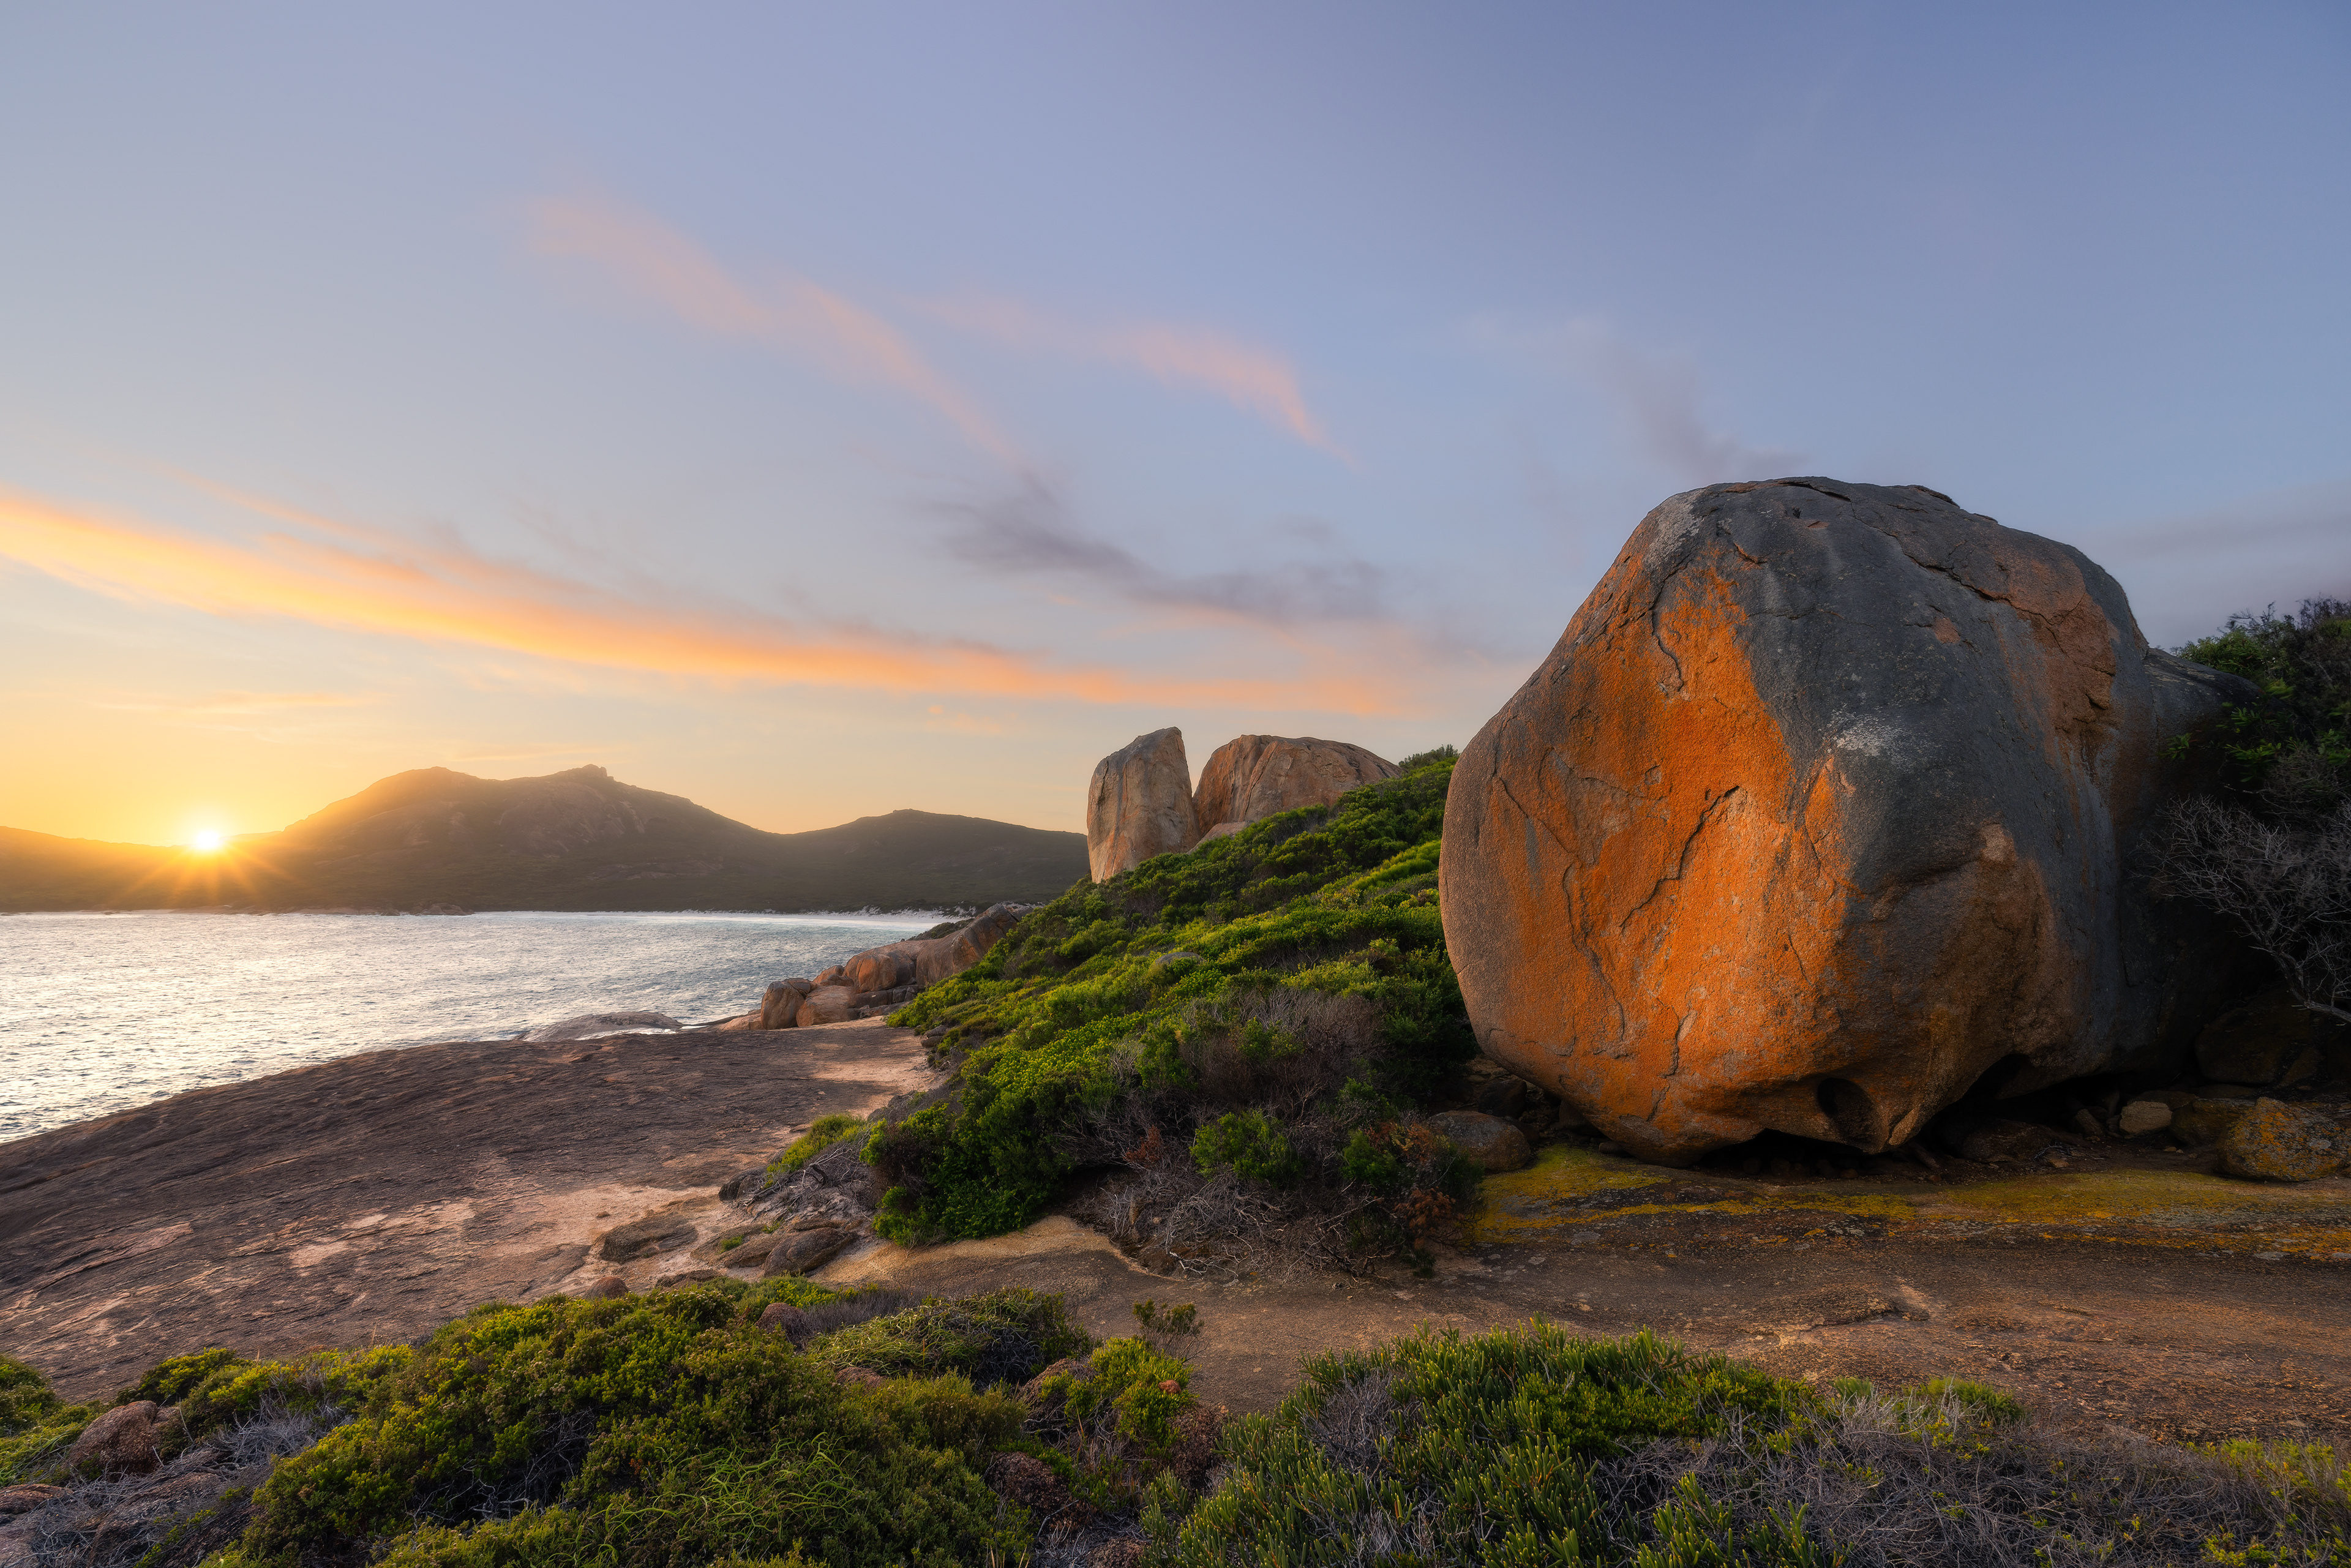
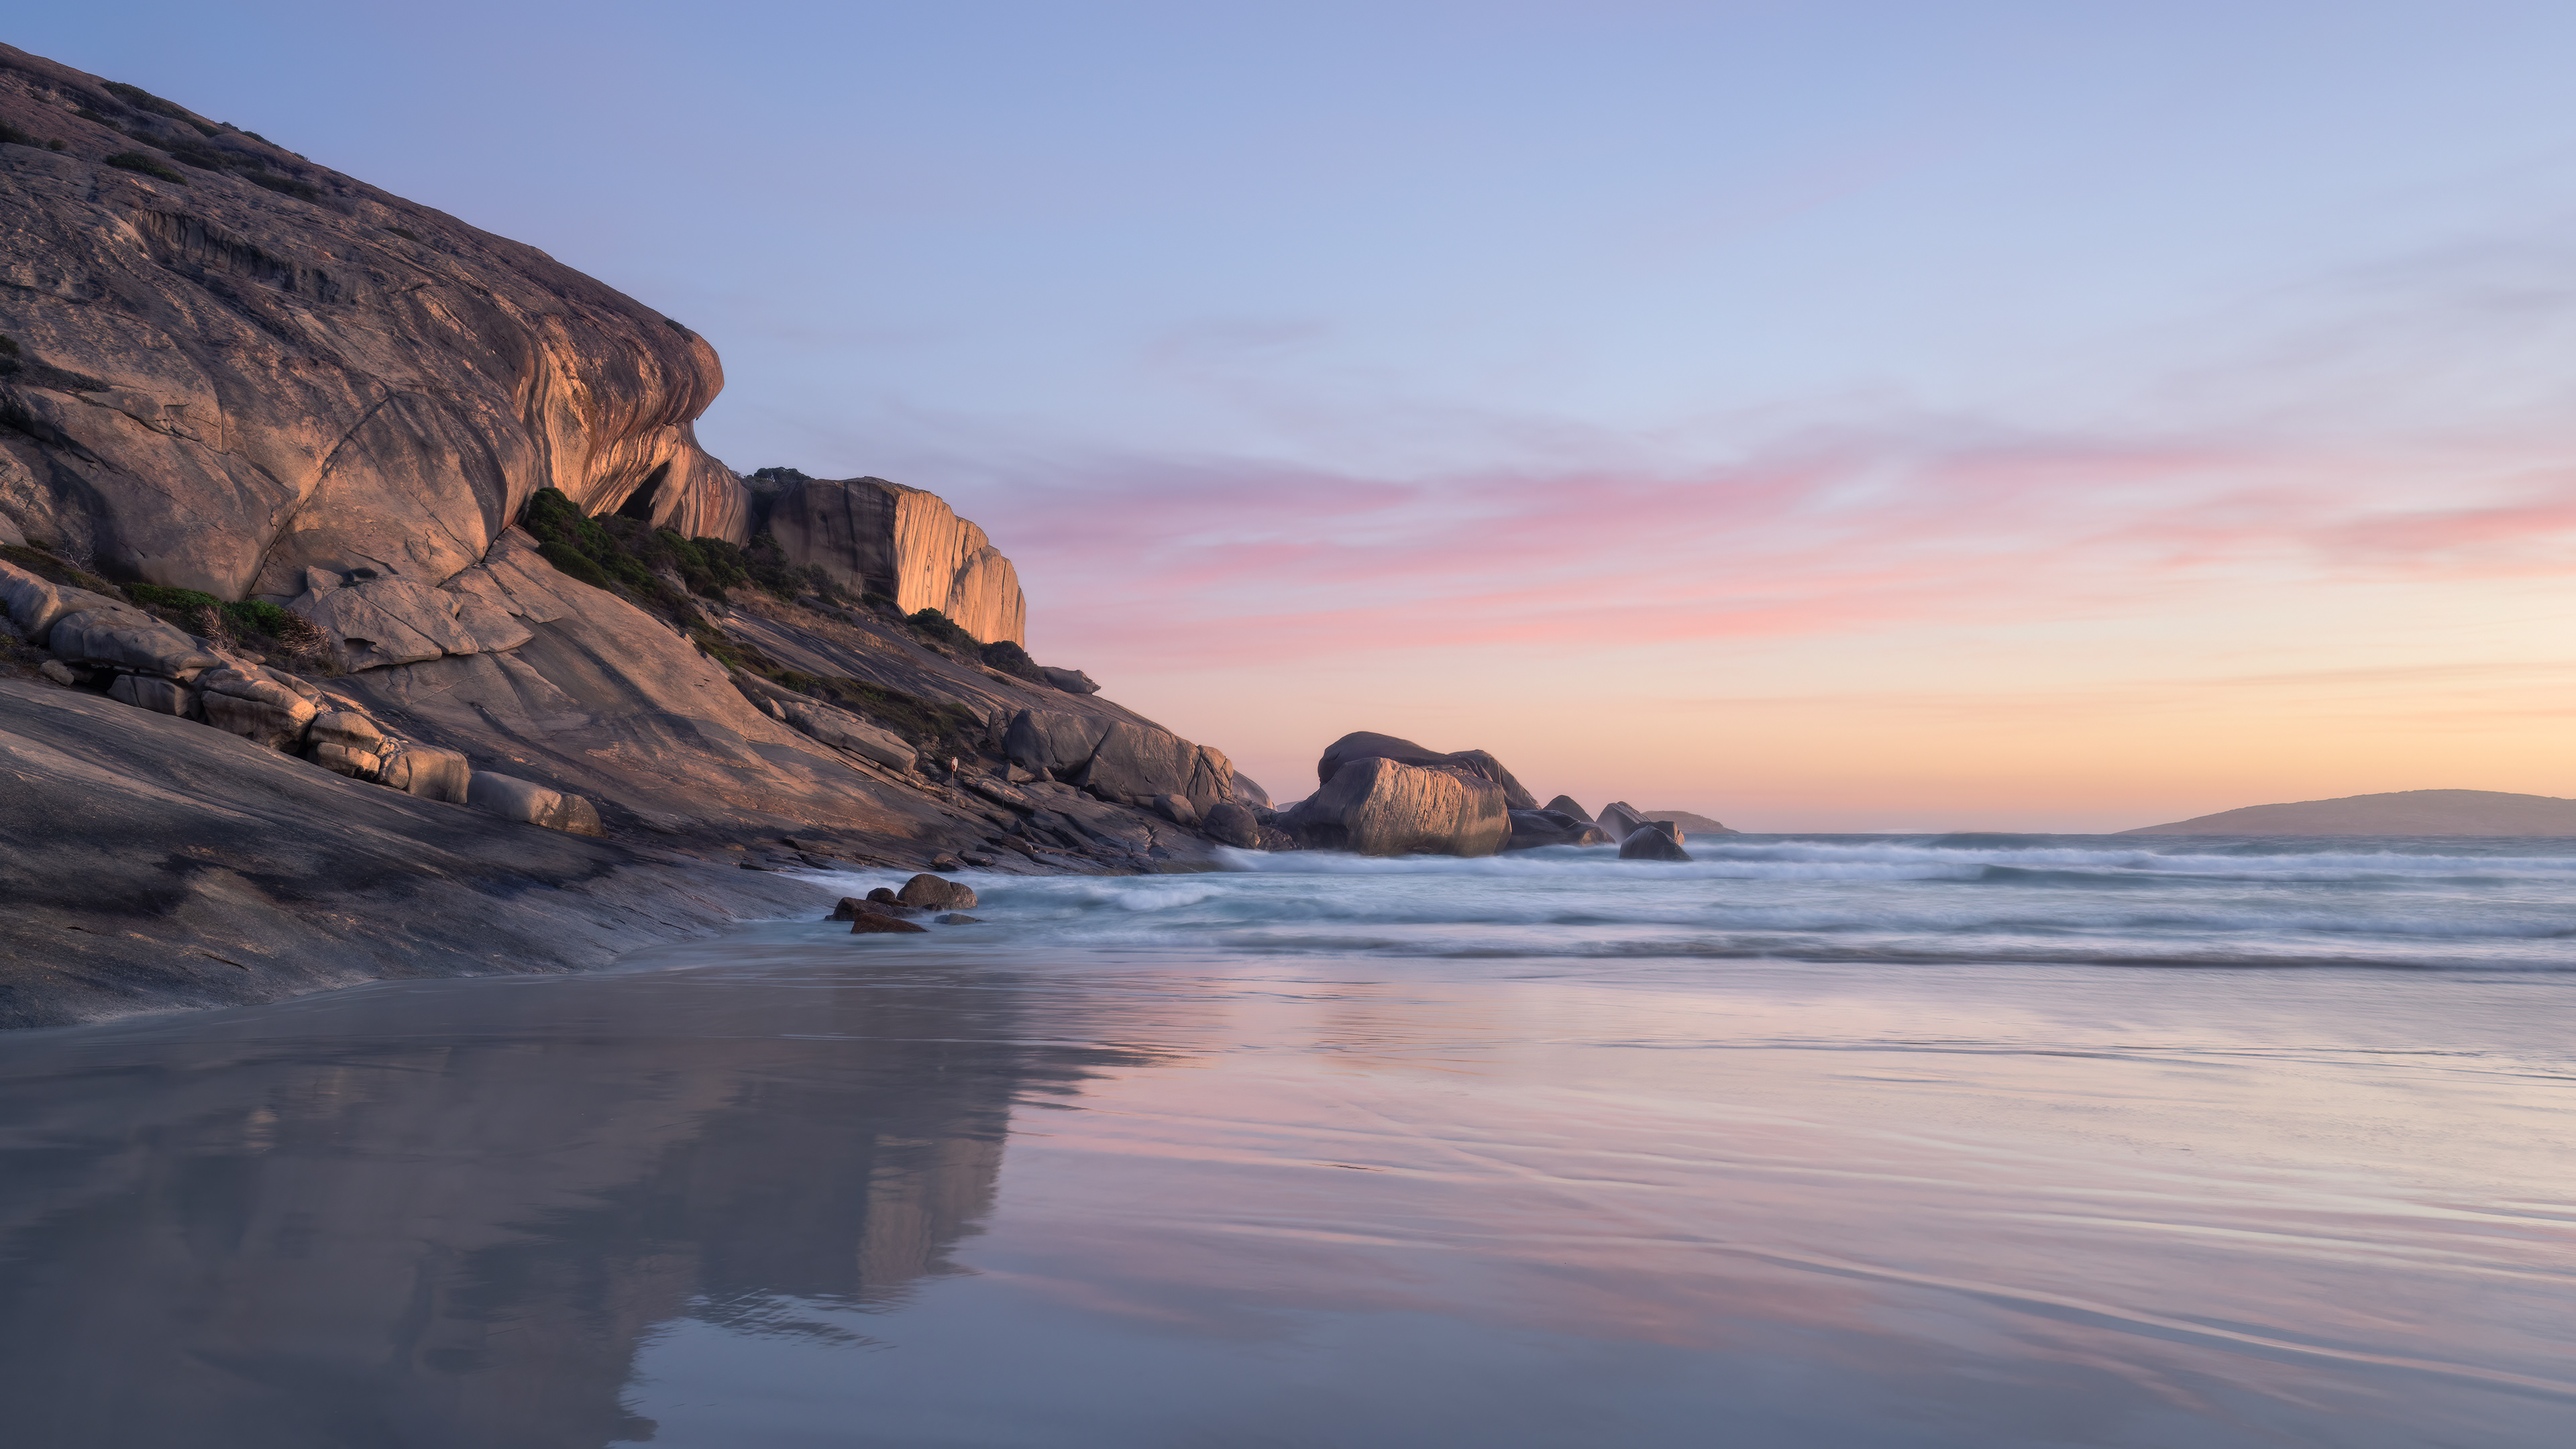
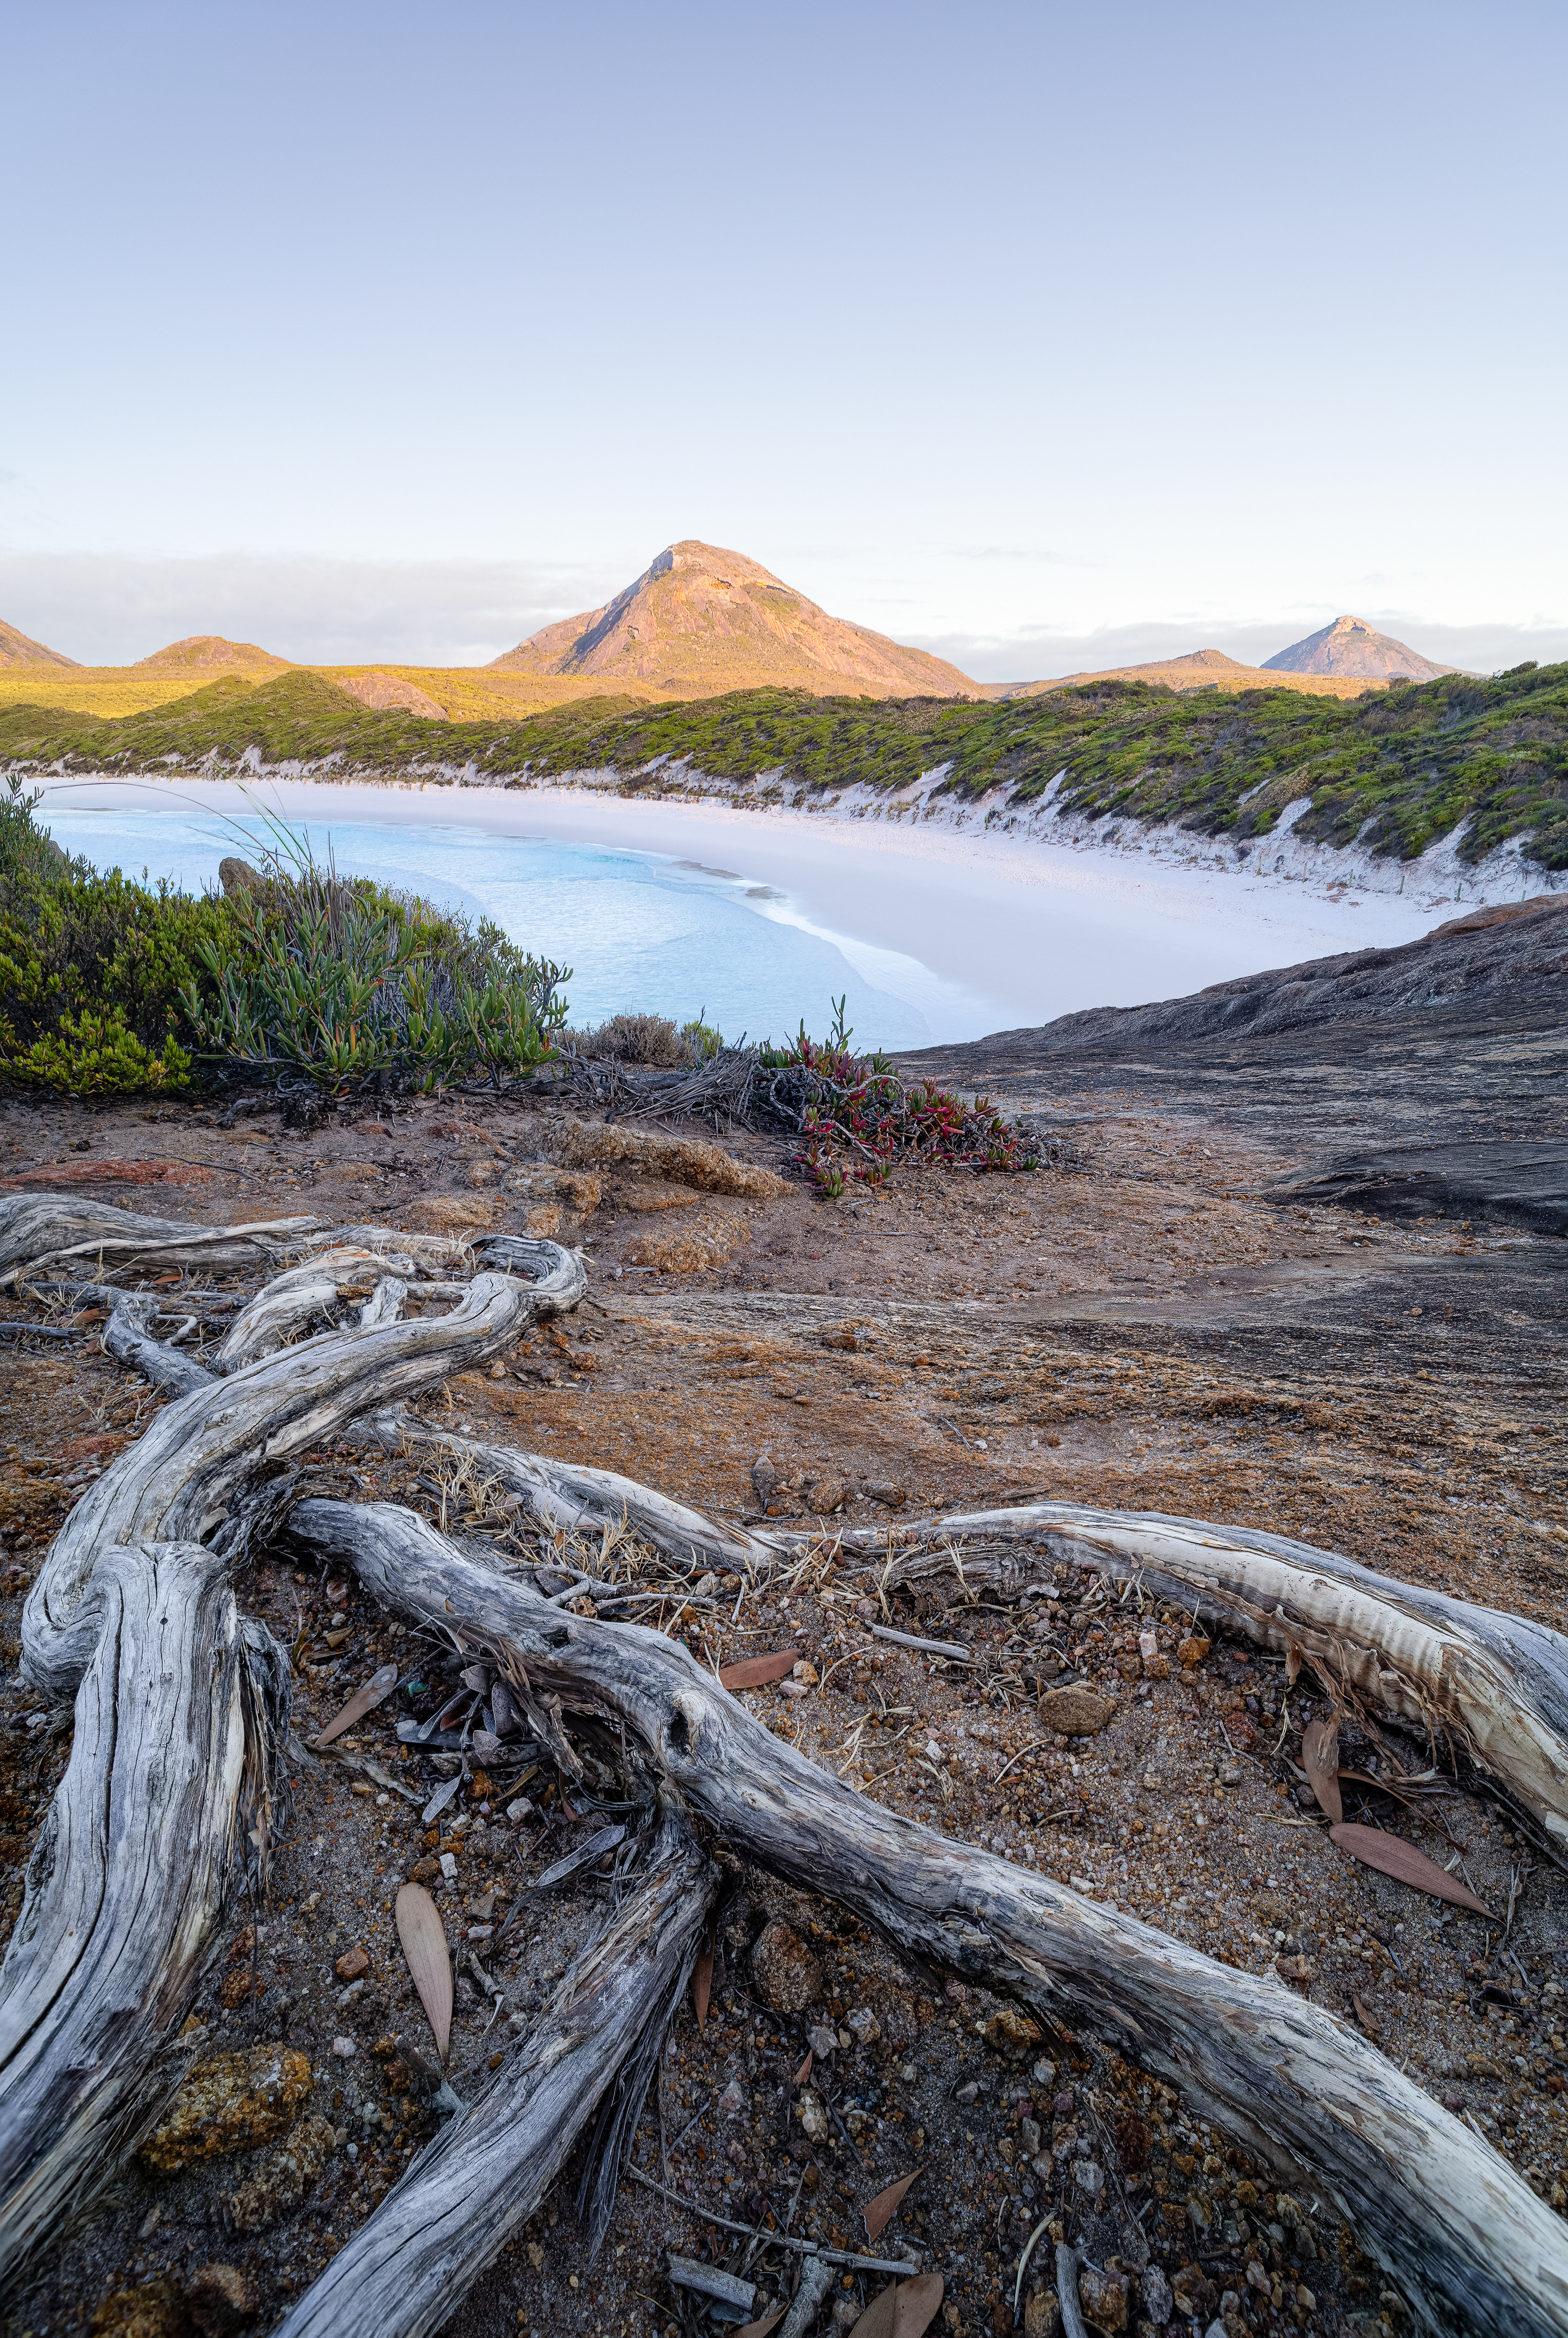
Thistle Cove Sunset (2:3)
Little Wharton Bay (2:3/16:9)
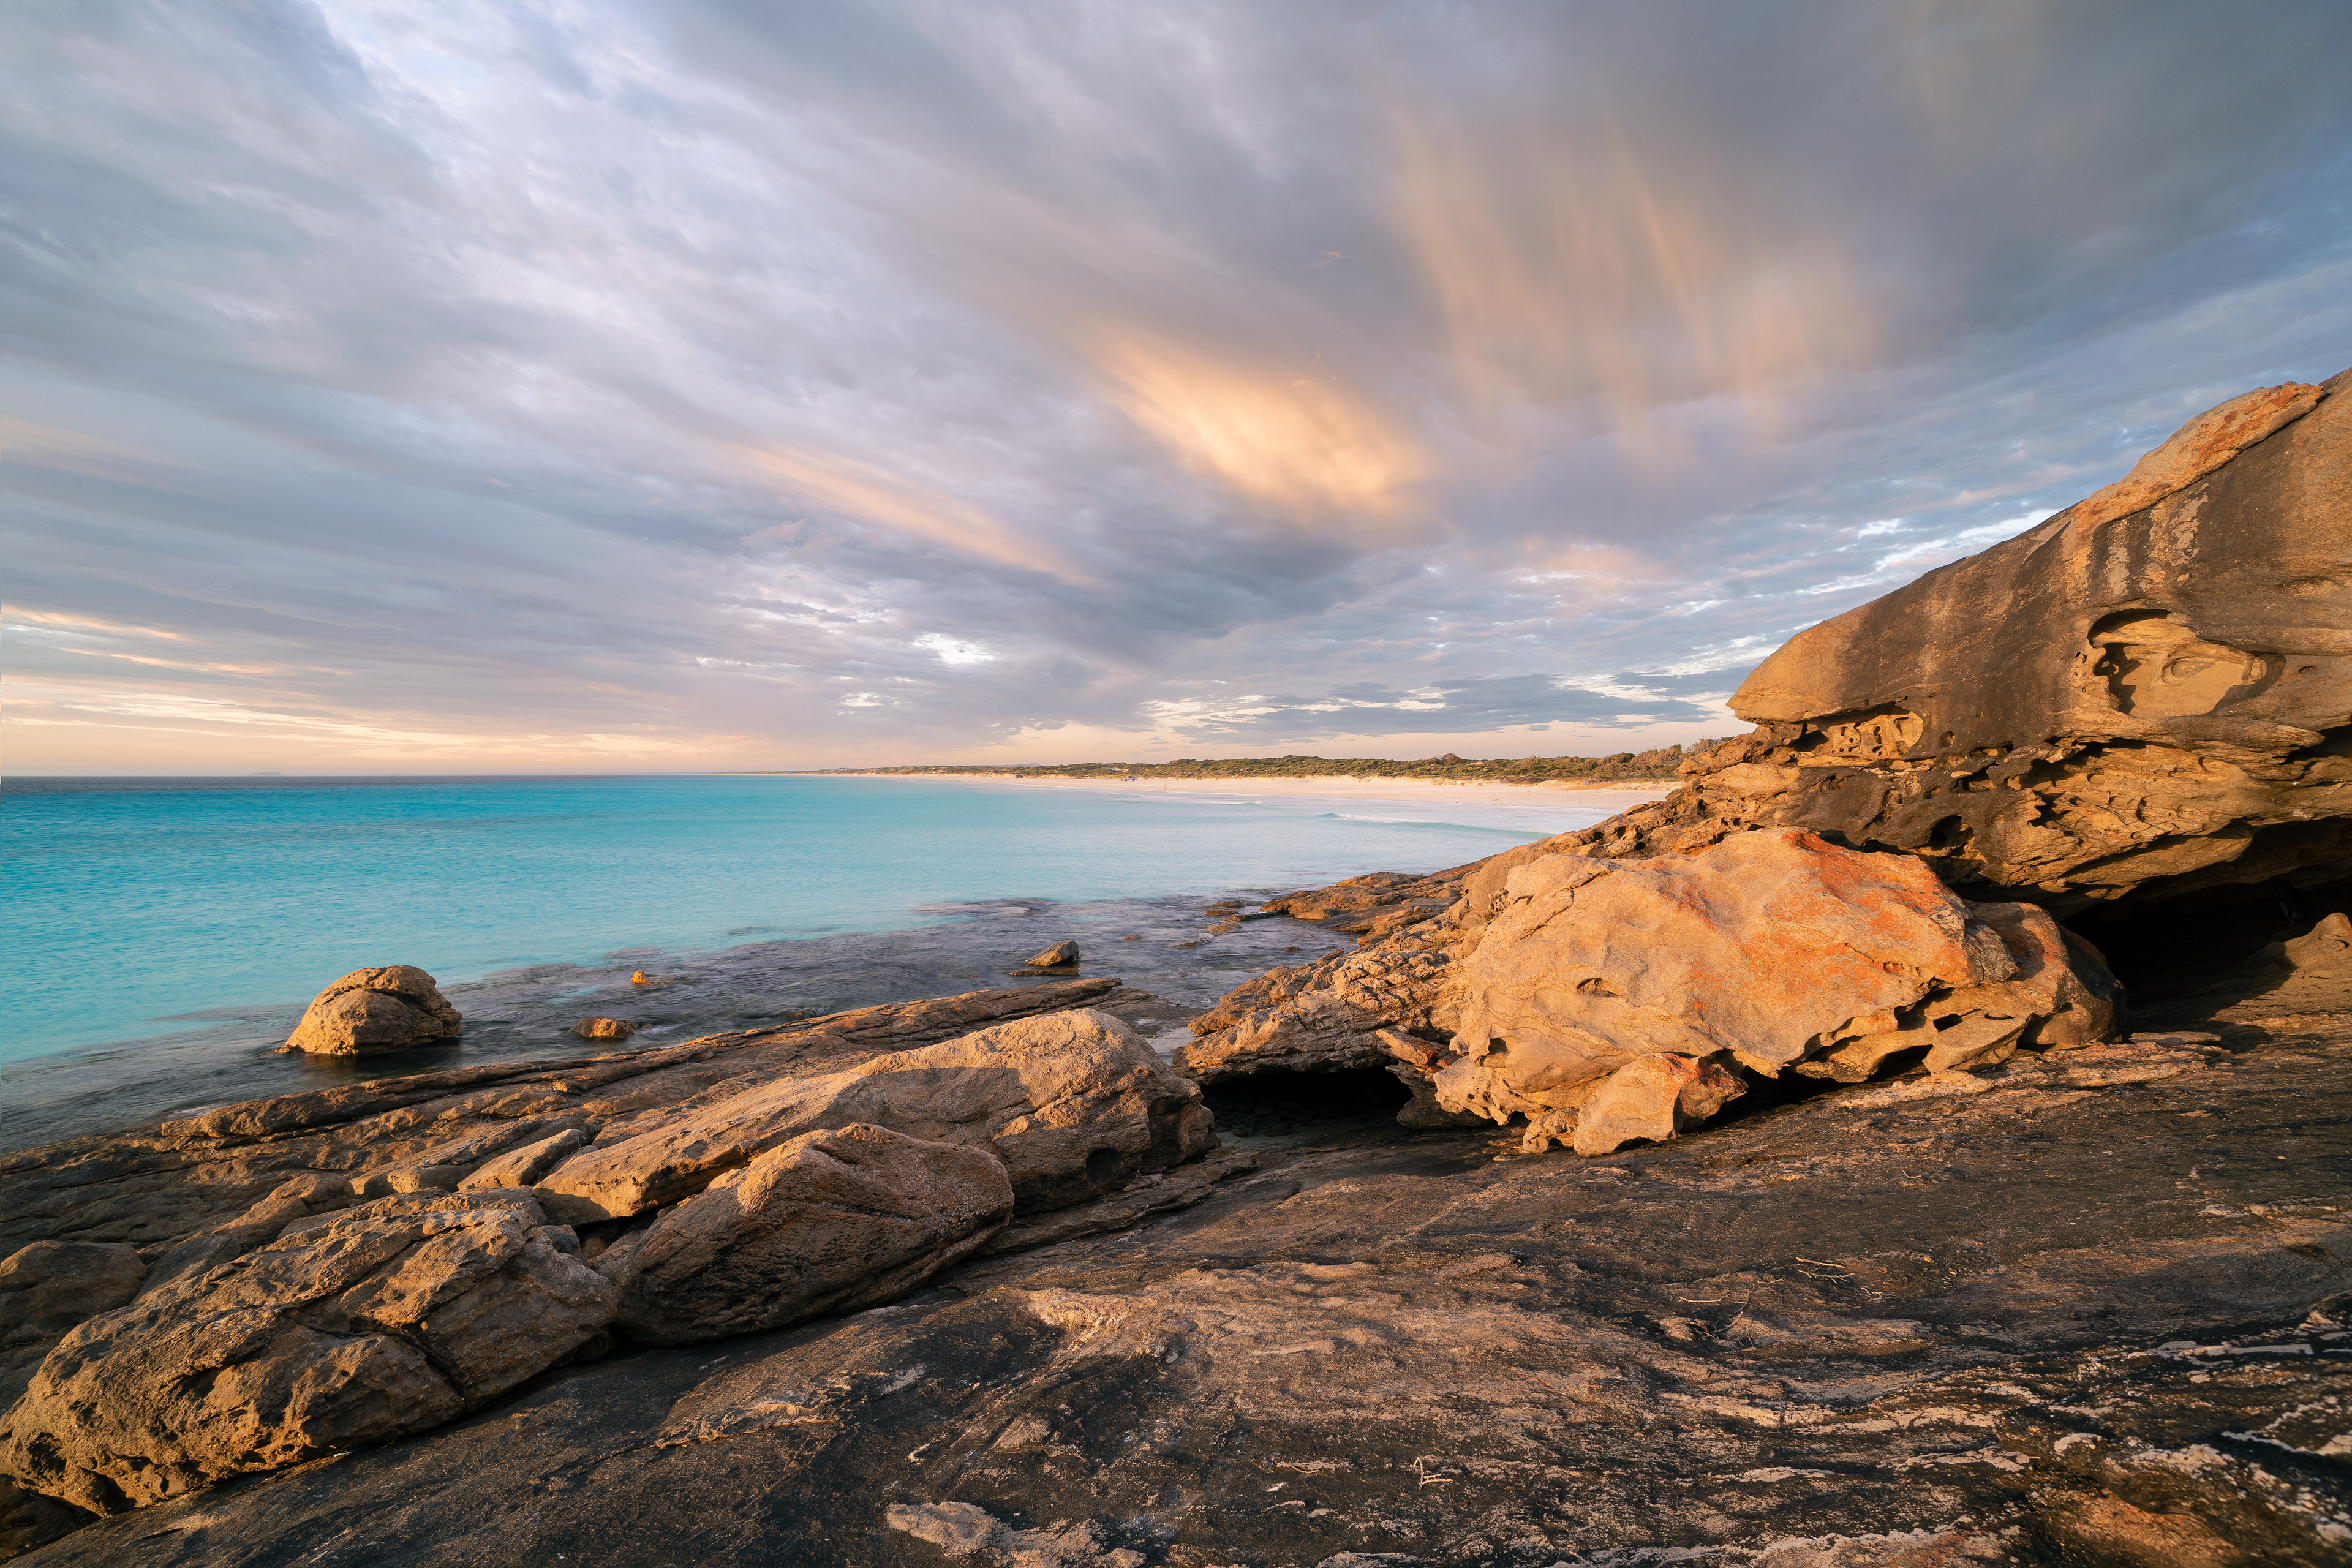
Mississippi Beach (4:5)
Wharton Beach Sunrise (2:3/16:9)
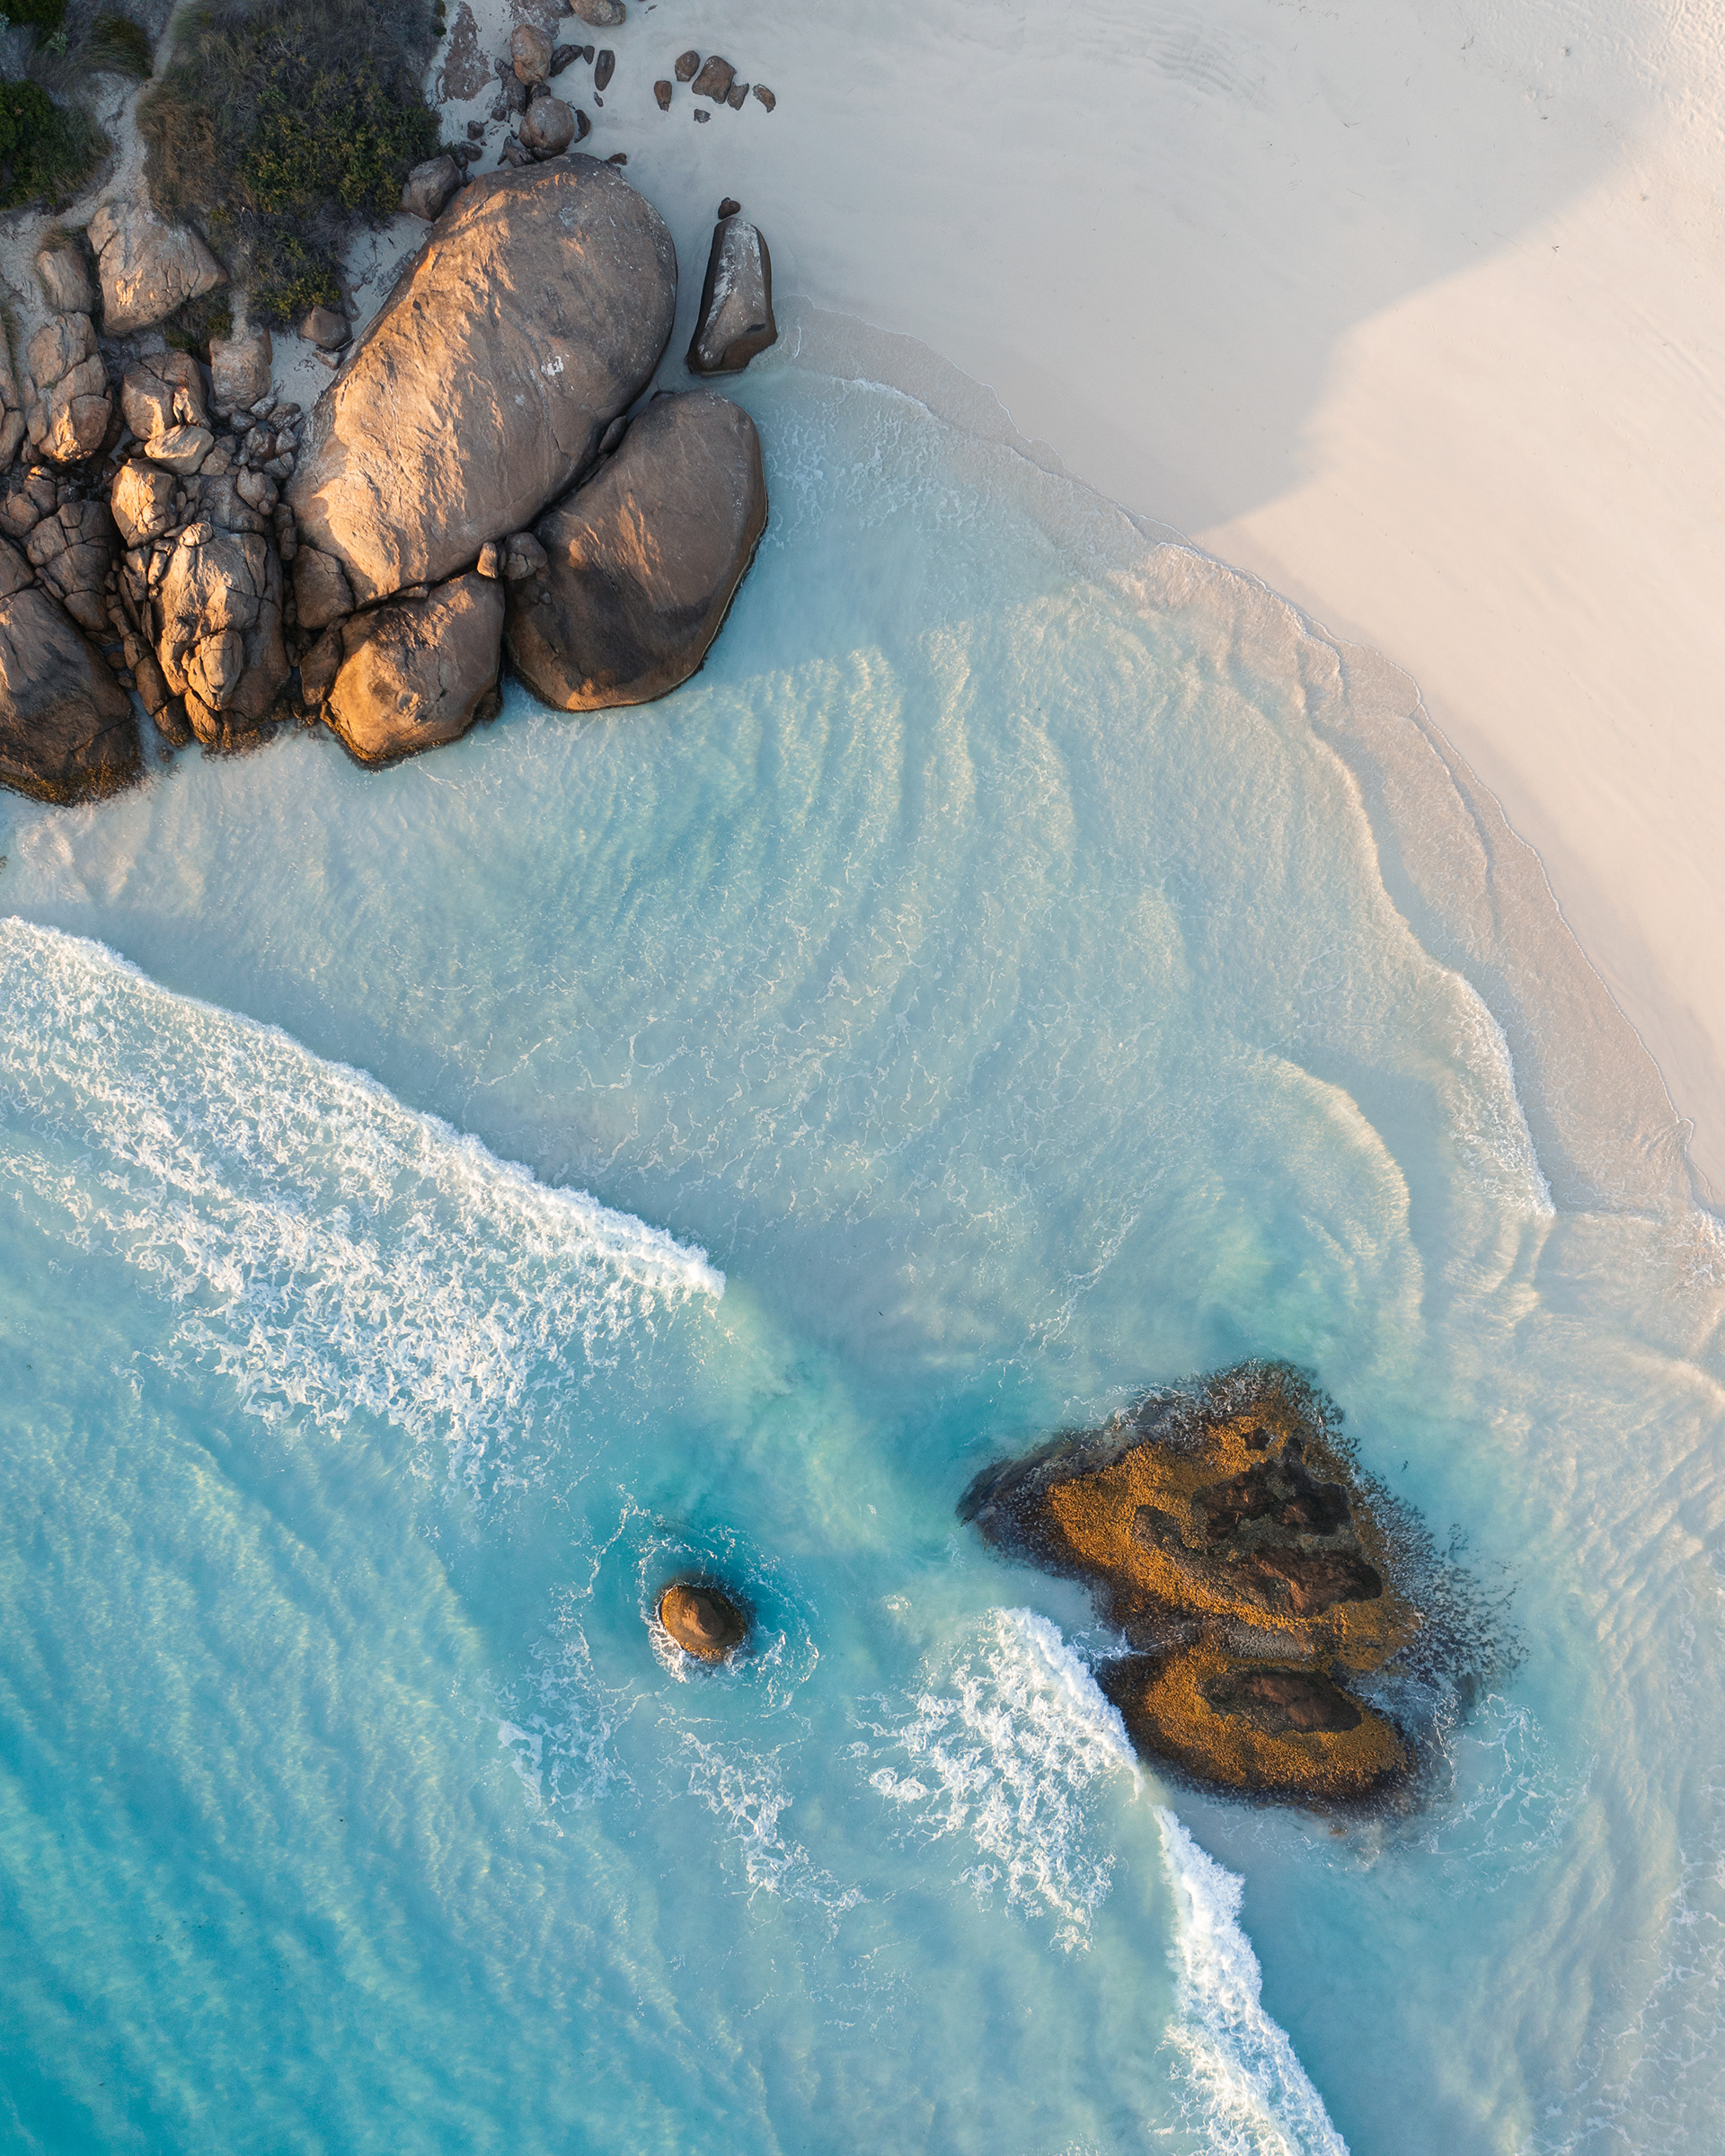
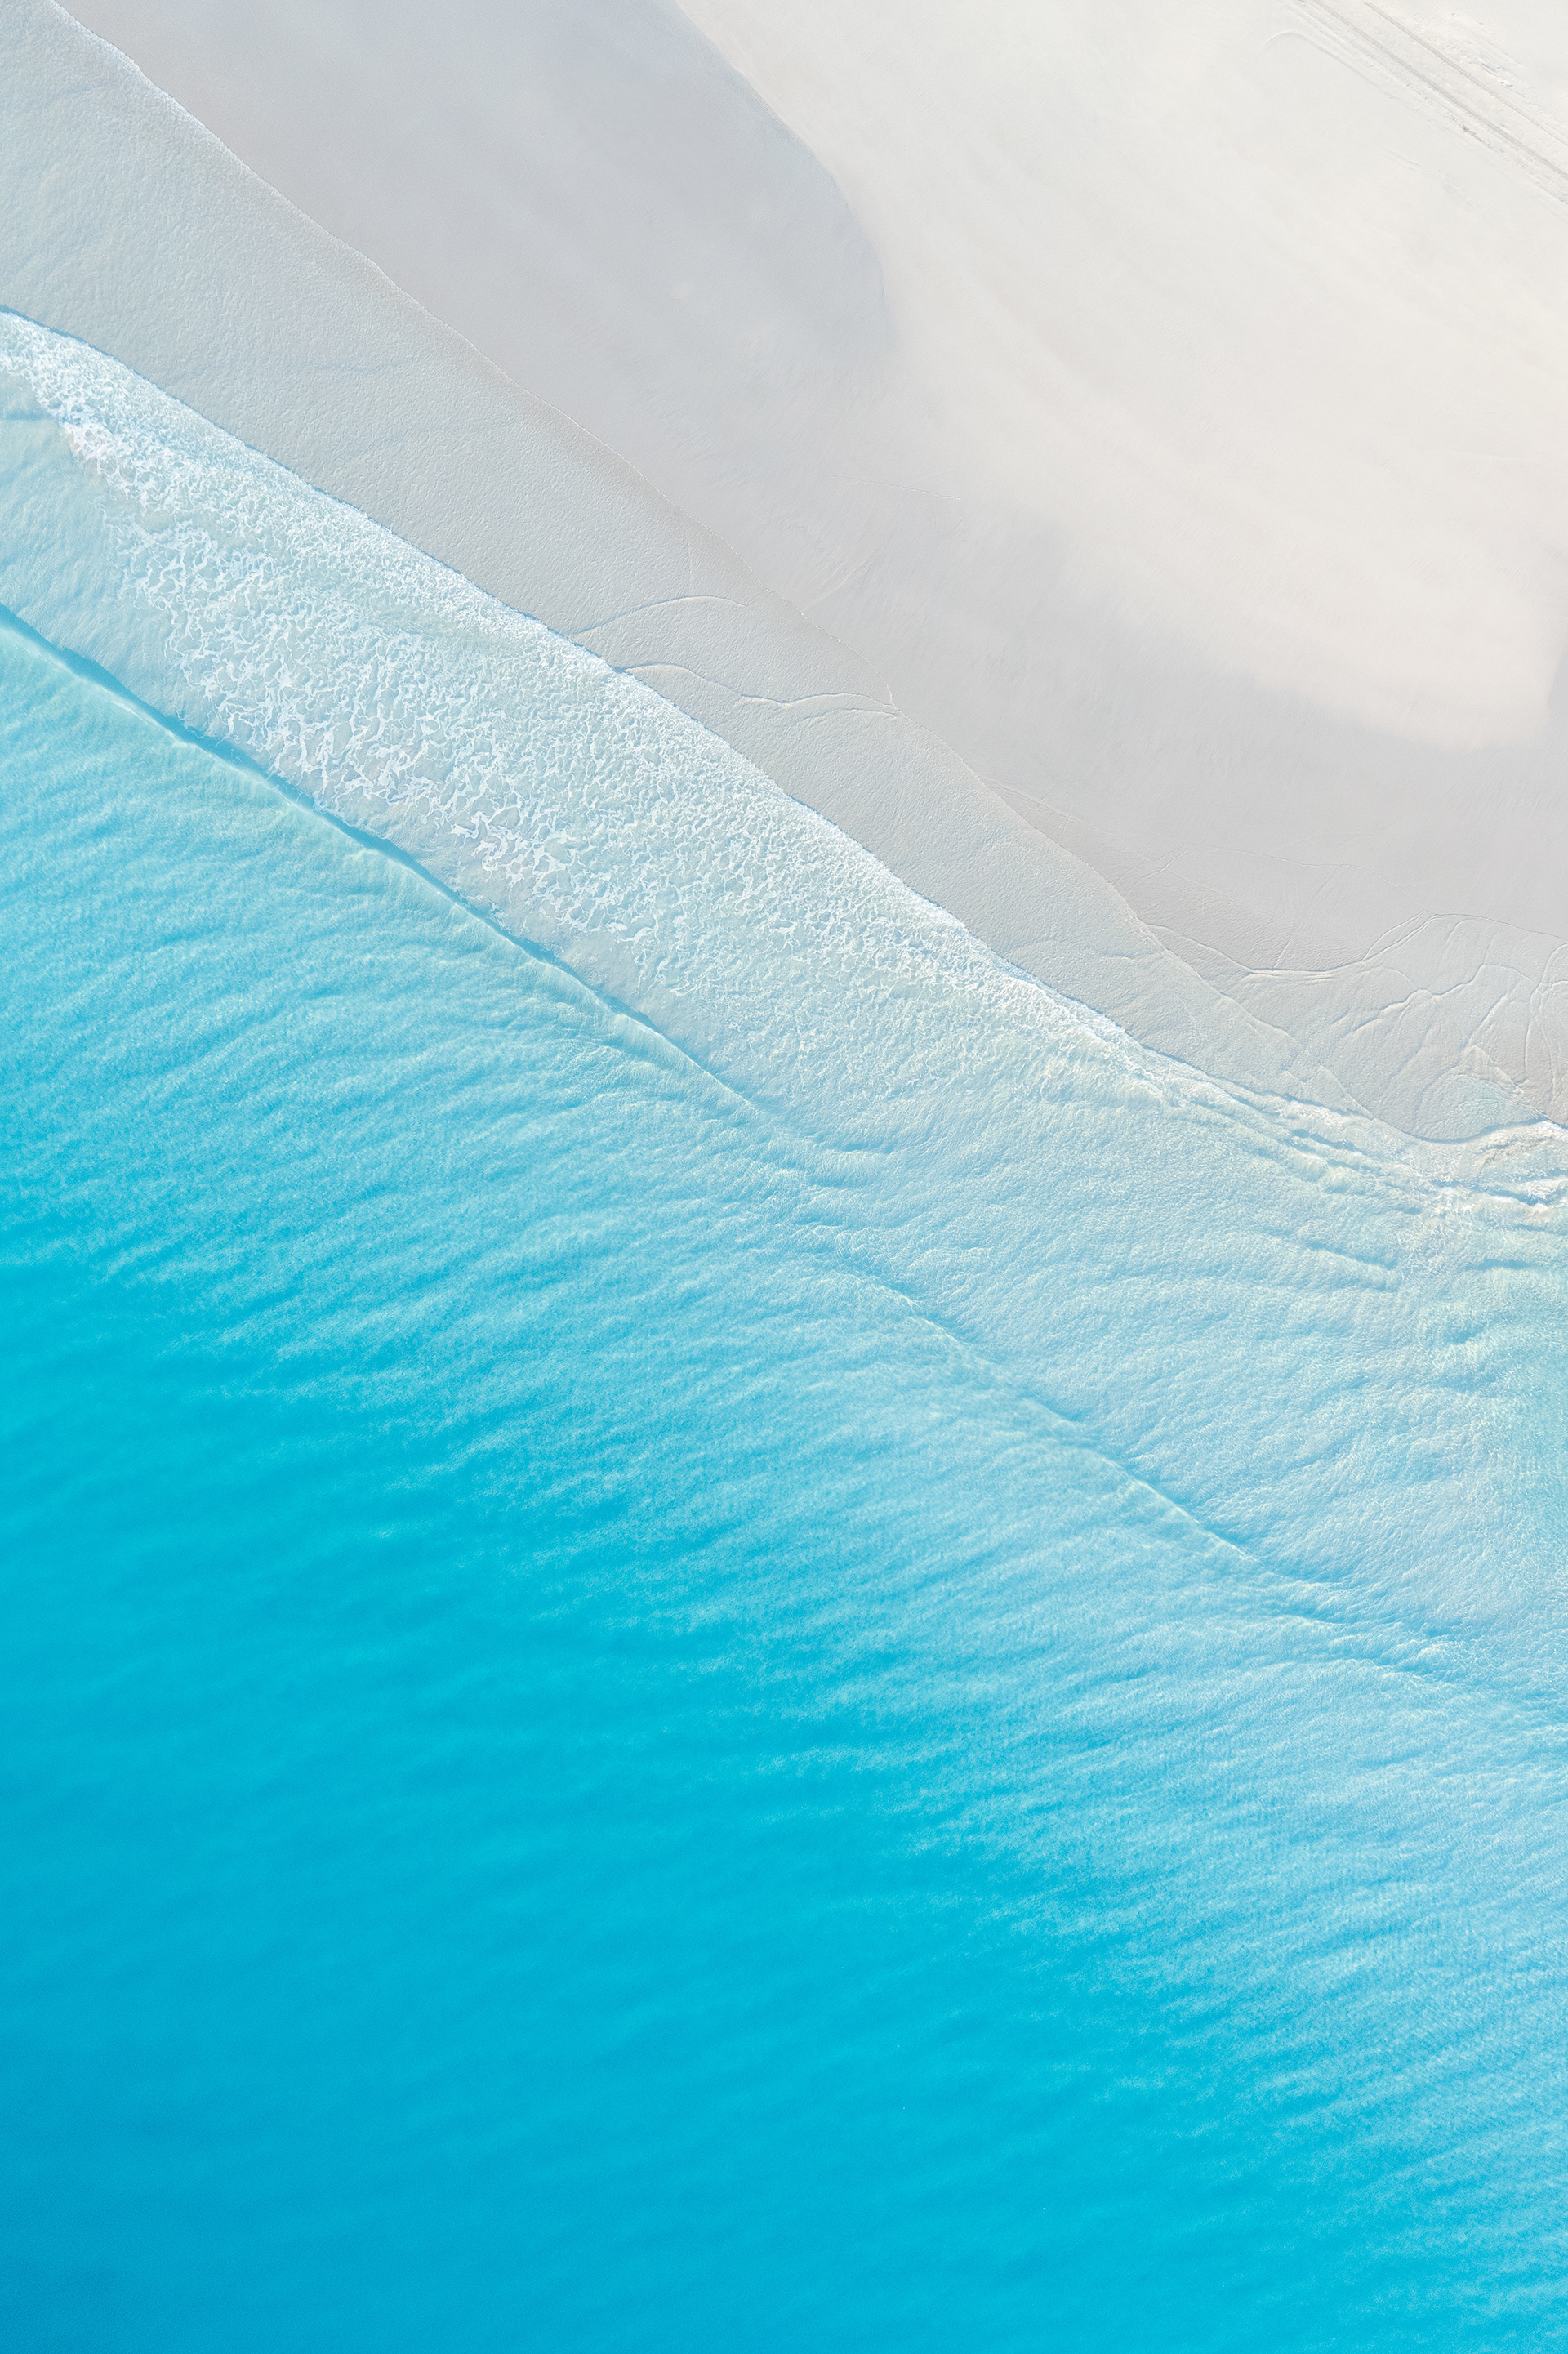
Twilight Rocks Top Down 01 (4:5)
Wharton Beach Sunset (2:3/16:9)
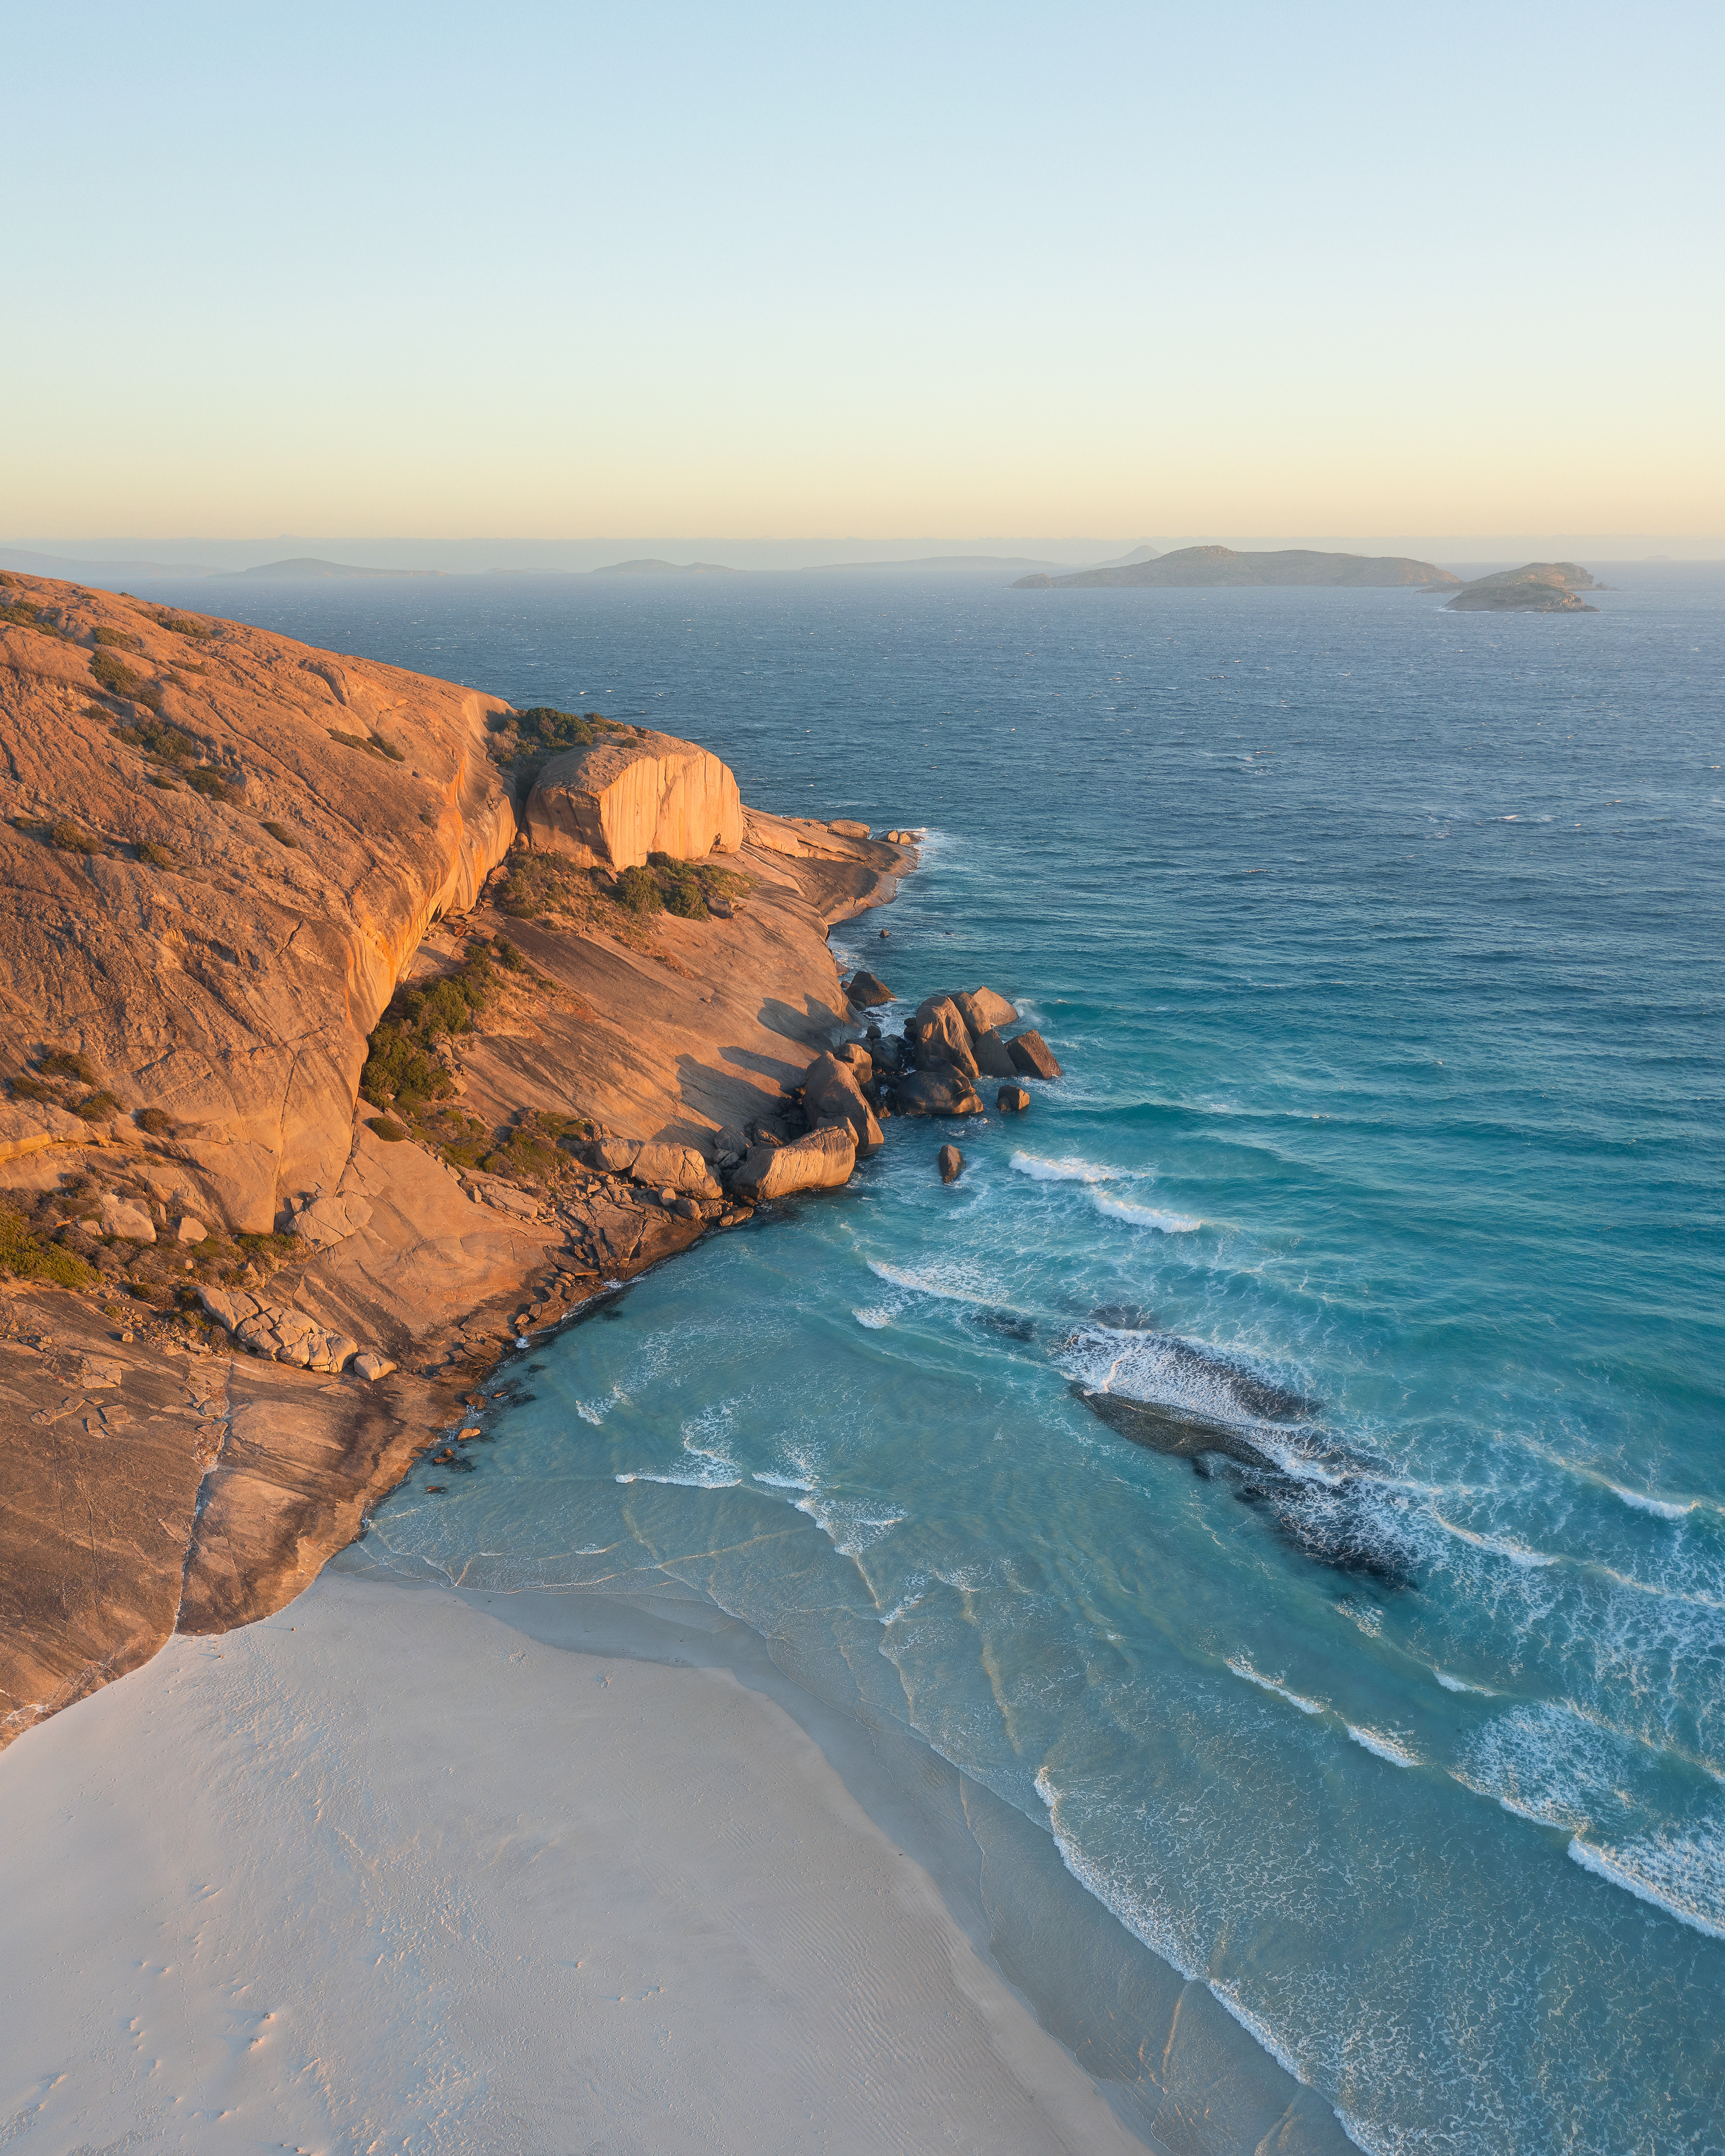
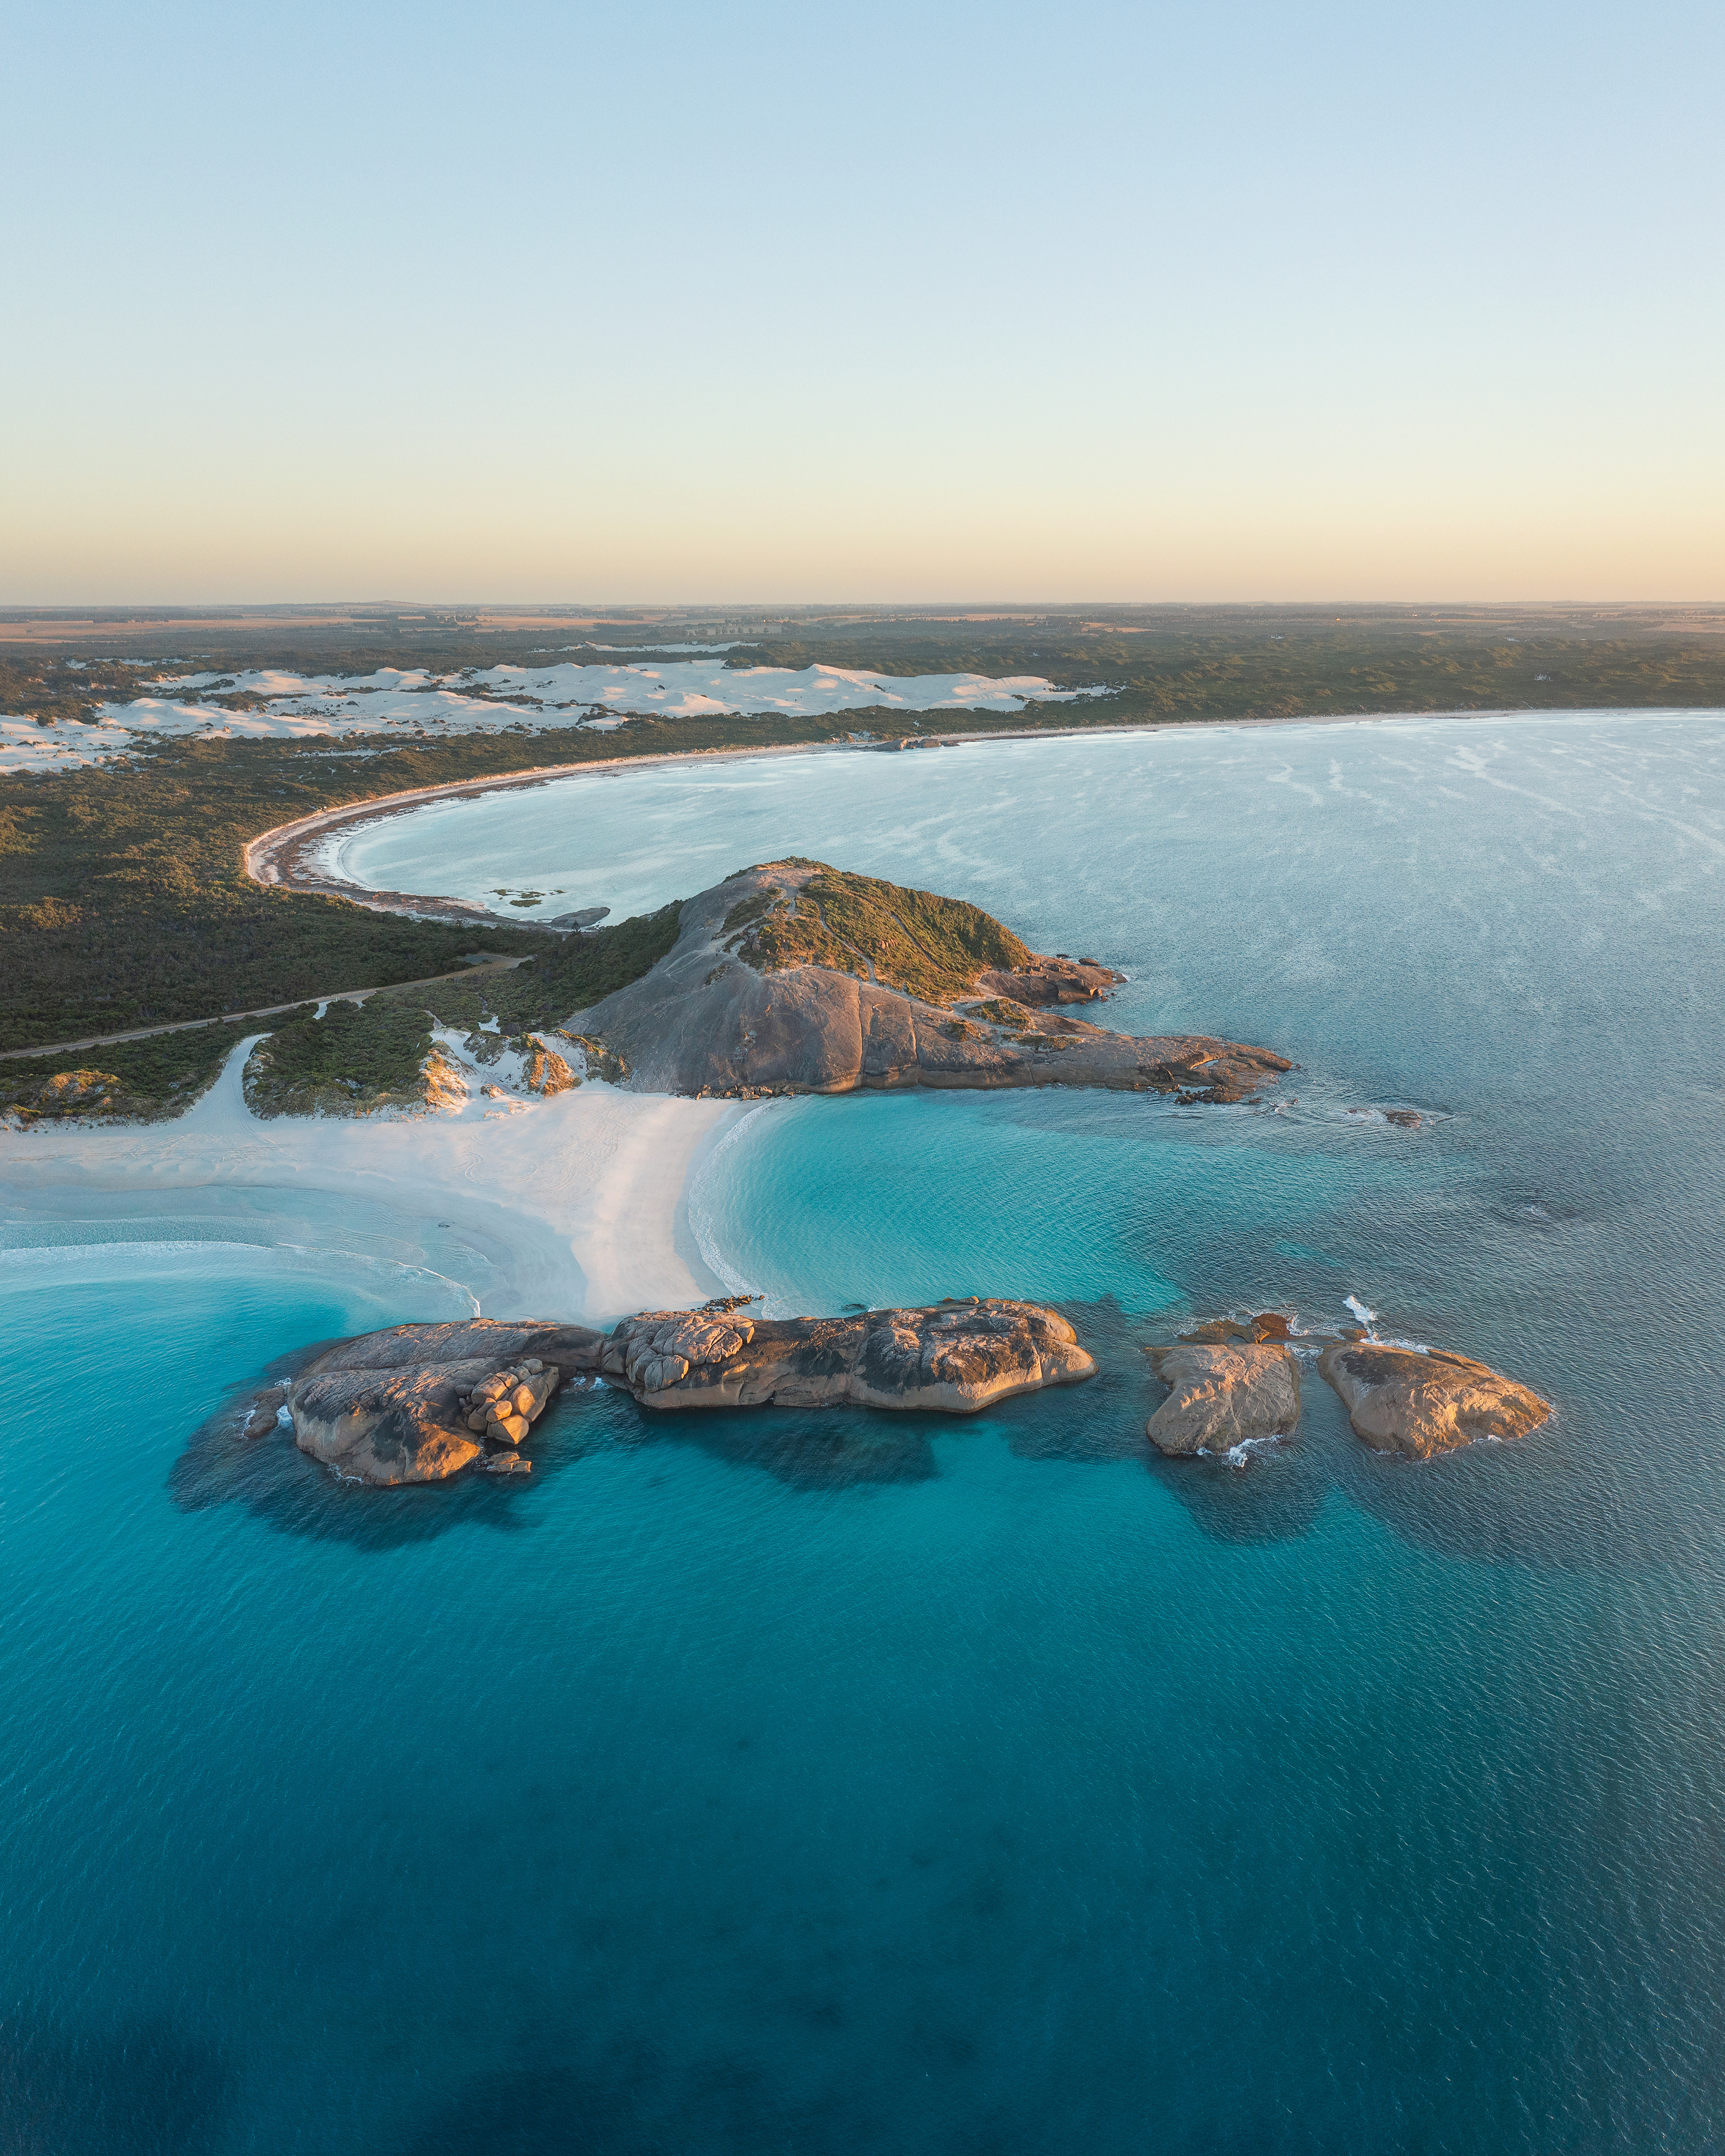
West Beach Sunset 01 (2:3/16:9)
Thistle Cove Aurora 03 (2:3/16:9)
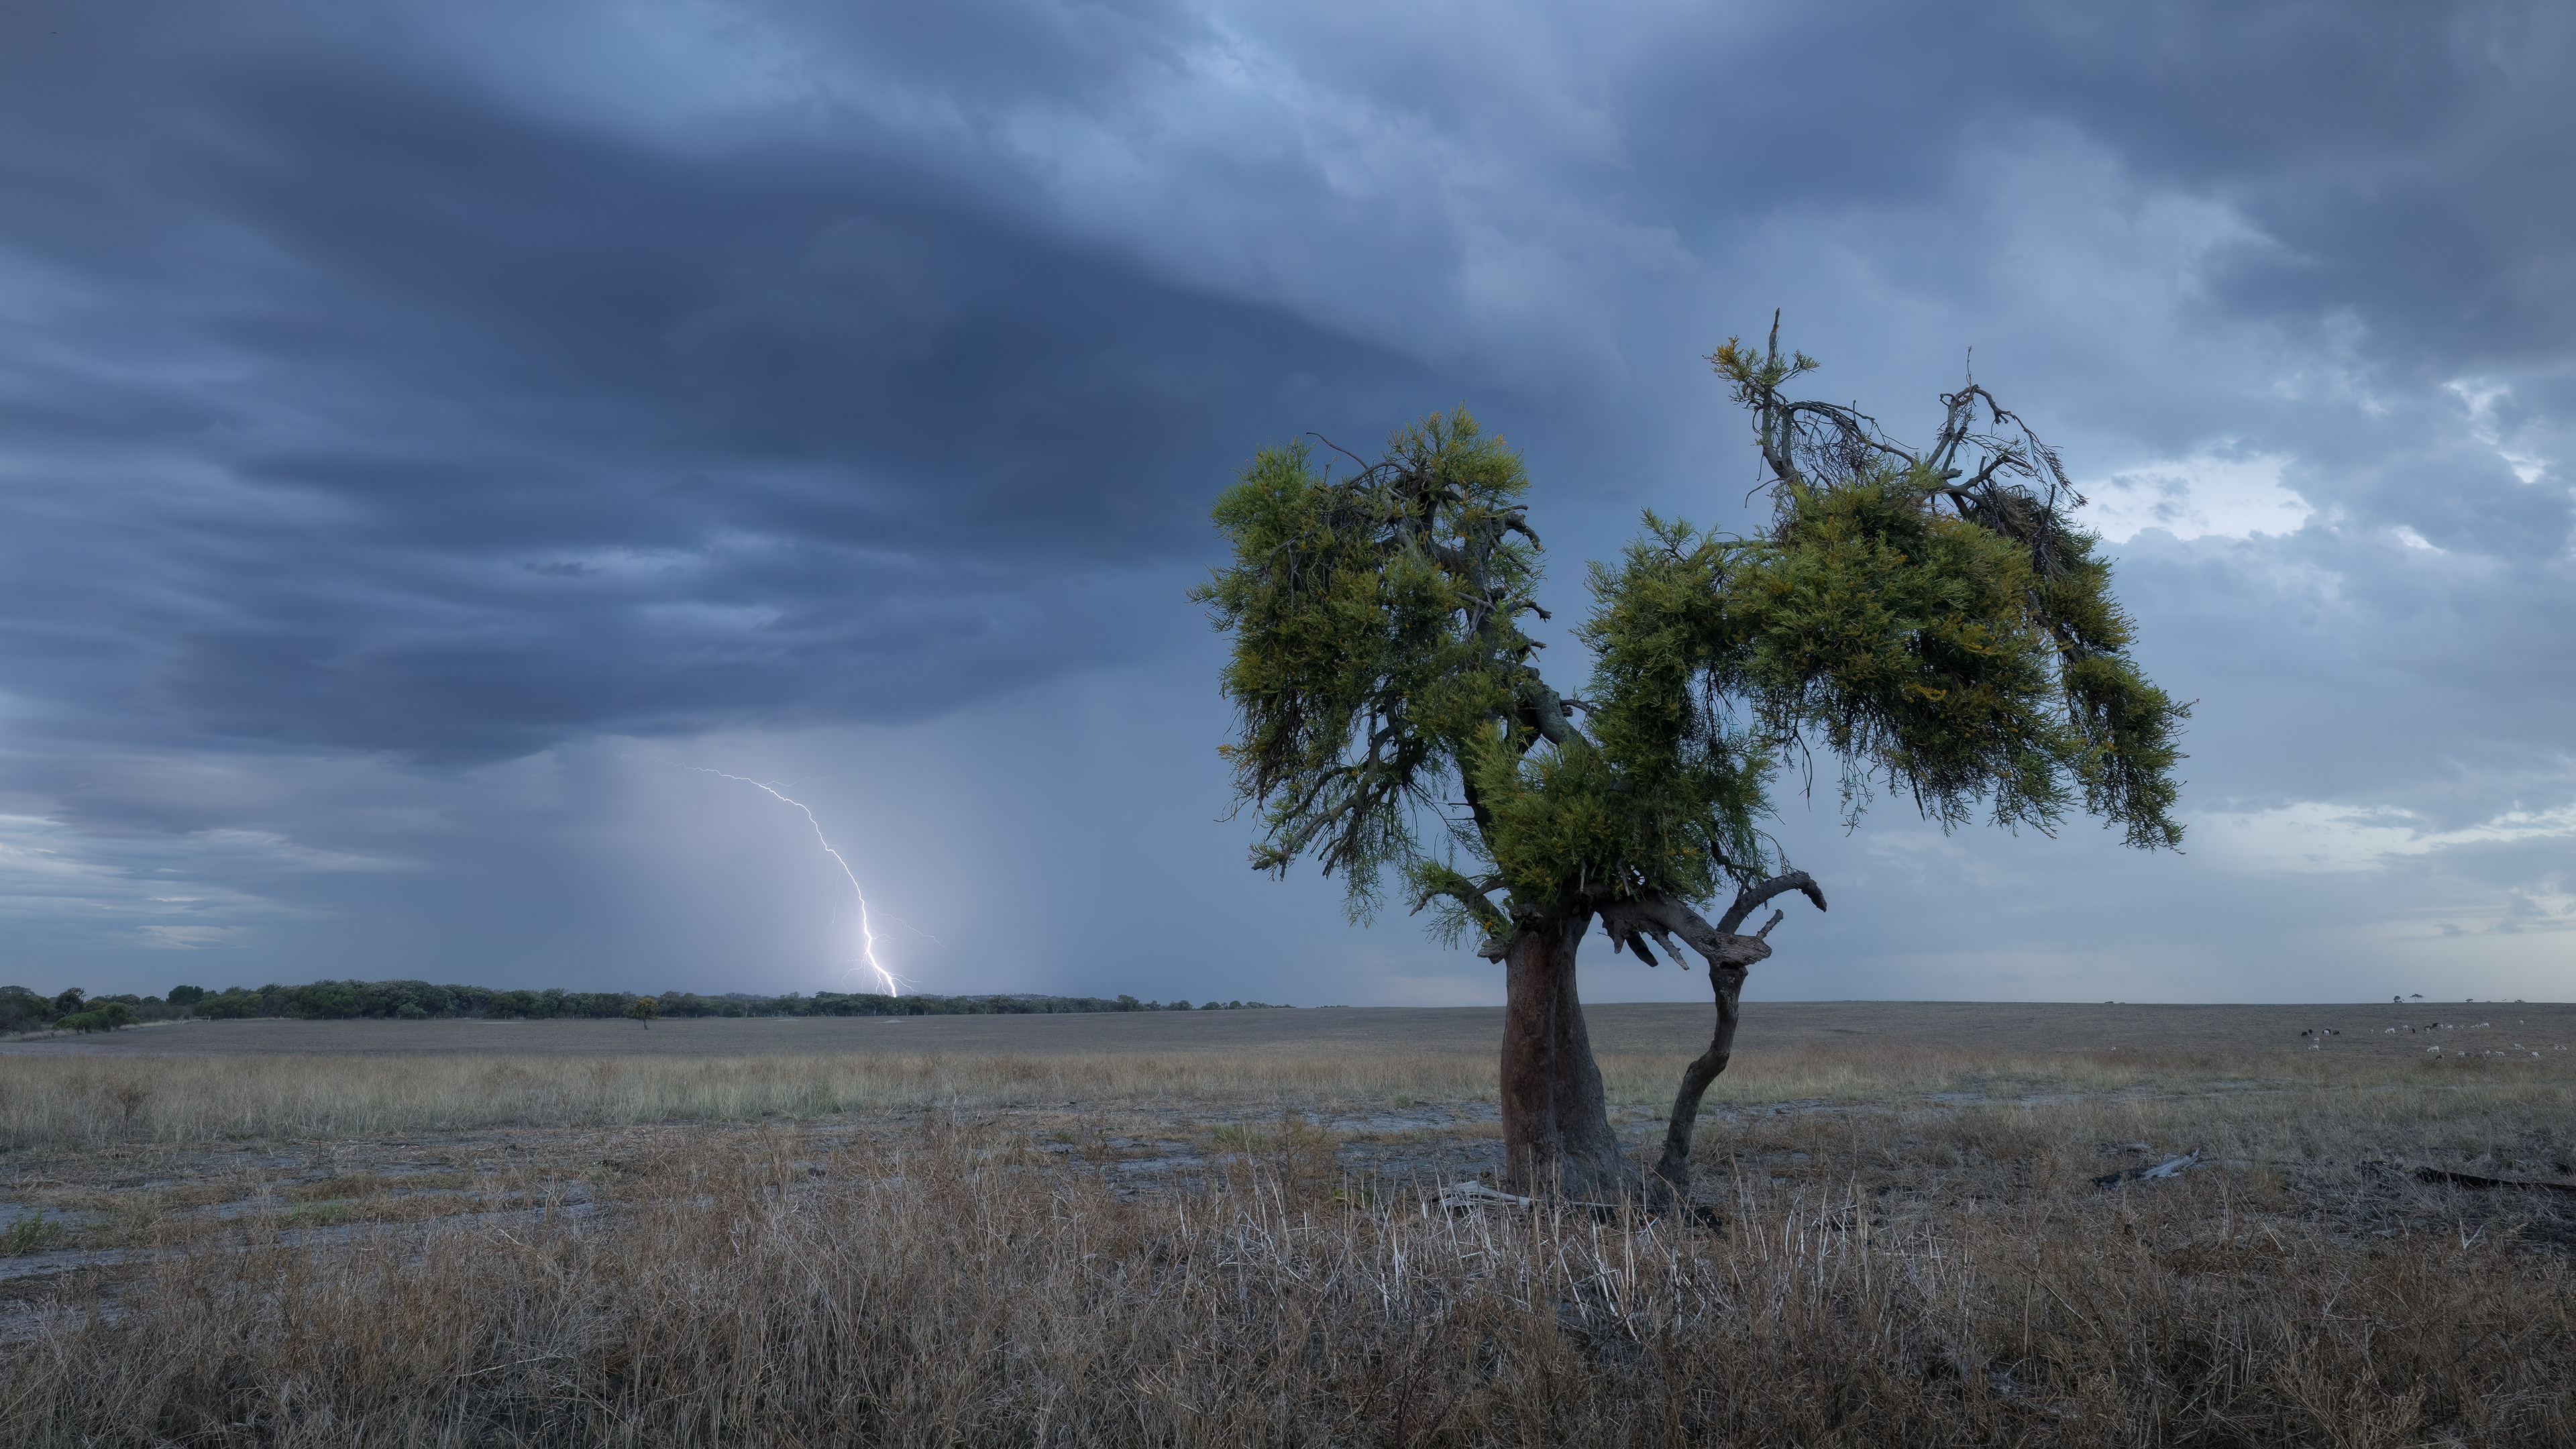
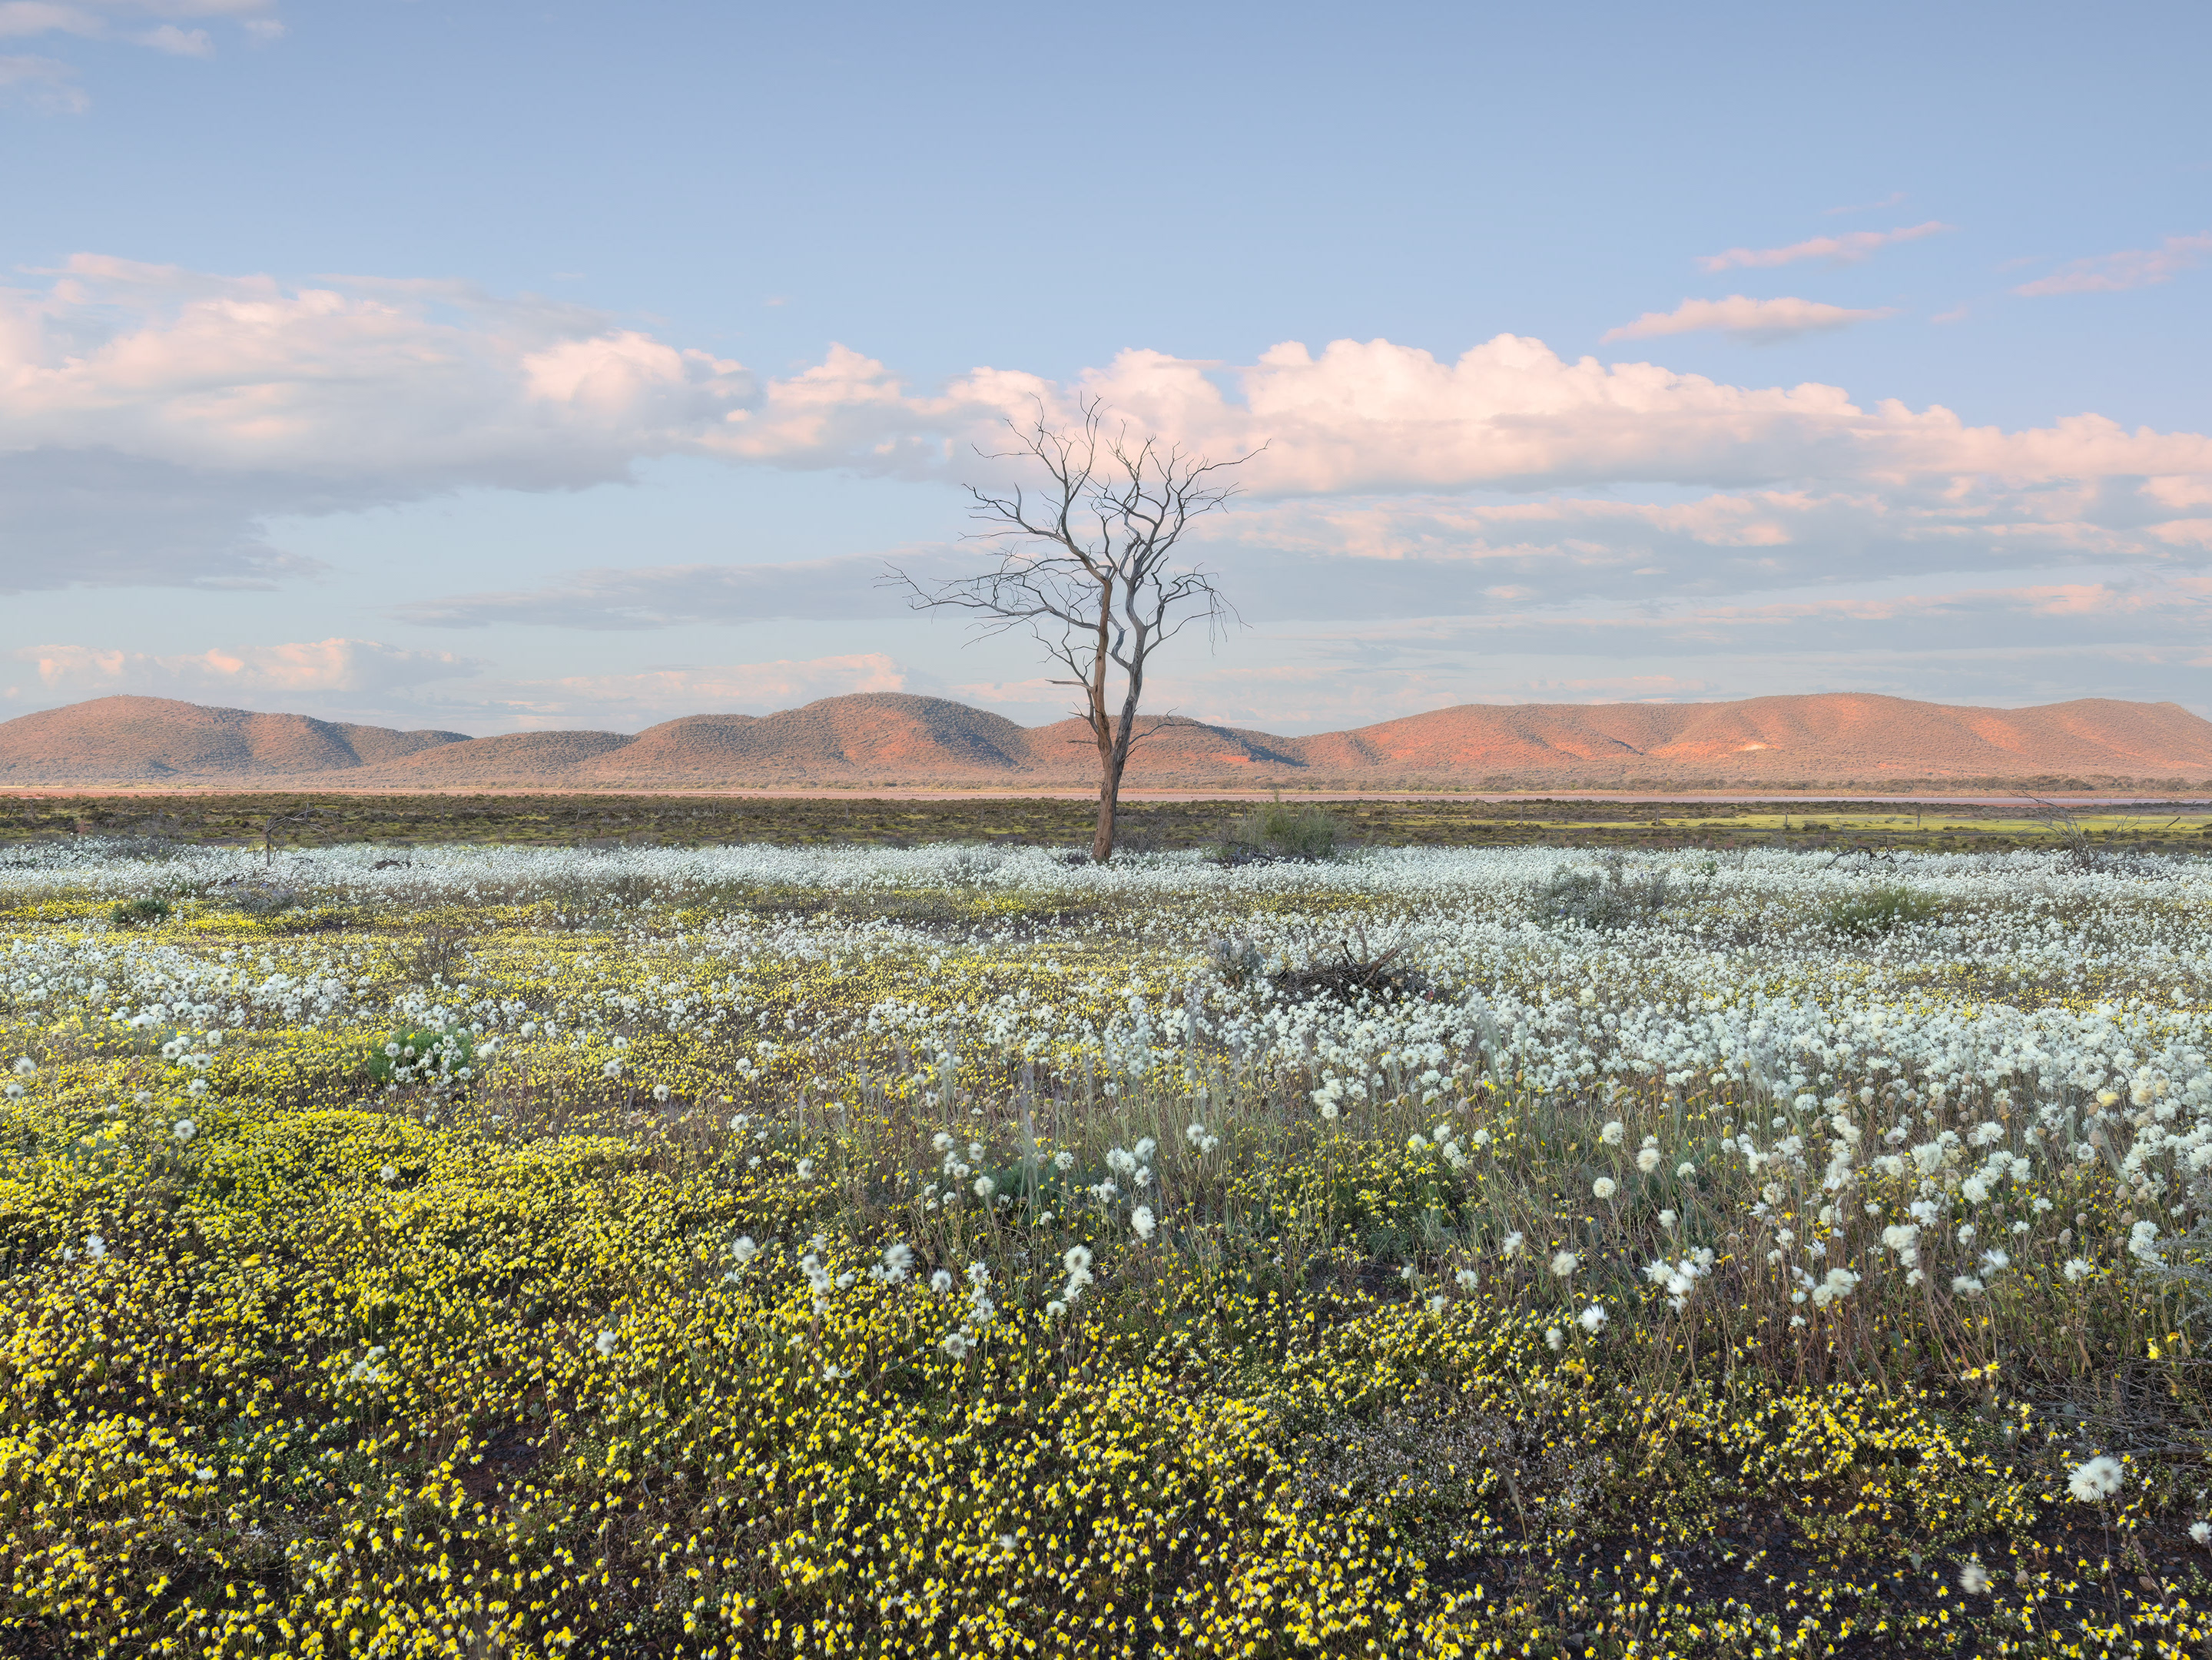
Monjingup Farmland (Nuytsia Floribunda) (2:3/16:9)
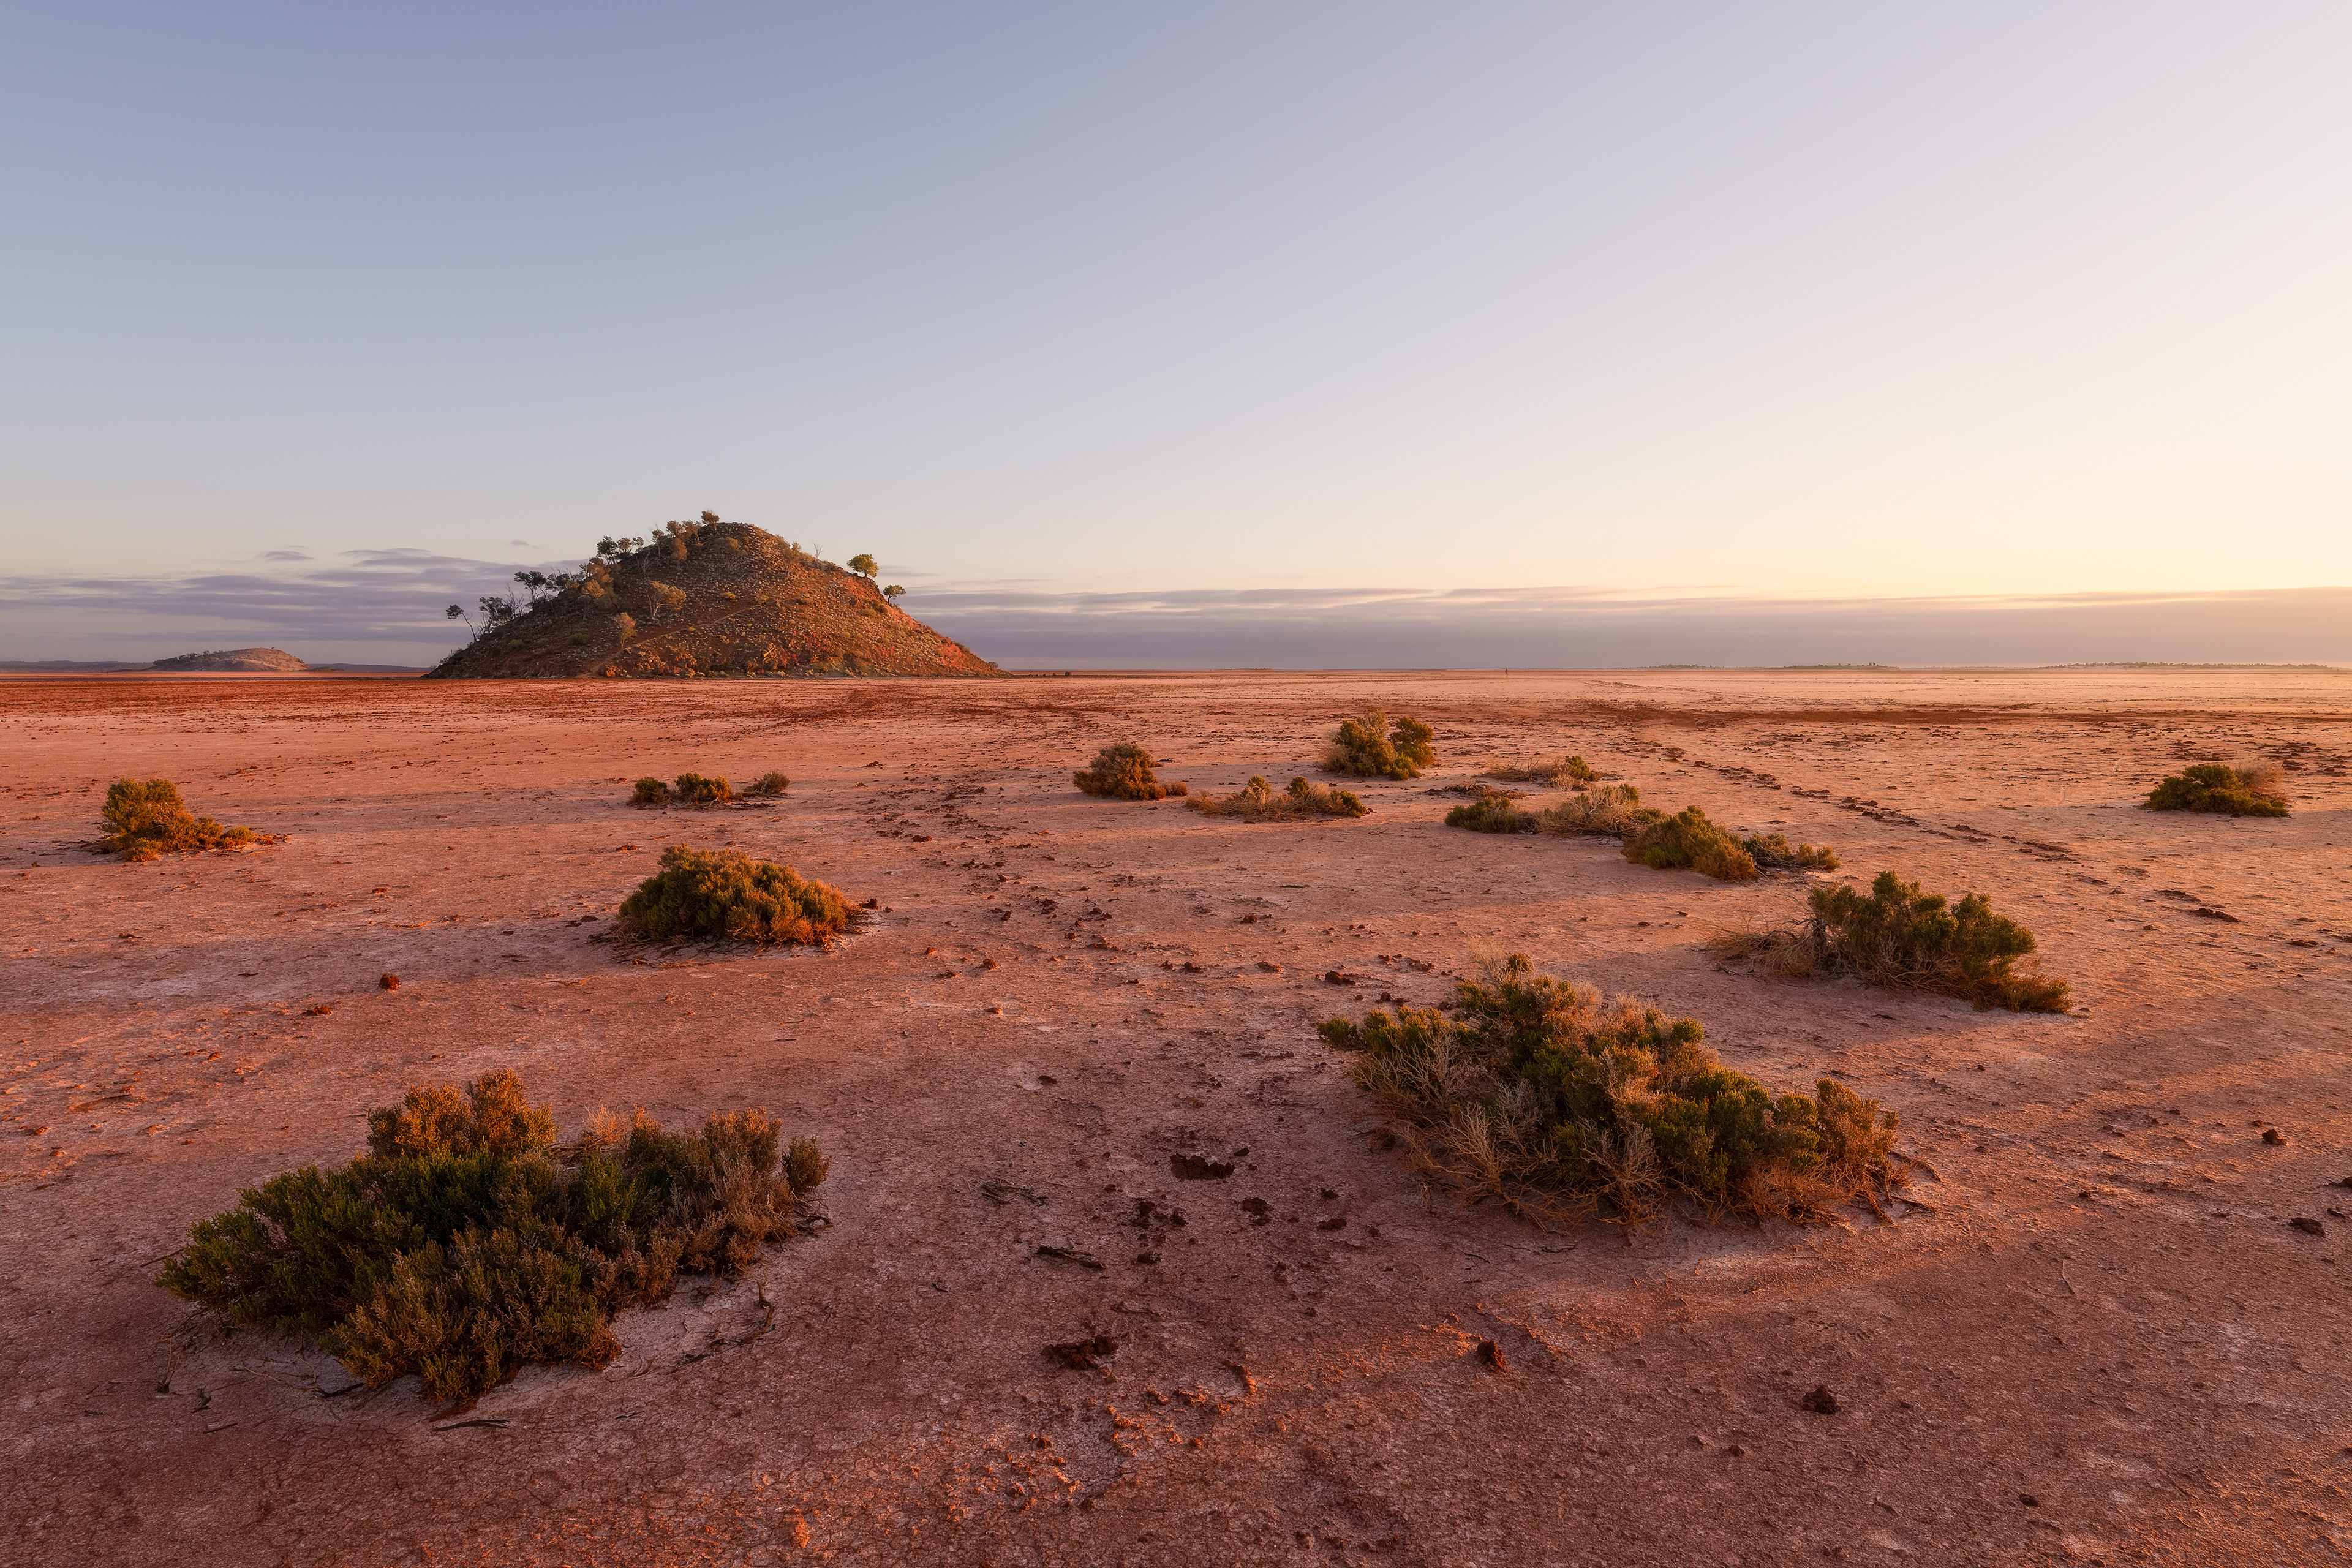
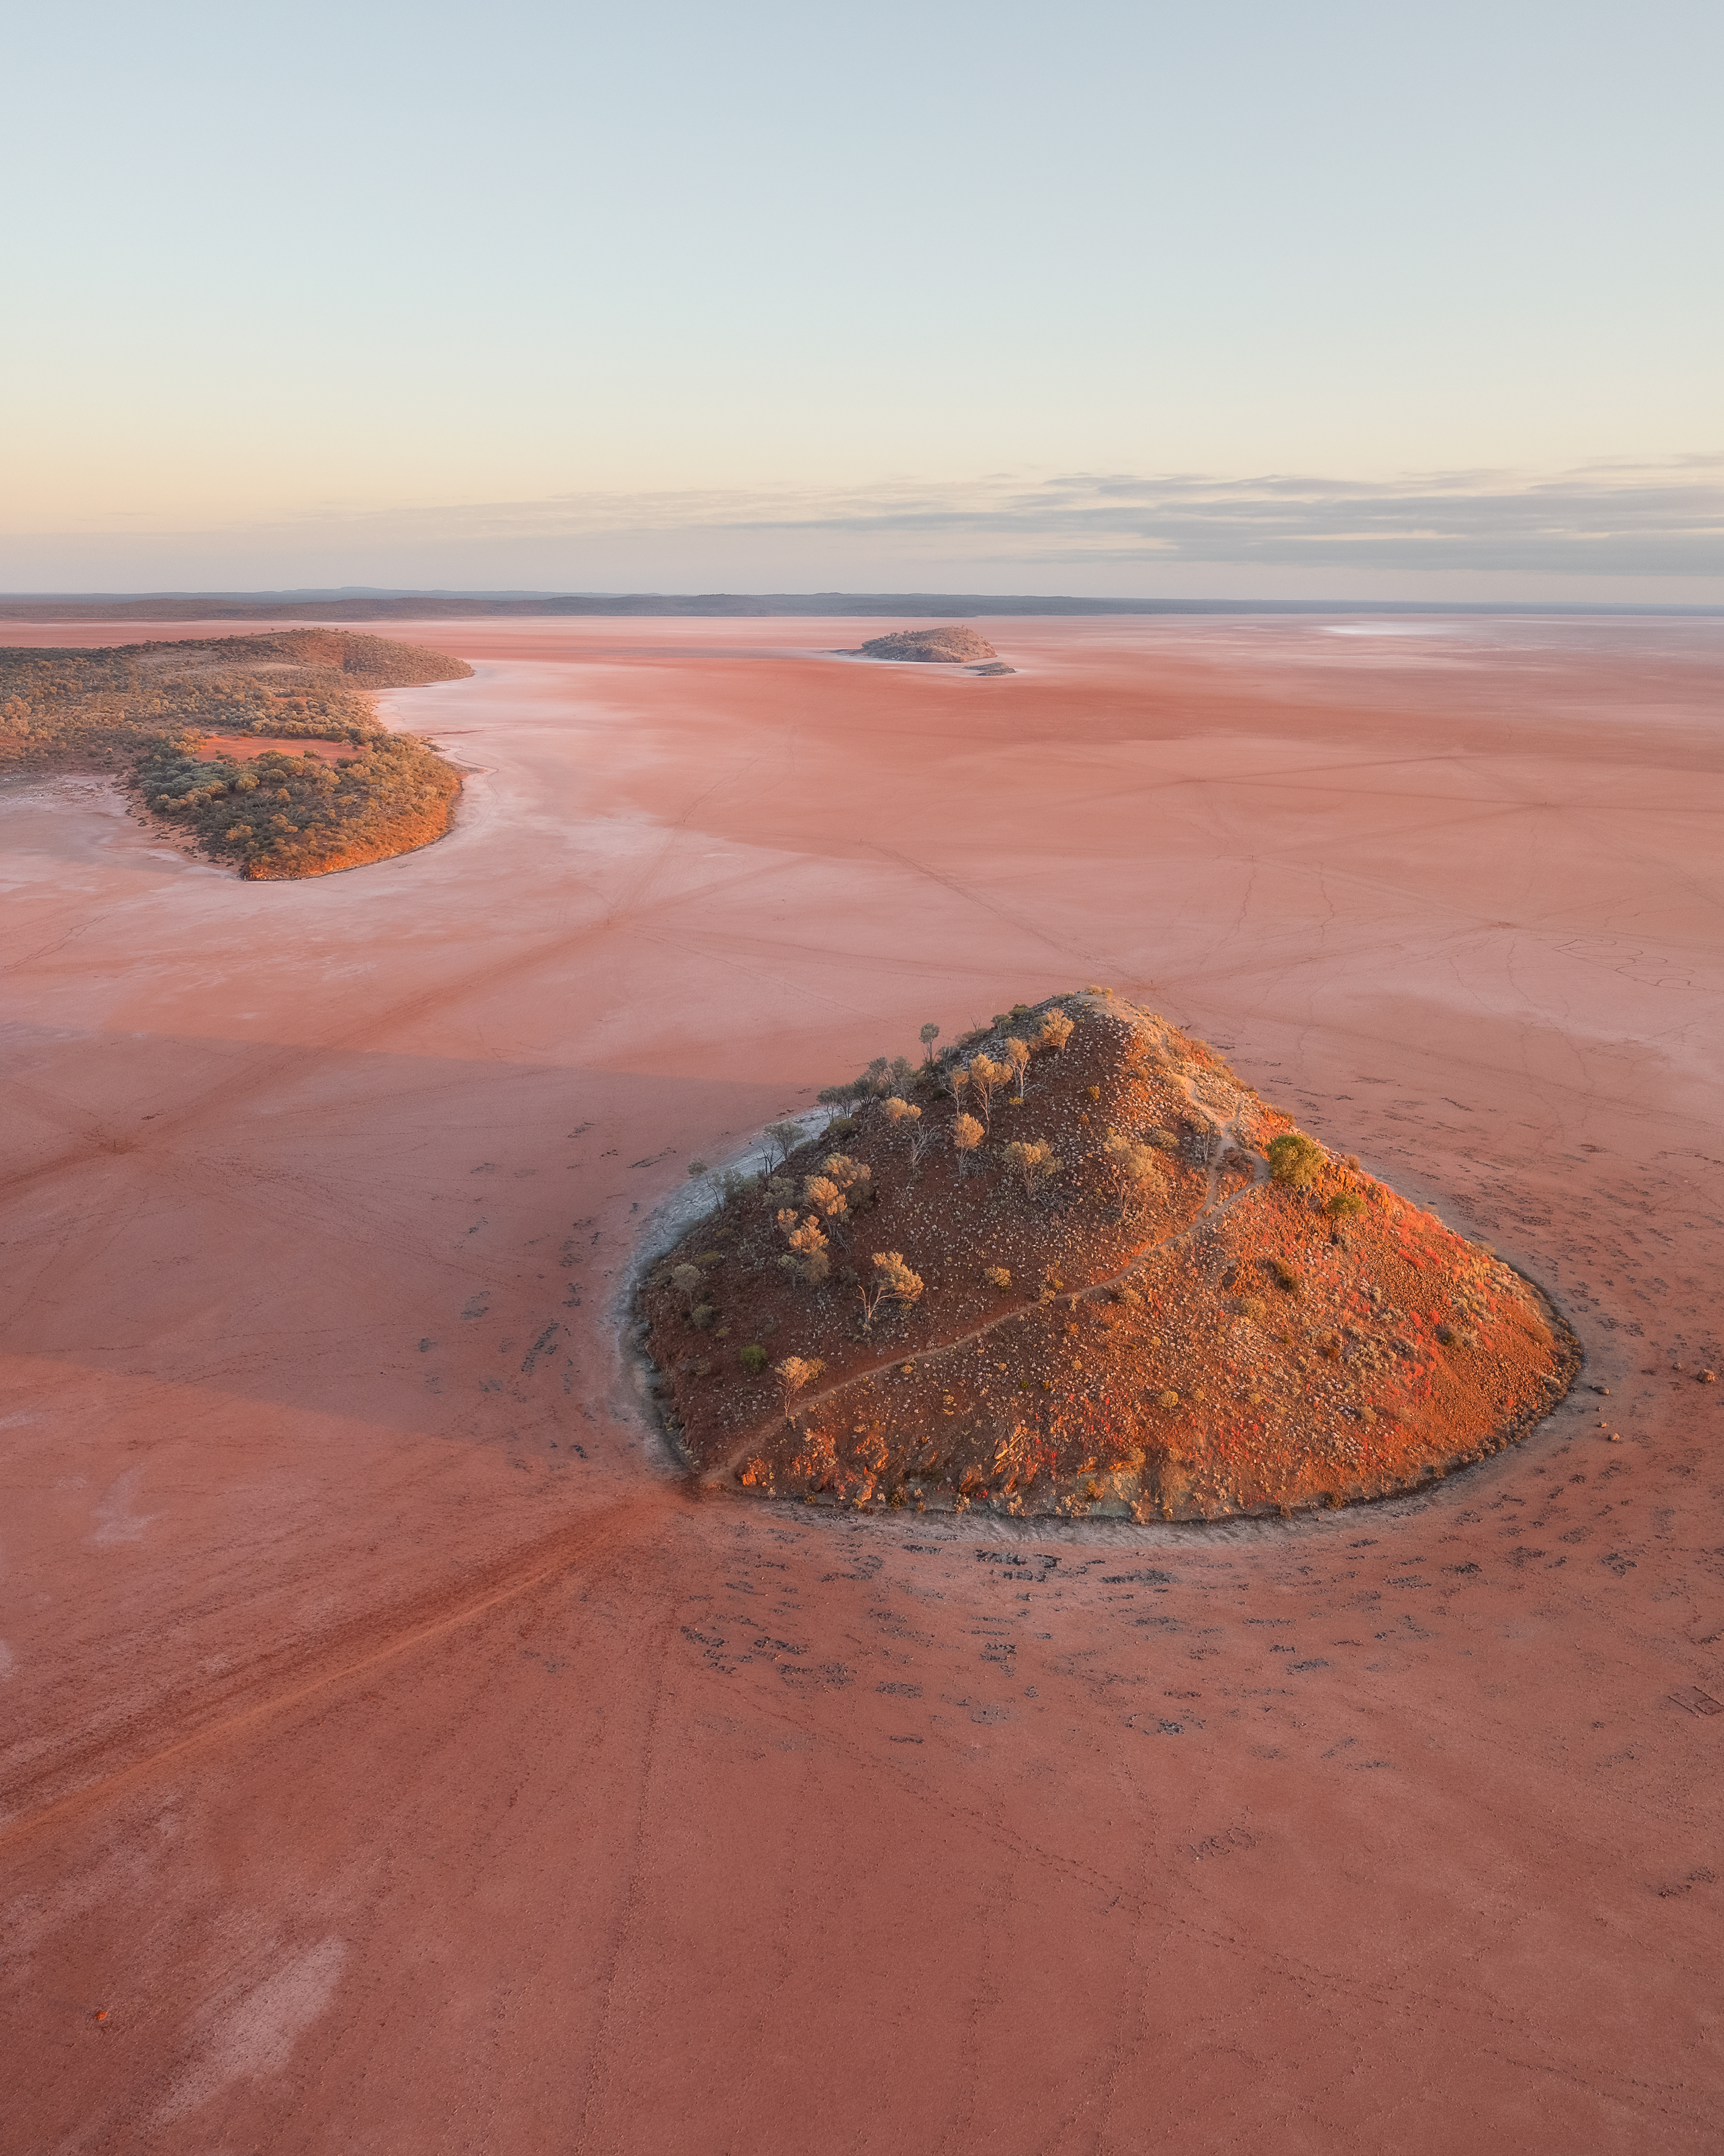
Lake Ballard 01 (2:3)
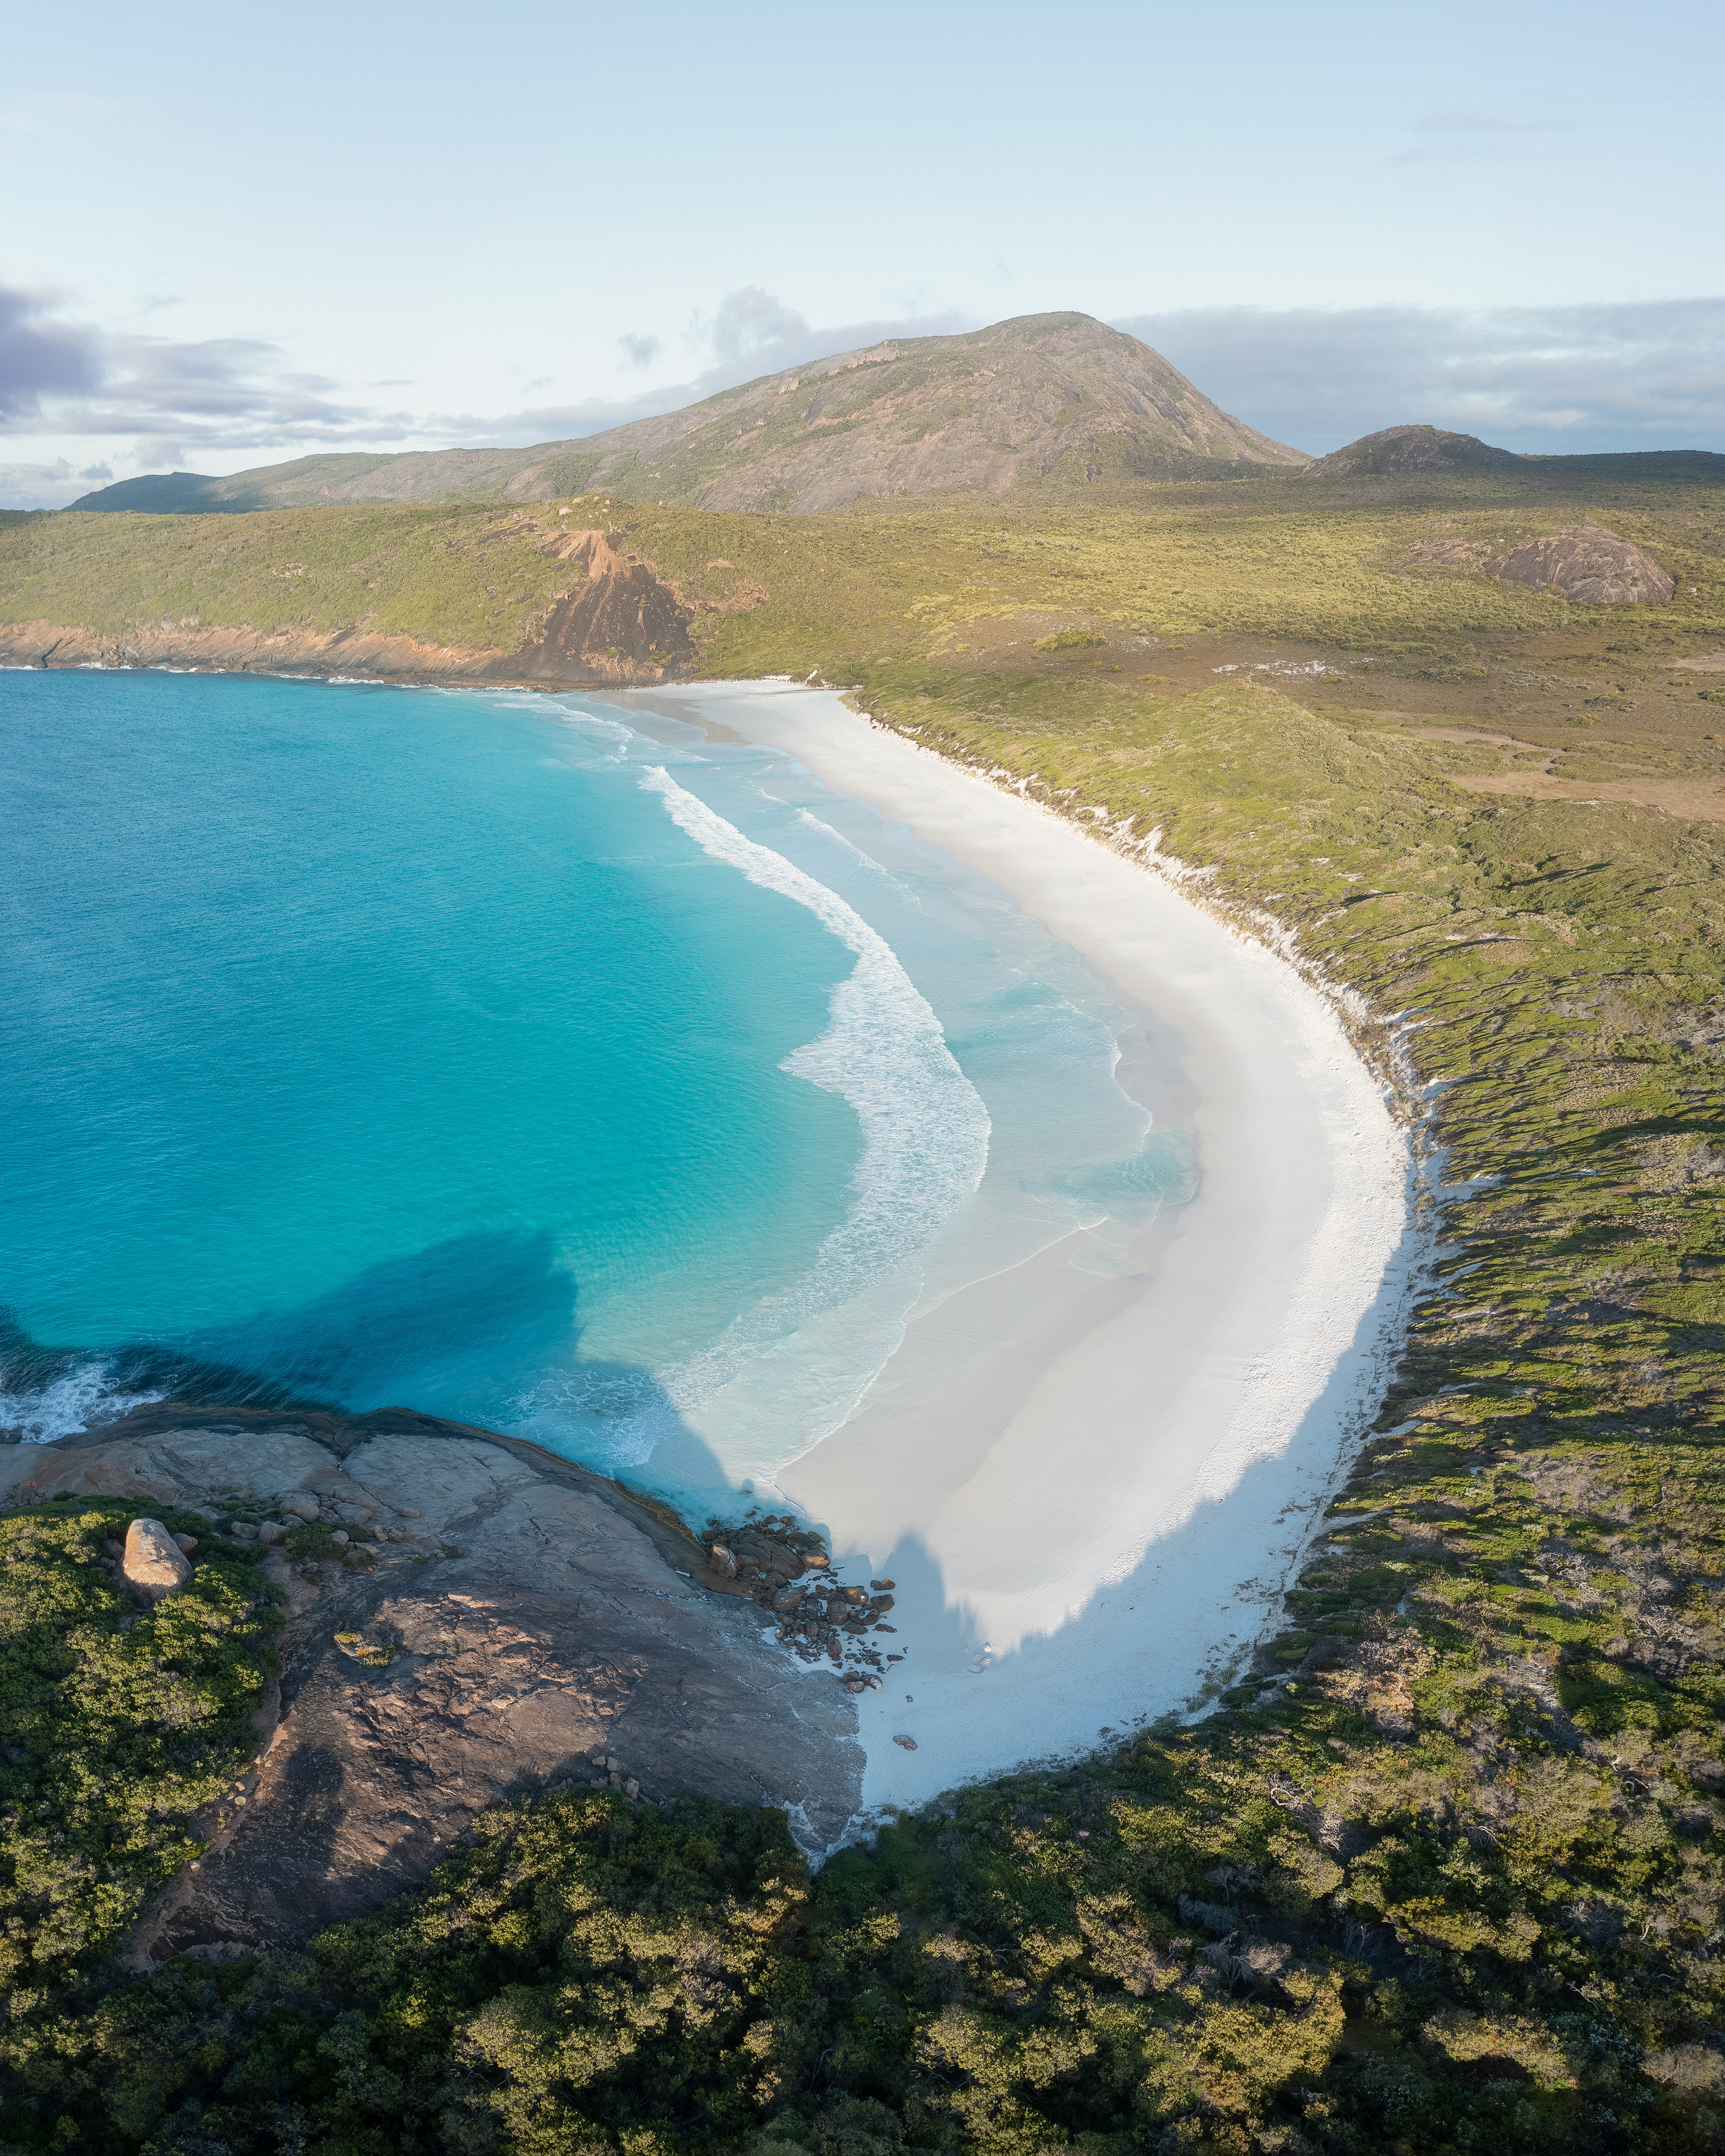
Hellfire Bay Sunset (2:3/16:9)
Orleans Bay Sunrise (2:3/16:9)
Thistle Cove Sunrise (4:5)
Hellfire Beach Sunset (2:3/16:9)
Hellfire Beach 01 (4:5)
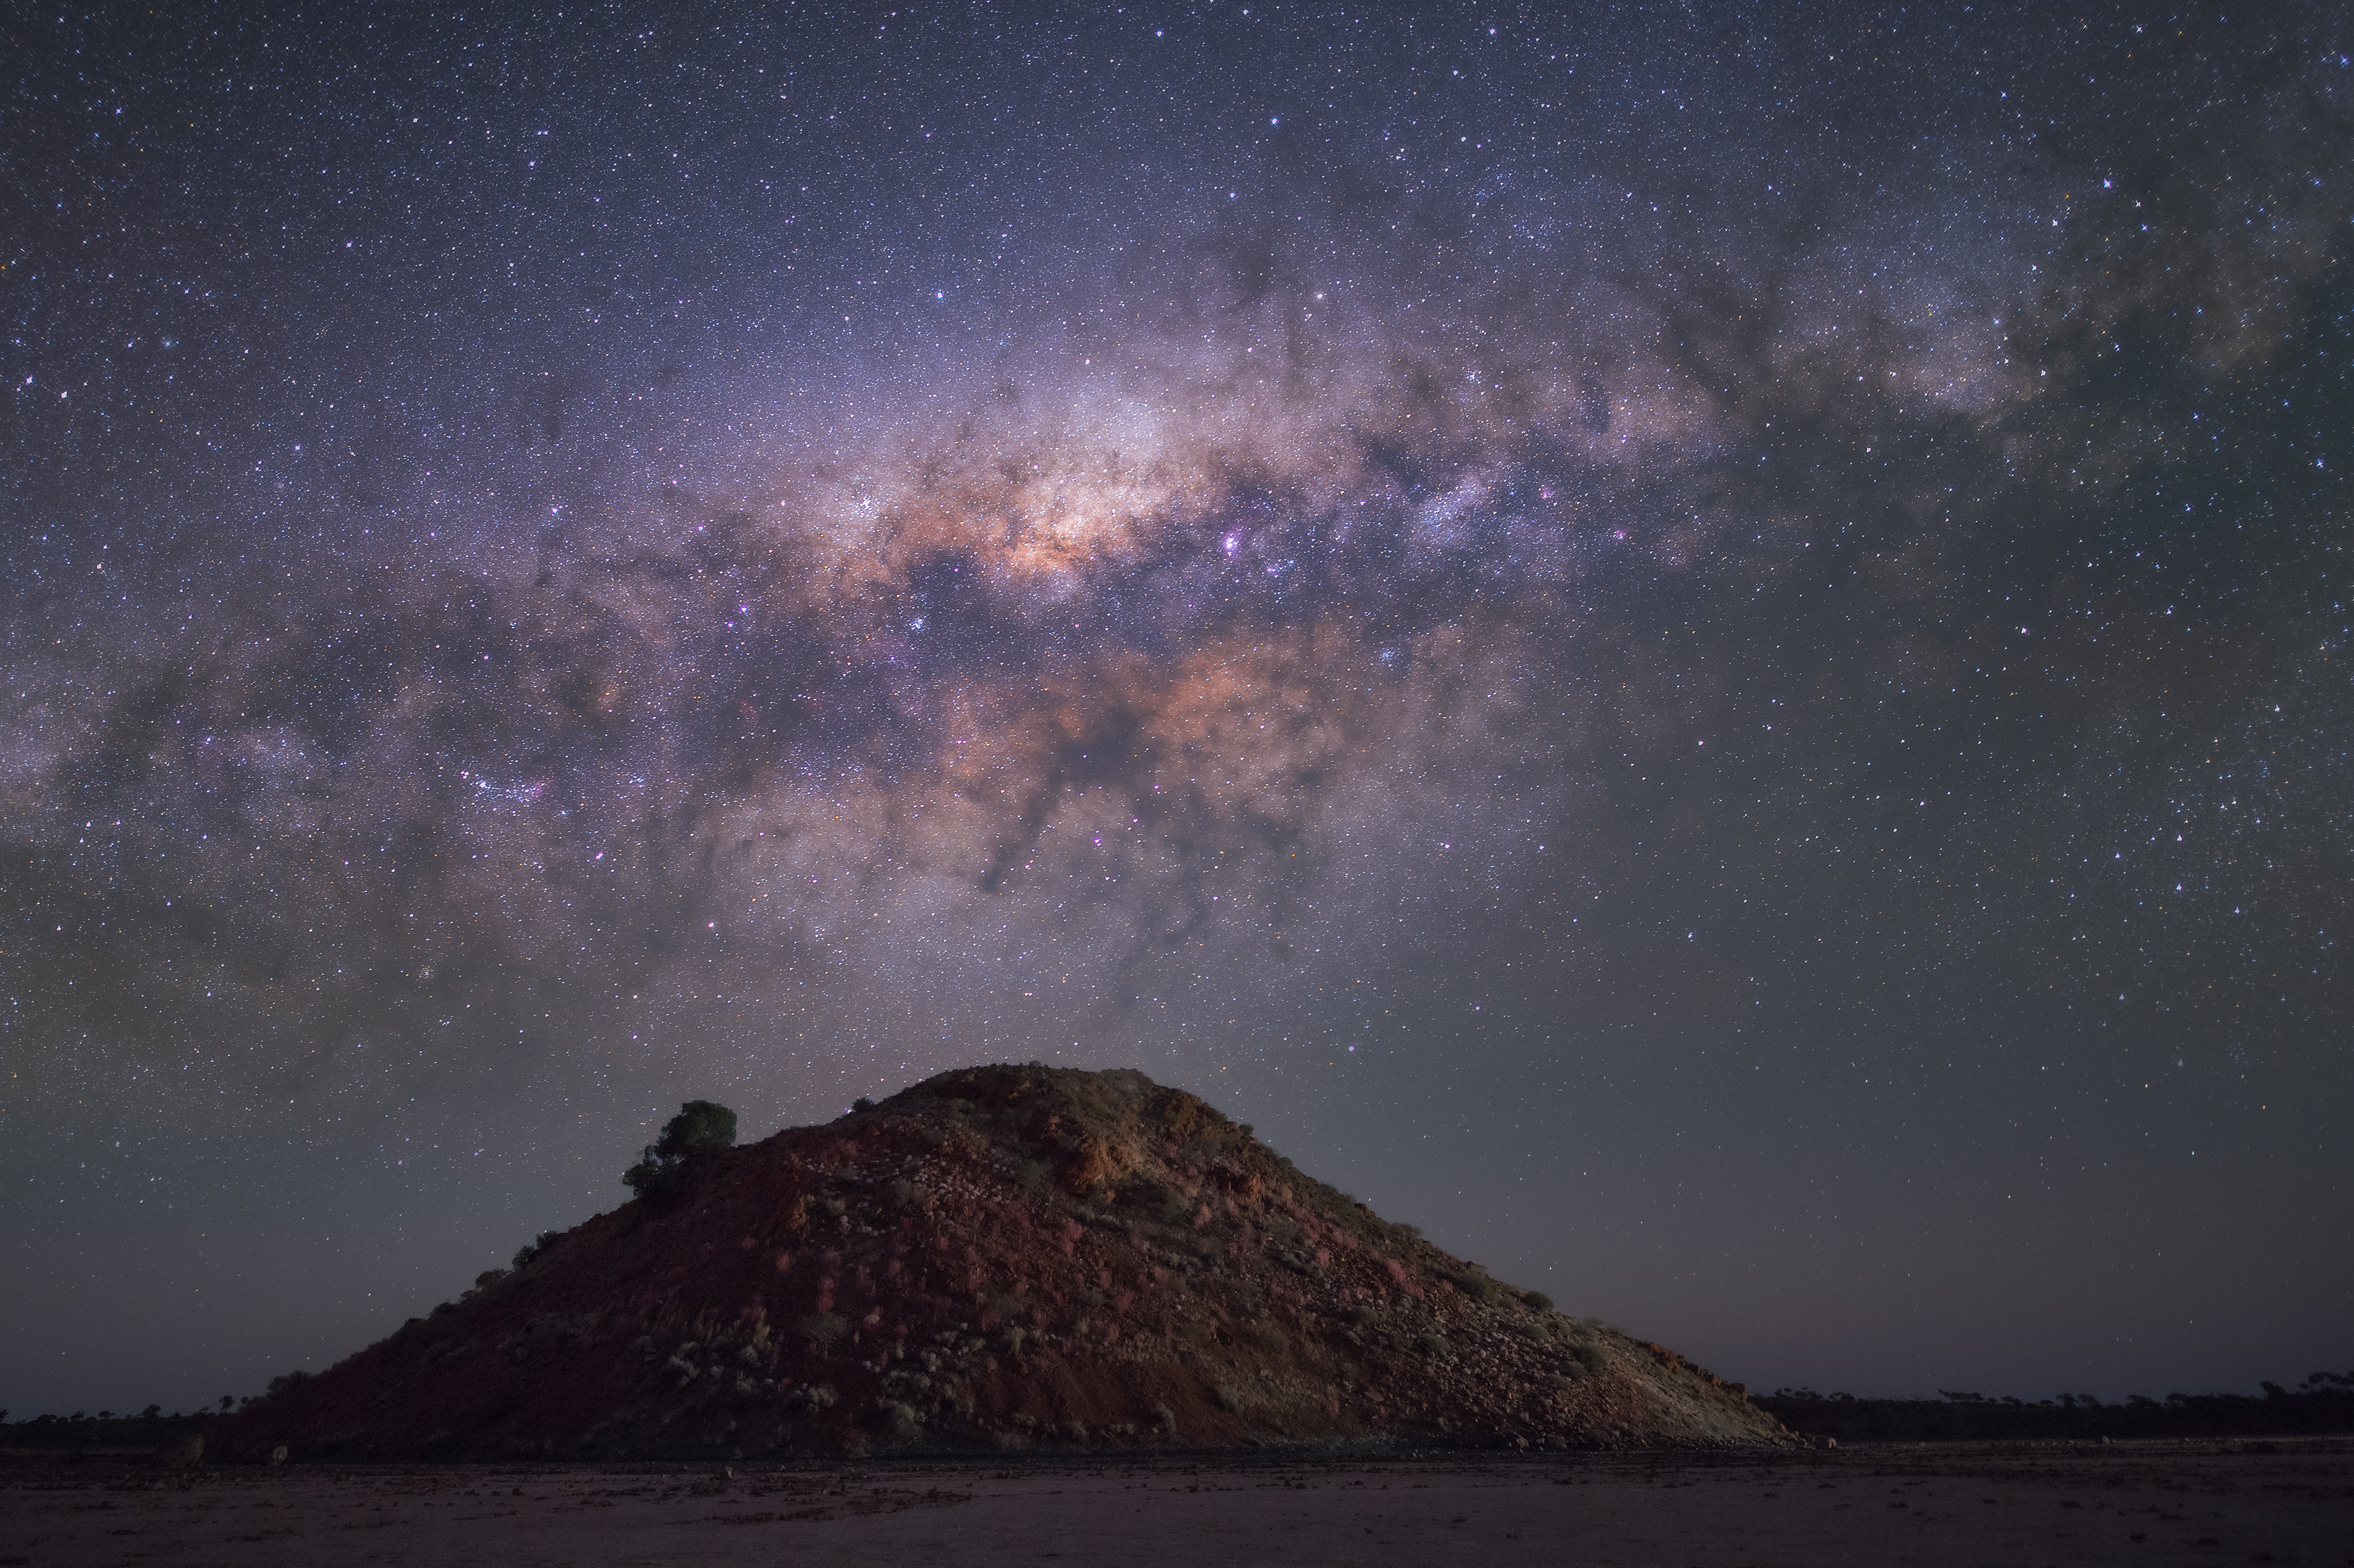
Lake Ballard Starlight (2:3)
Lucky Bay Beach (4:5)
Lake Ballard 02 (4:5)
West Beach Rocks (2:3)
Cave Rock (4:5)
Cave Rock (4:5)
Eleven Mile Lagoon (2:3)
Little Hellfire Bay (4:5)
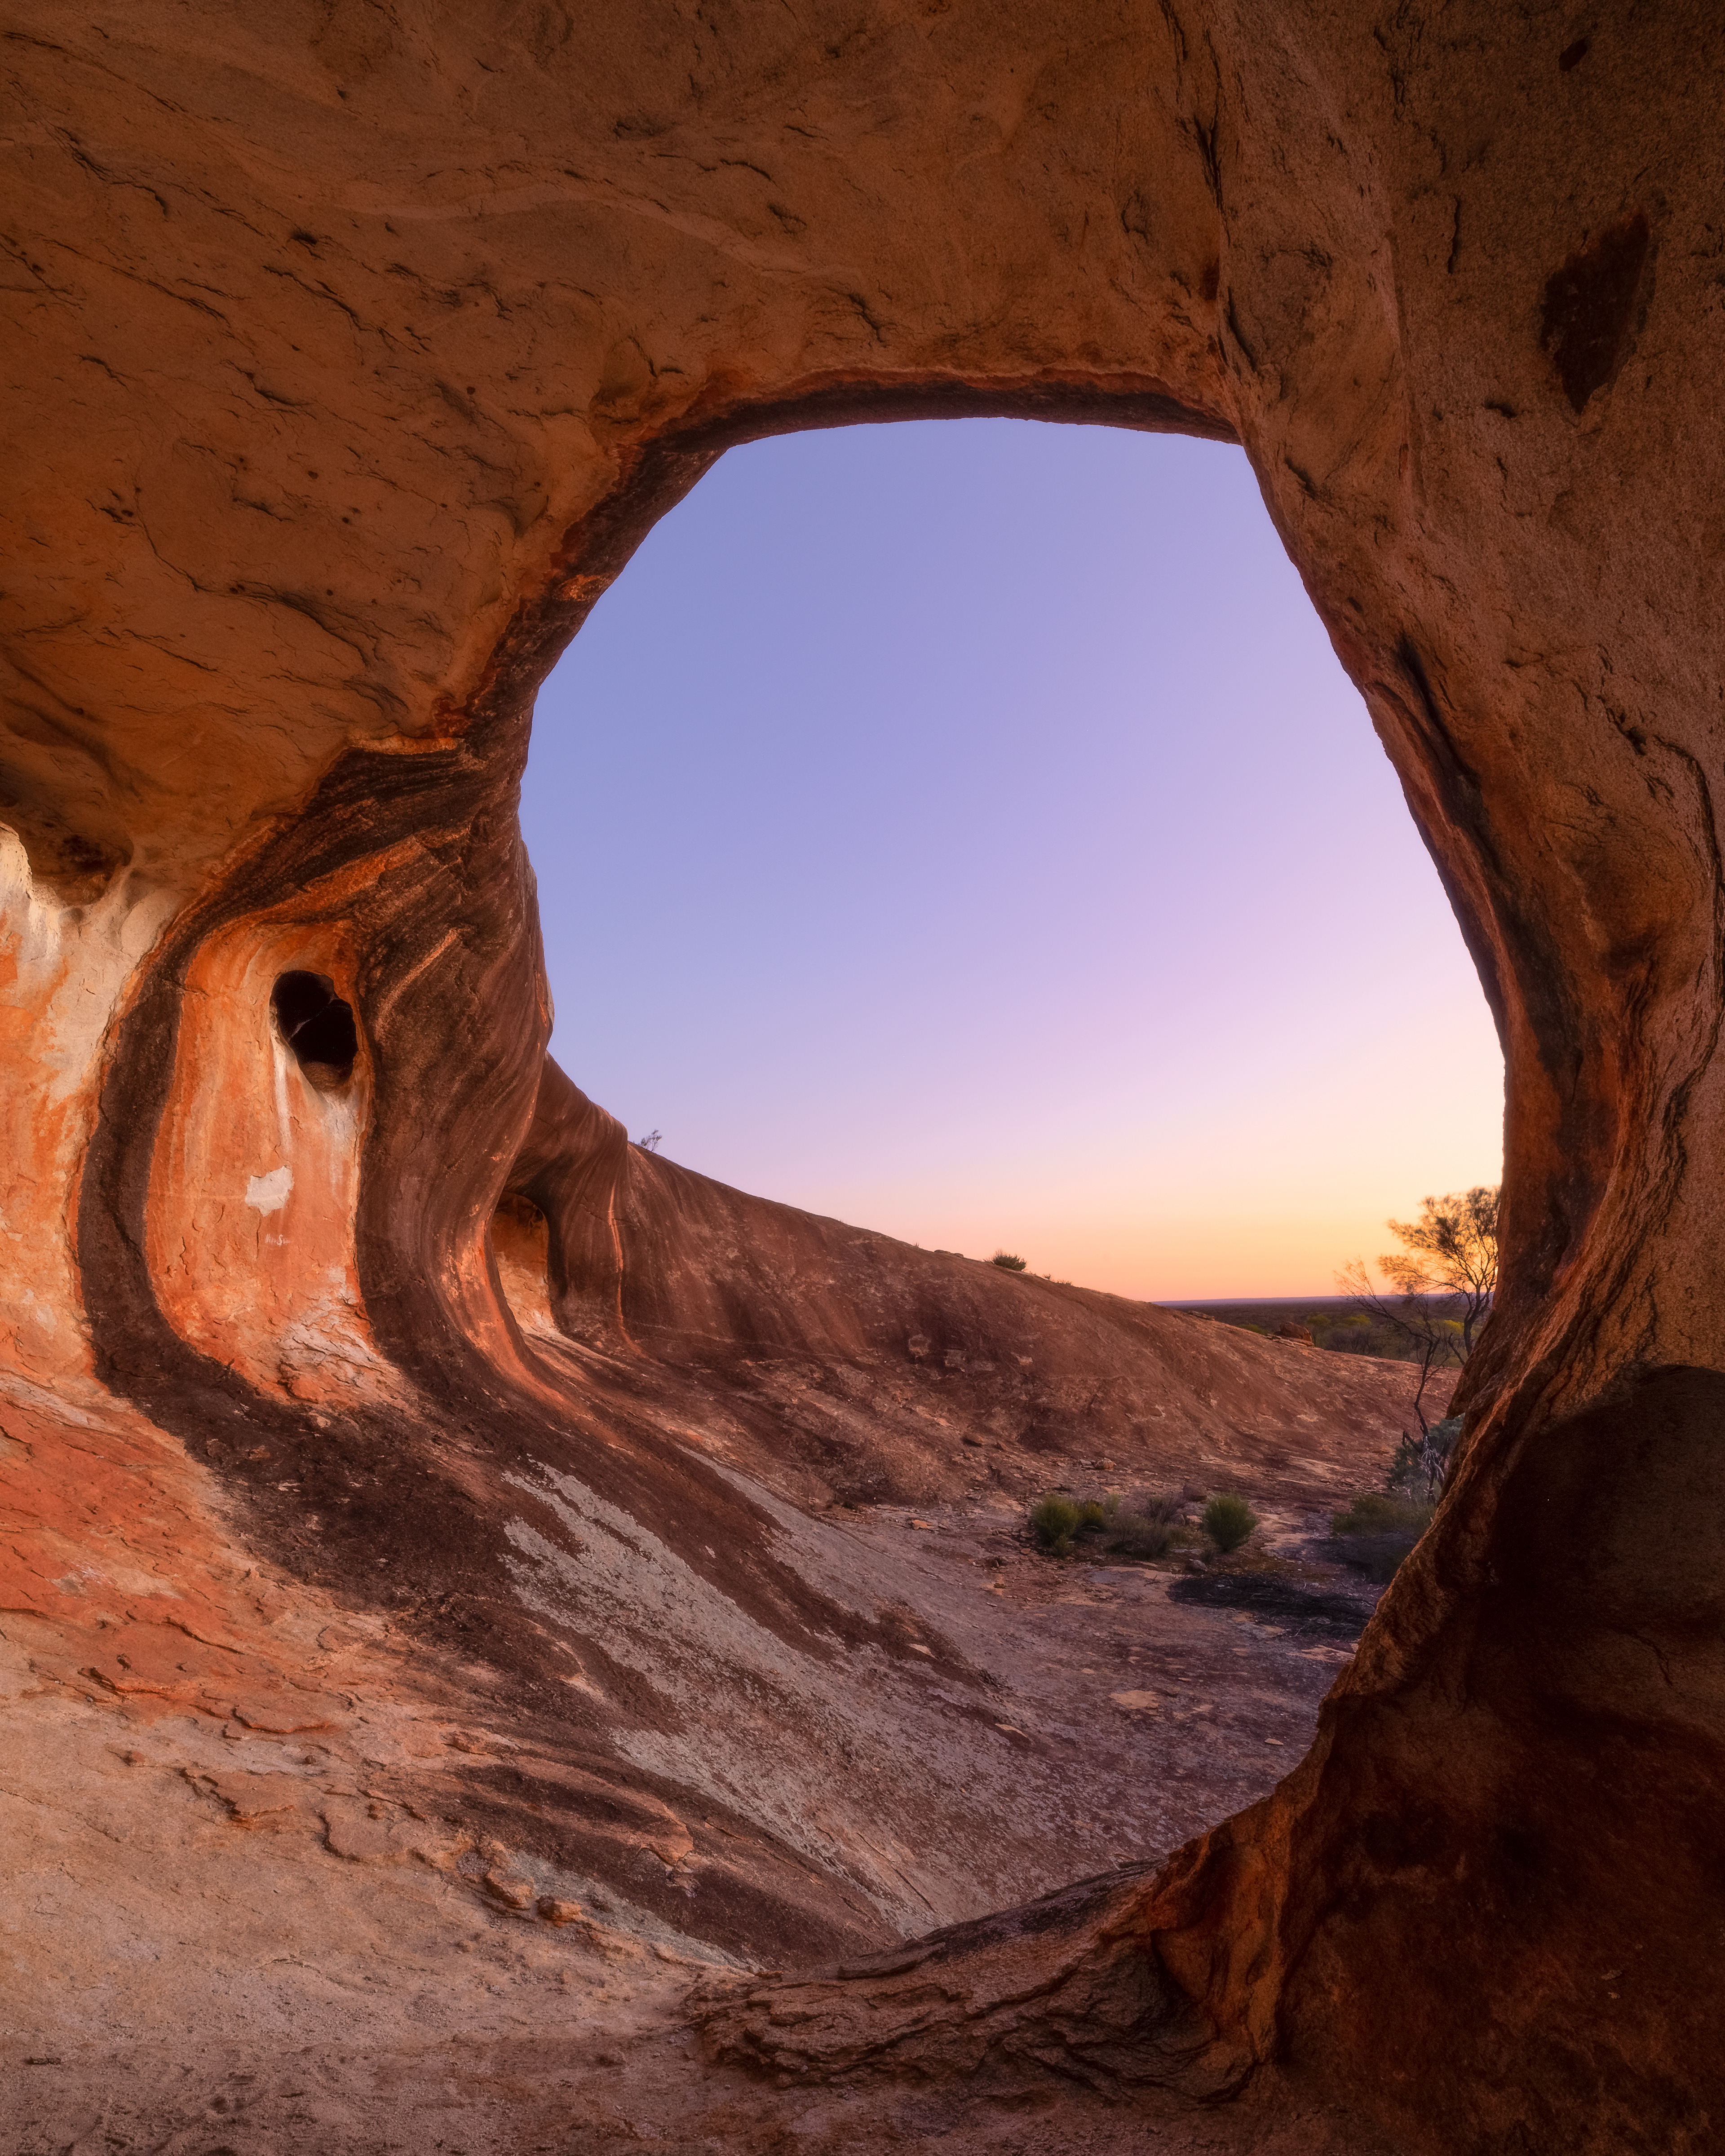
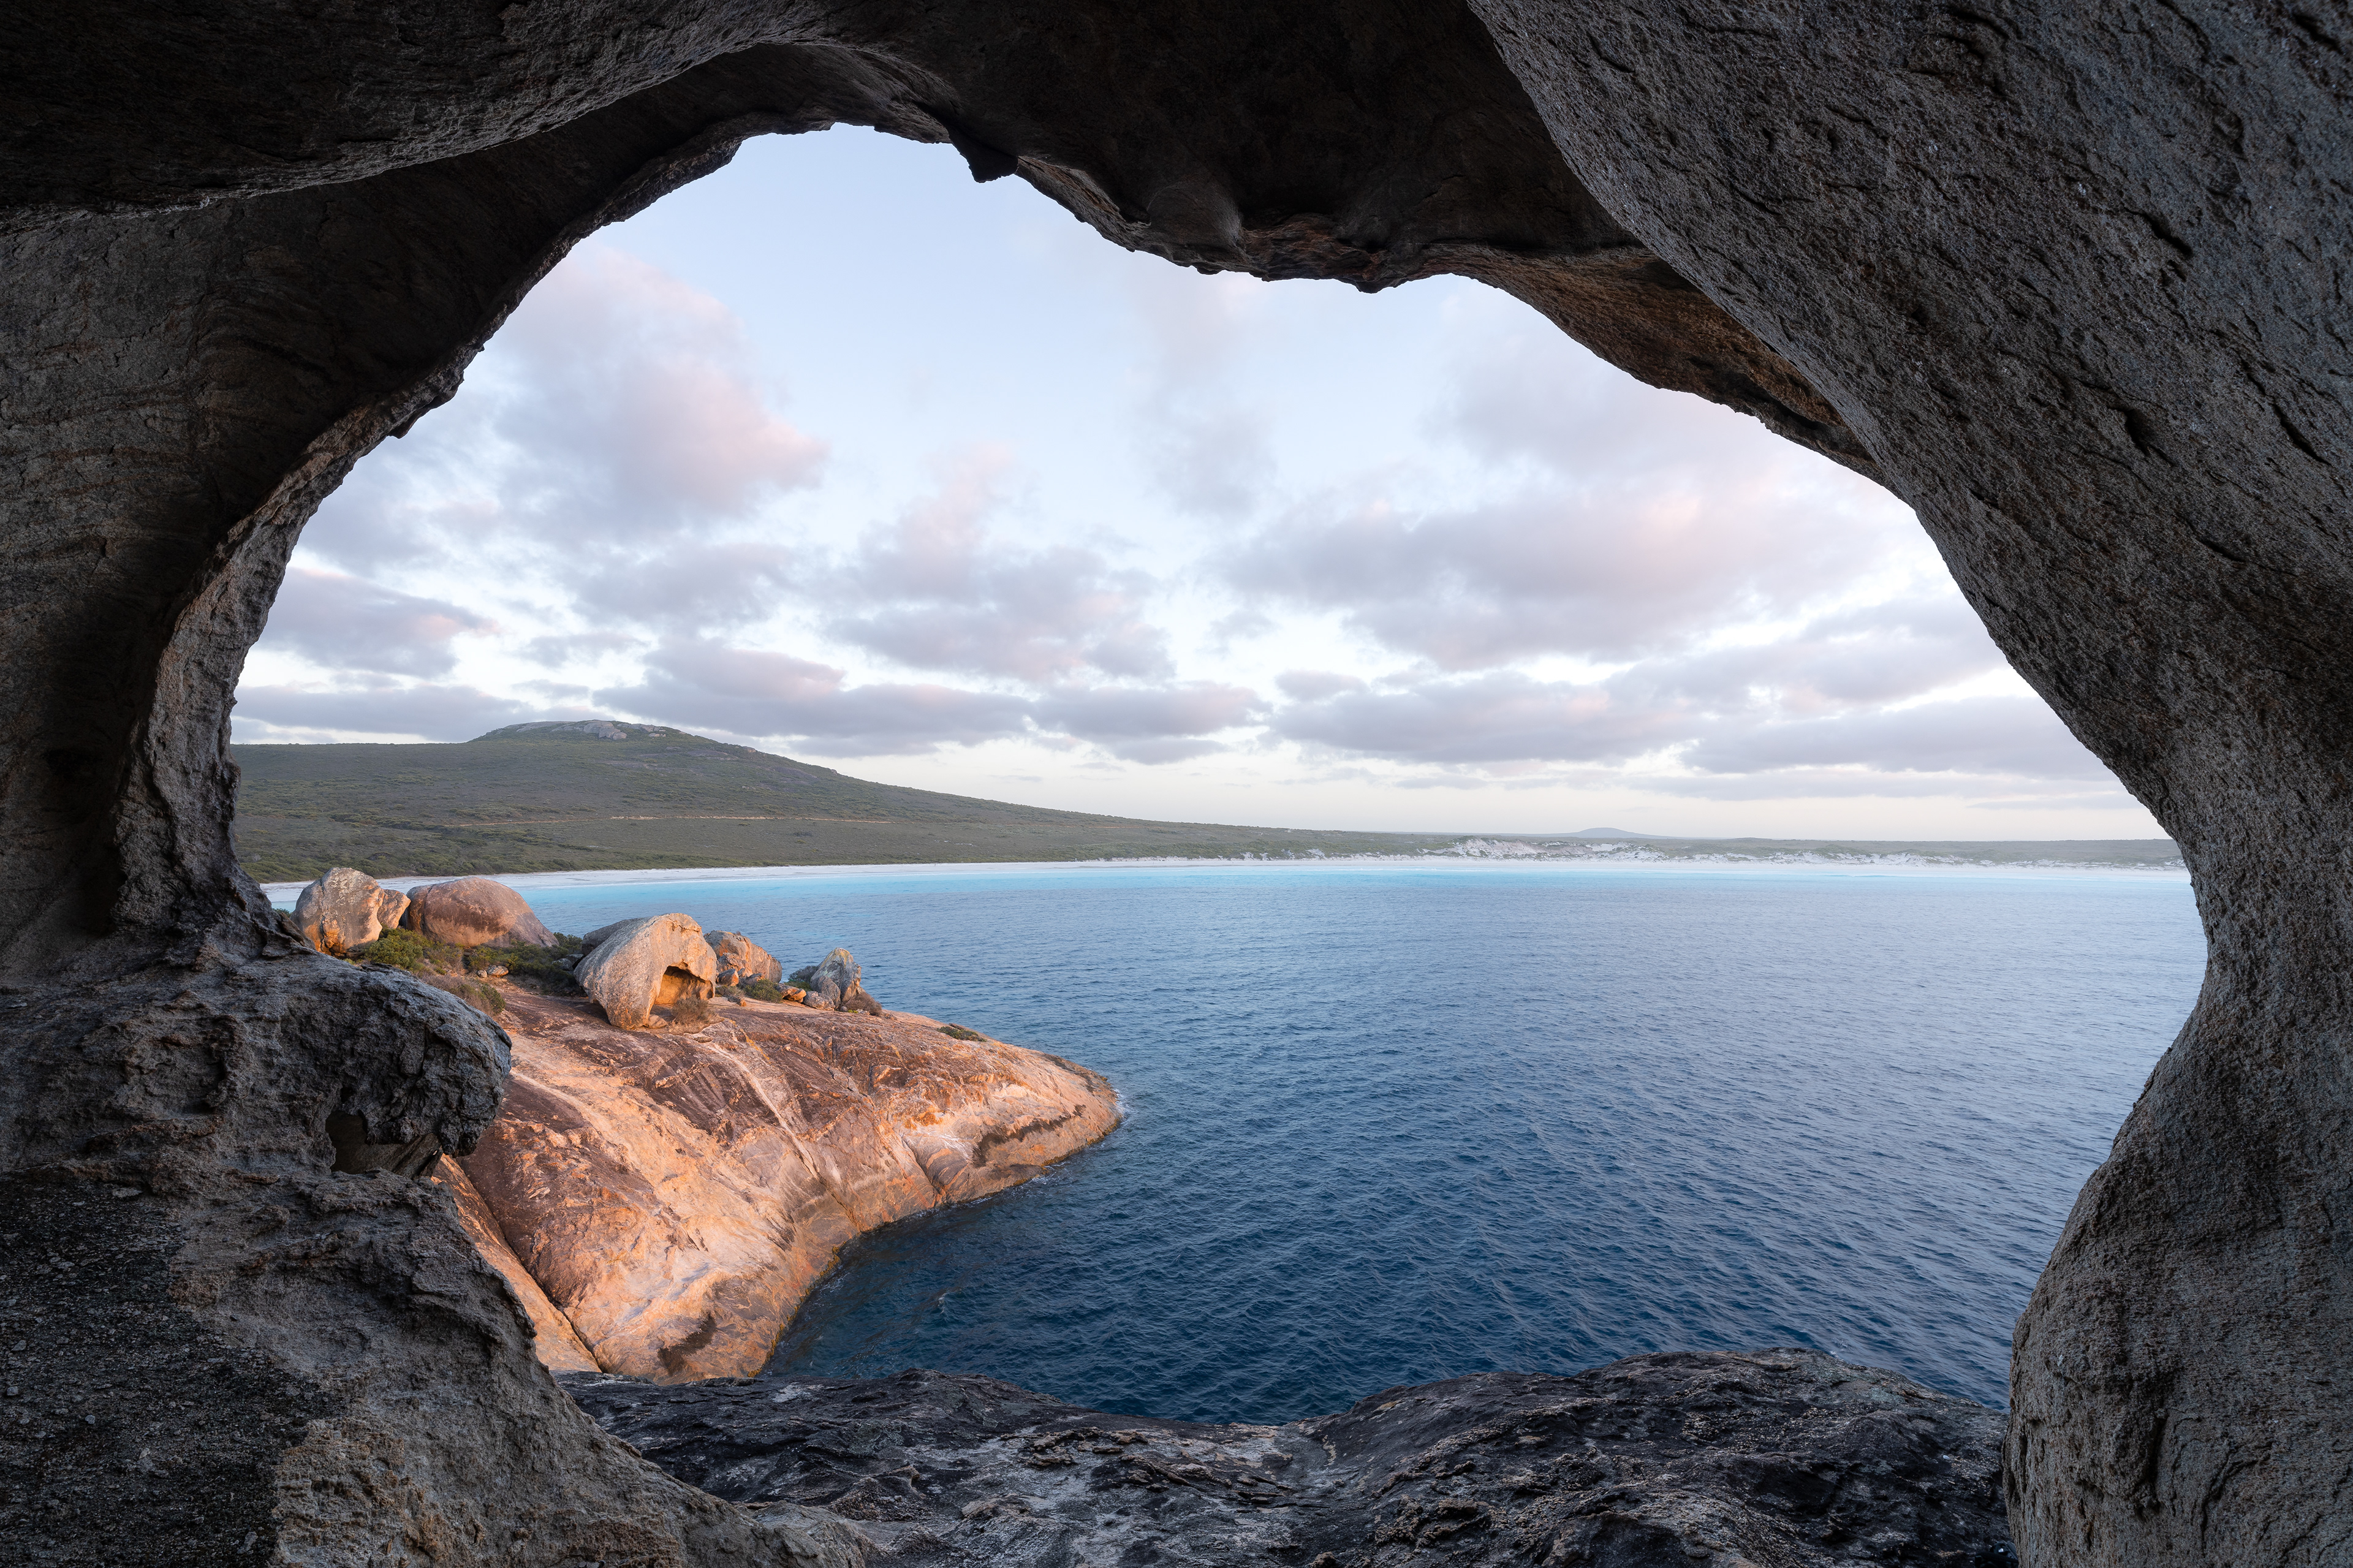
Lucky Cave (2:3)
Lucky Cave (2:3)
Thistle Cove Aurora 03 (1:2)
Wylie Bay Top Down 01 (4:5)
"Stargazer" Lake Ballard (2:3)
Hellfire Bay Sunrise 01 (2:3)
Cave Hill (4:5)
Cave Hill (4:5)
Hellfire Beach 02 (4:5)
Cape Le Grand Sunset (2:3)
Wharton Beach Rock (2:3)
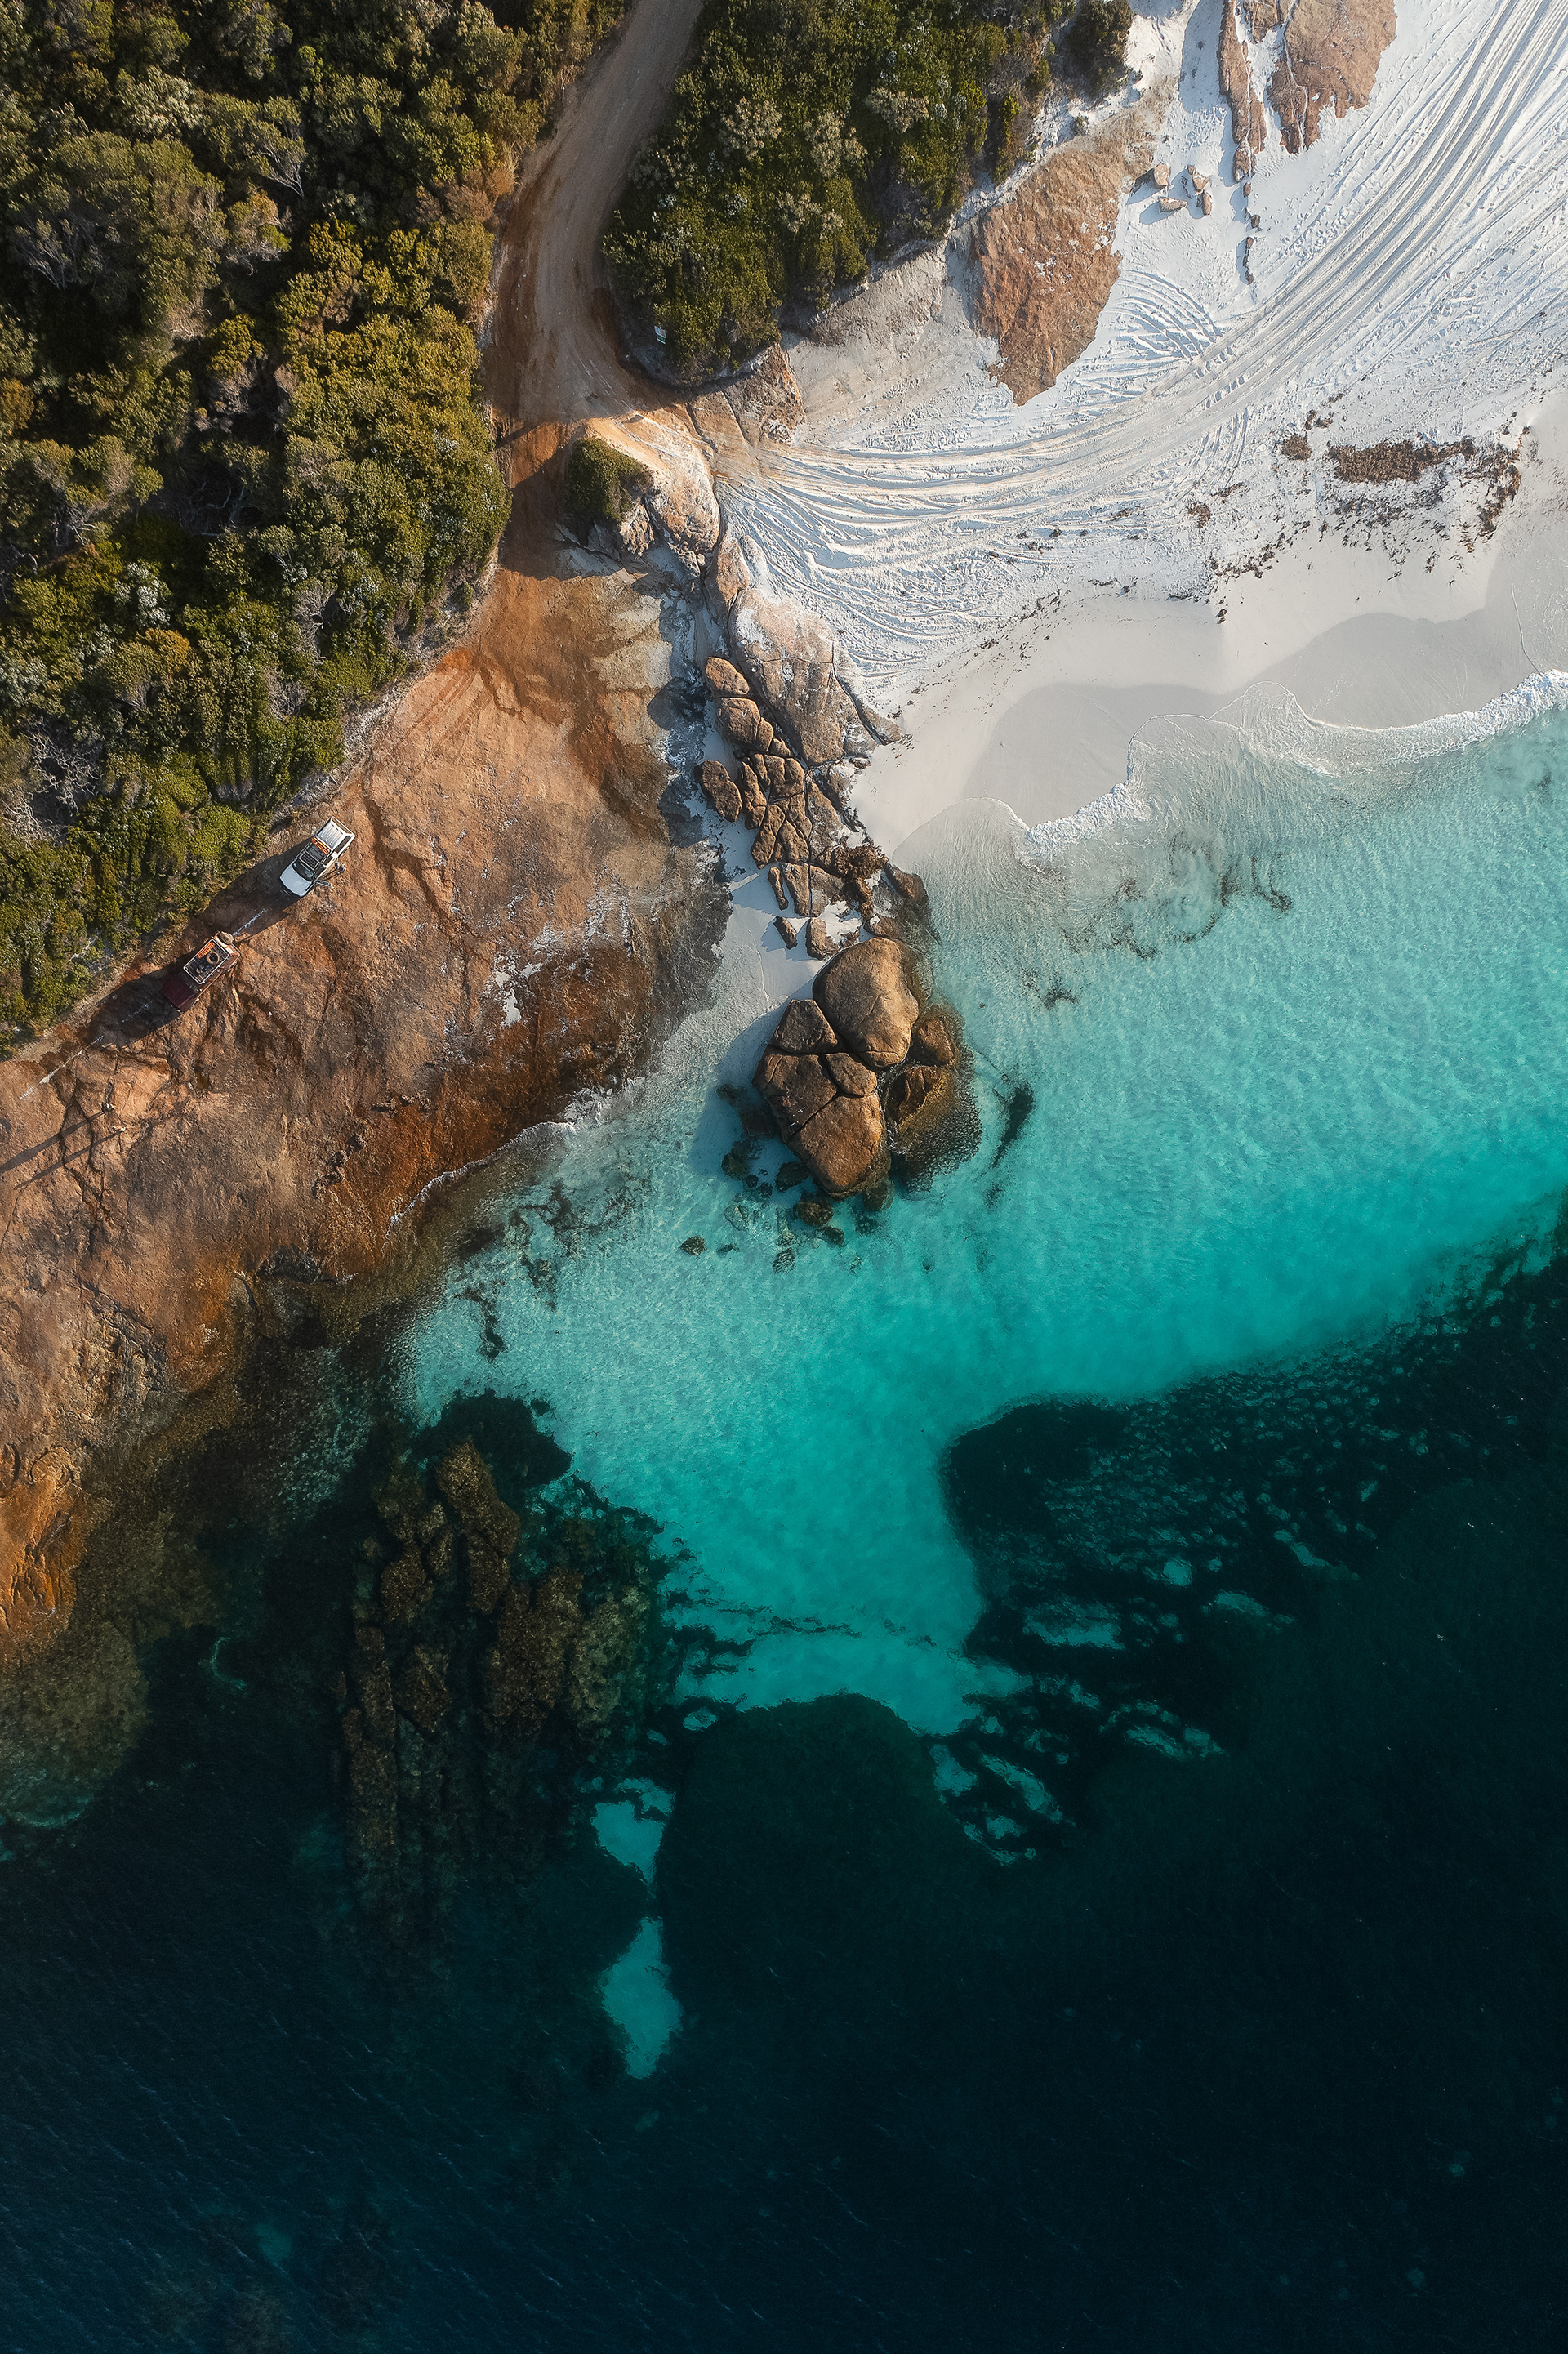
Little Wharton Beach Top Down (2:3)
Lovers Cove Sunrise (2:3)
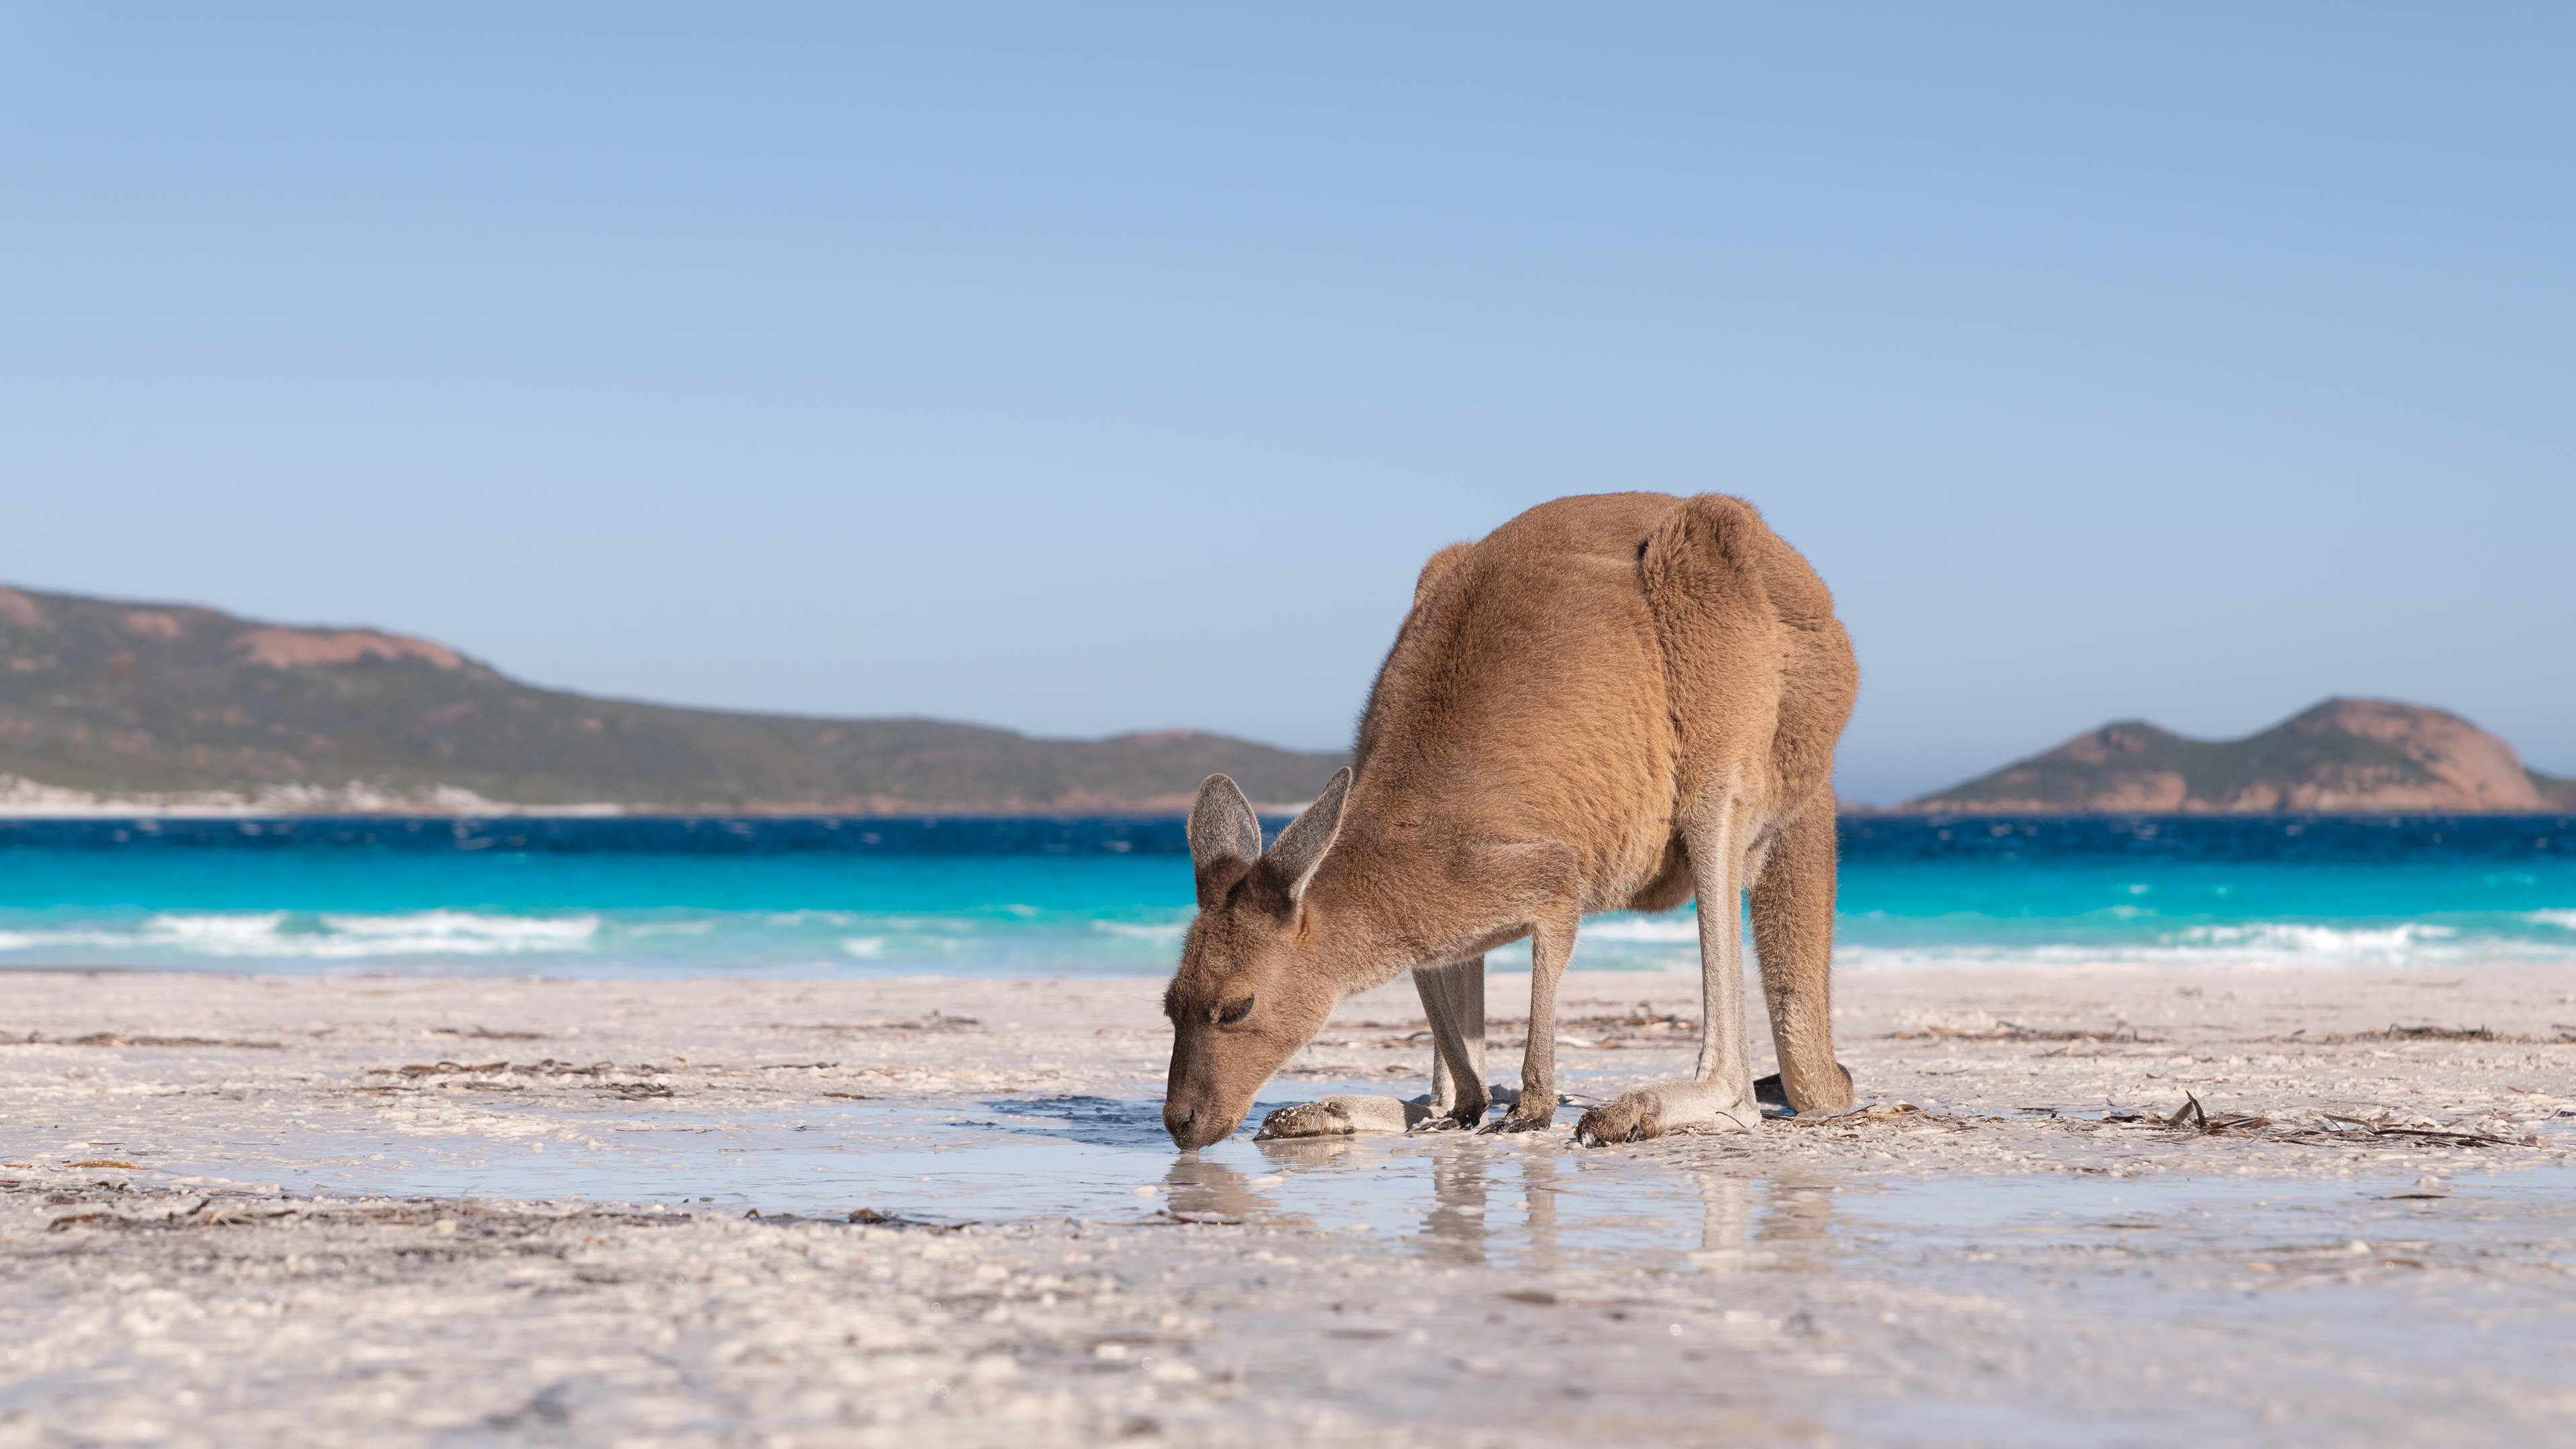
Lucky Bay Kangaroo (1:2/16:9)
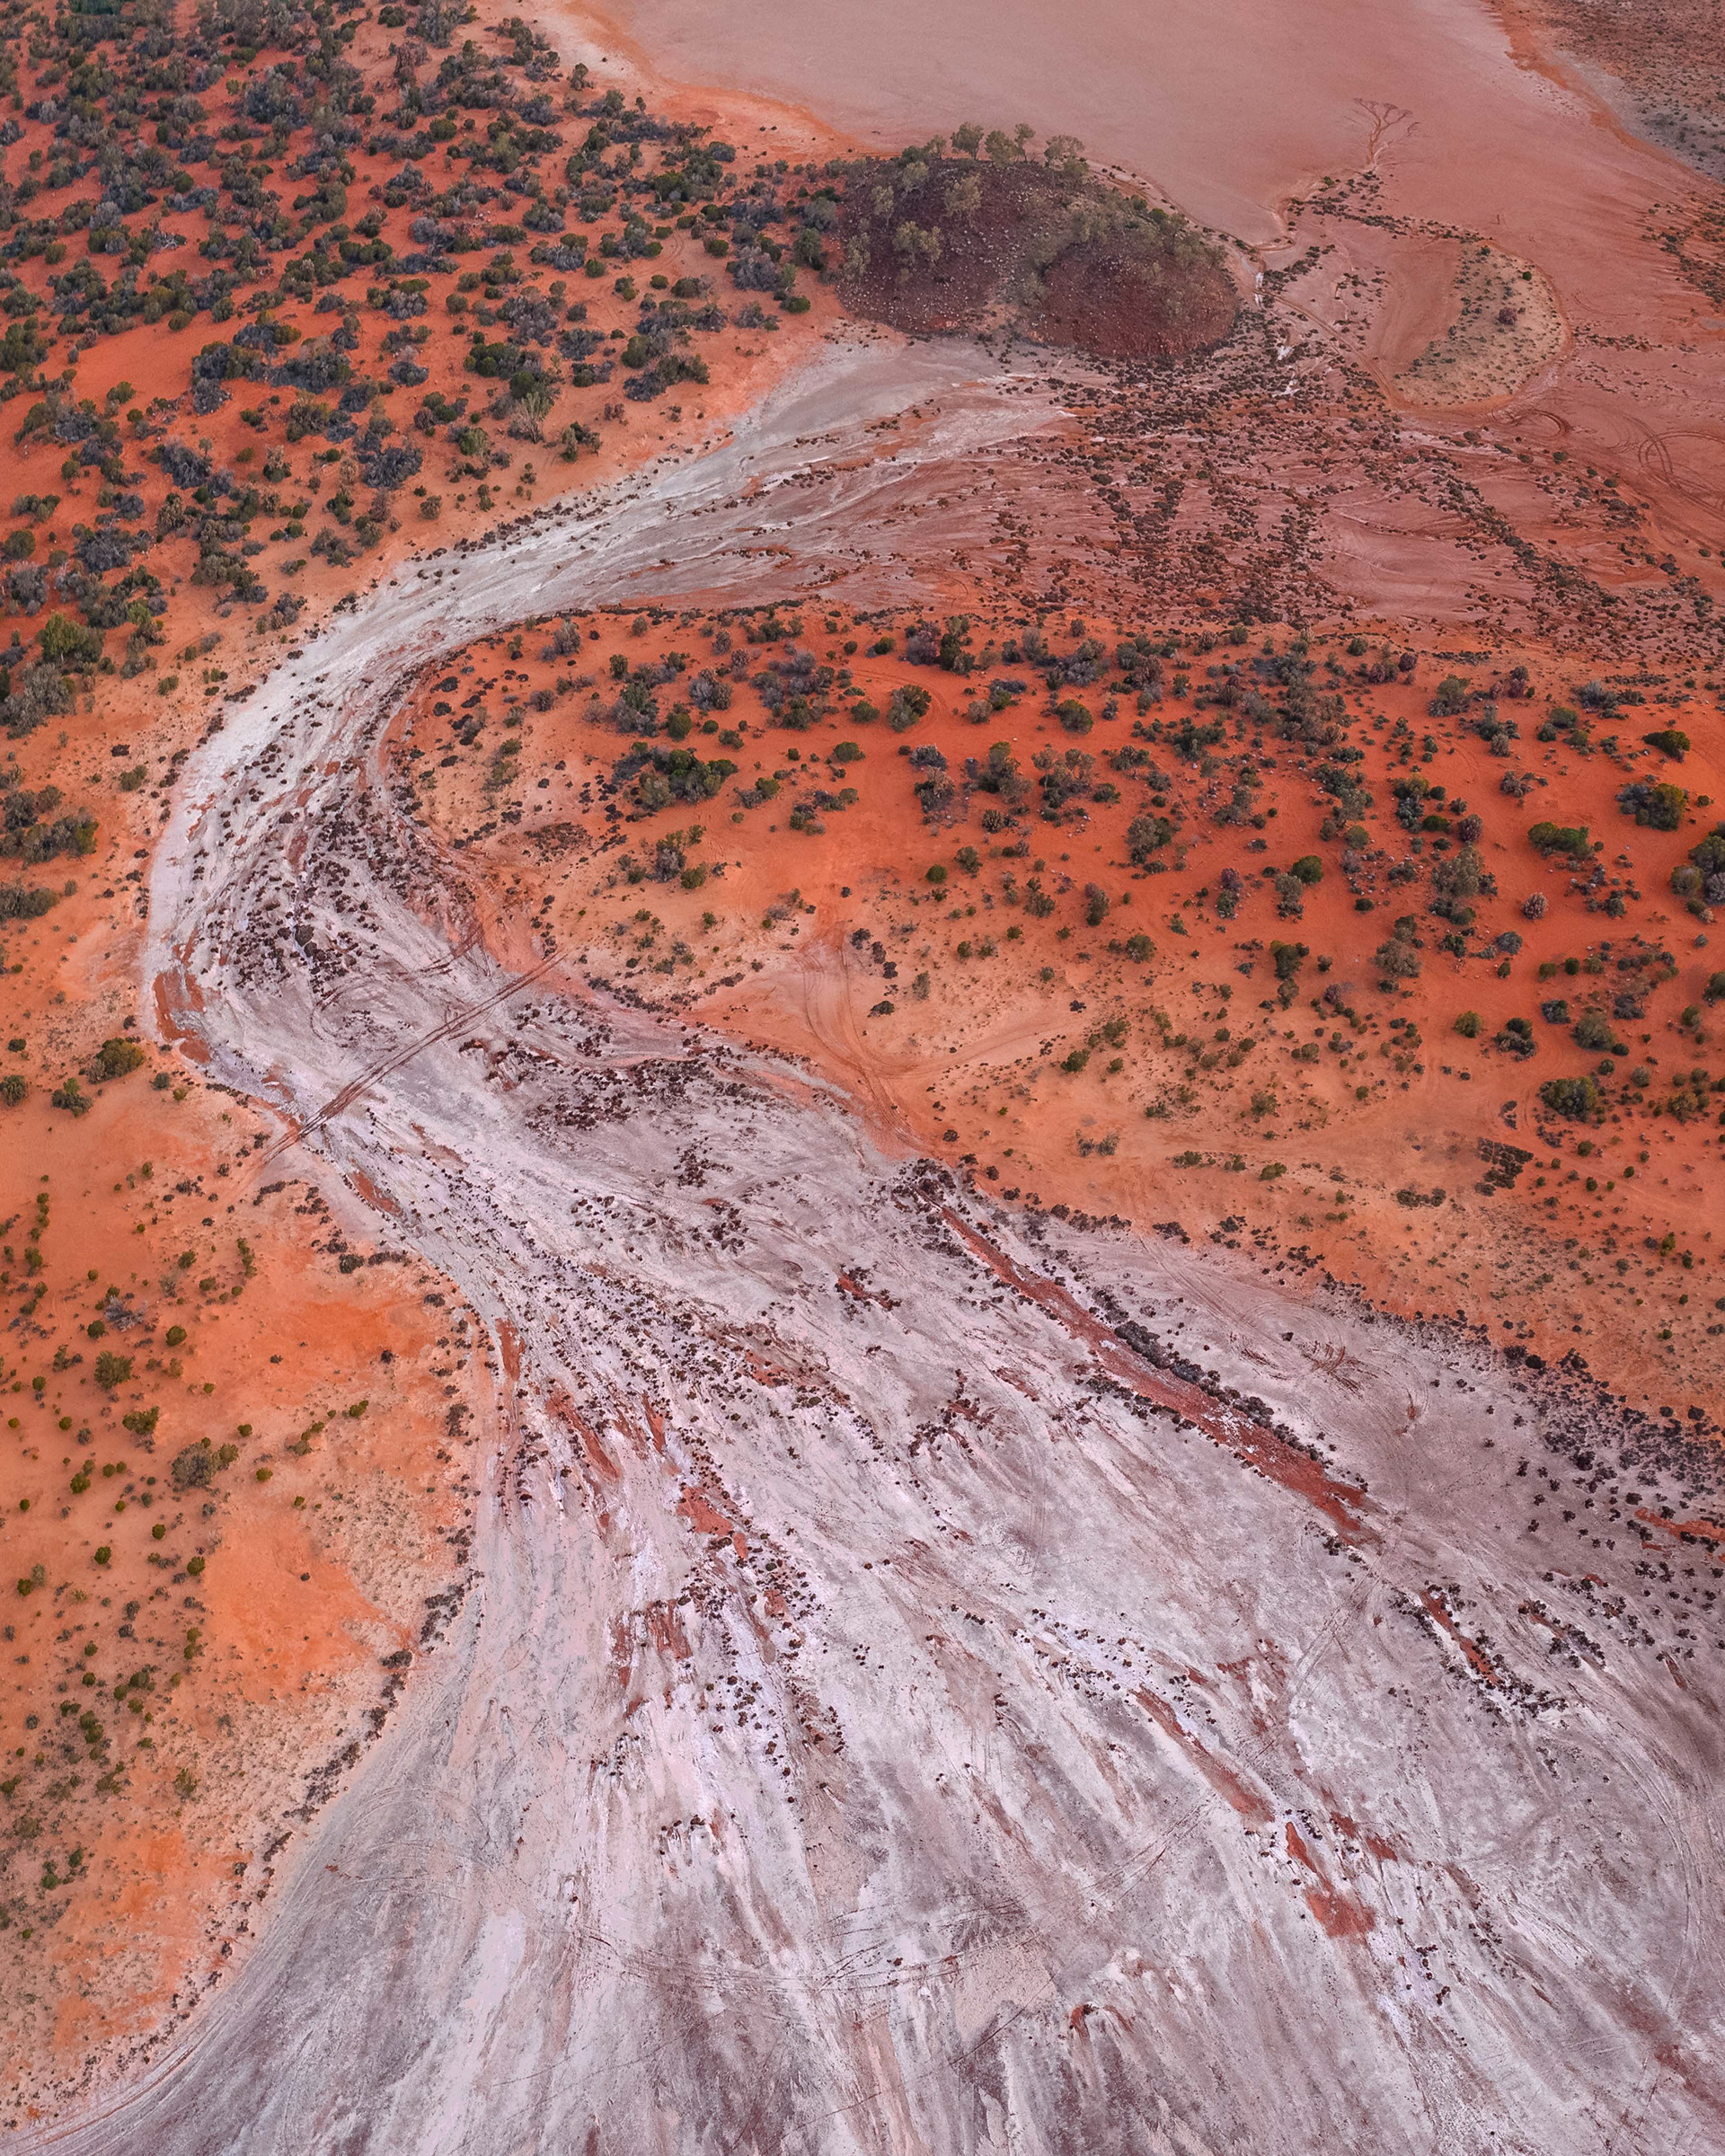
Lake Ballard Inflow Patterns (4:5)
Lucky Bay Panoramic (1:2/1:3)
Lucky Bay Wave (4:5)
Twilight Beach Top Down (4:5)
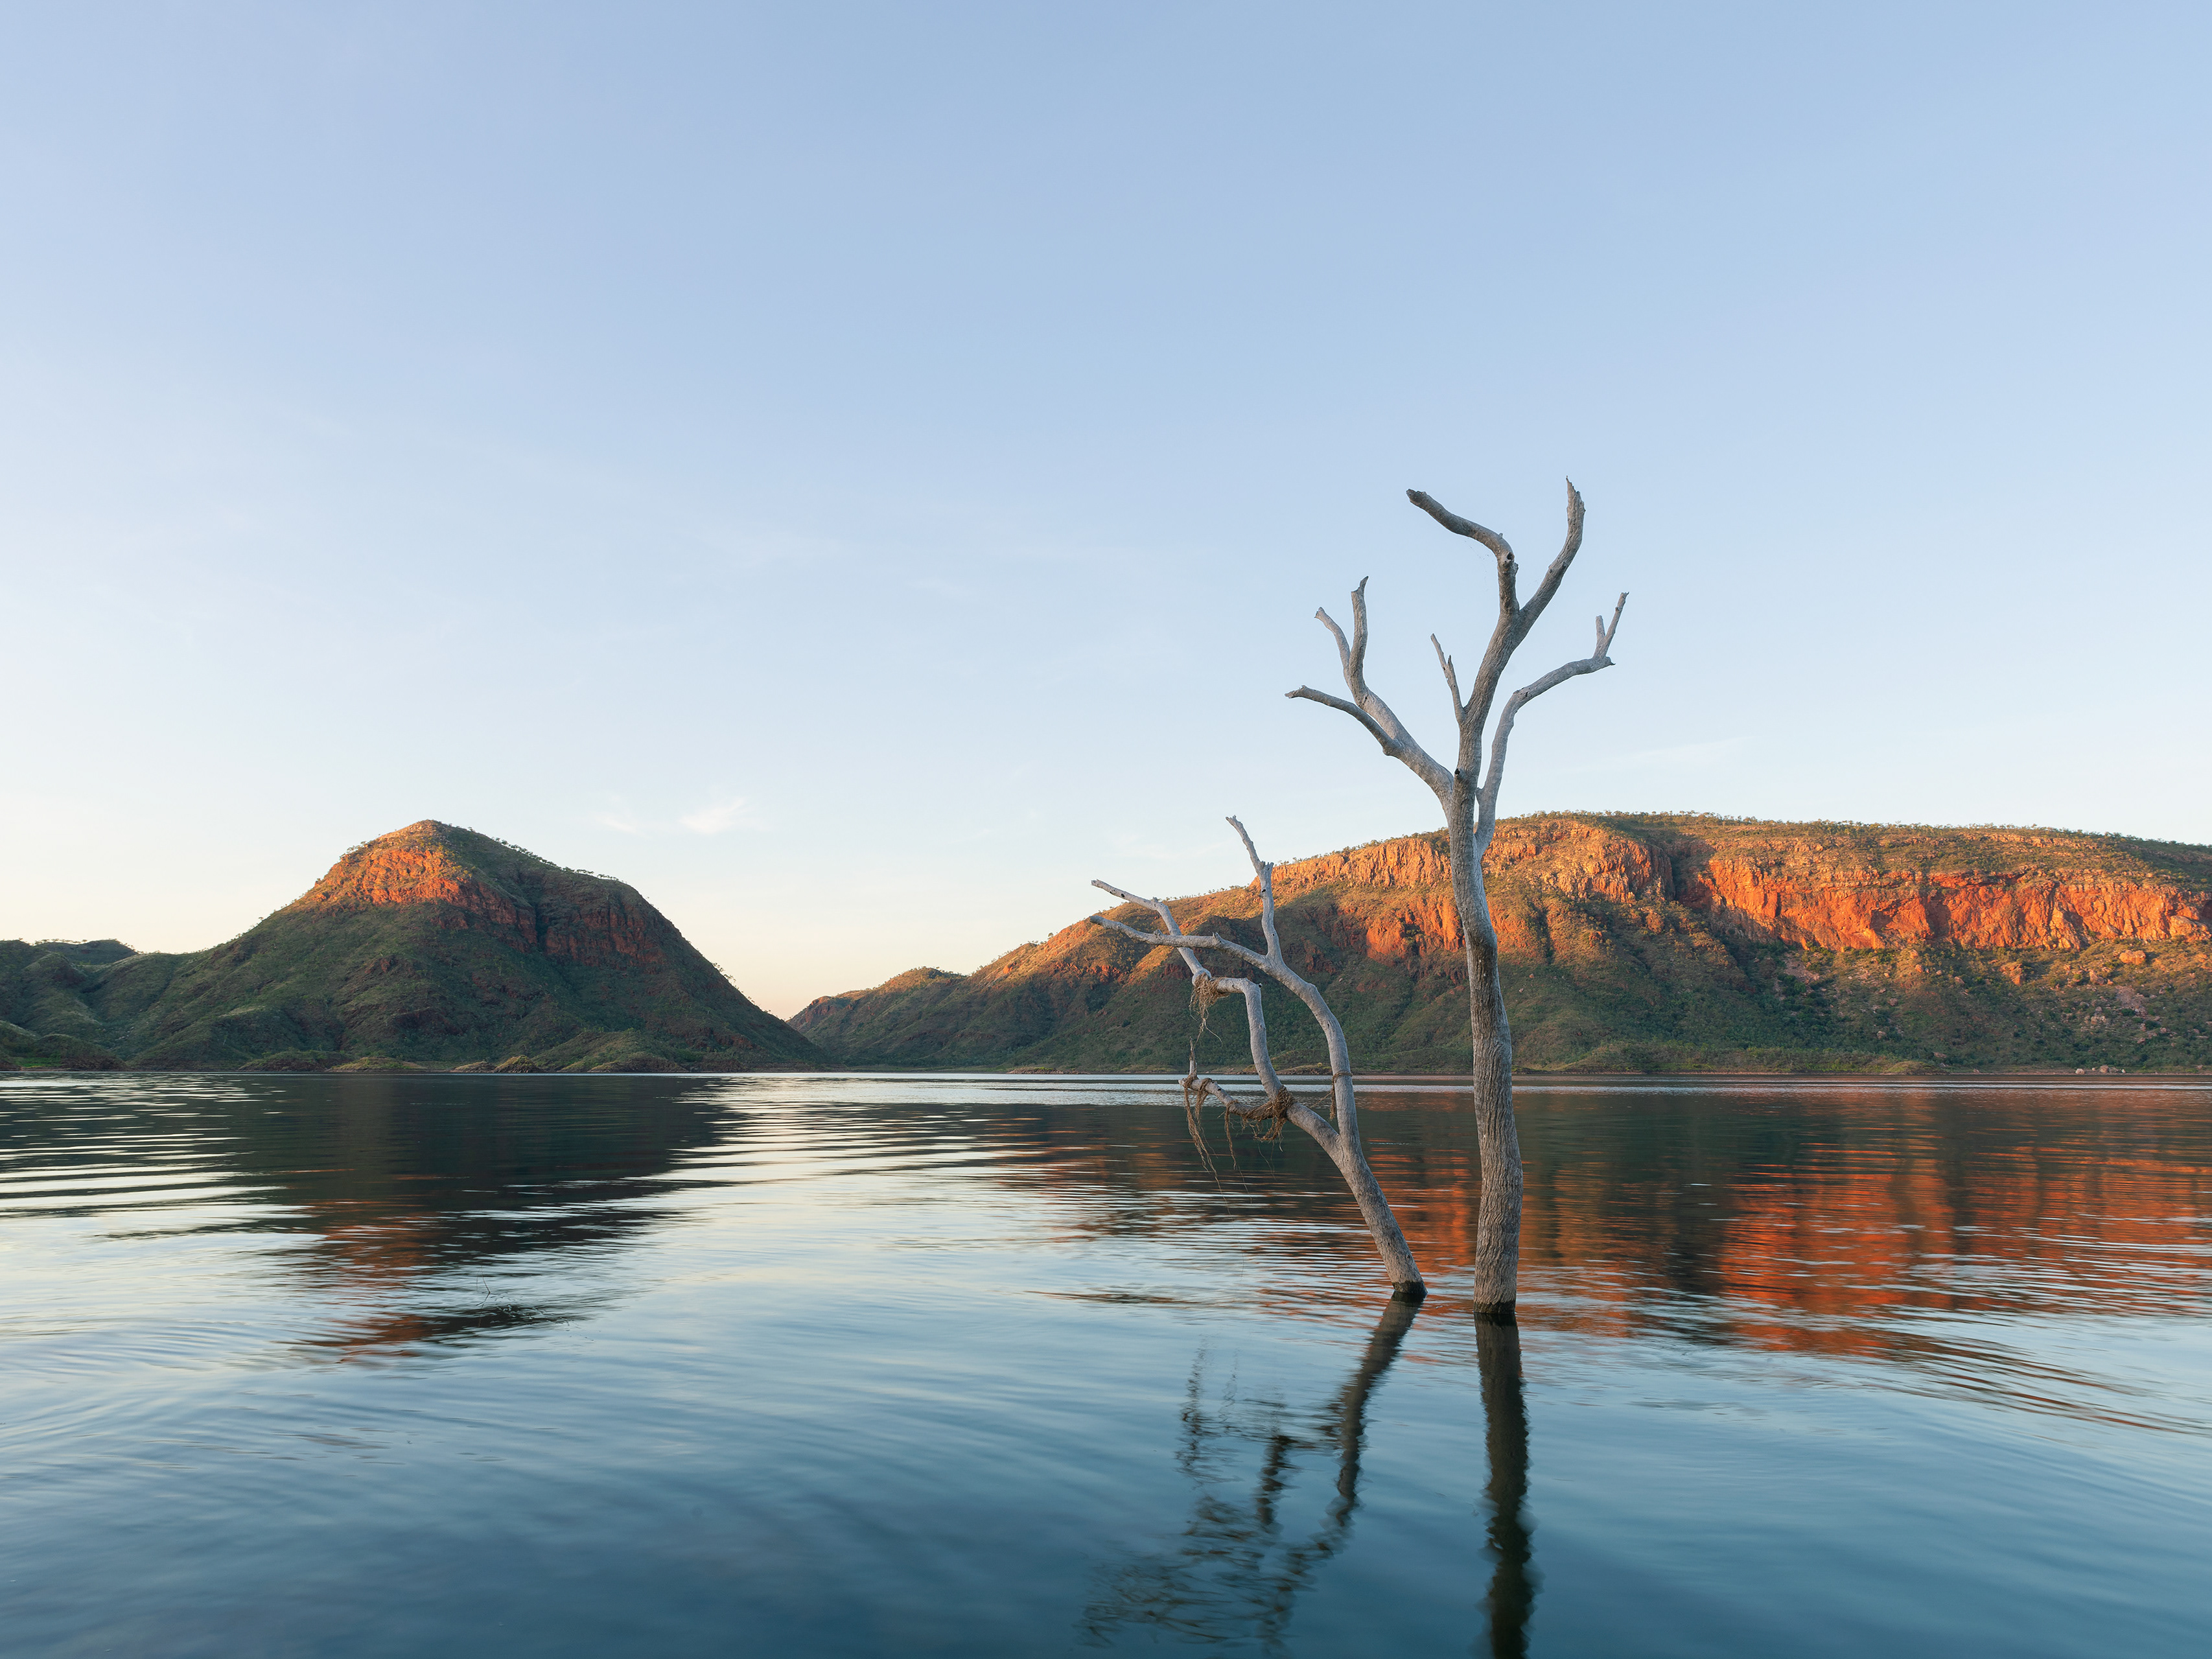
Victoria Harbour (4:5)
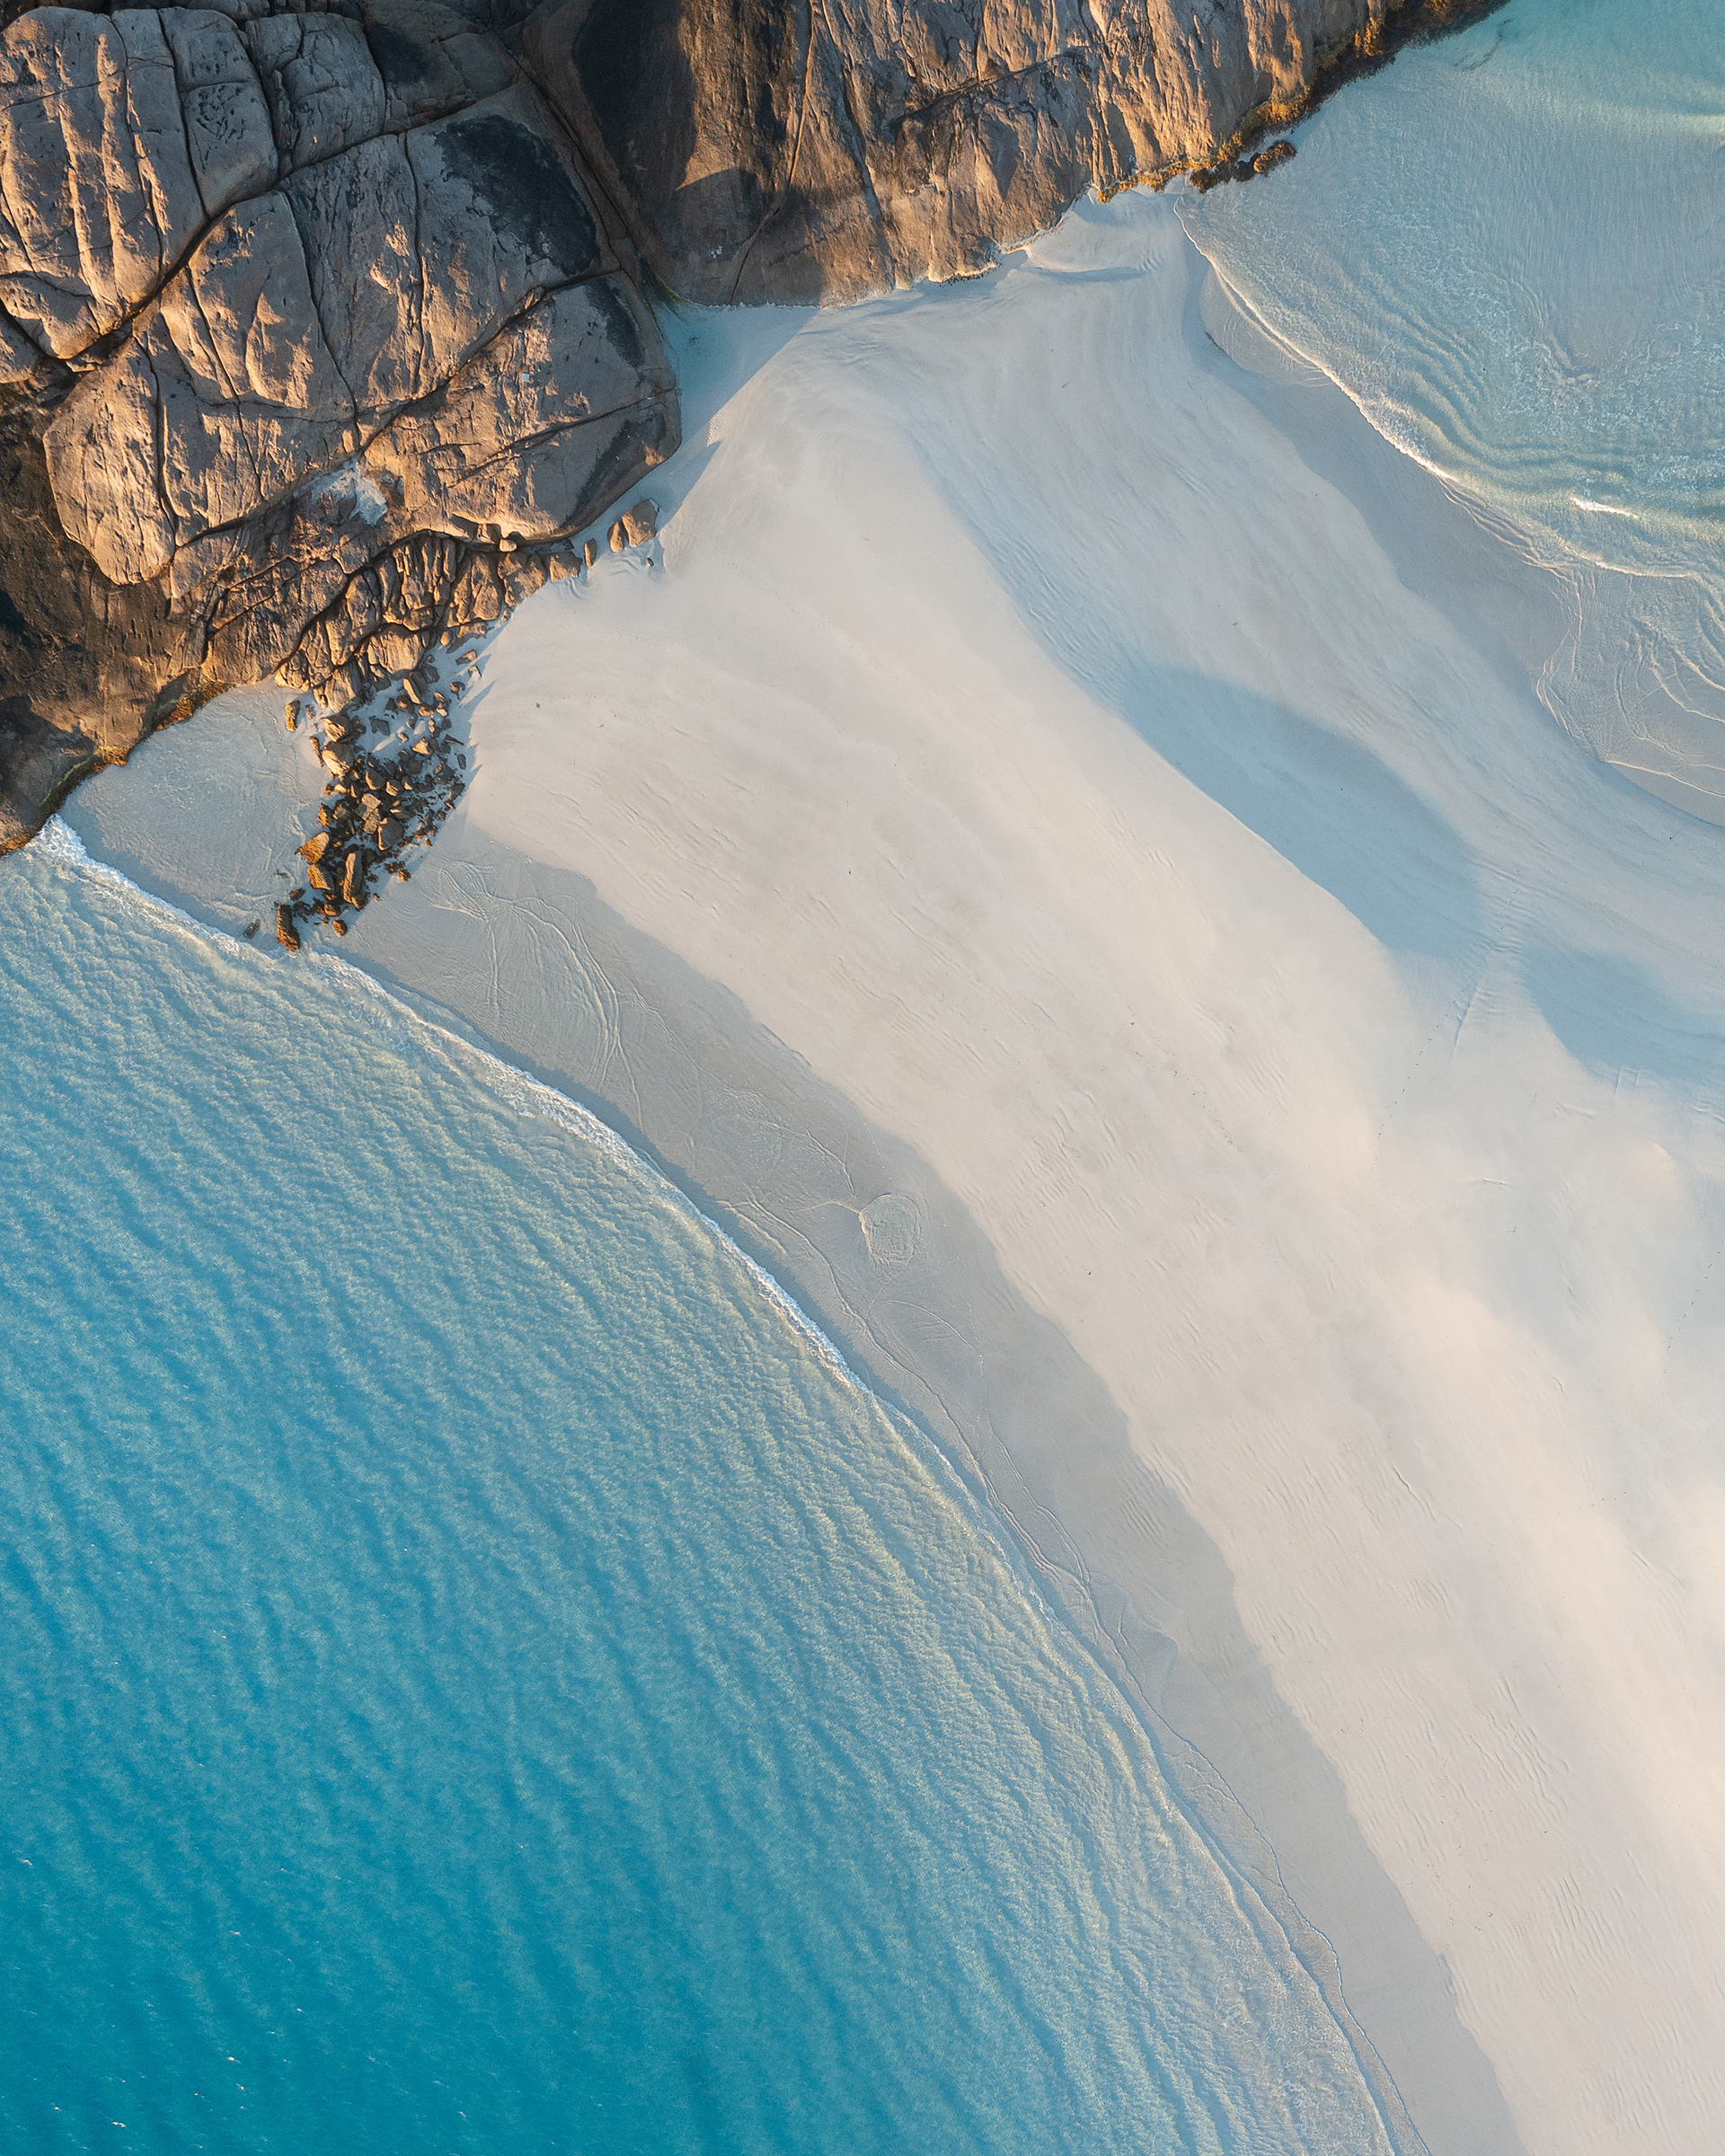
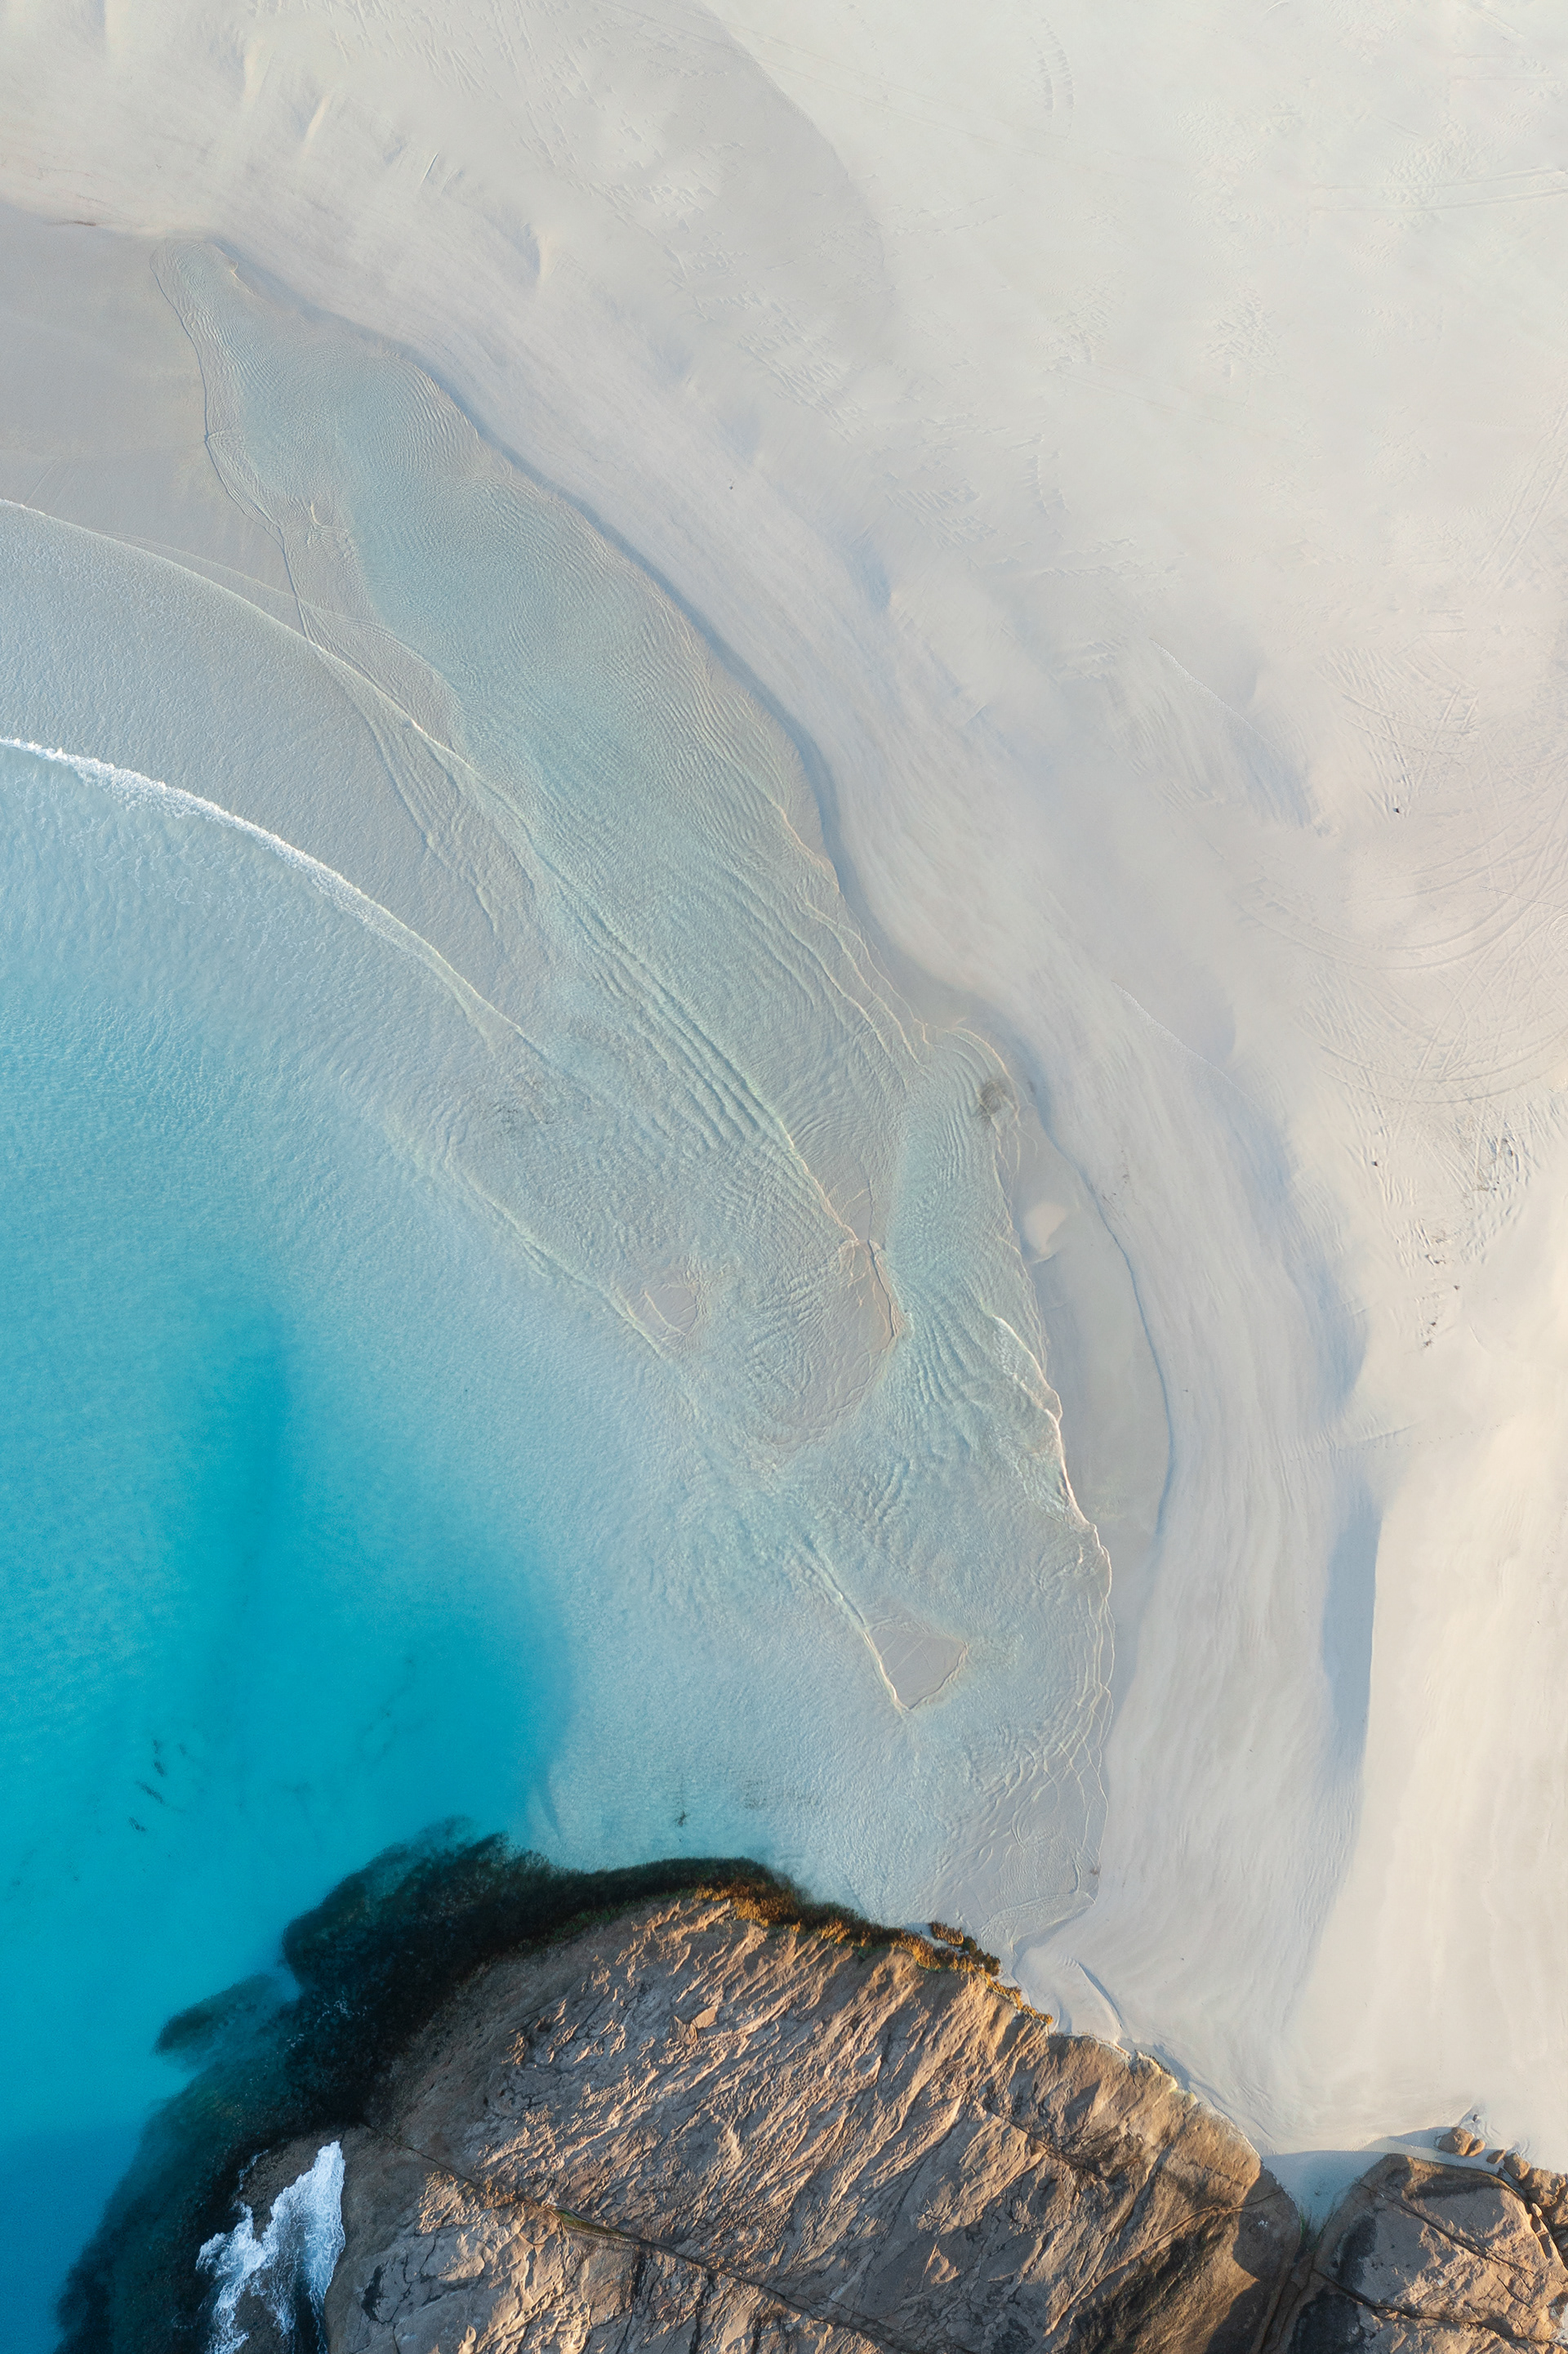
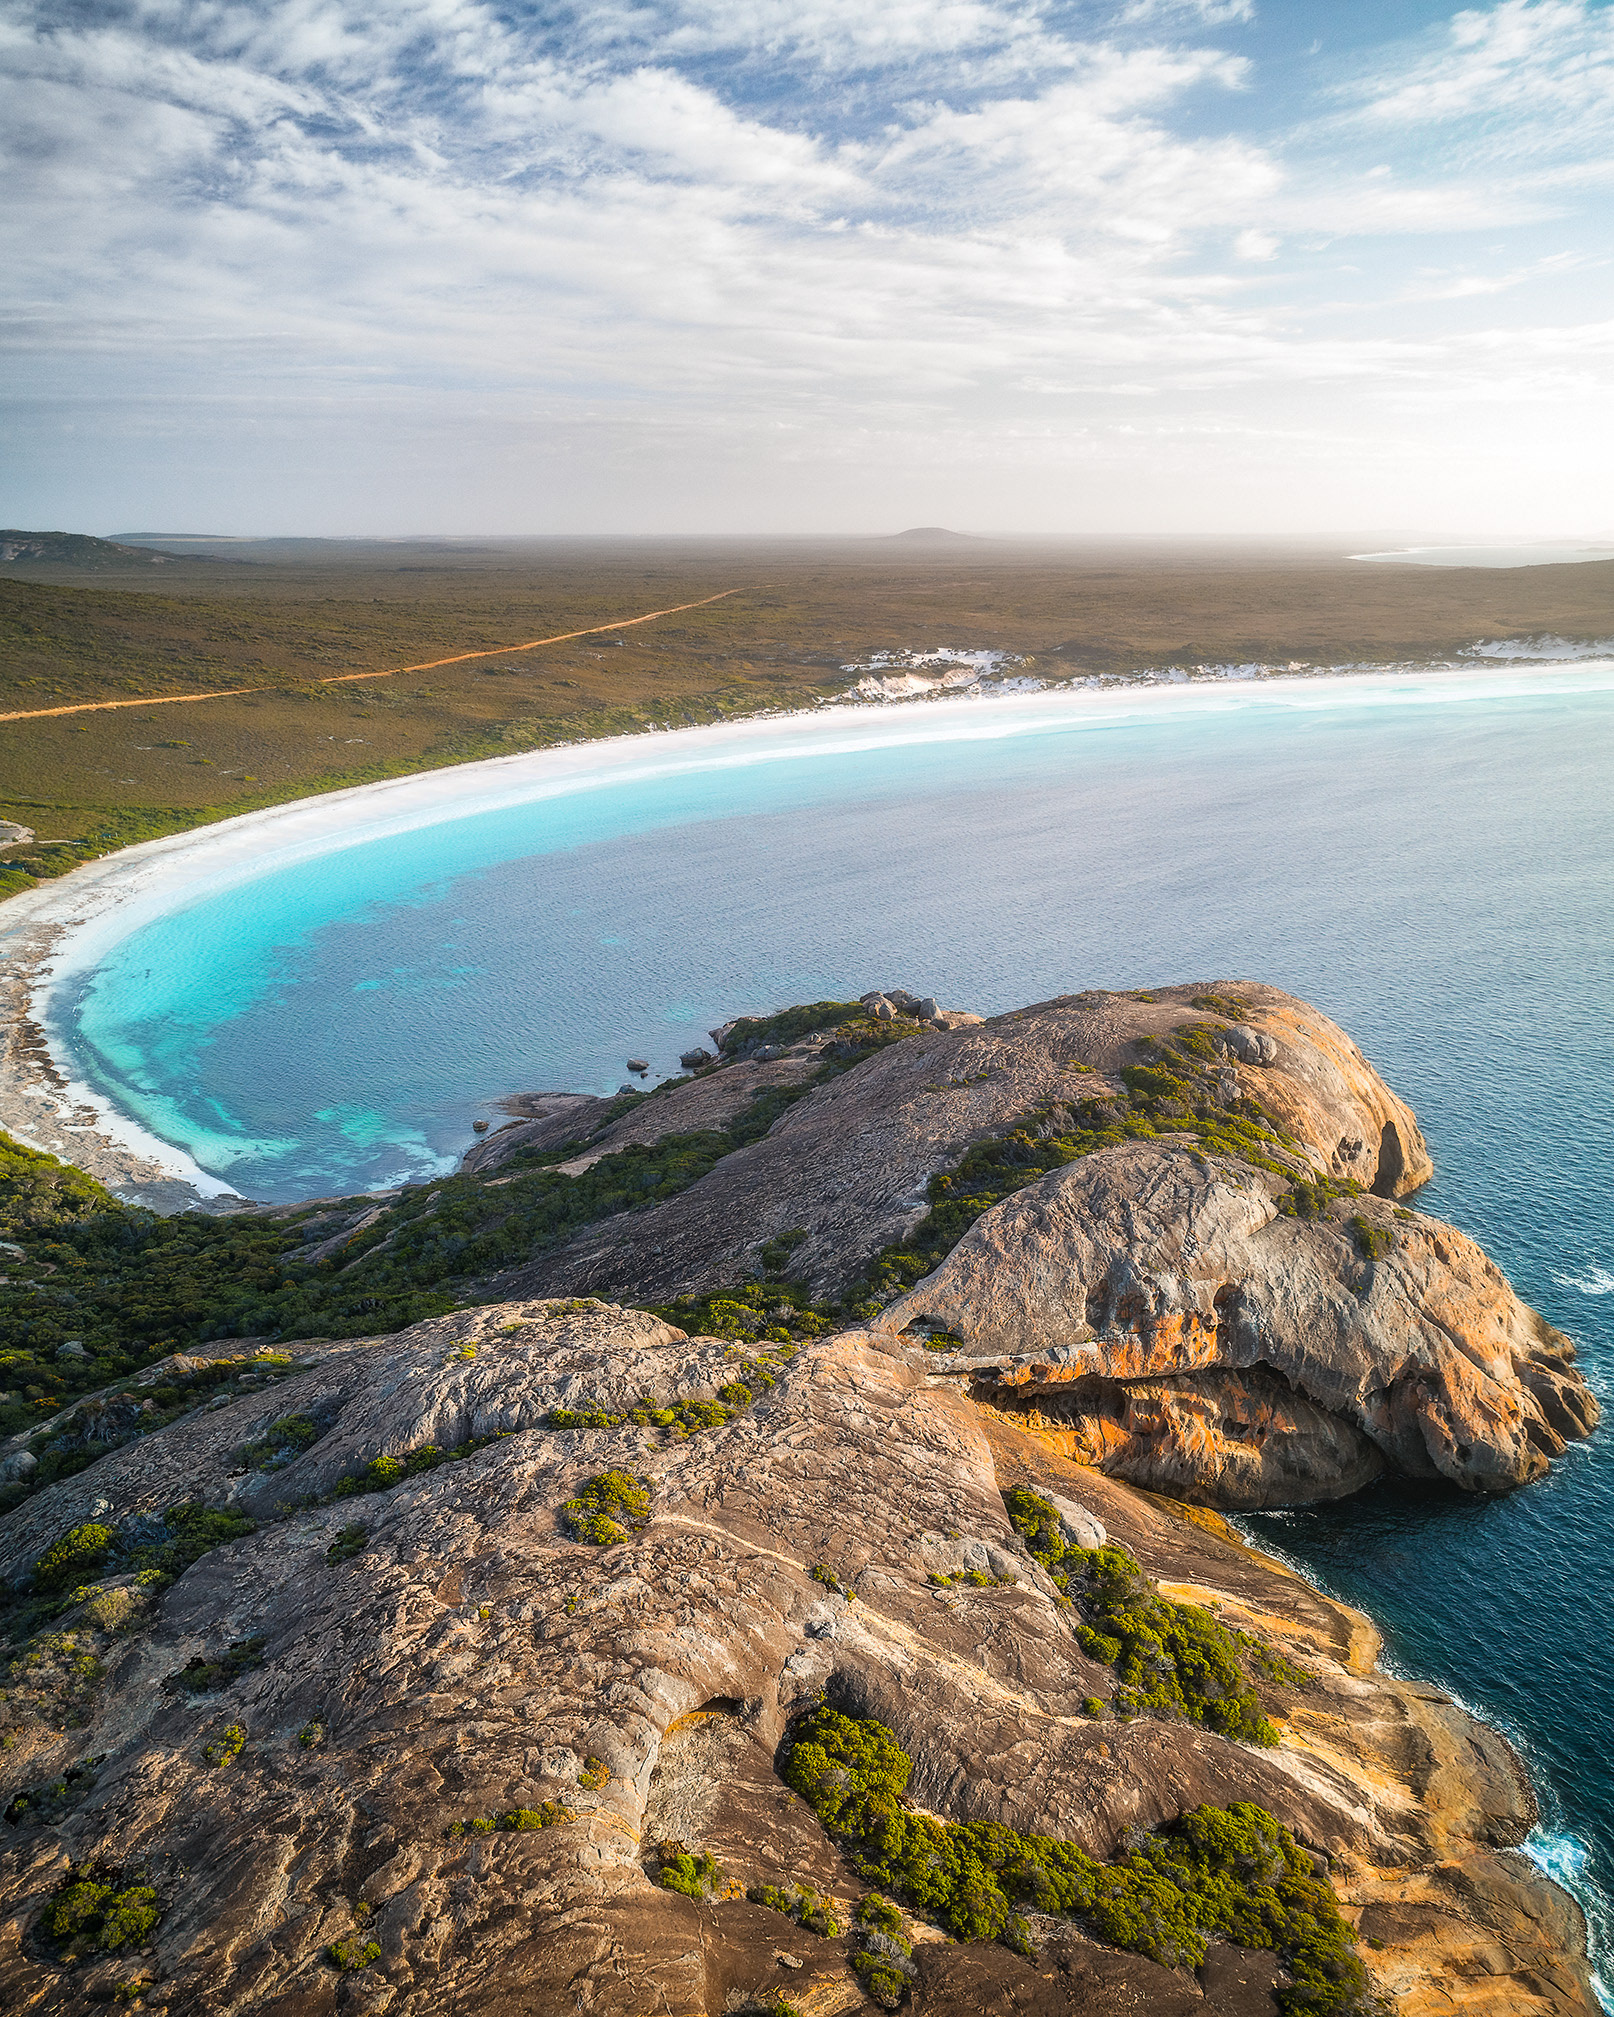
West Beach Aerial (4:5)
Lucky Bay Rocks 01 (2:3)
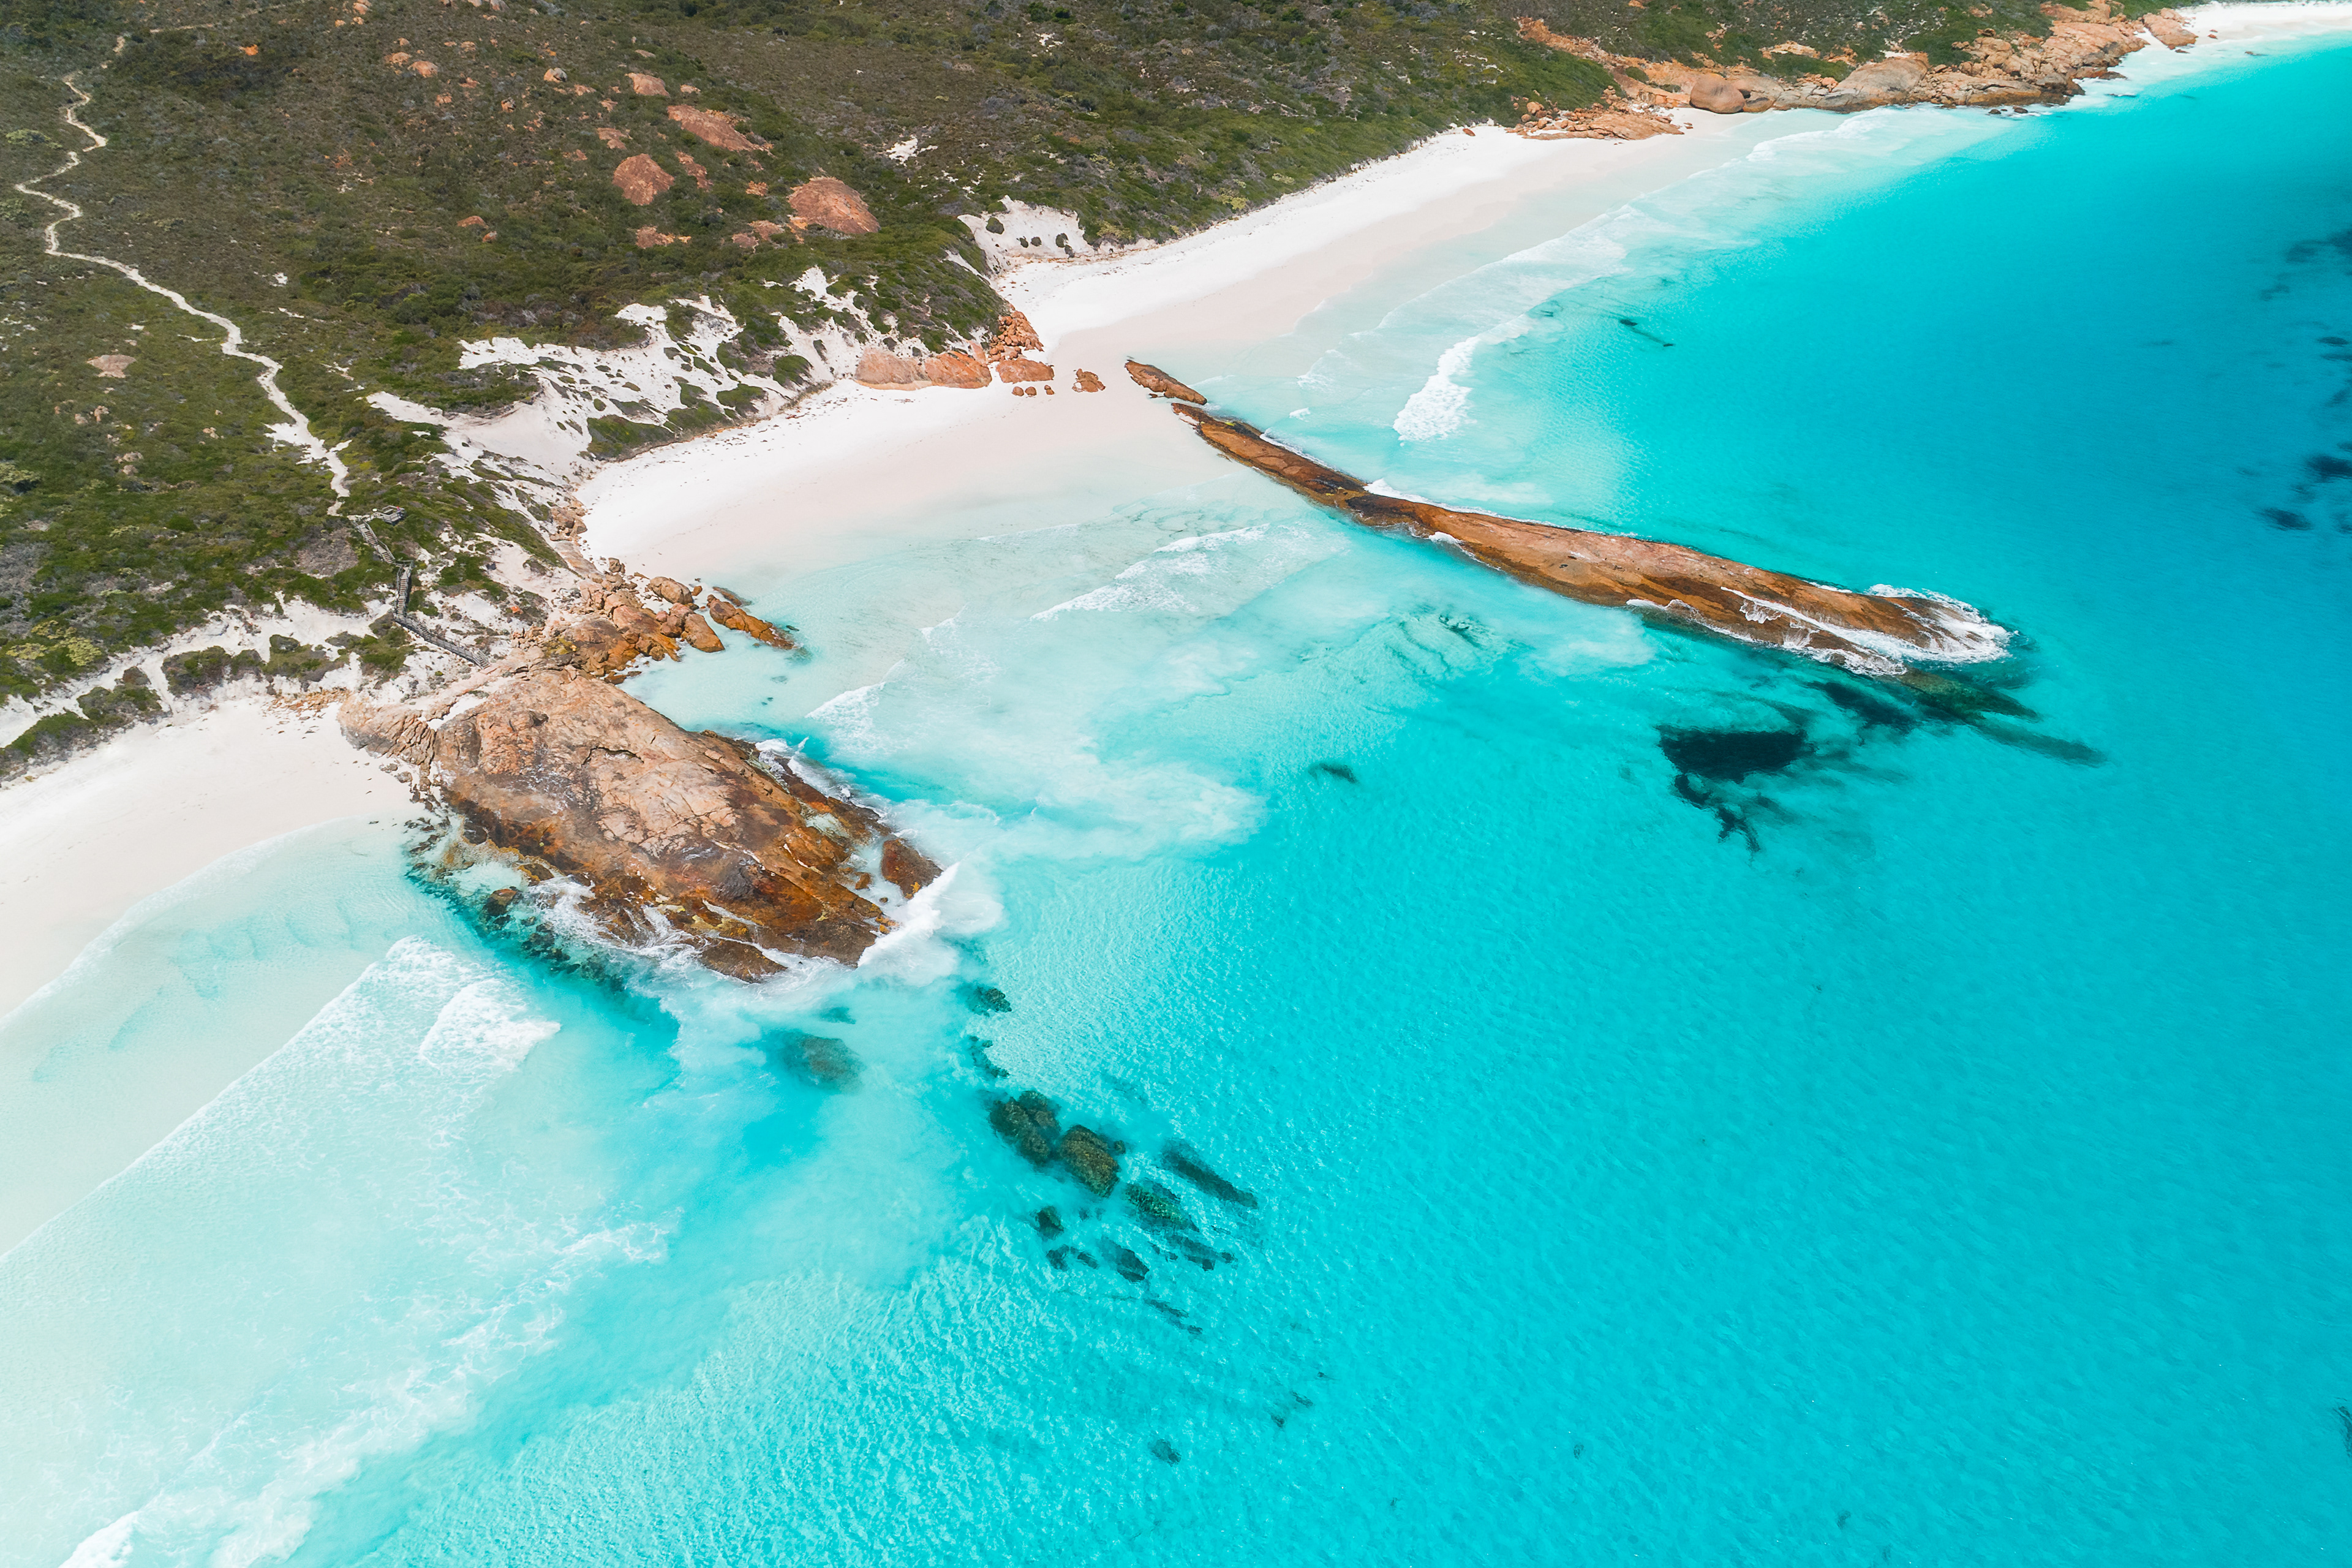
Wharton Bay (4:5)
Wharton Bay (4:5)
West Beach Sunset 02 (2:3)
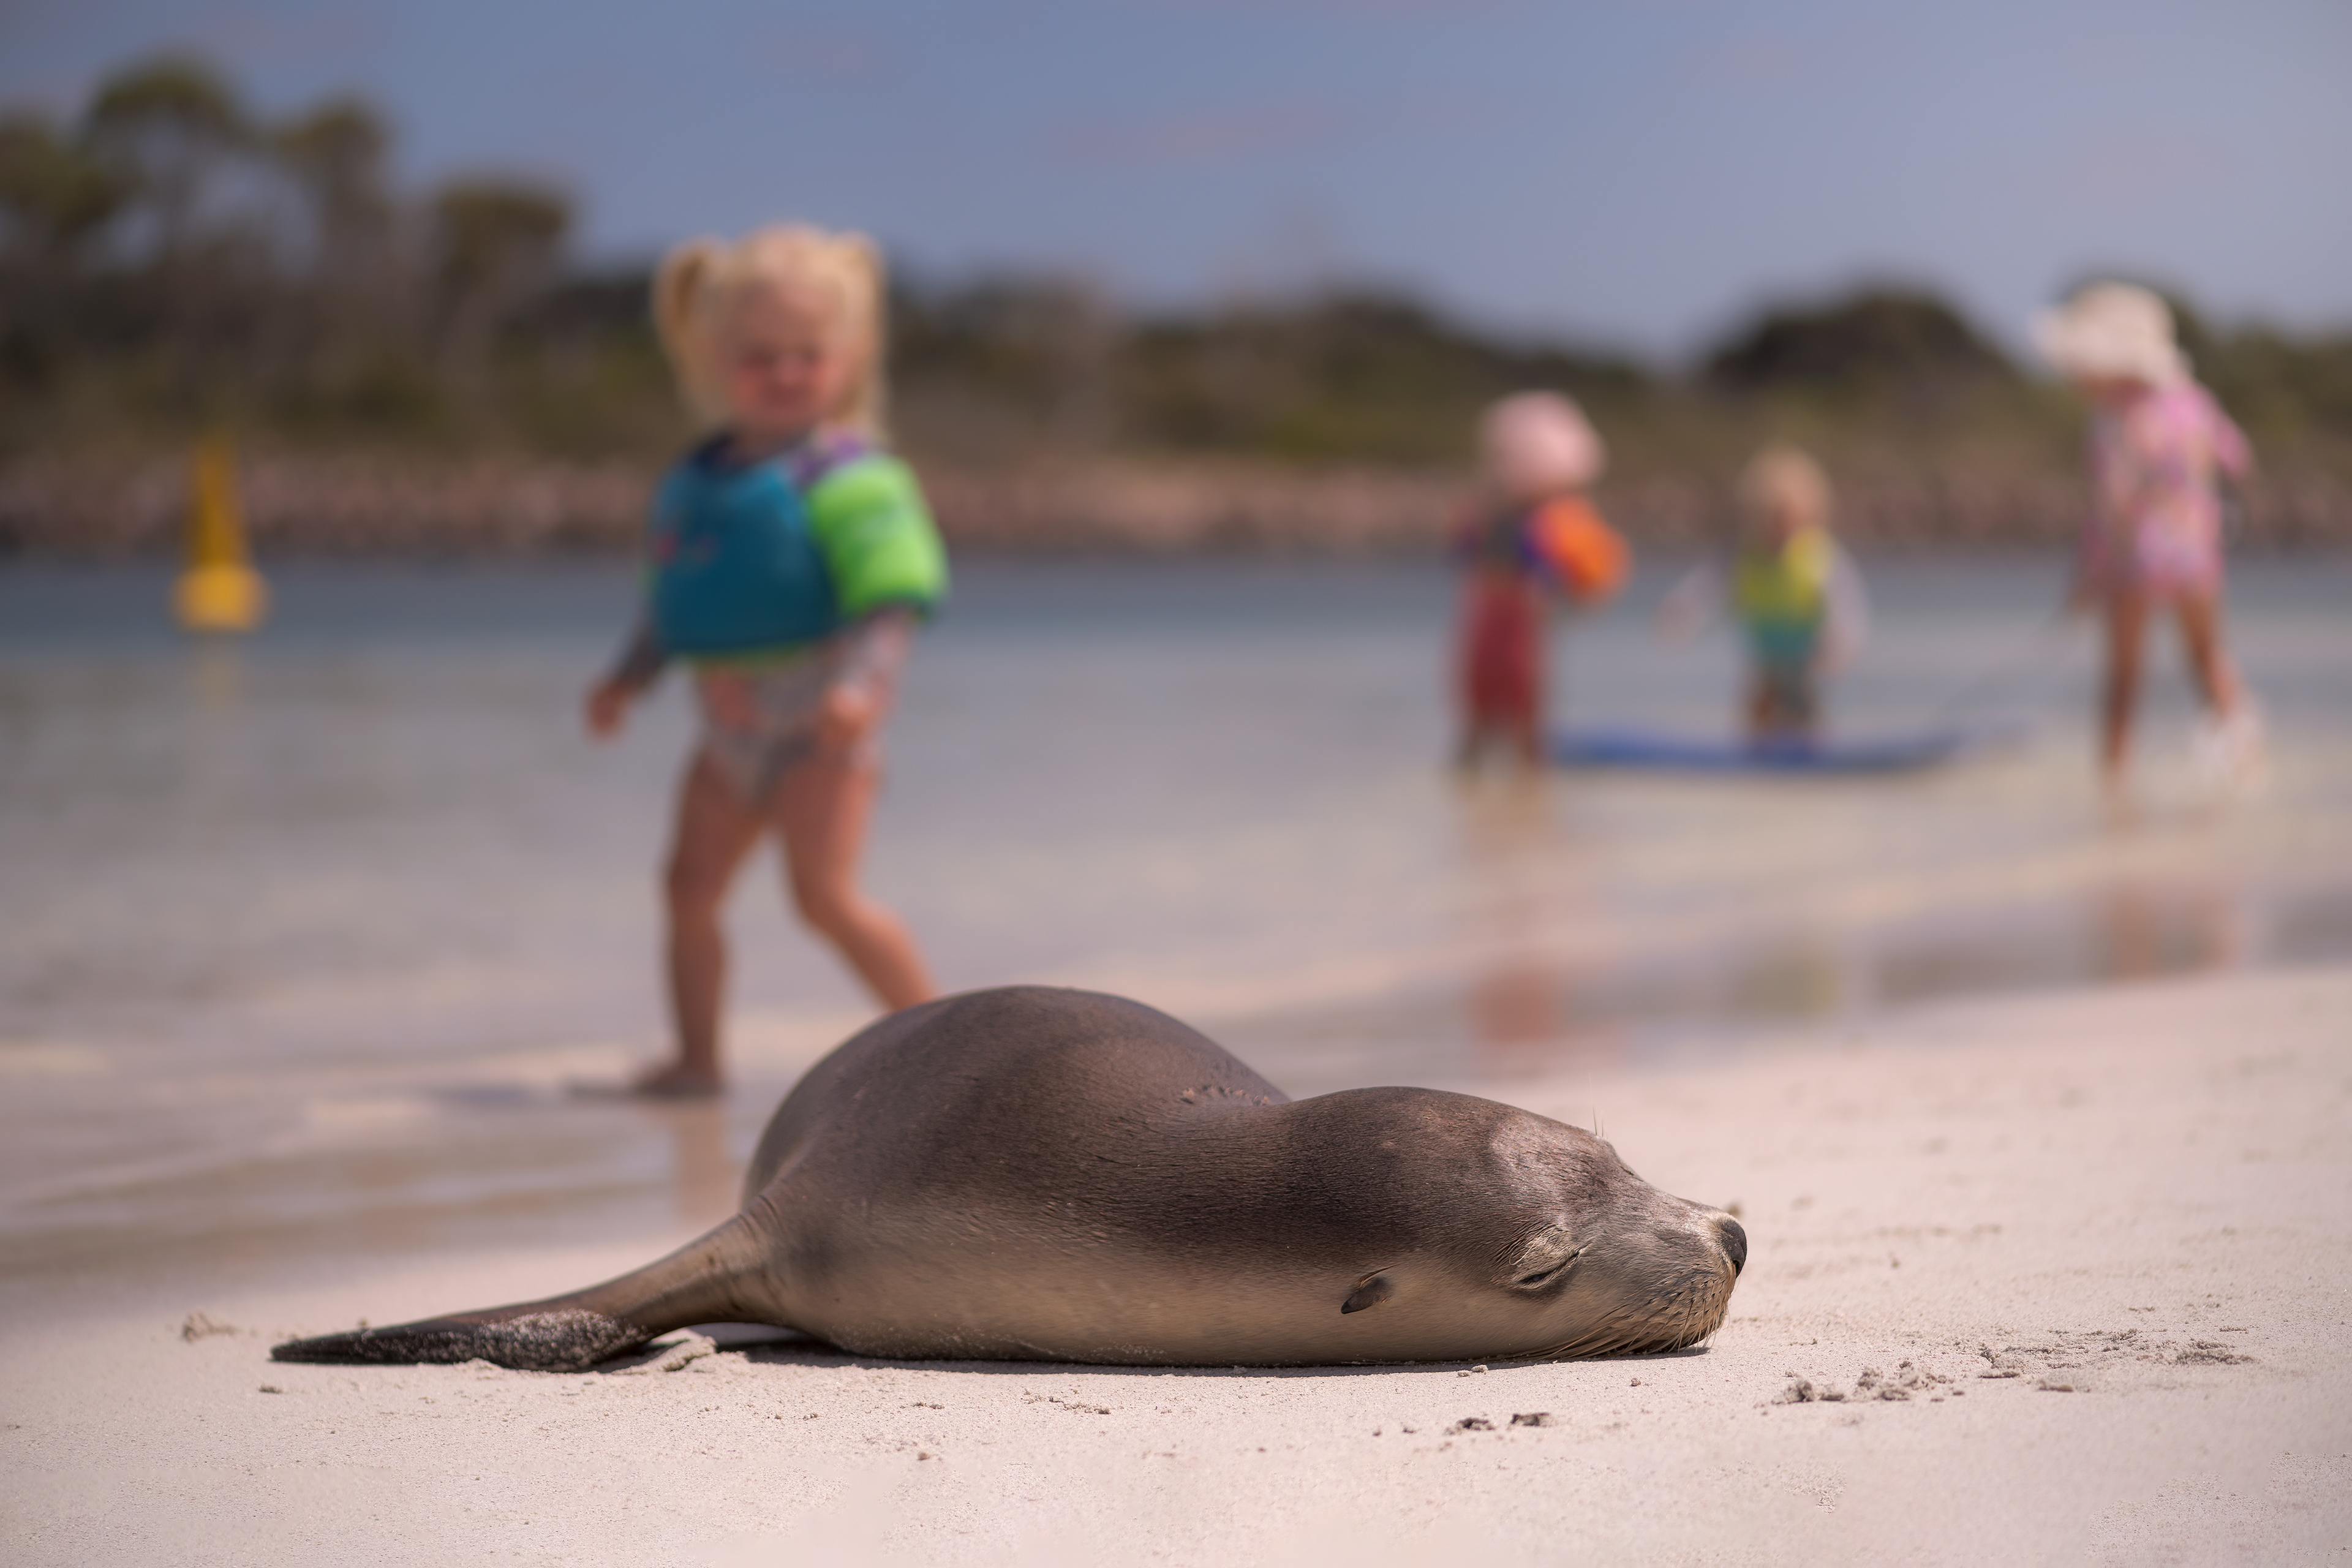
Australian Sea Lion (2:3)
Wylie Bay Rocks (4:5)
Twilight Beach 02 (4:5)
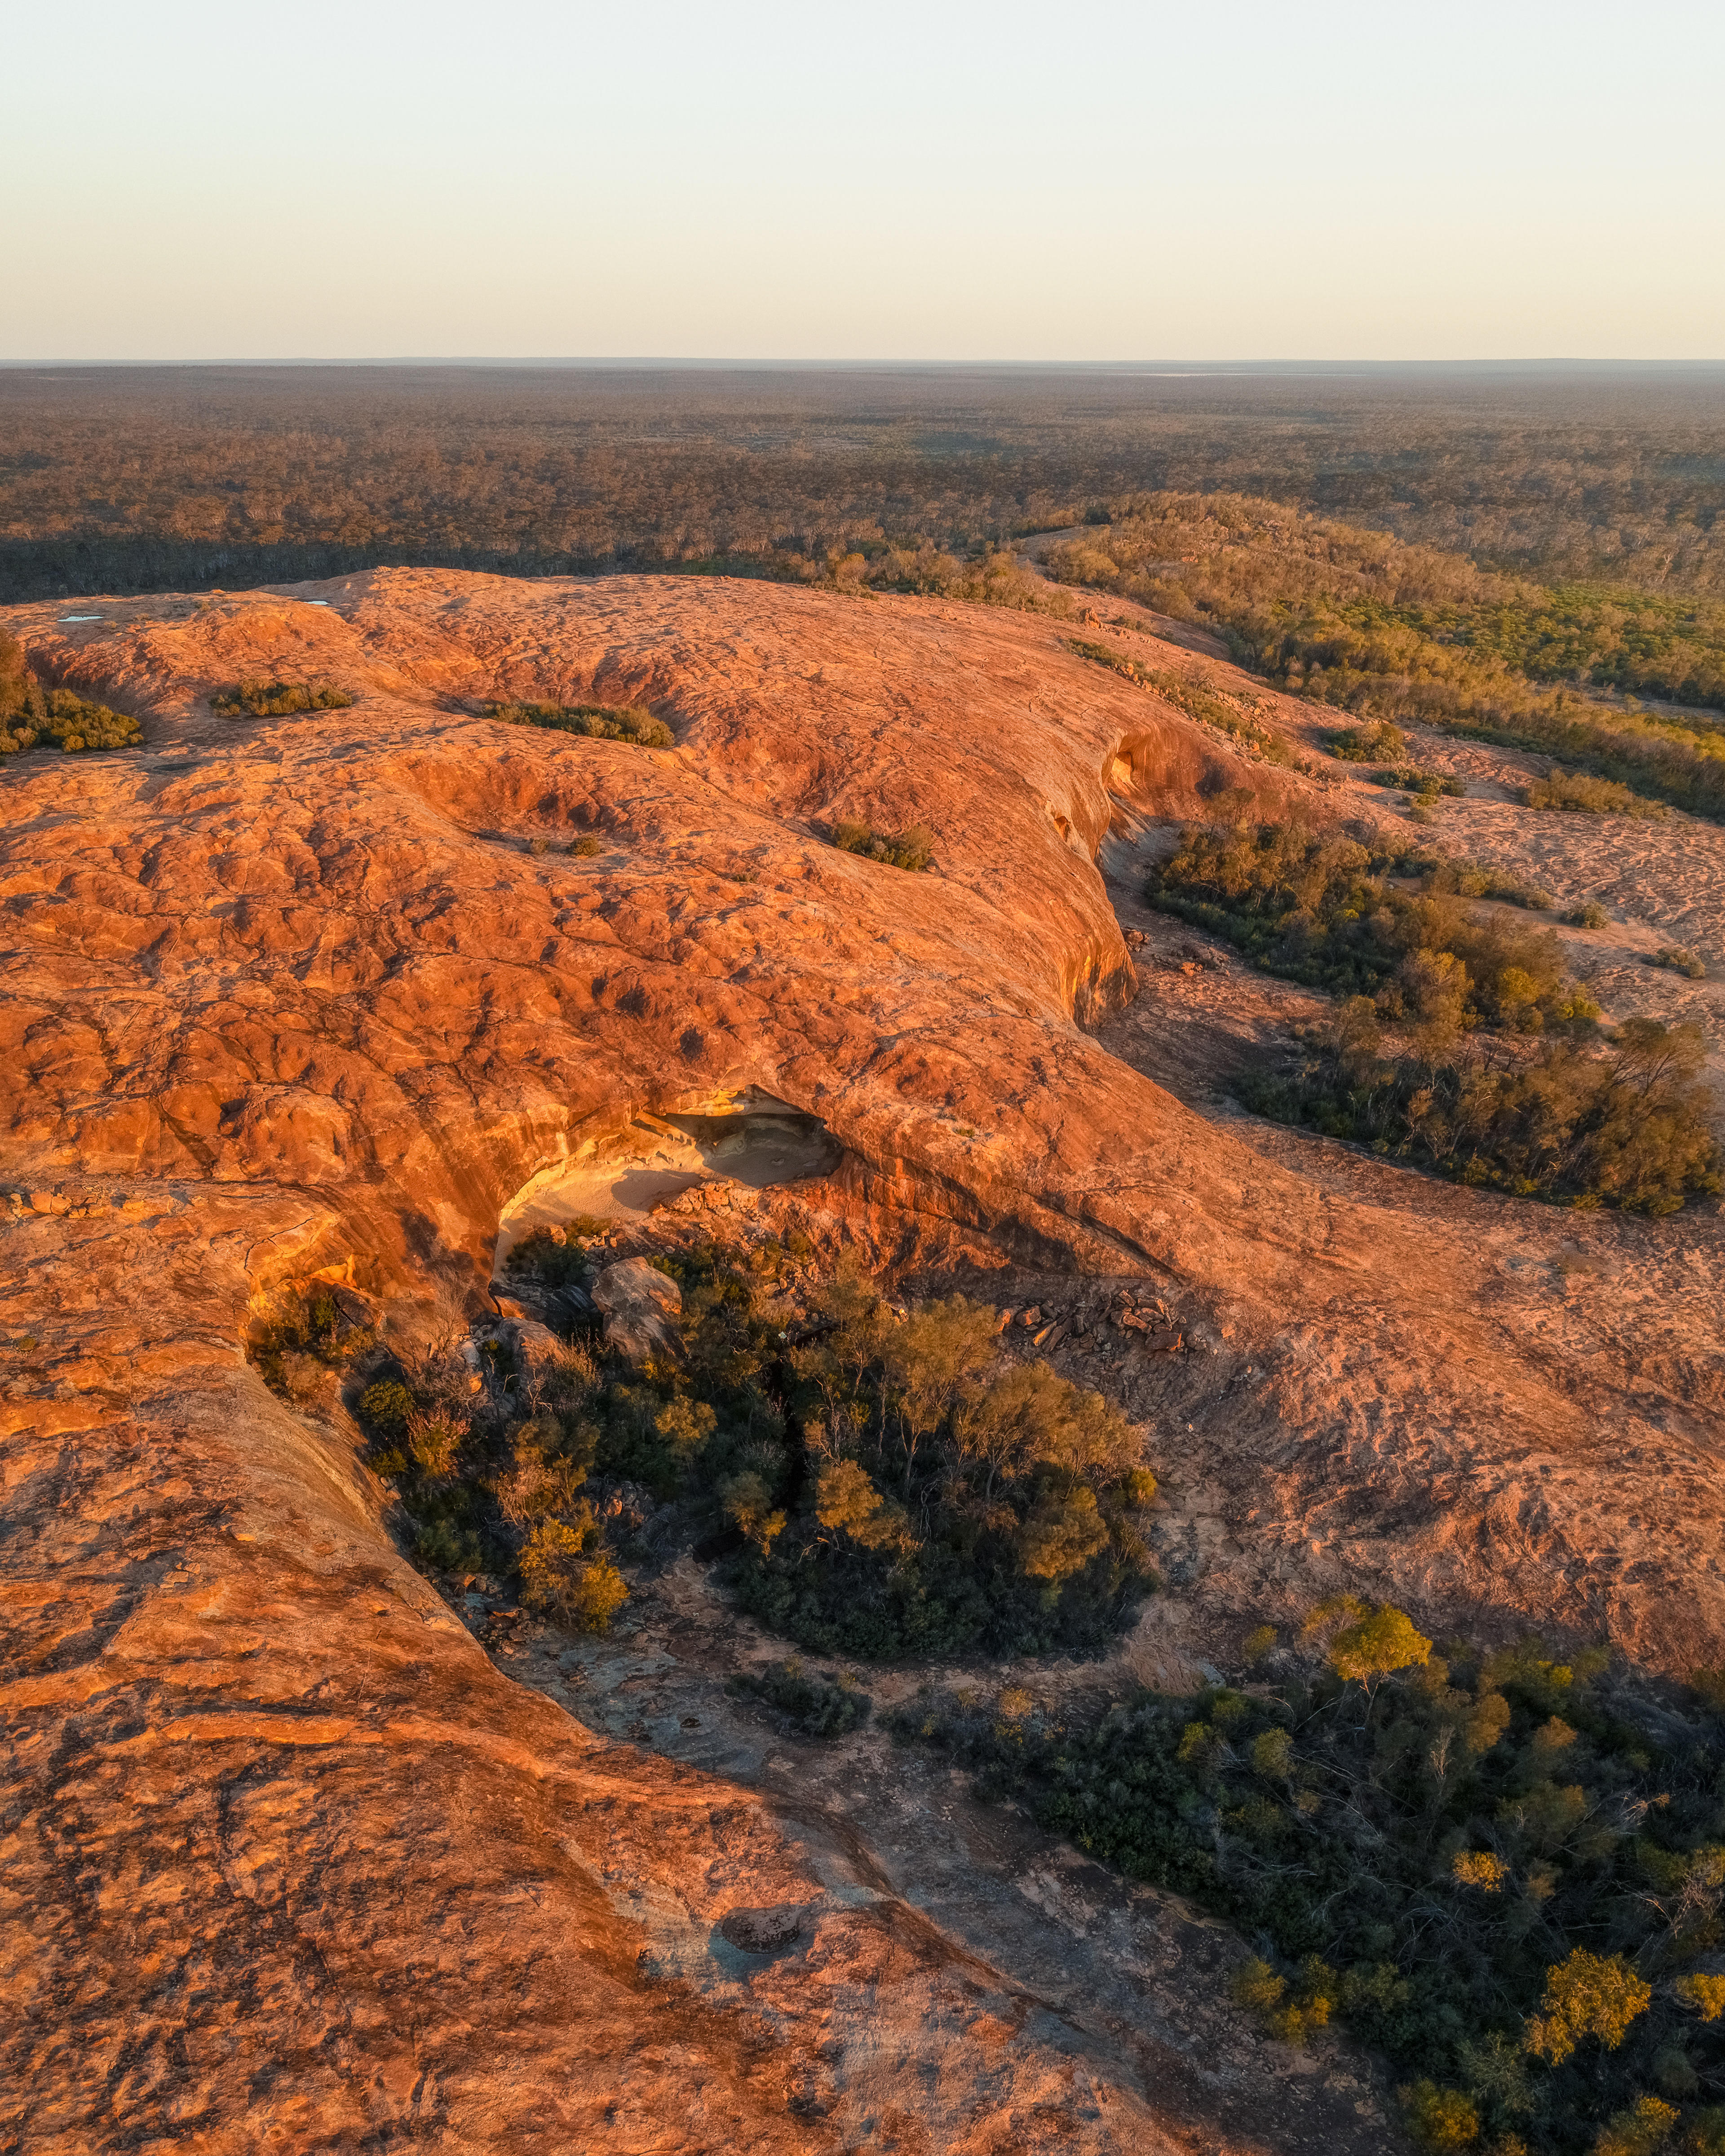
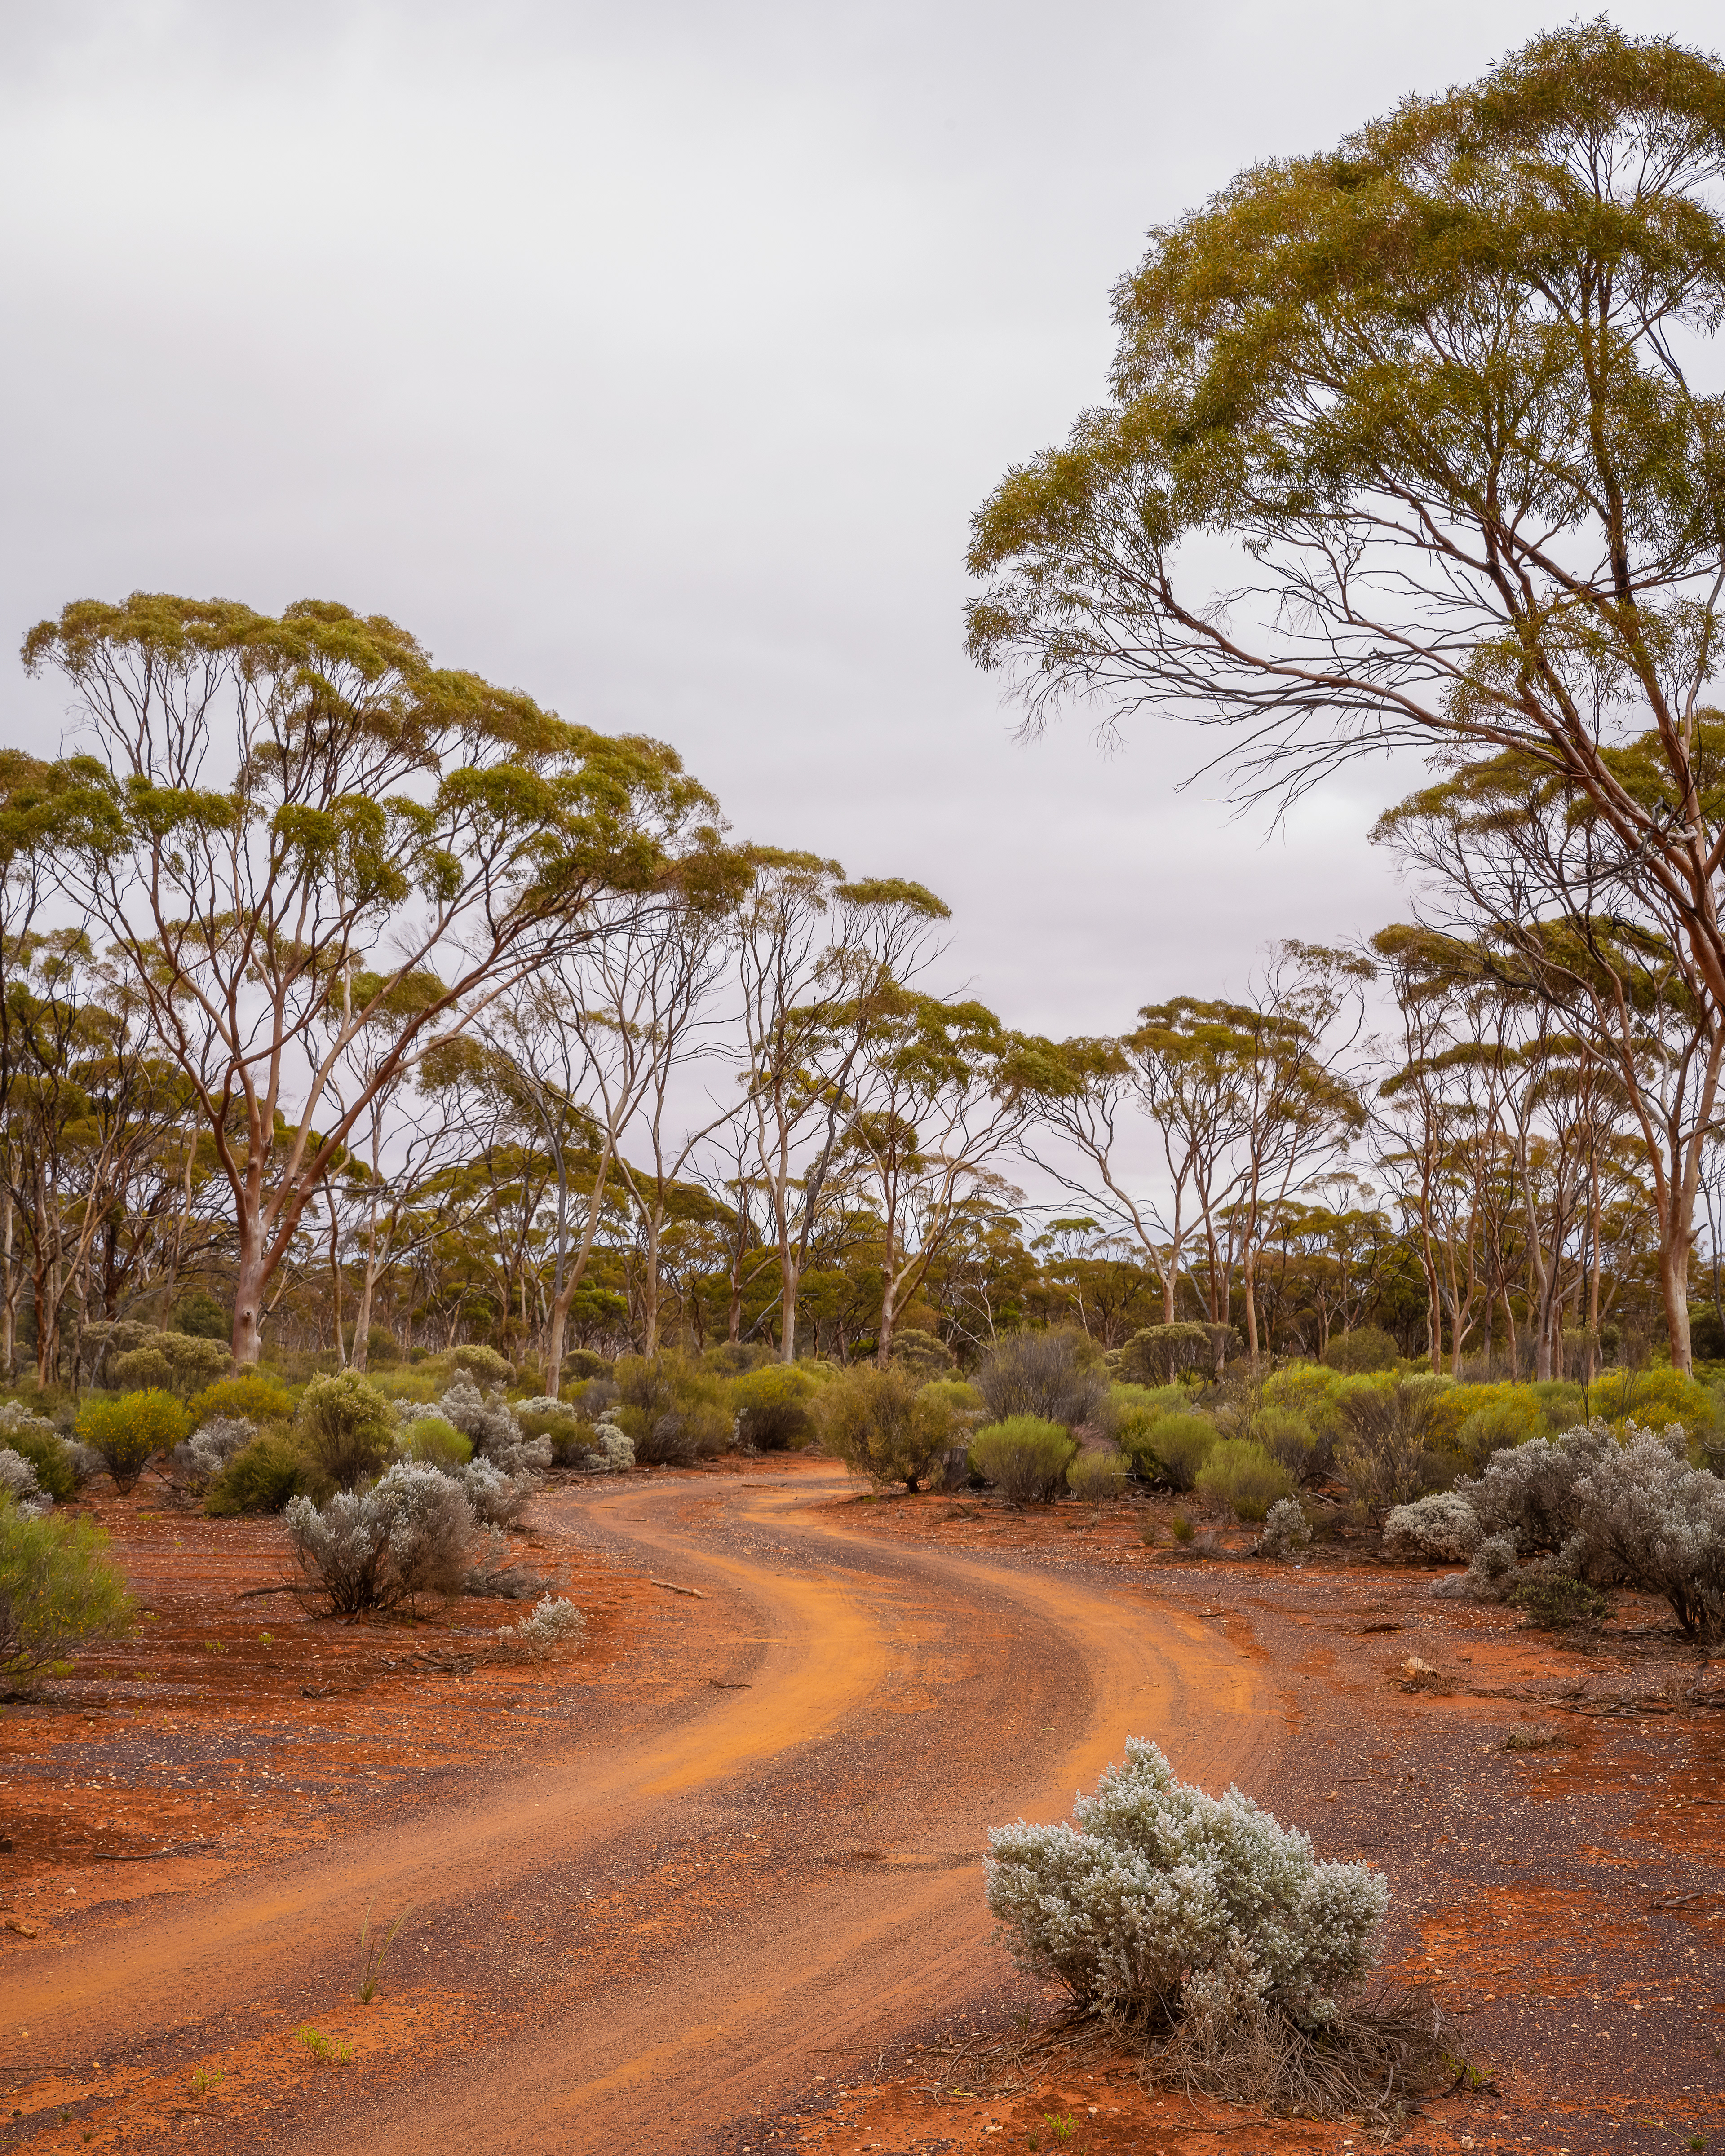
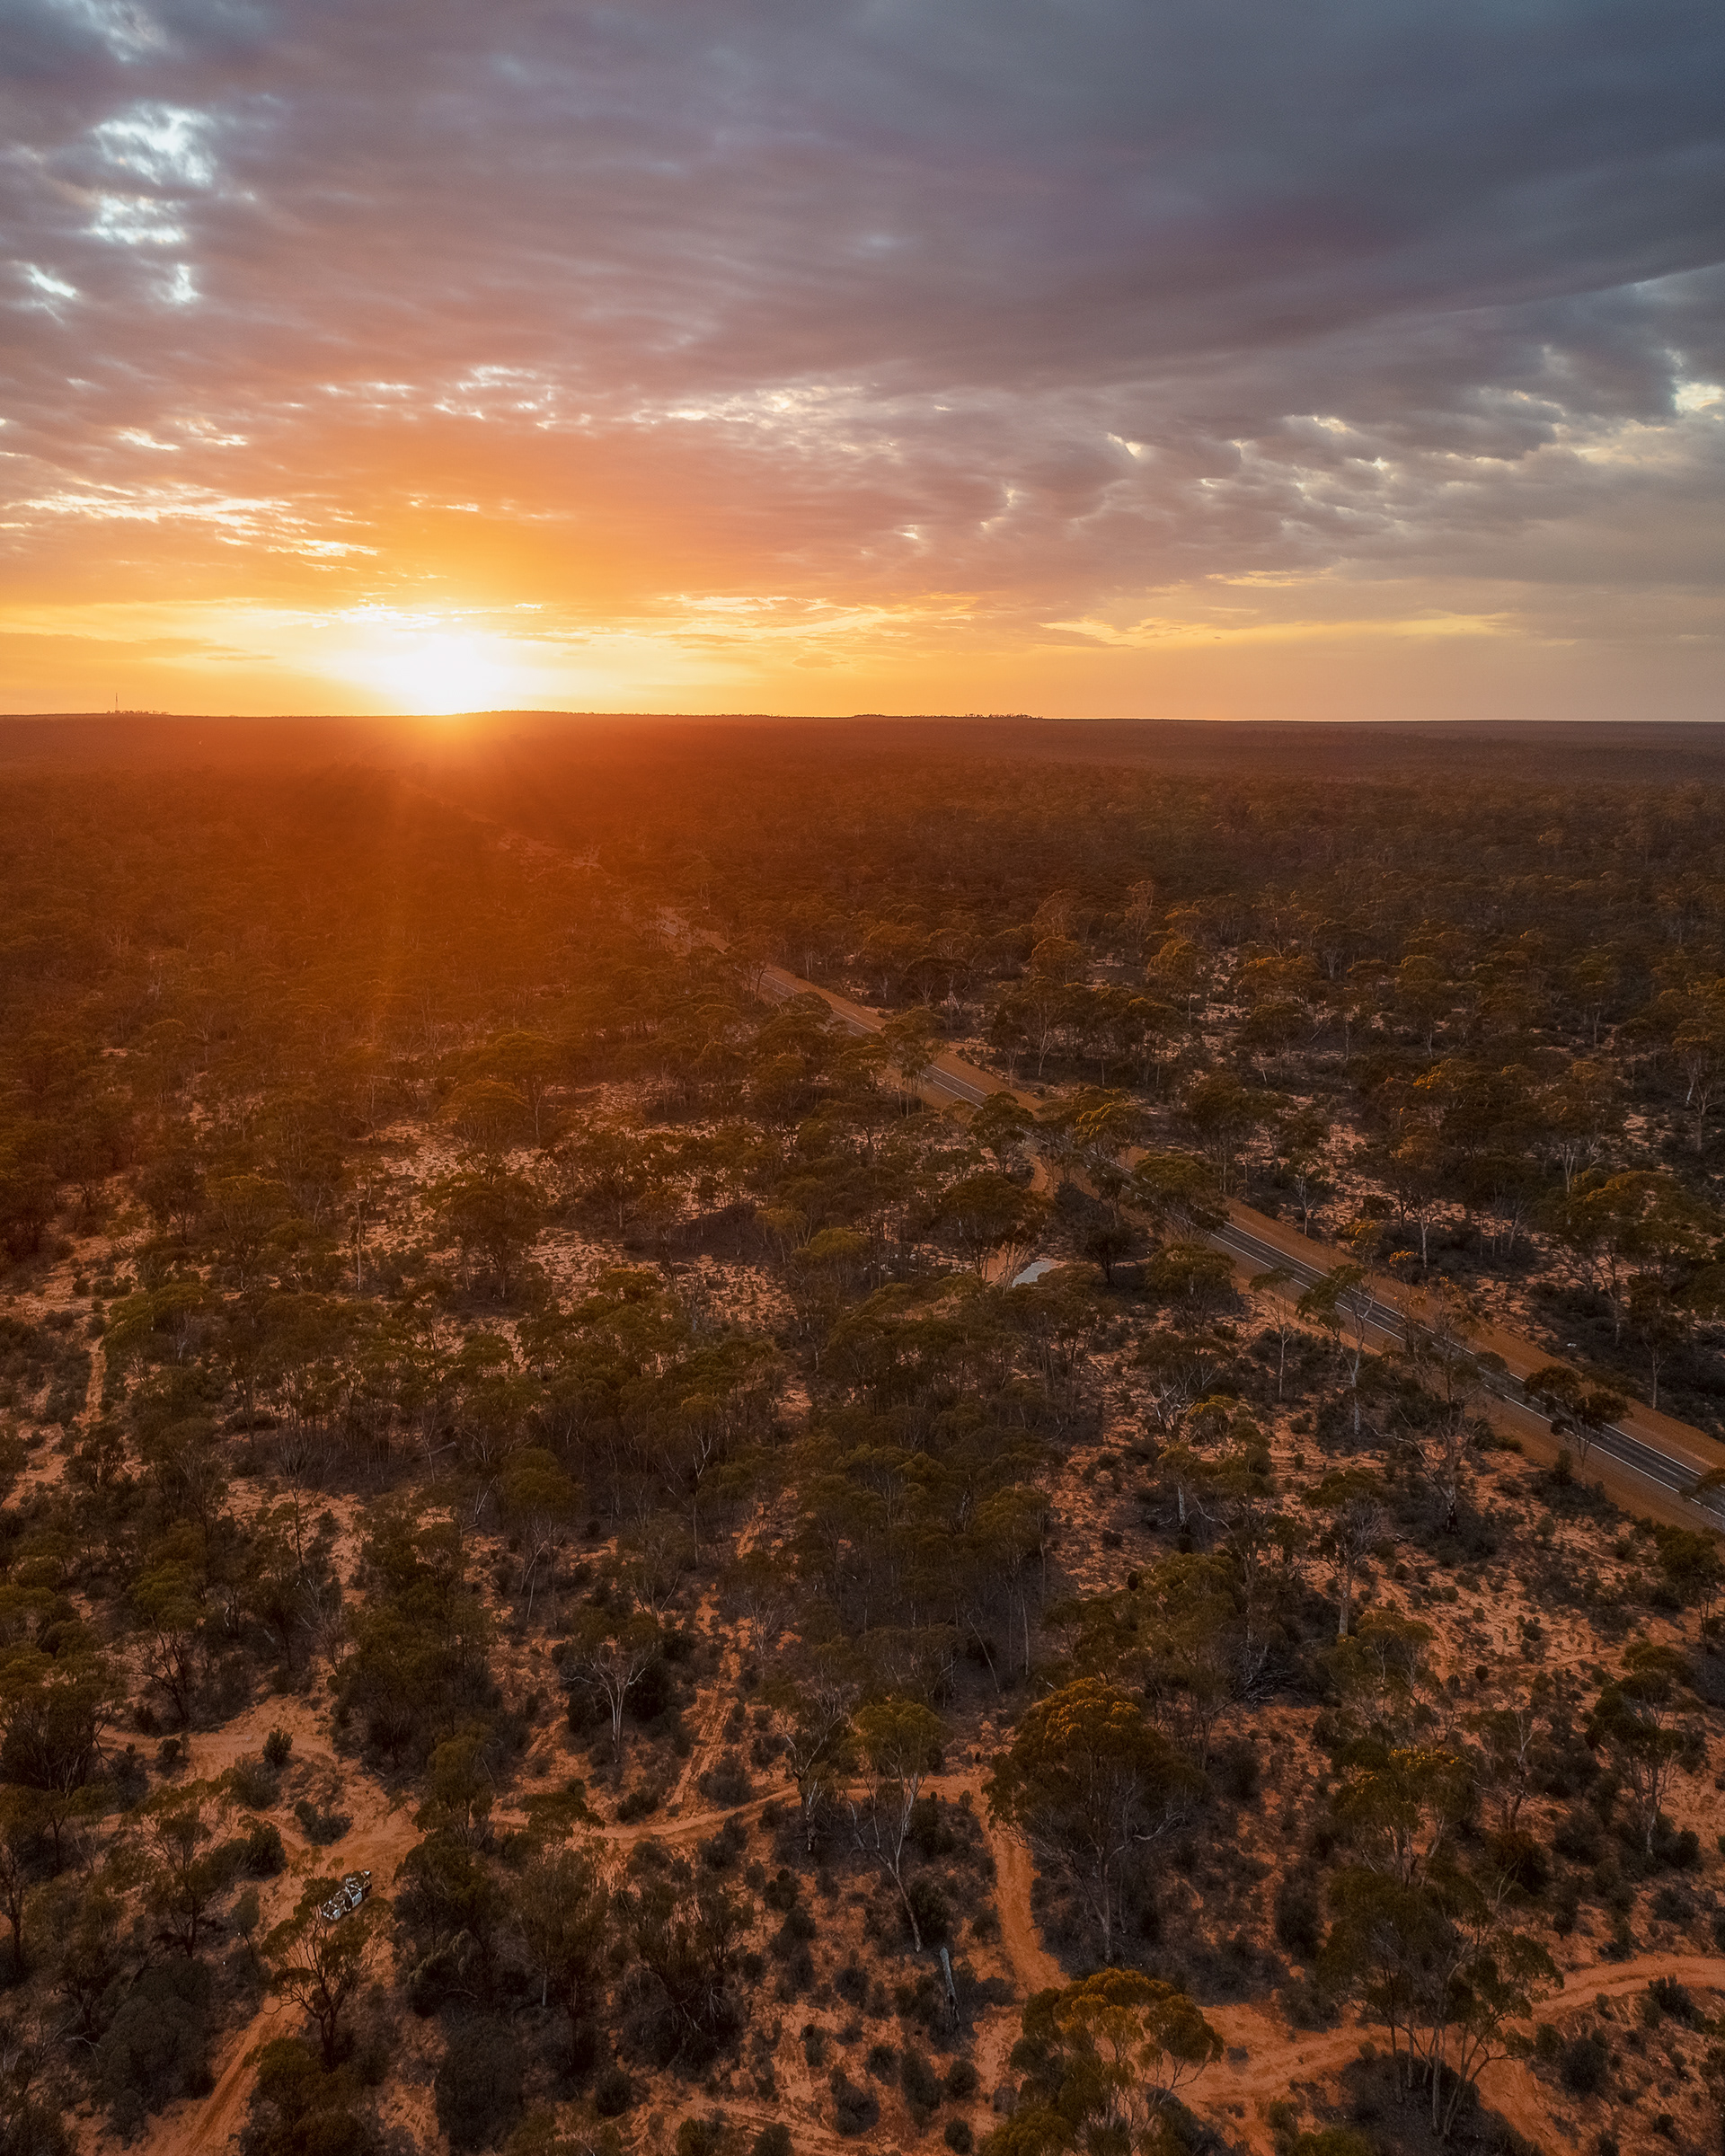
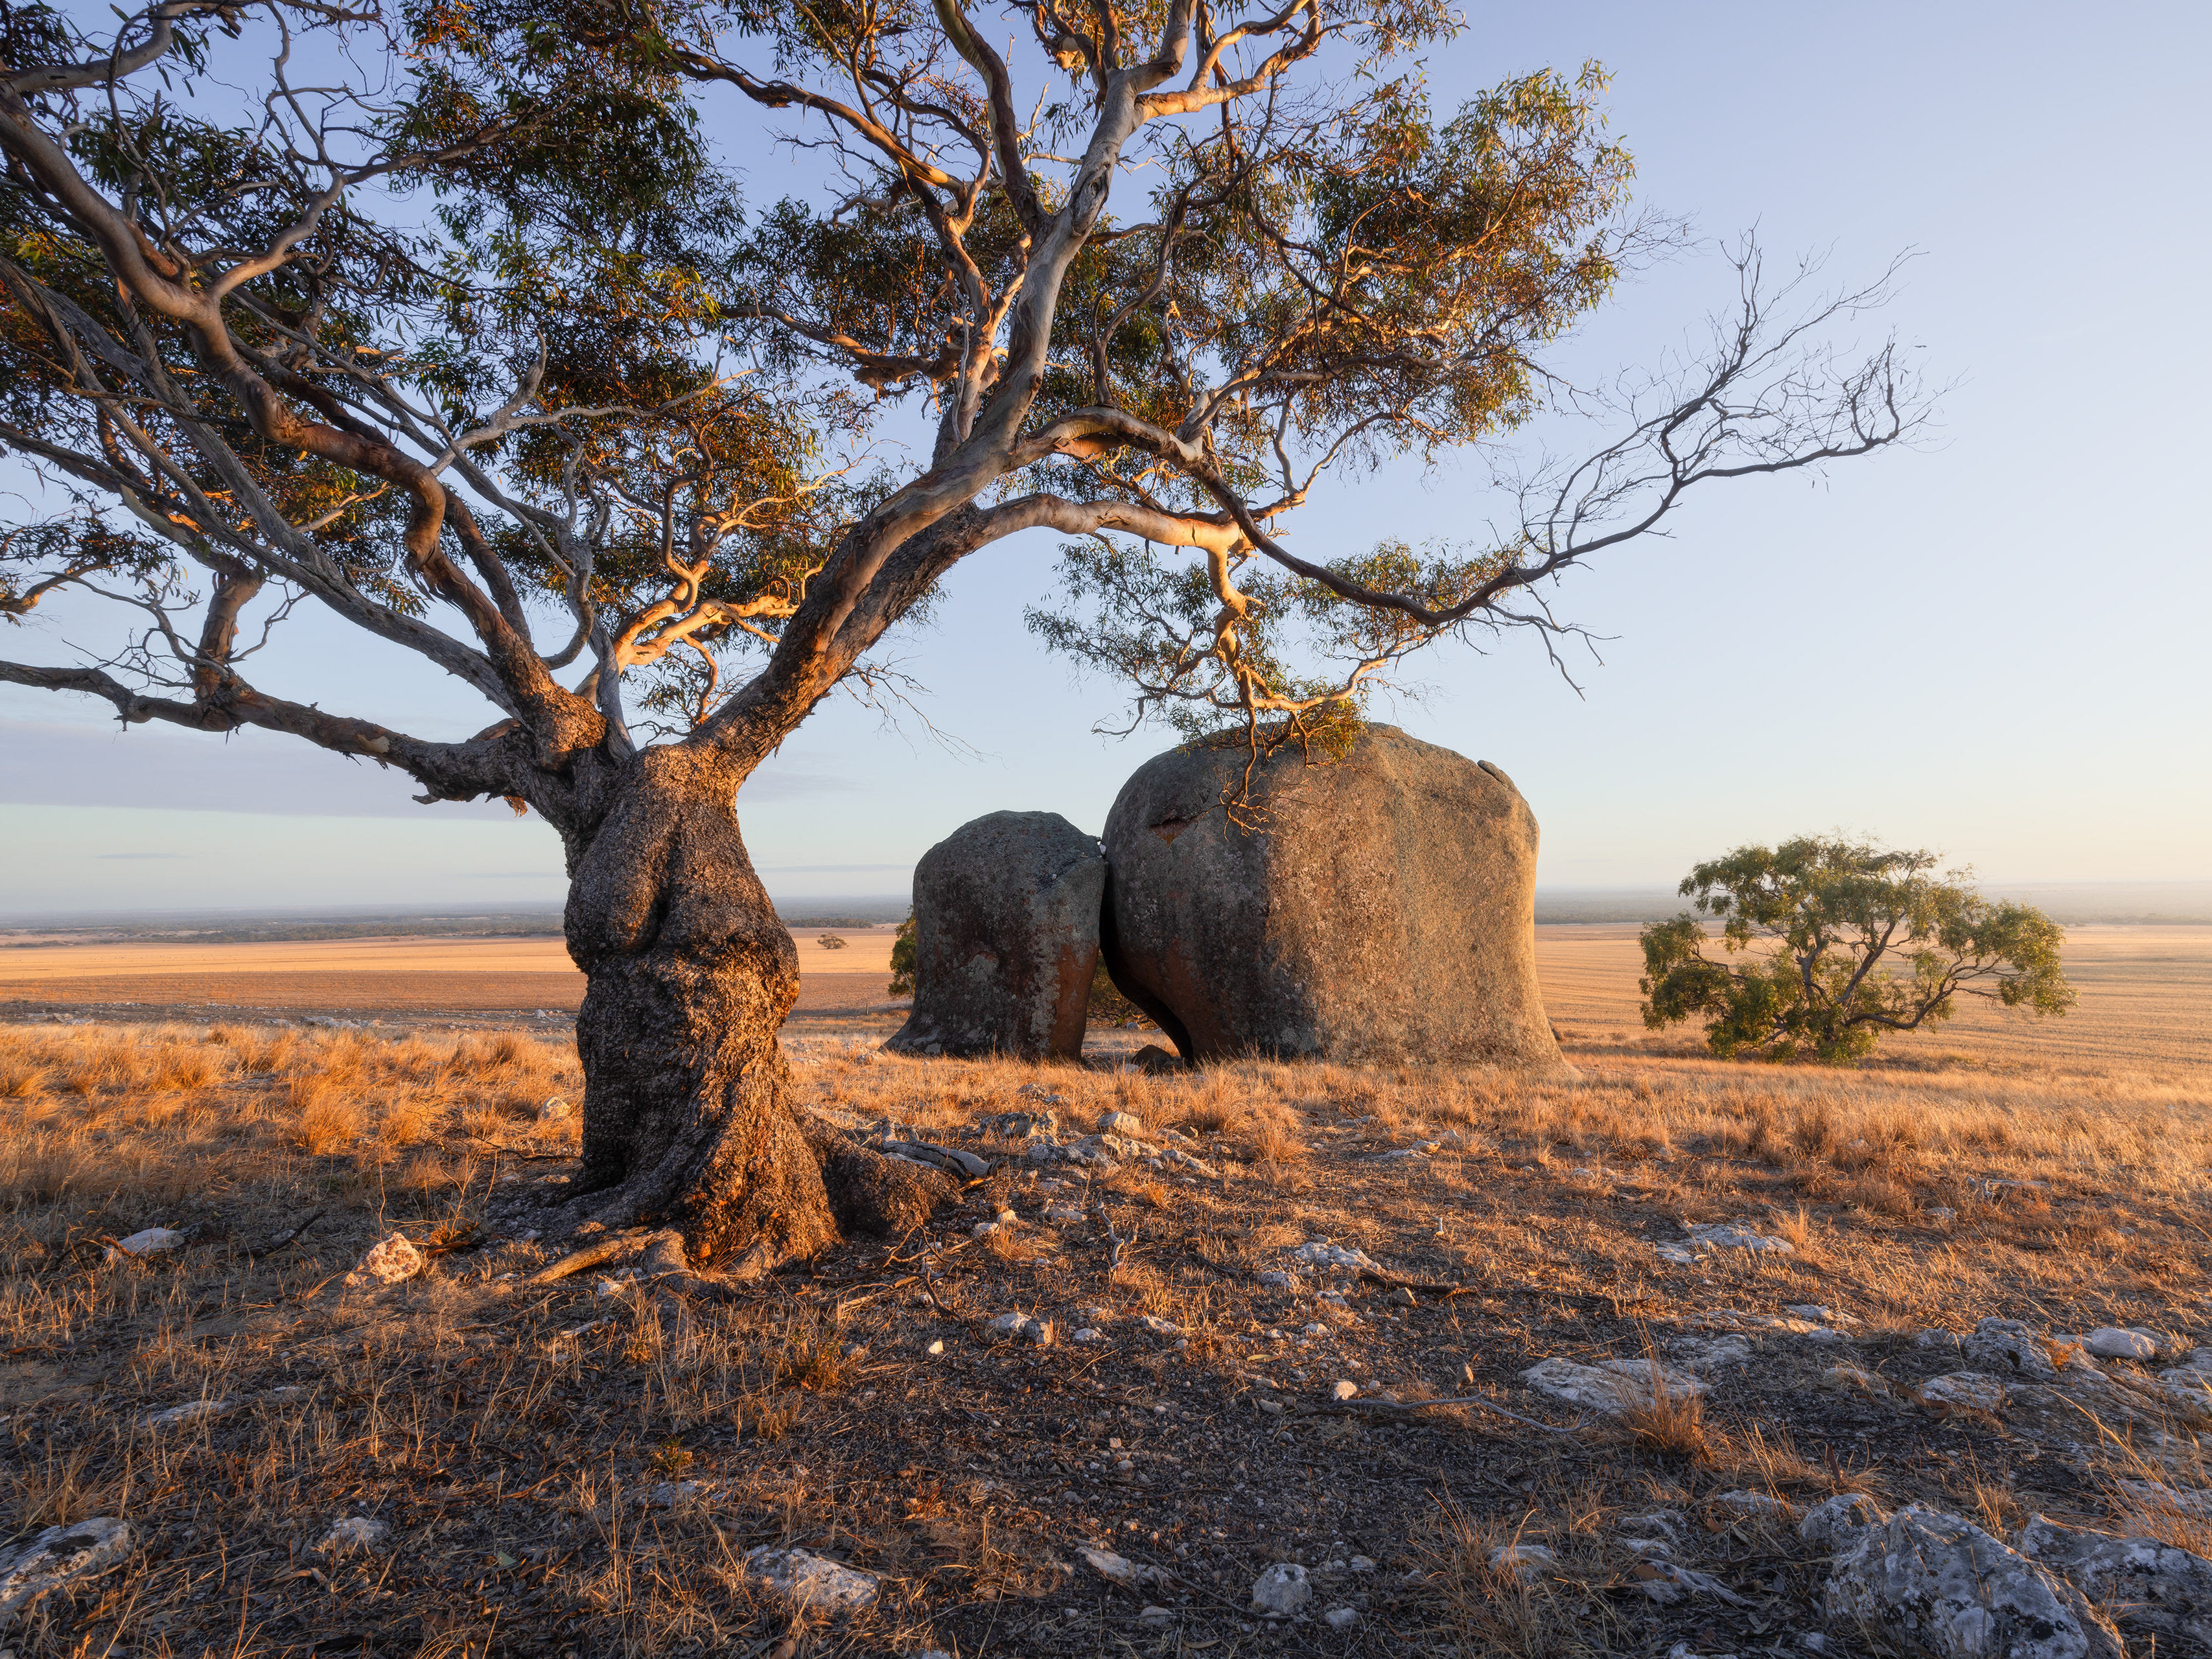
Great Western Woodlands 01 (4:5)
Wylie Bay Top Down 02 (2:3)
Lucky Bay Rocks 02 (4:5)
Esperance Beach Blue (2:3)
Great Western Woodlands 02 (4:5)
Wylie Bay Top Down 03 (2:3)
Lucky Bay Sunrise (4:5)
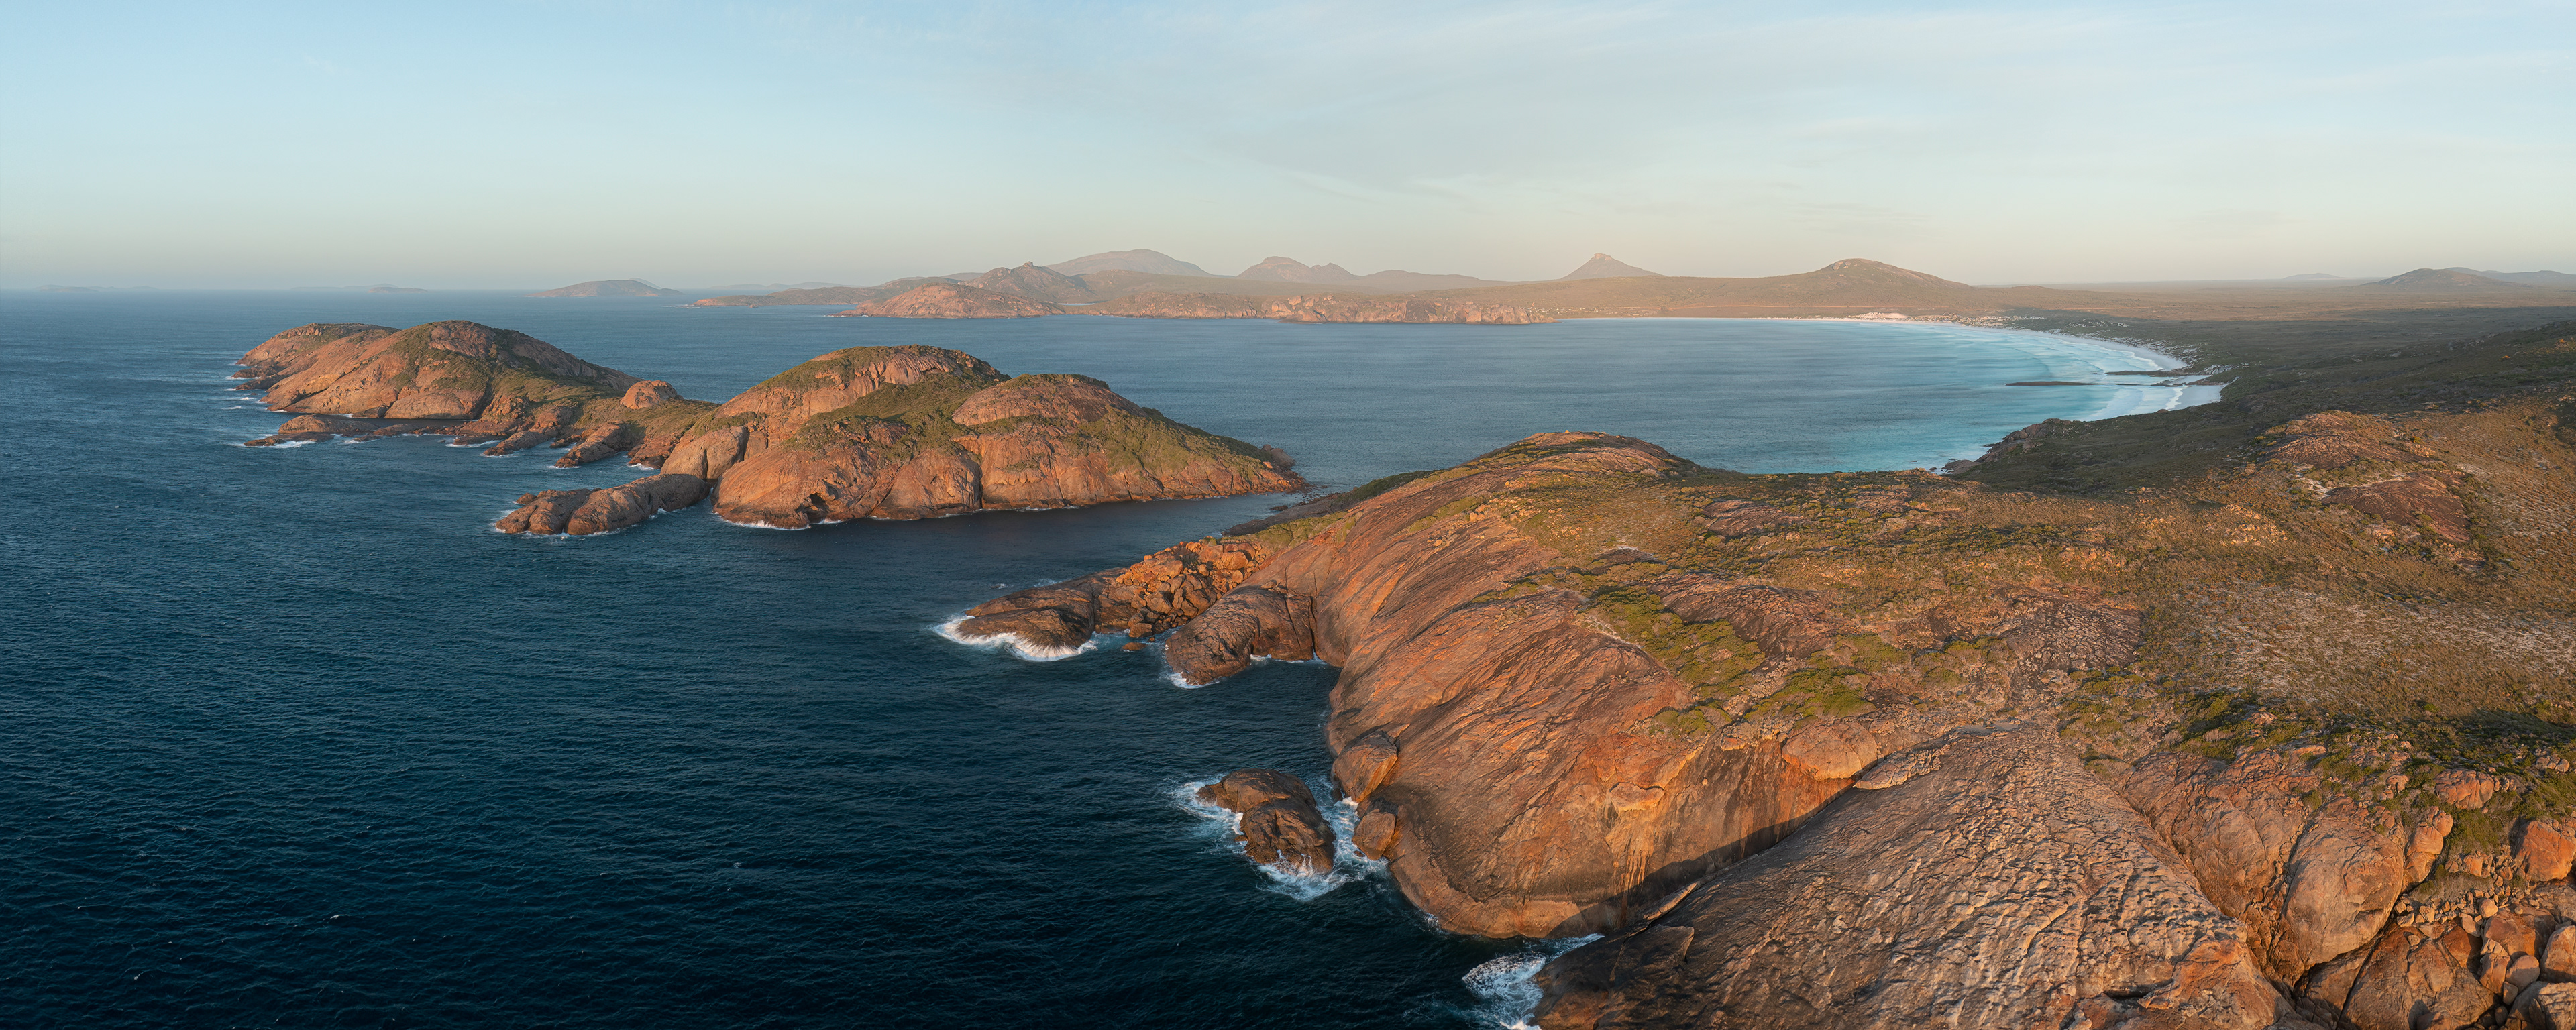
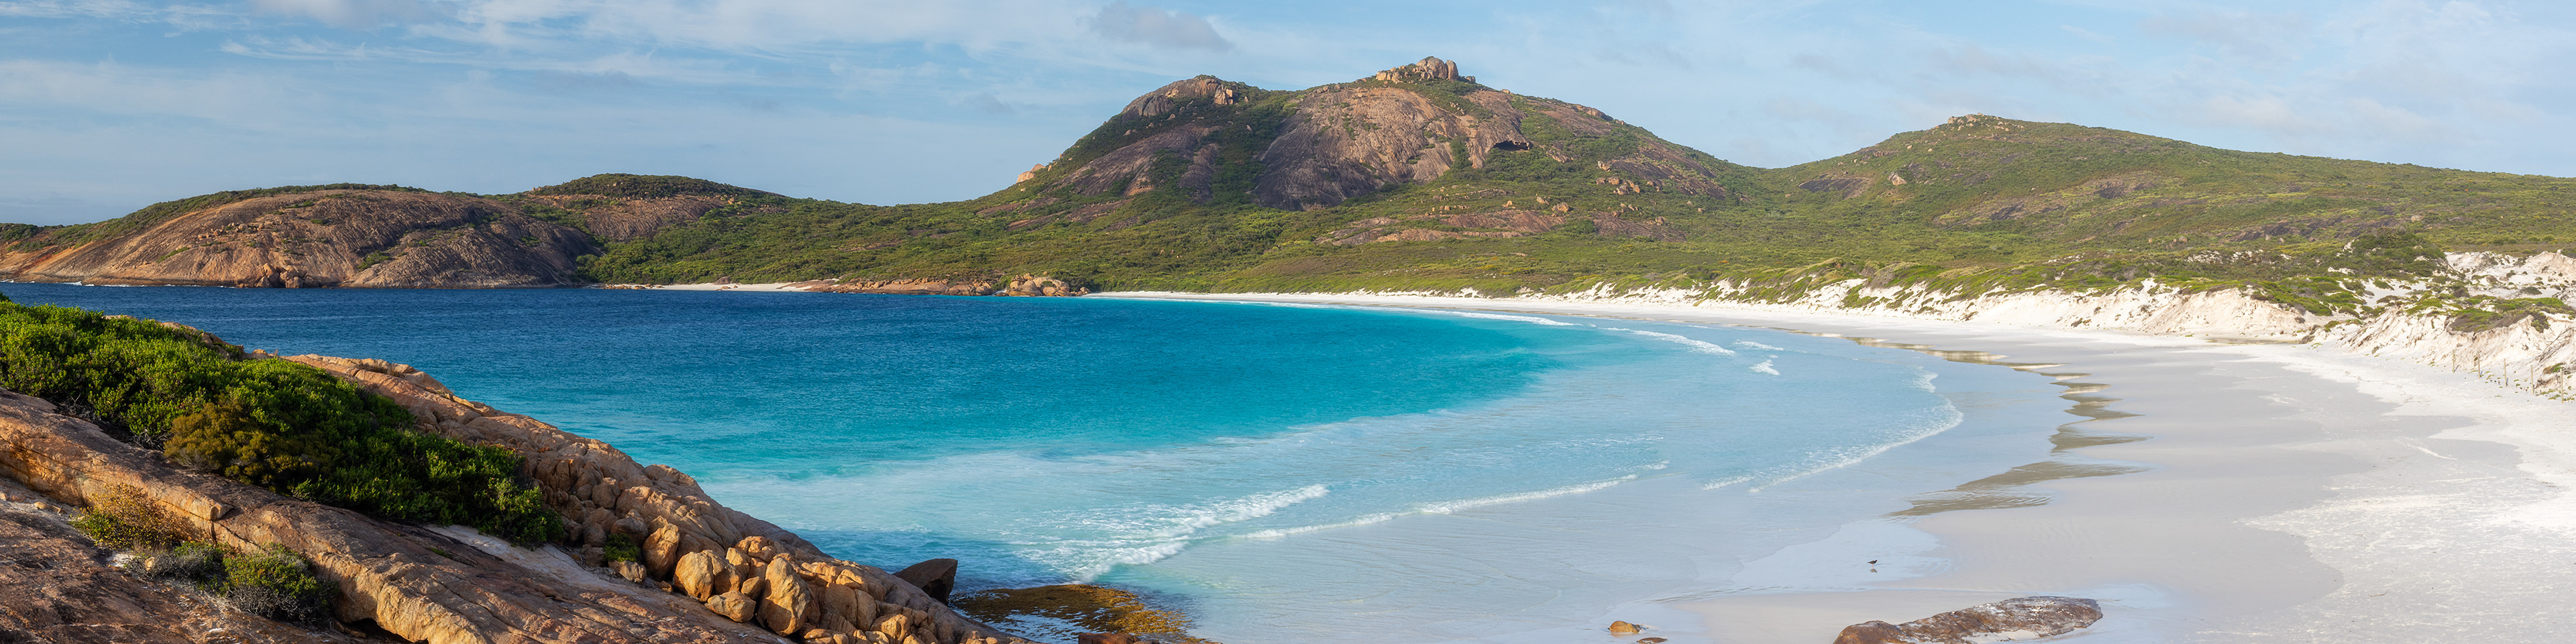
Thistle Cove Panoramic (1:3/1:4)
Lucky Bay Headland (4:5)

You may also like

Back to Top