South Australia Gallery

Explore South Australia through this stunning gallery of Australian Landscape Photography. Featuring iconic locations like The Eyre Peninsula, Adelaide Hills, and The Fleurieu Peninsula. This collection of images captures the beautiful beaches, rugged headlands, outback scenes, and diverse natural beauty of the South Australia, showcasing it's landscapes through a unique perspective.

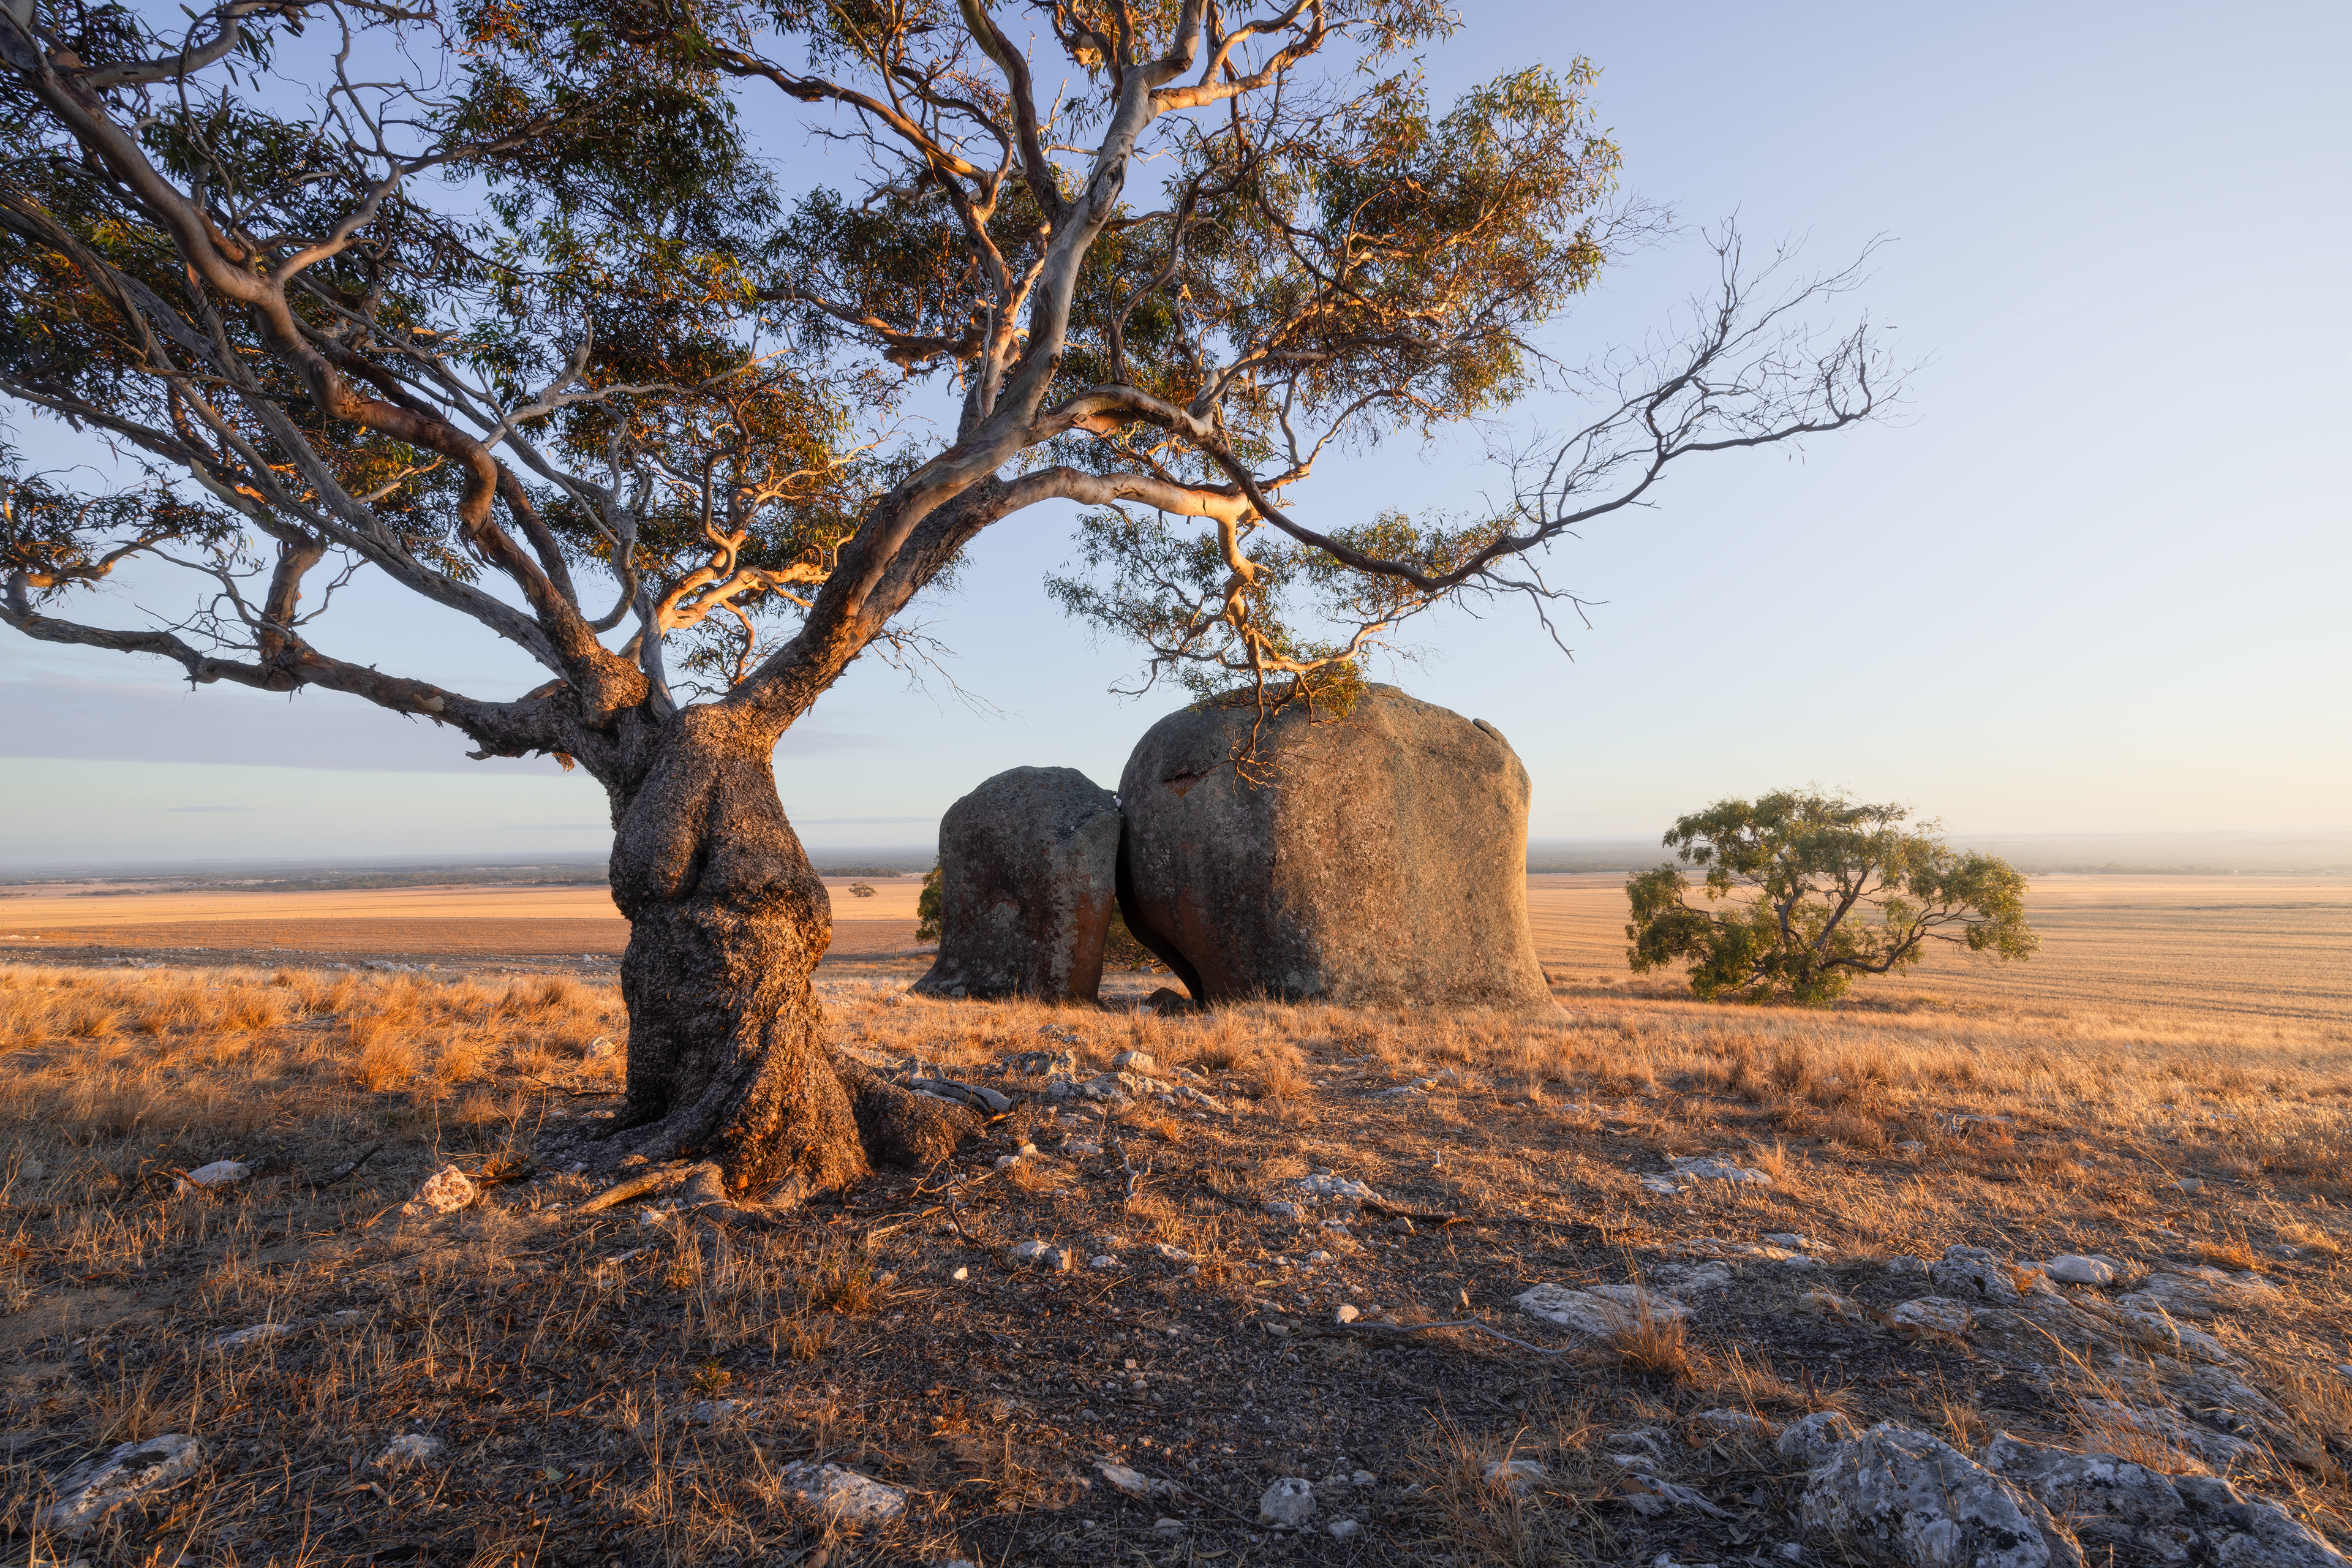
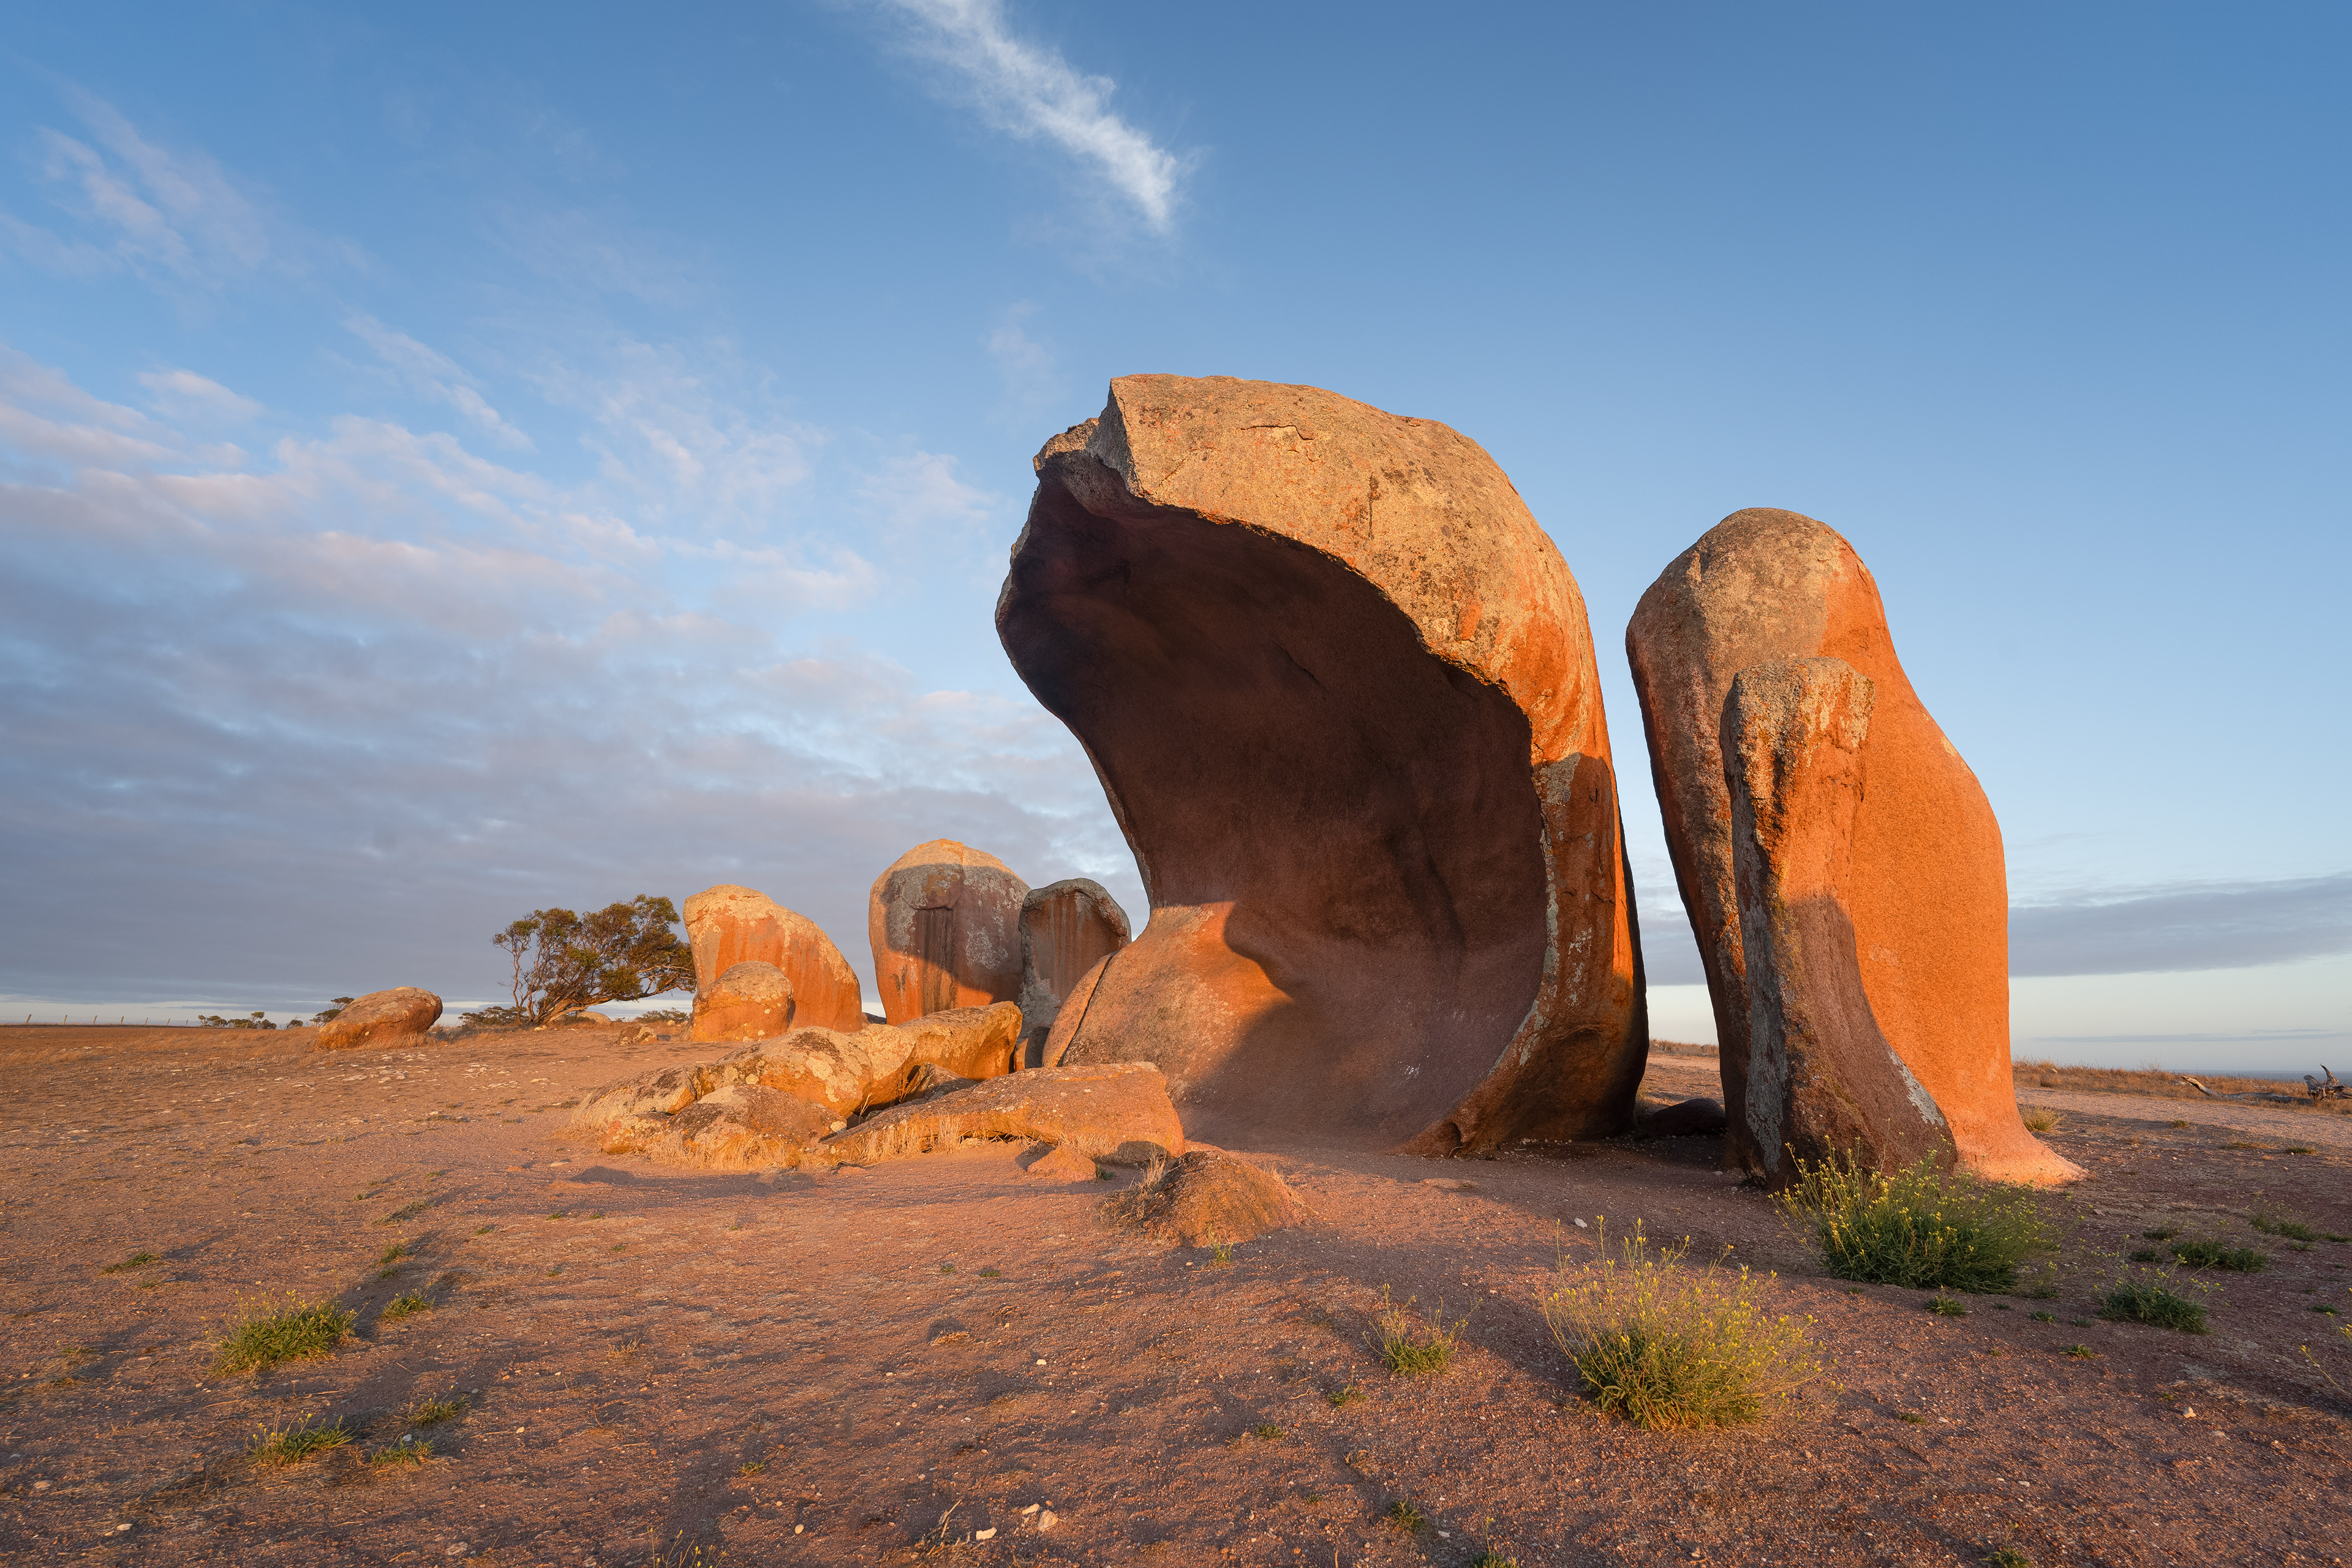
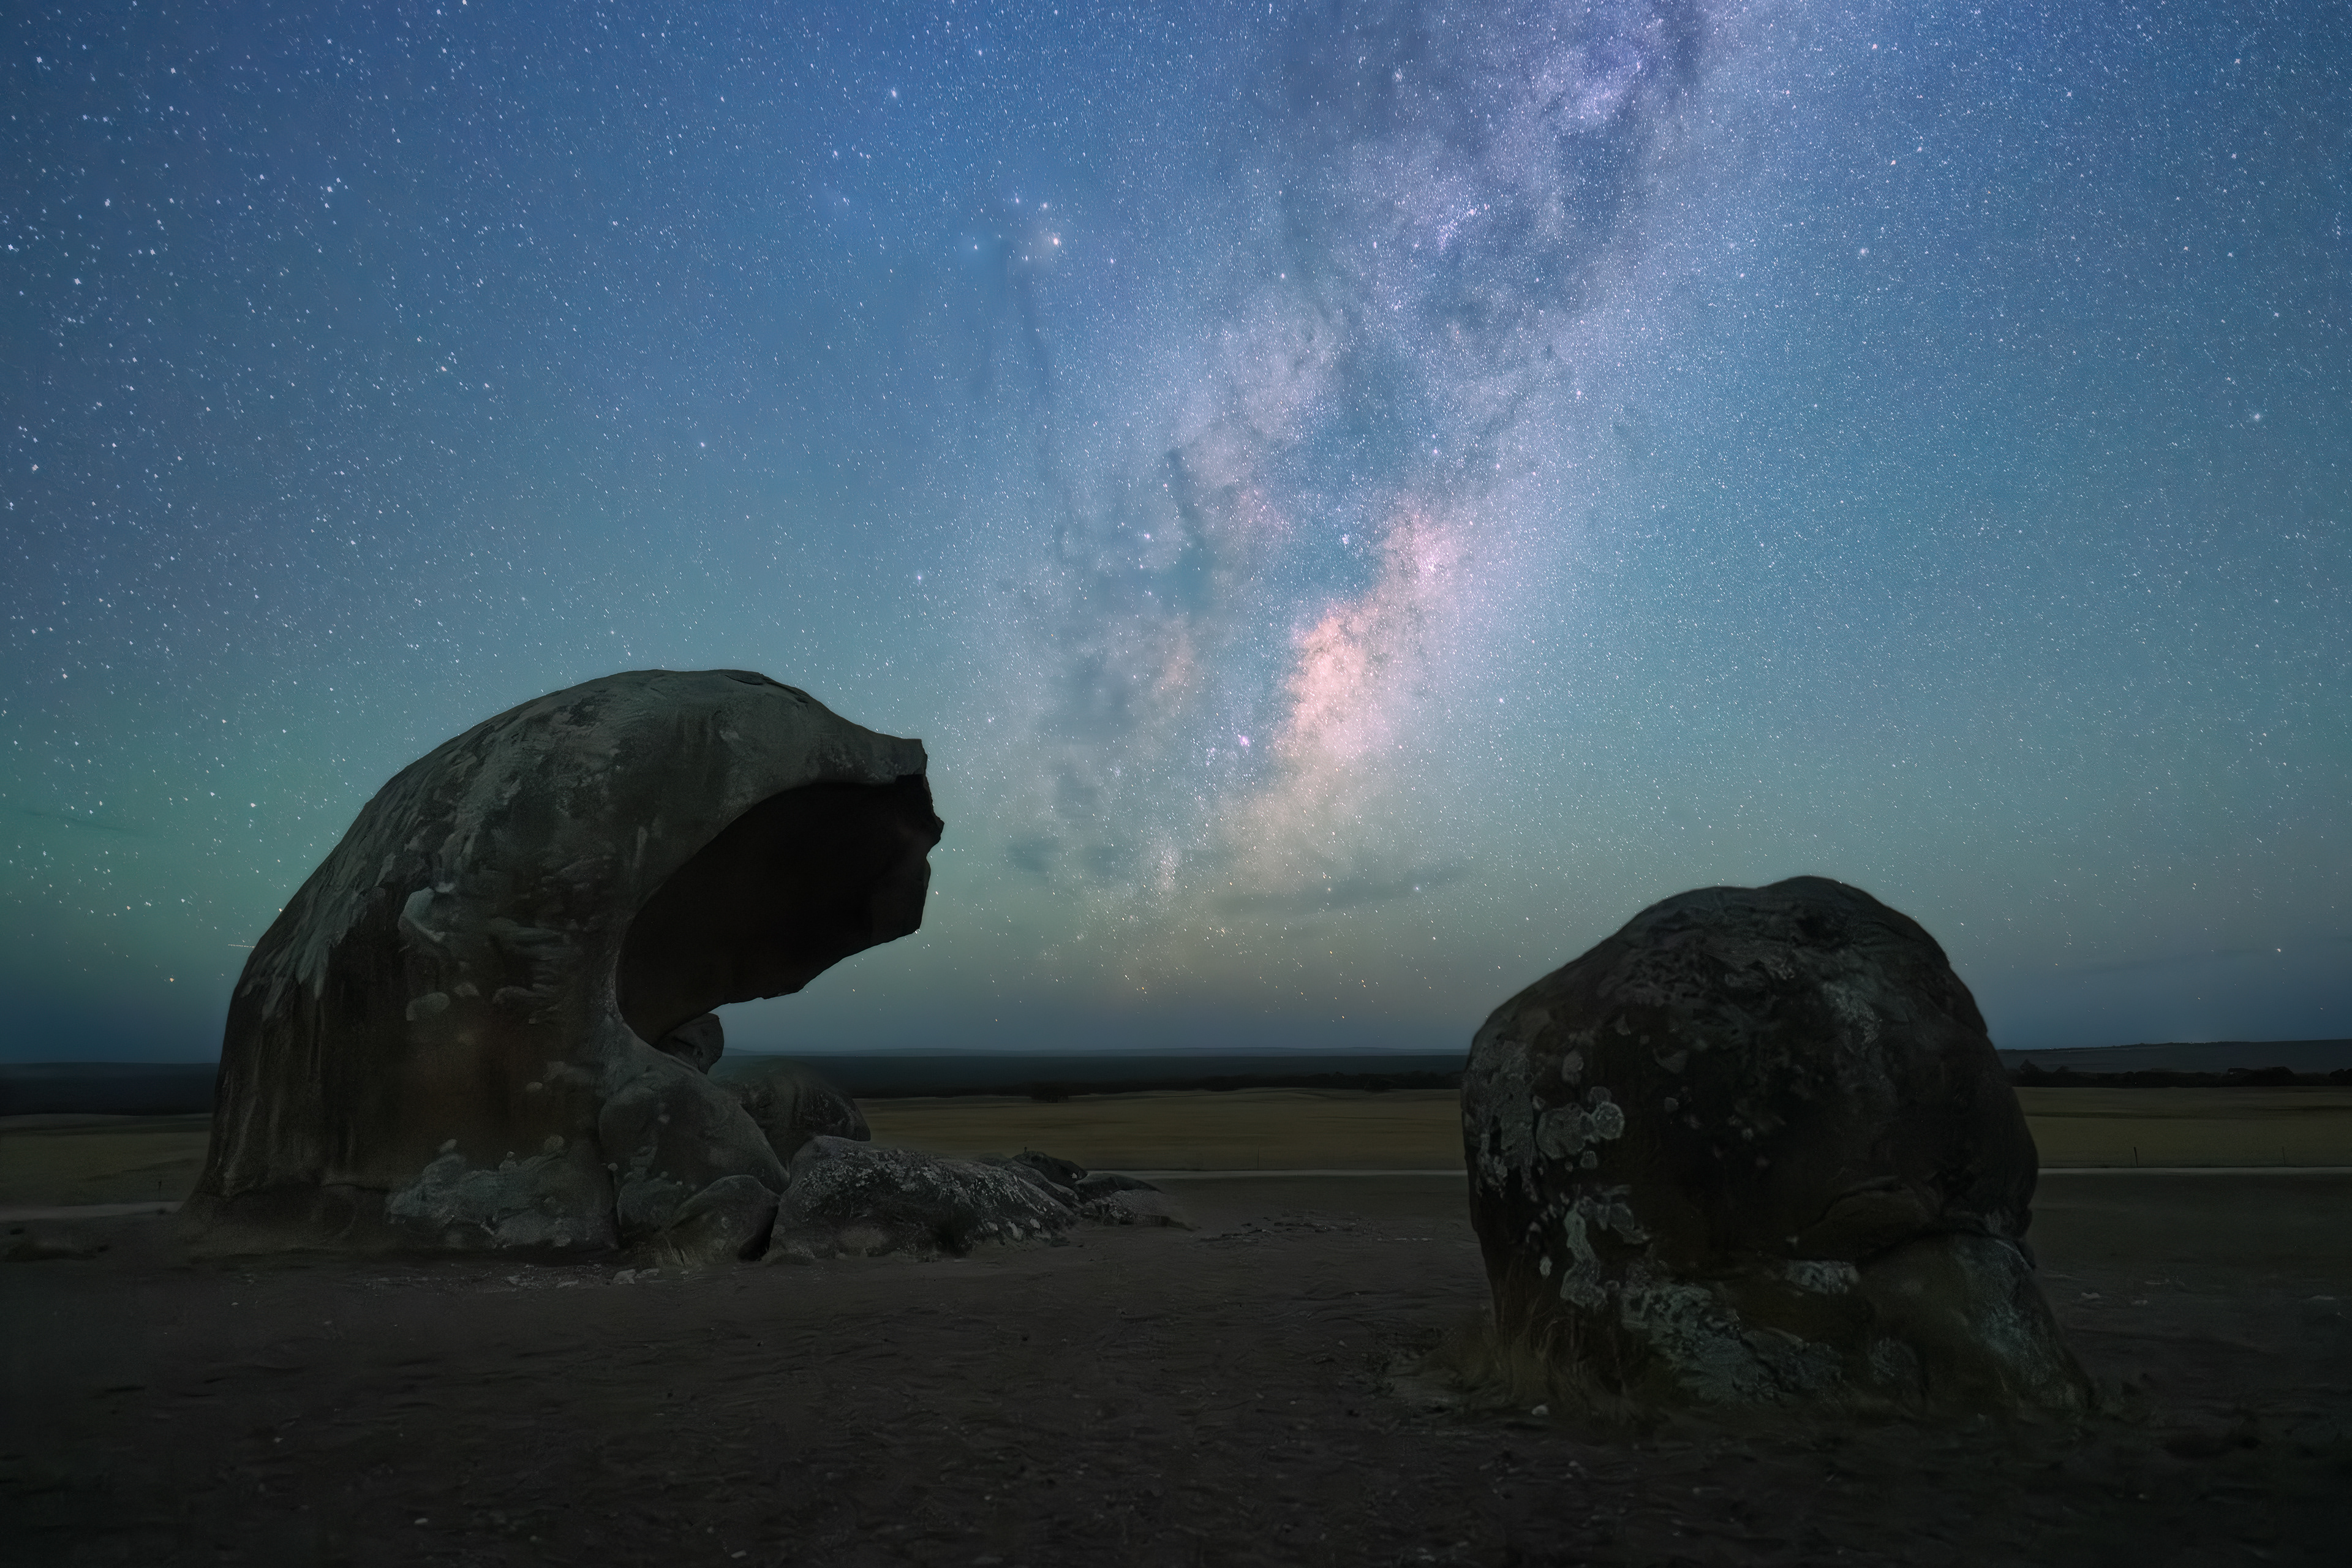
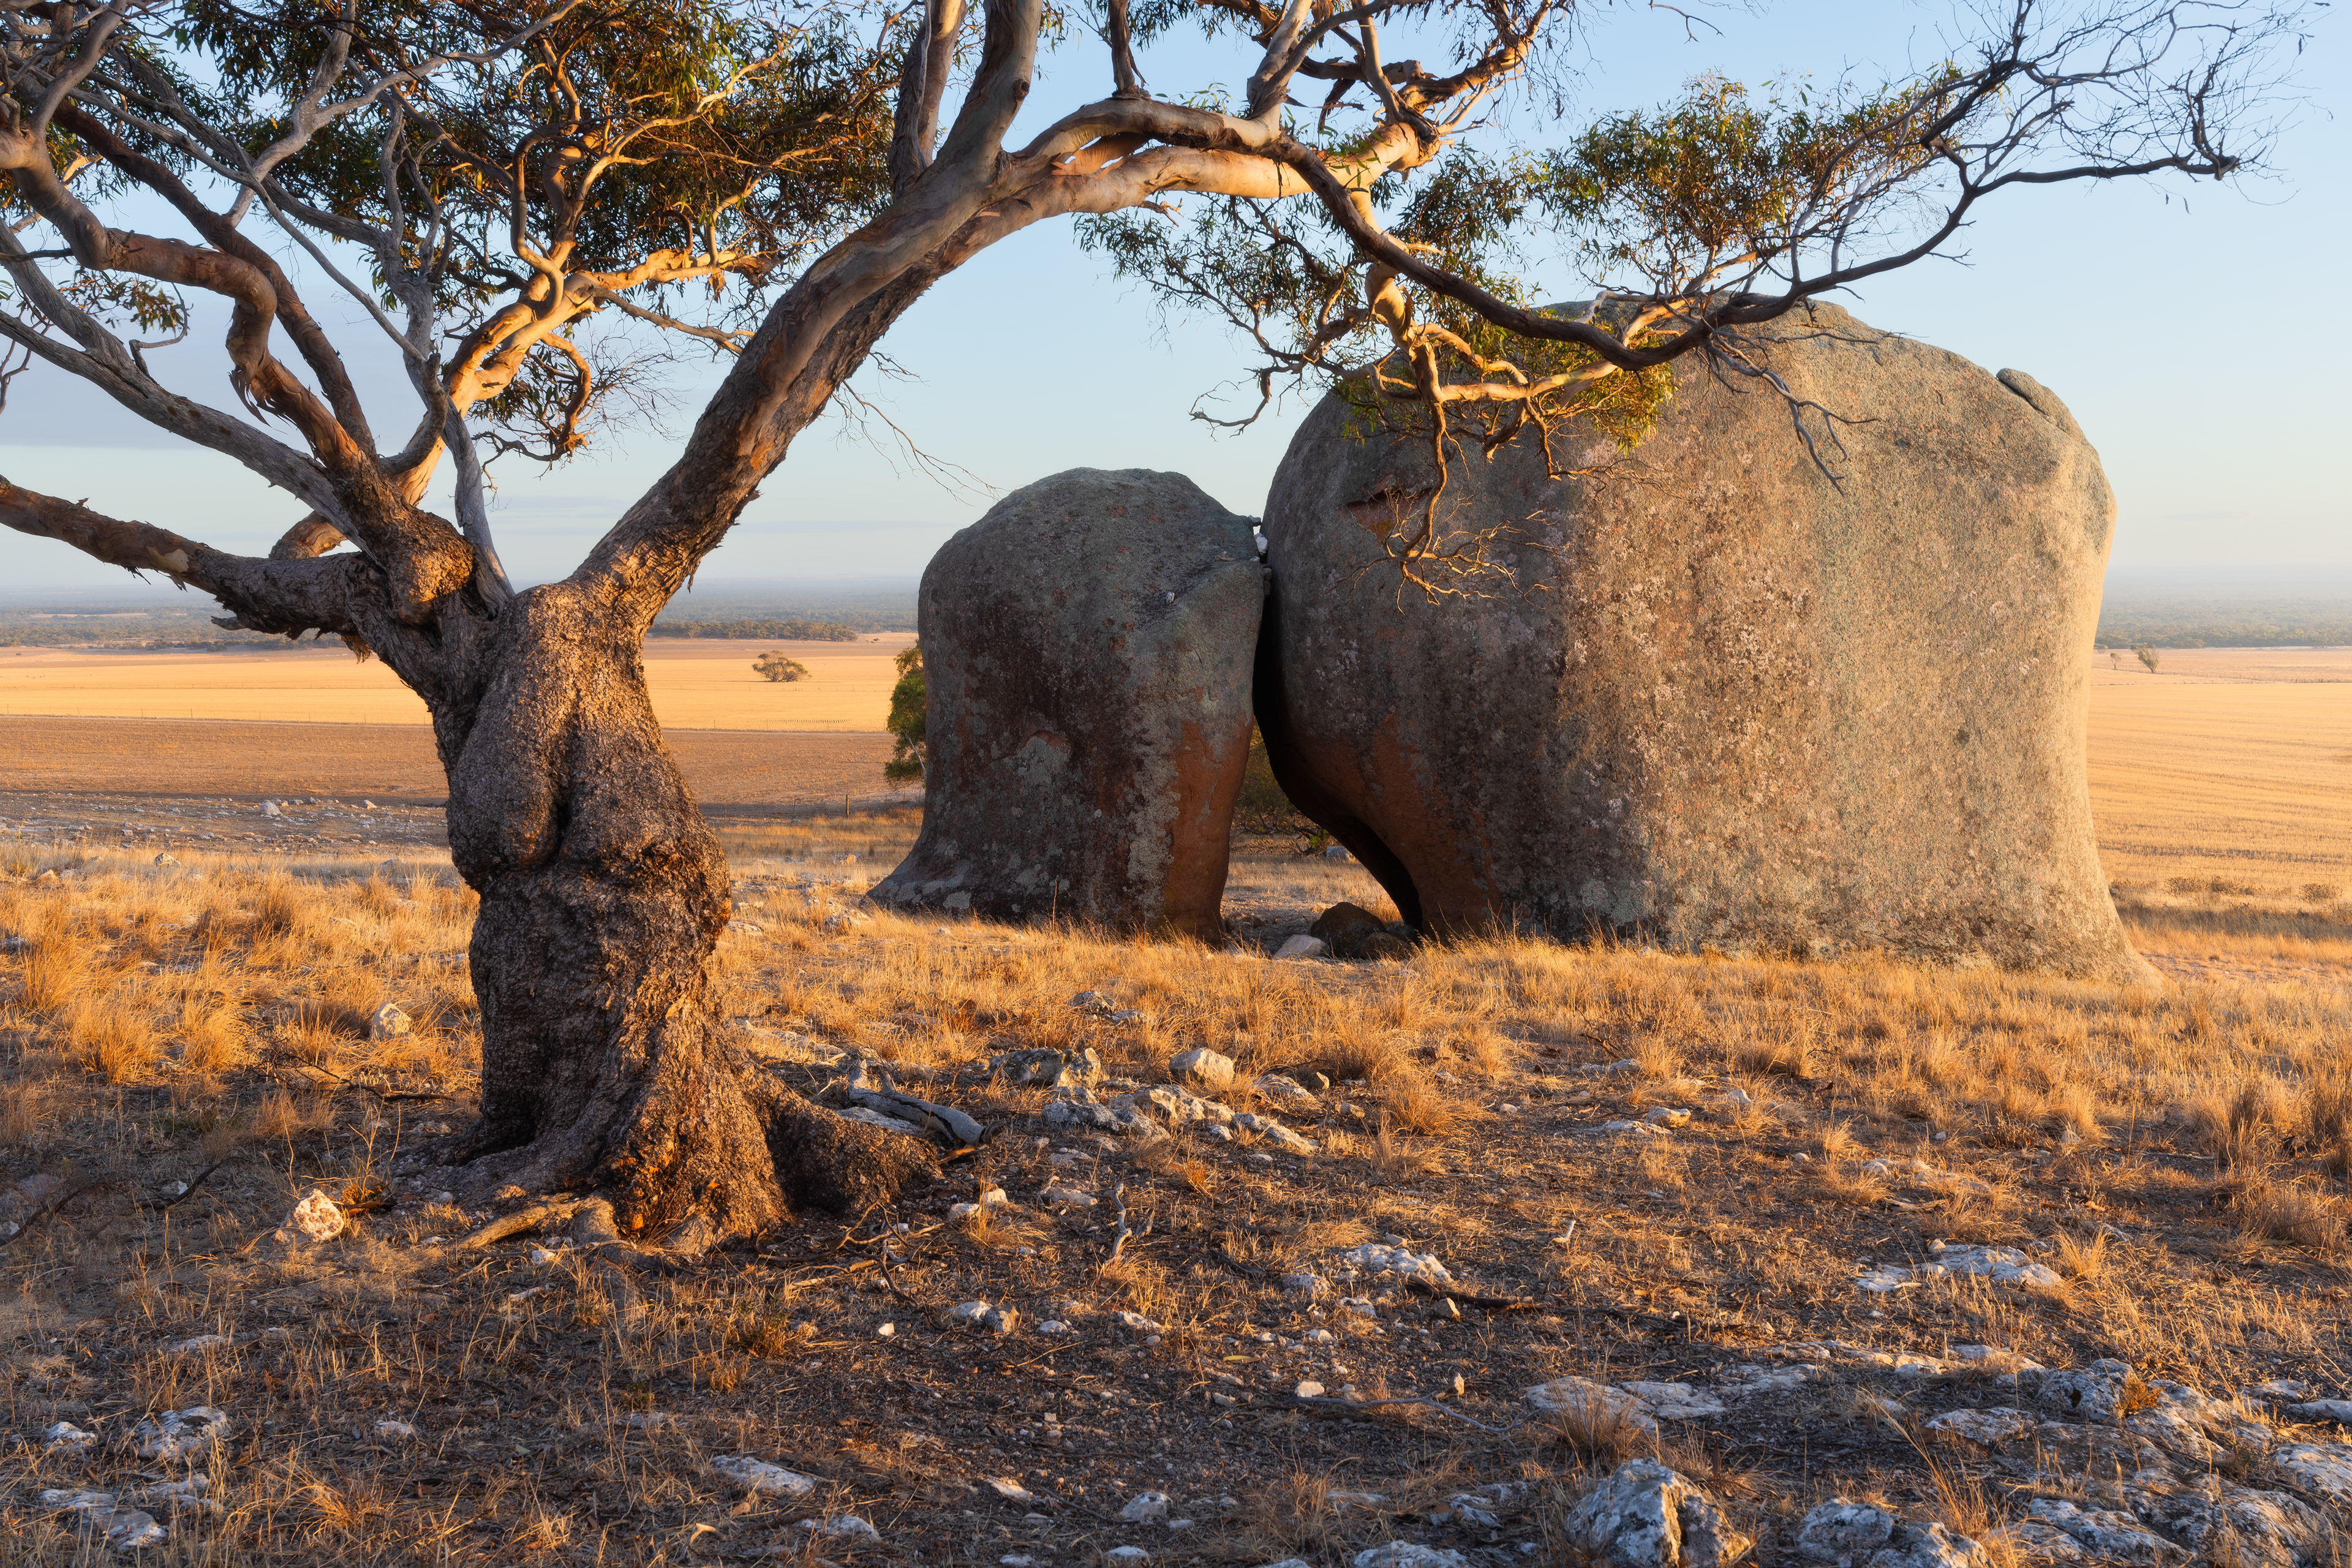
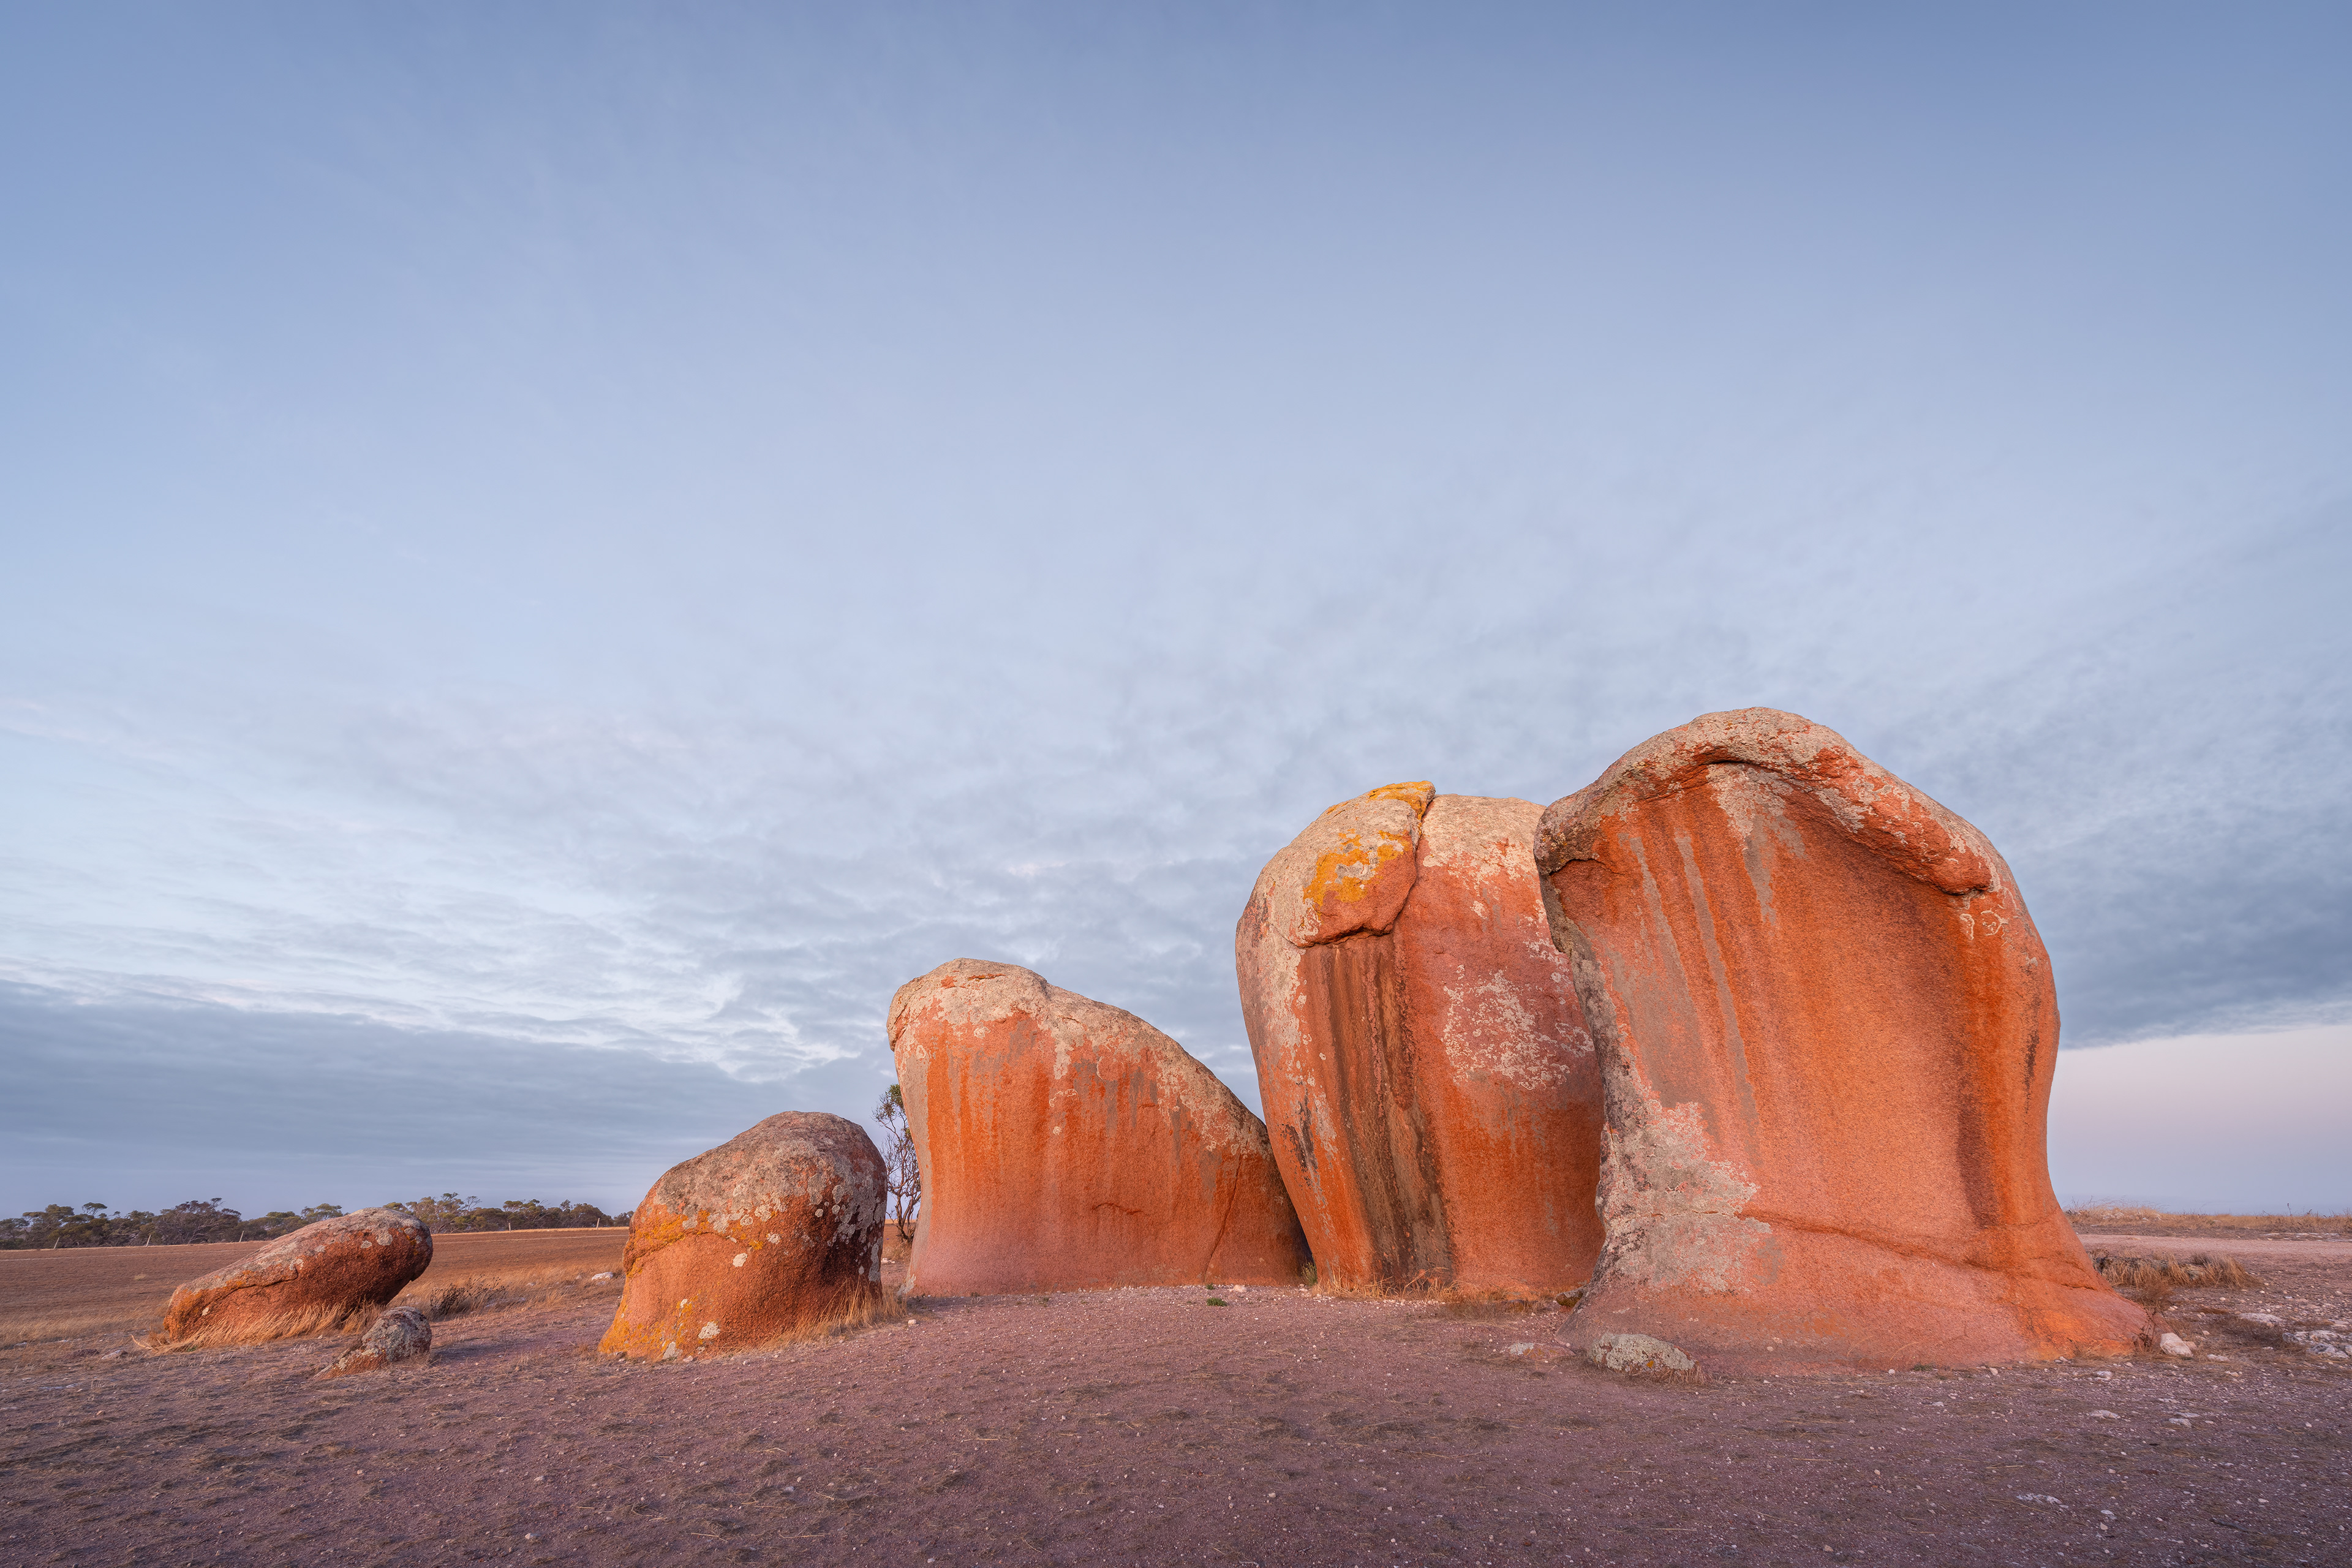
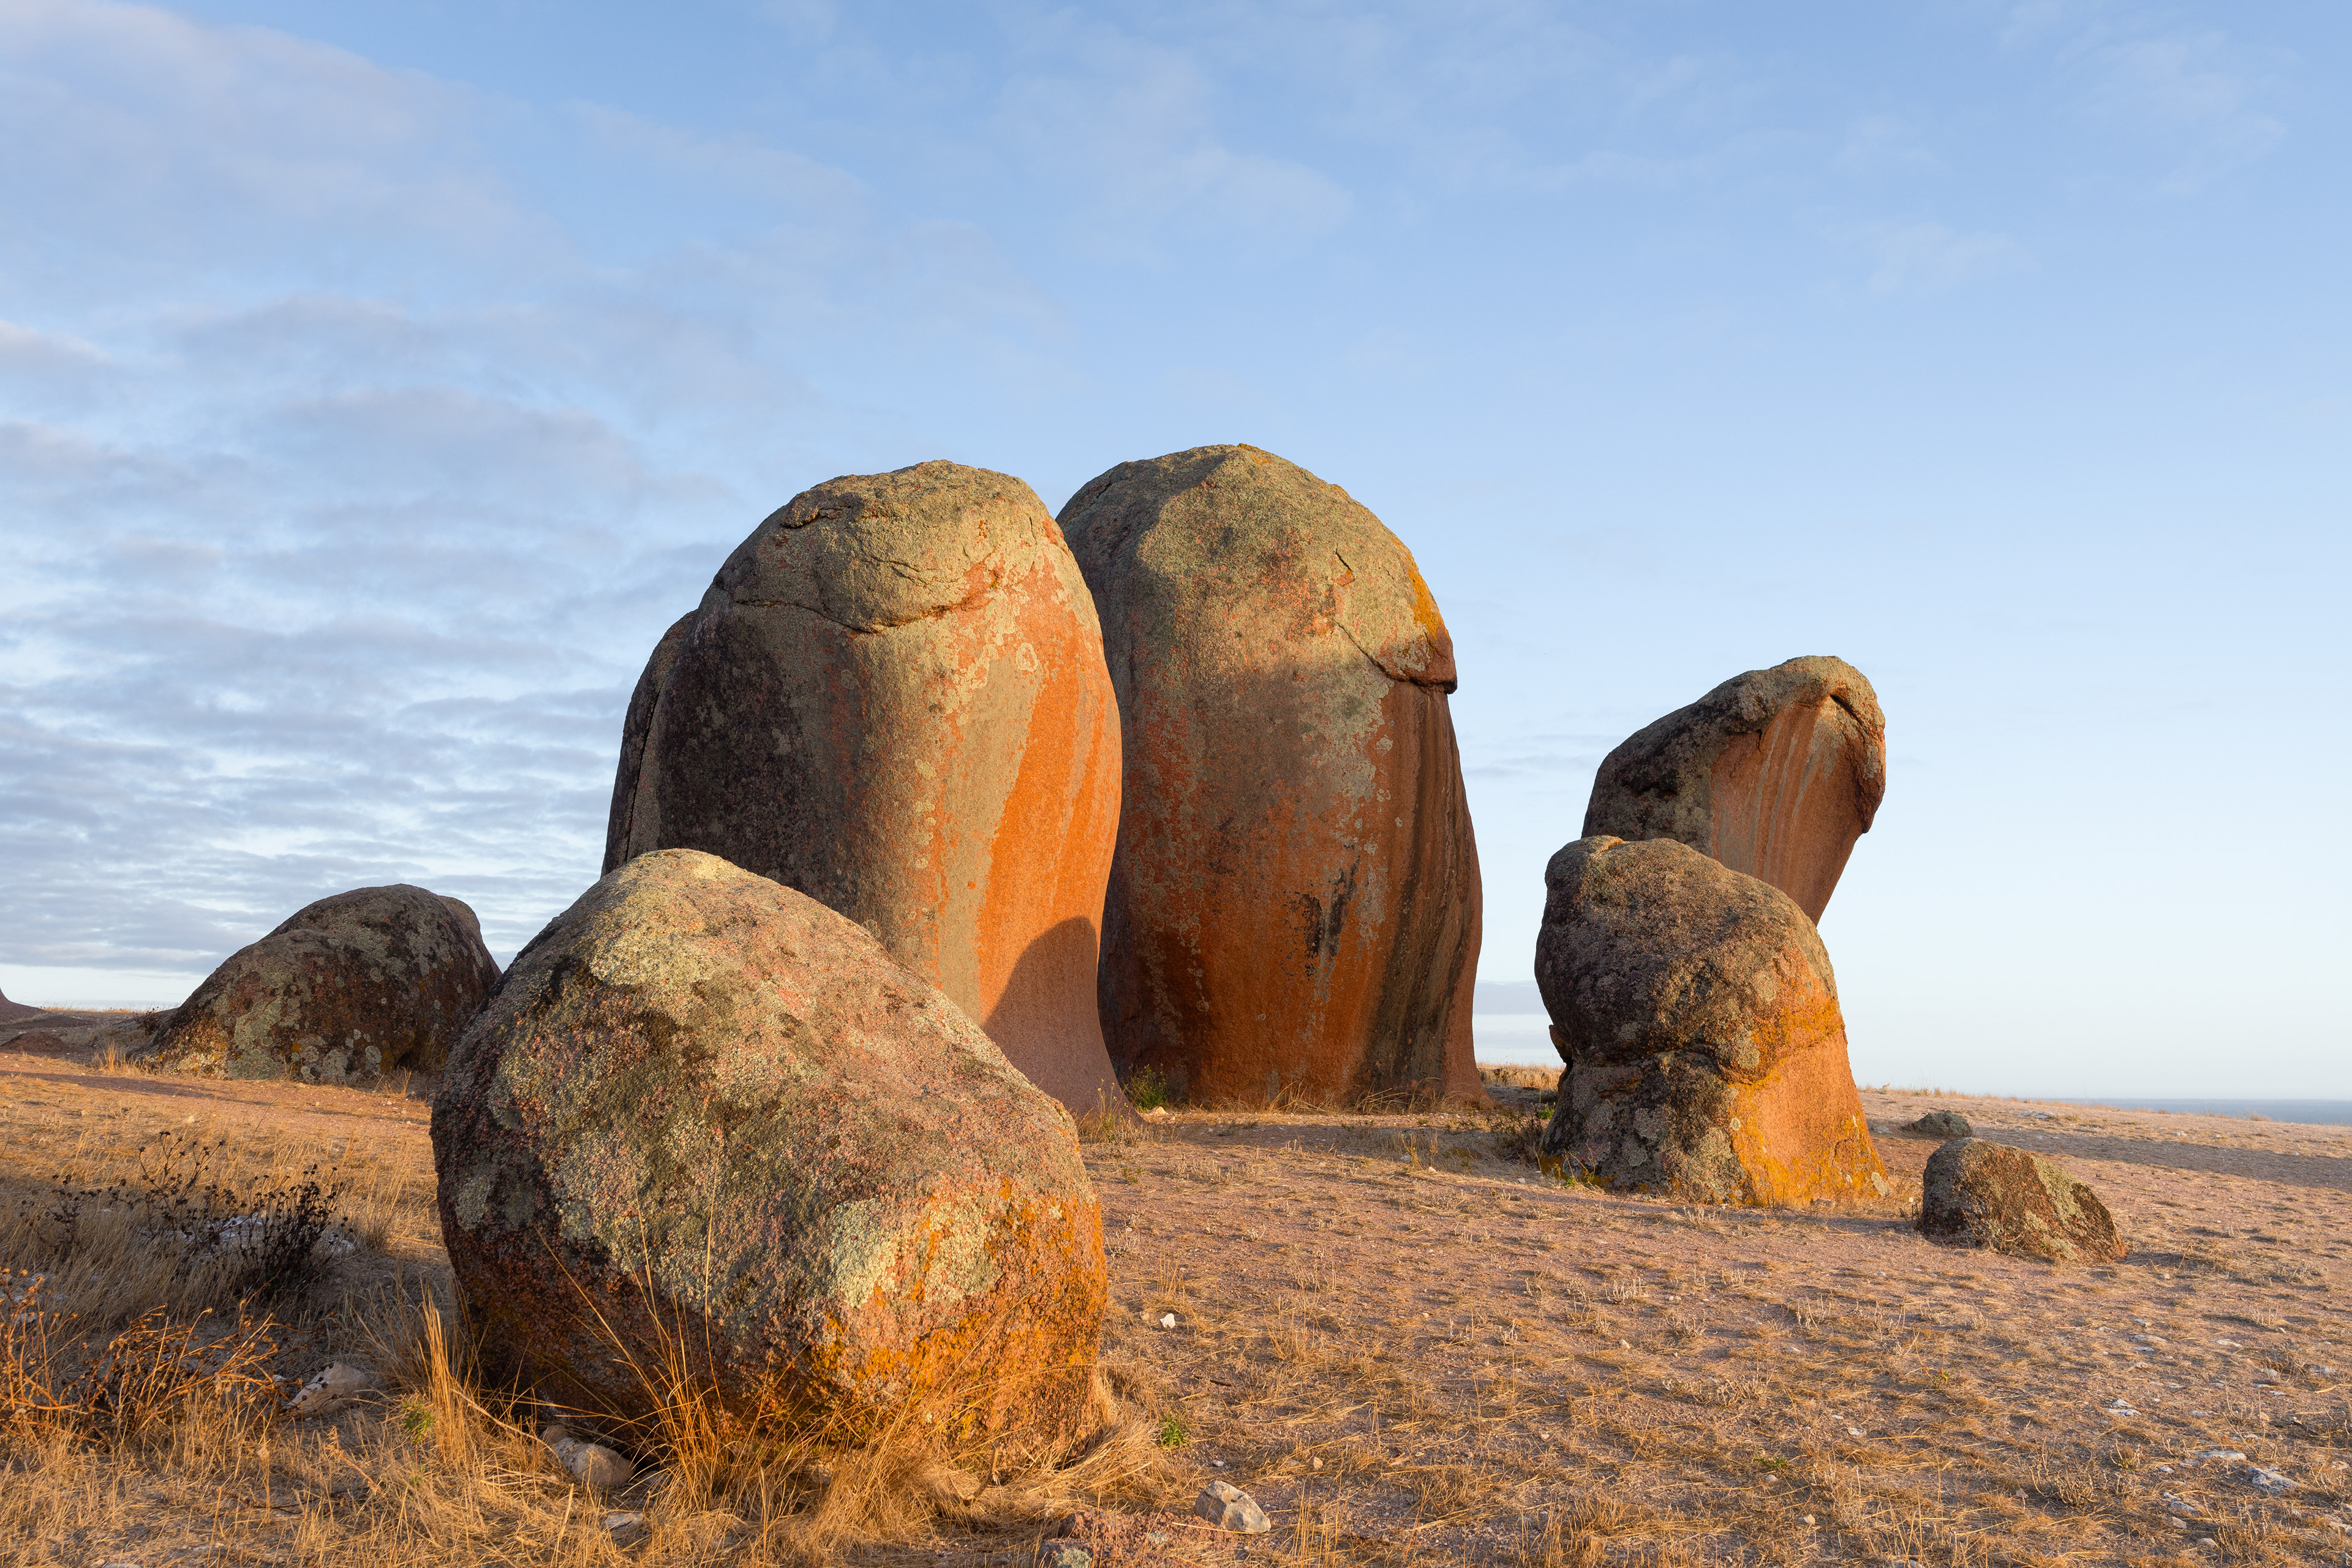
Murphys Haystacks 03 (2:3)
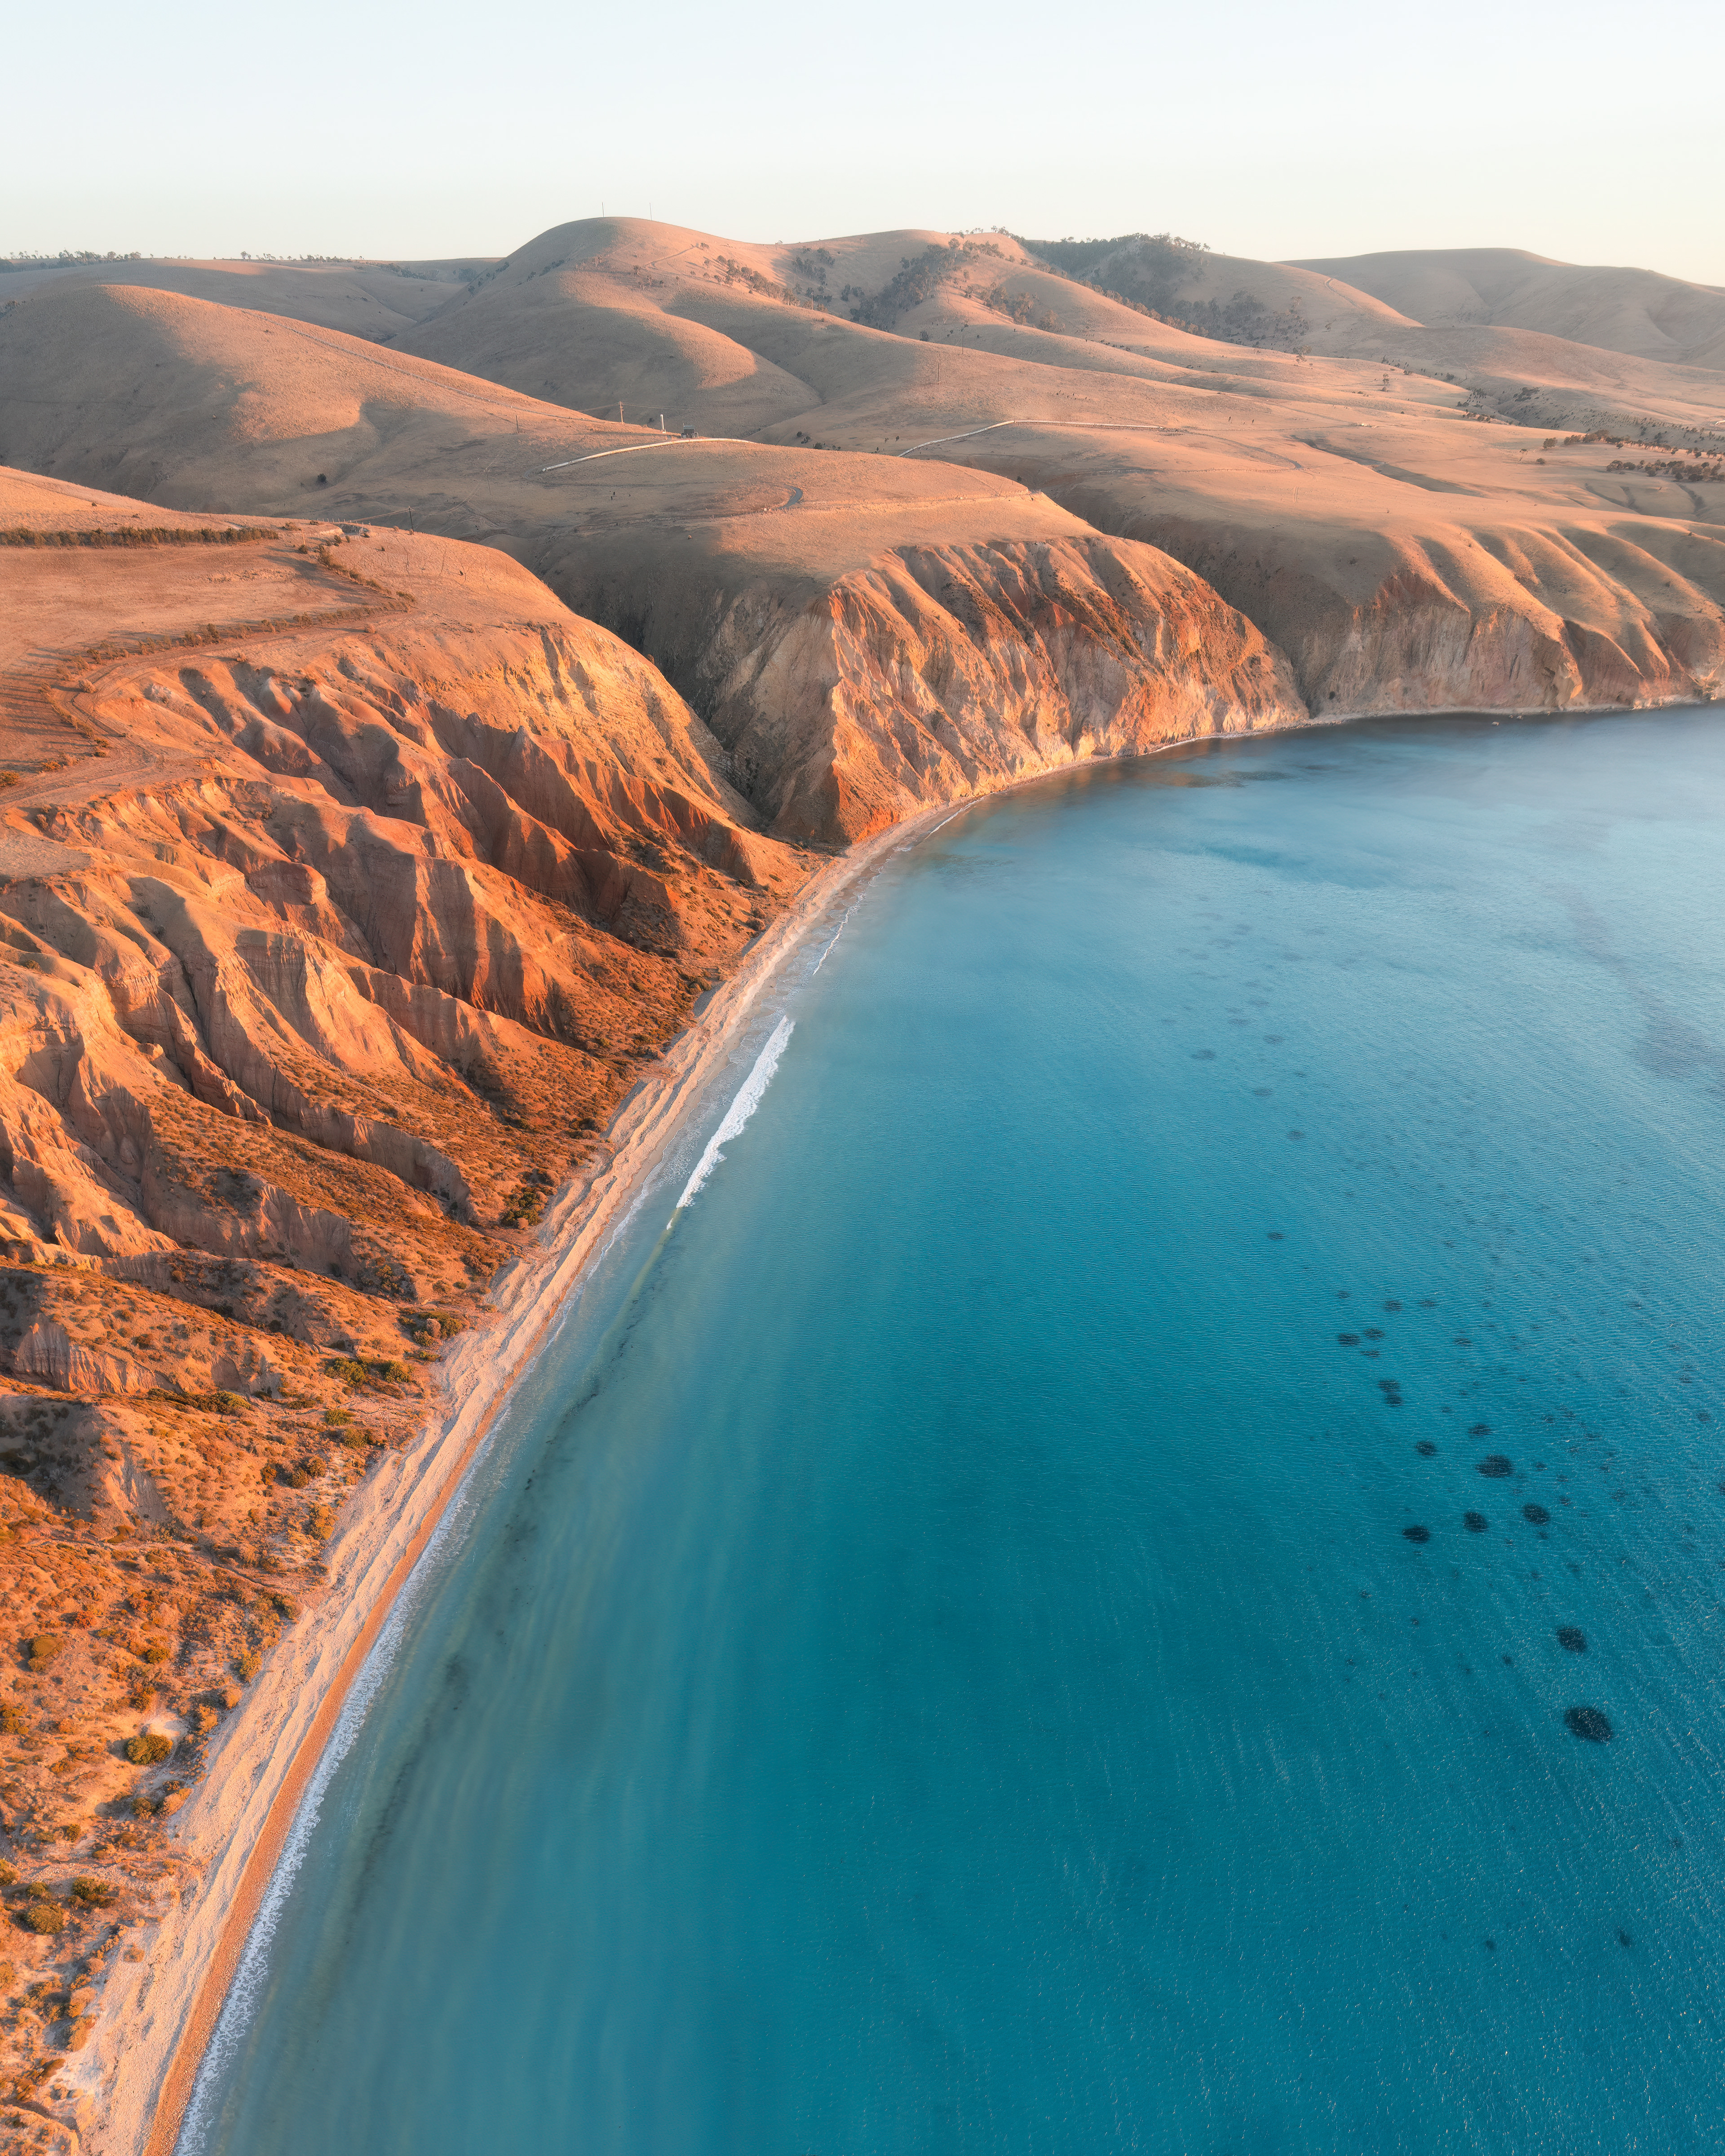
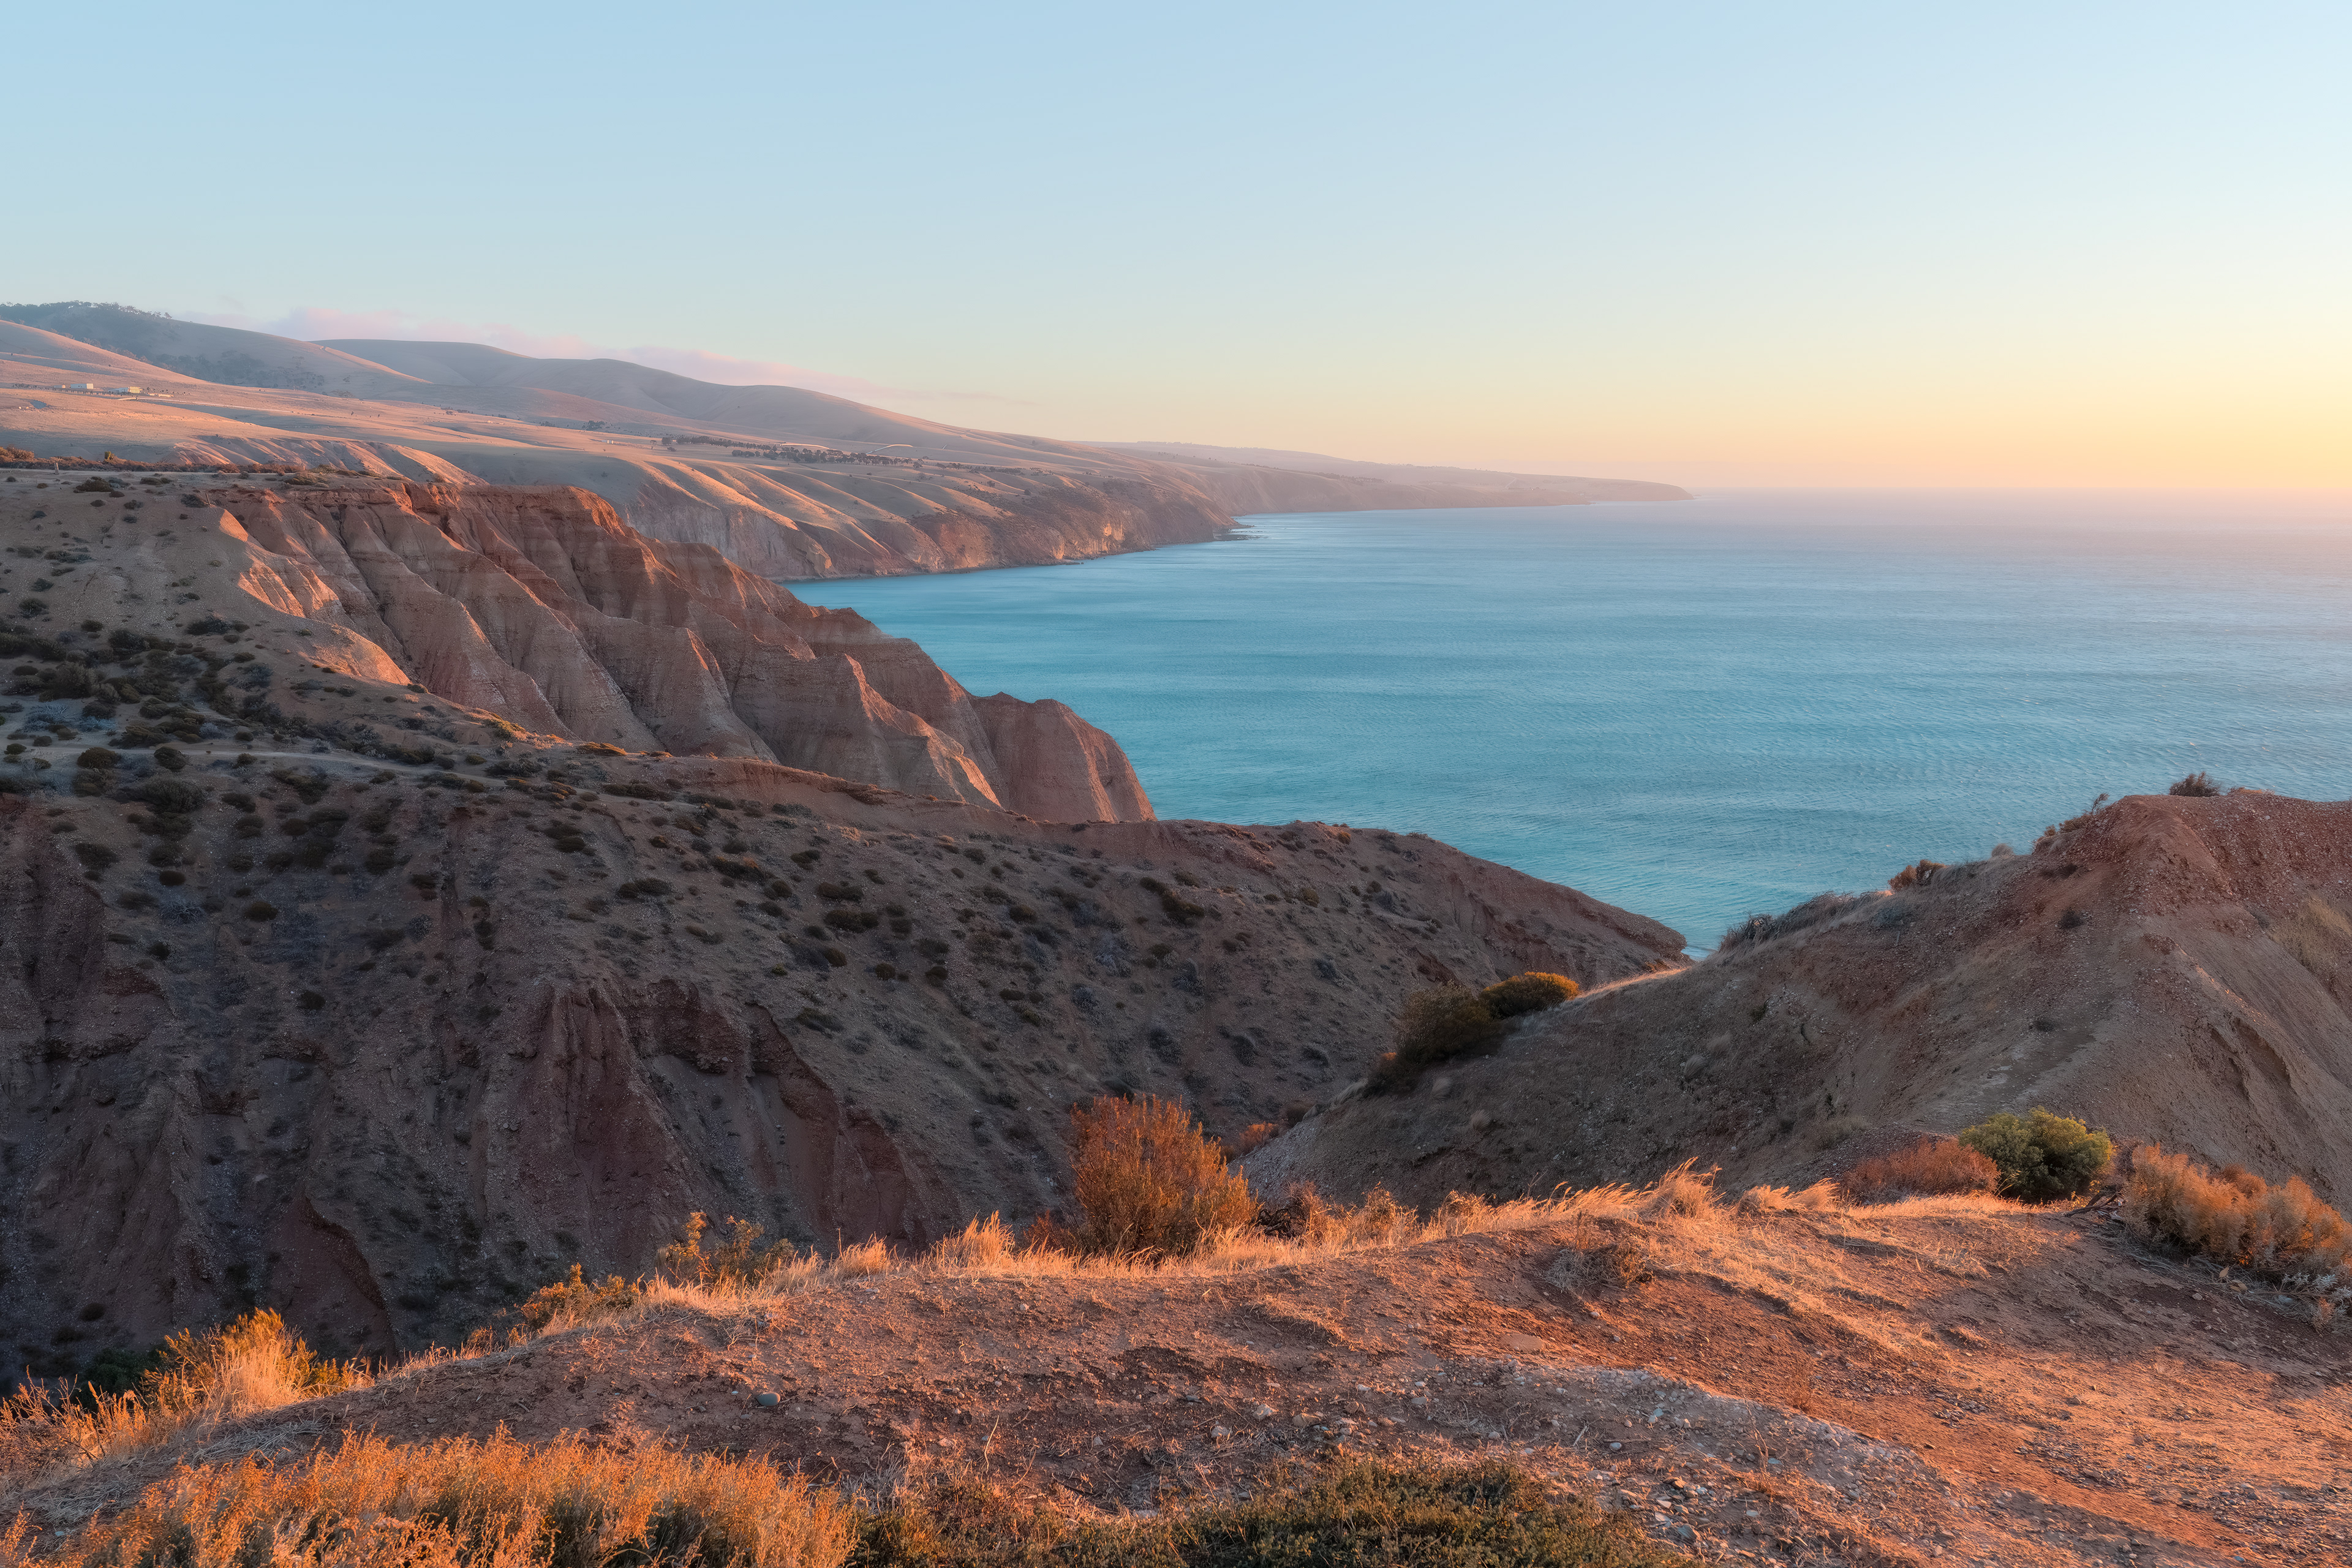
Sellicks Beach 01 (4:5)
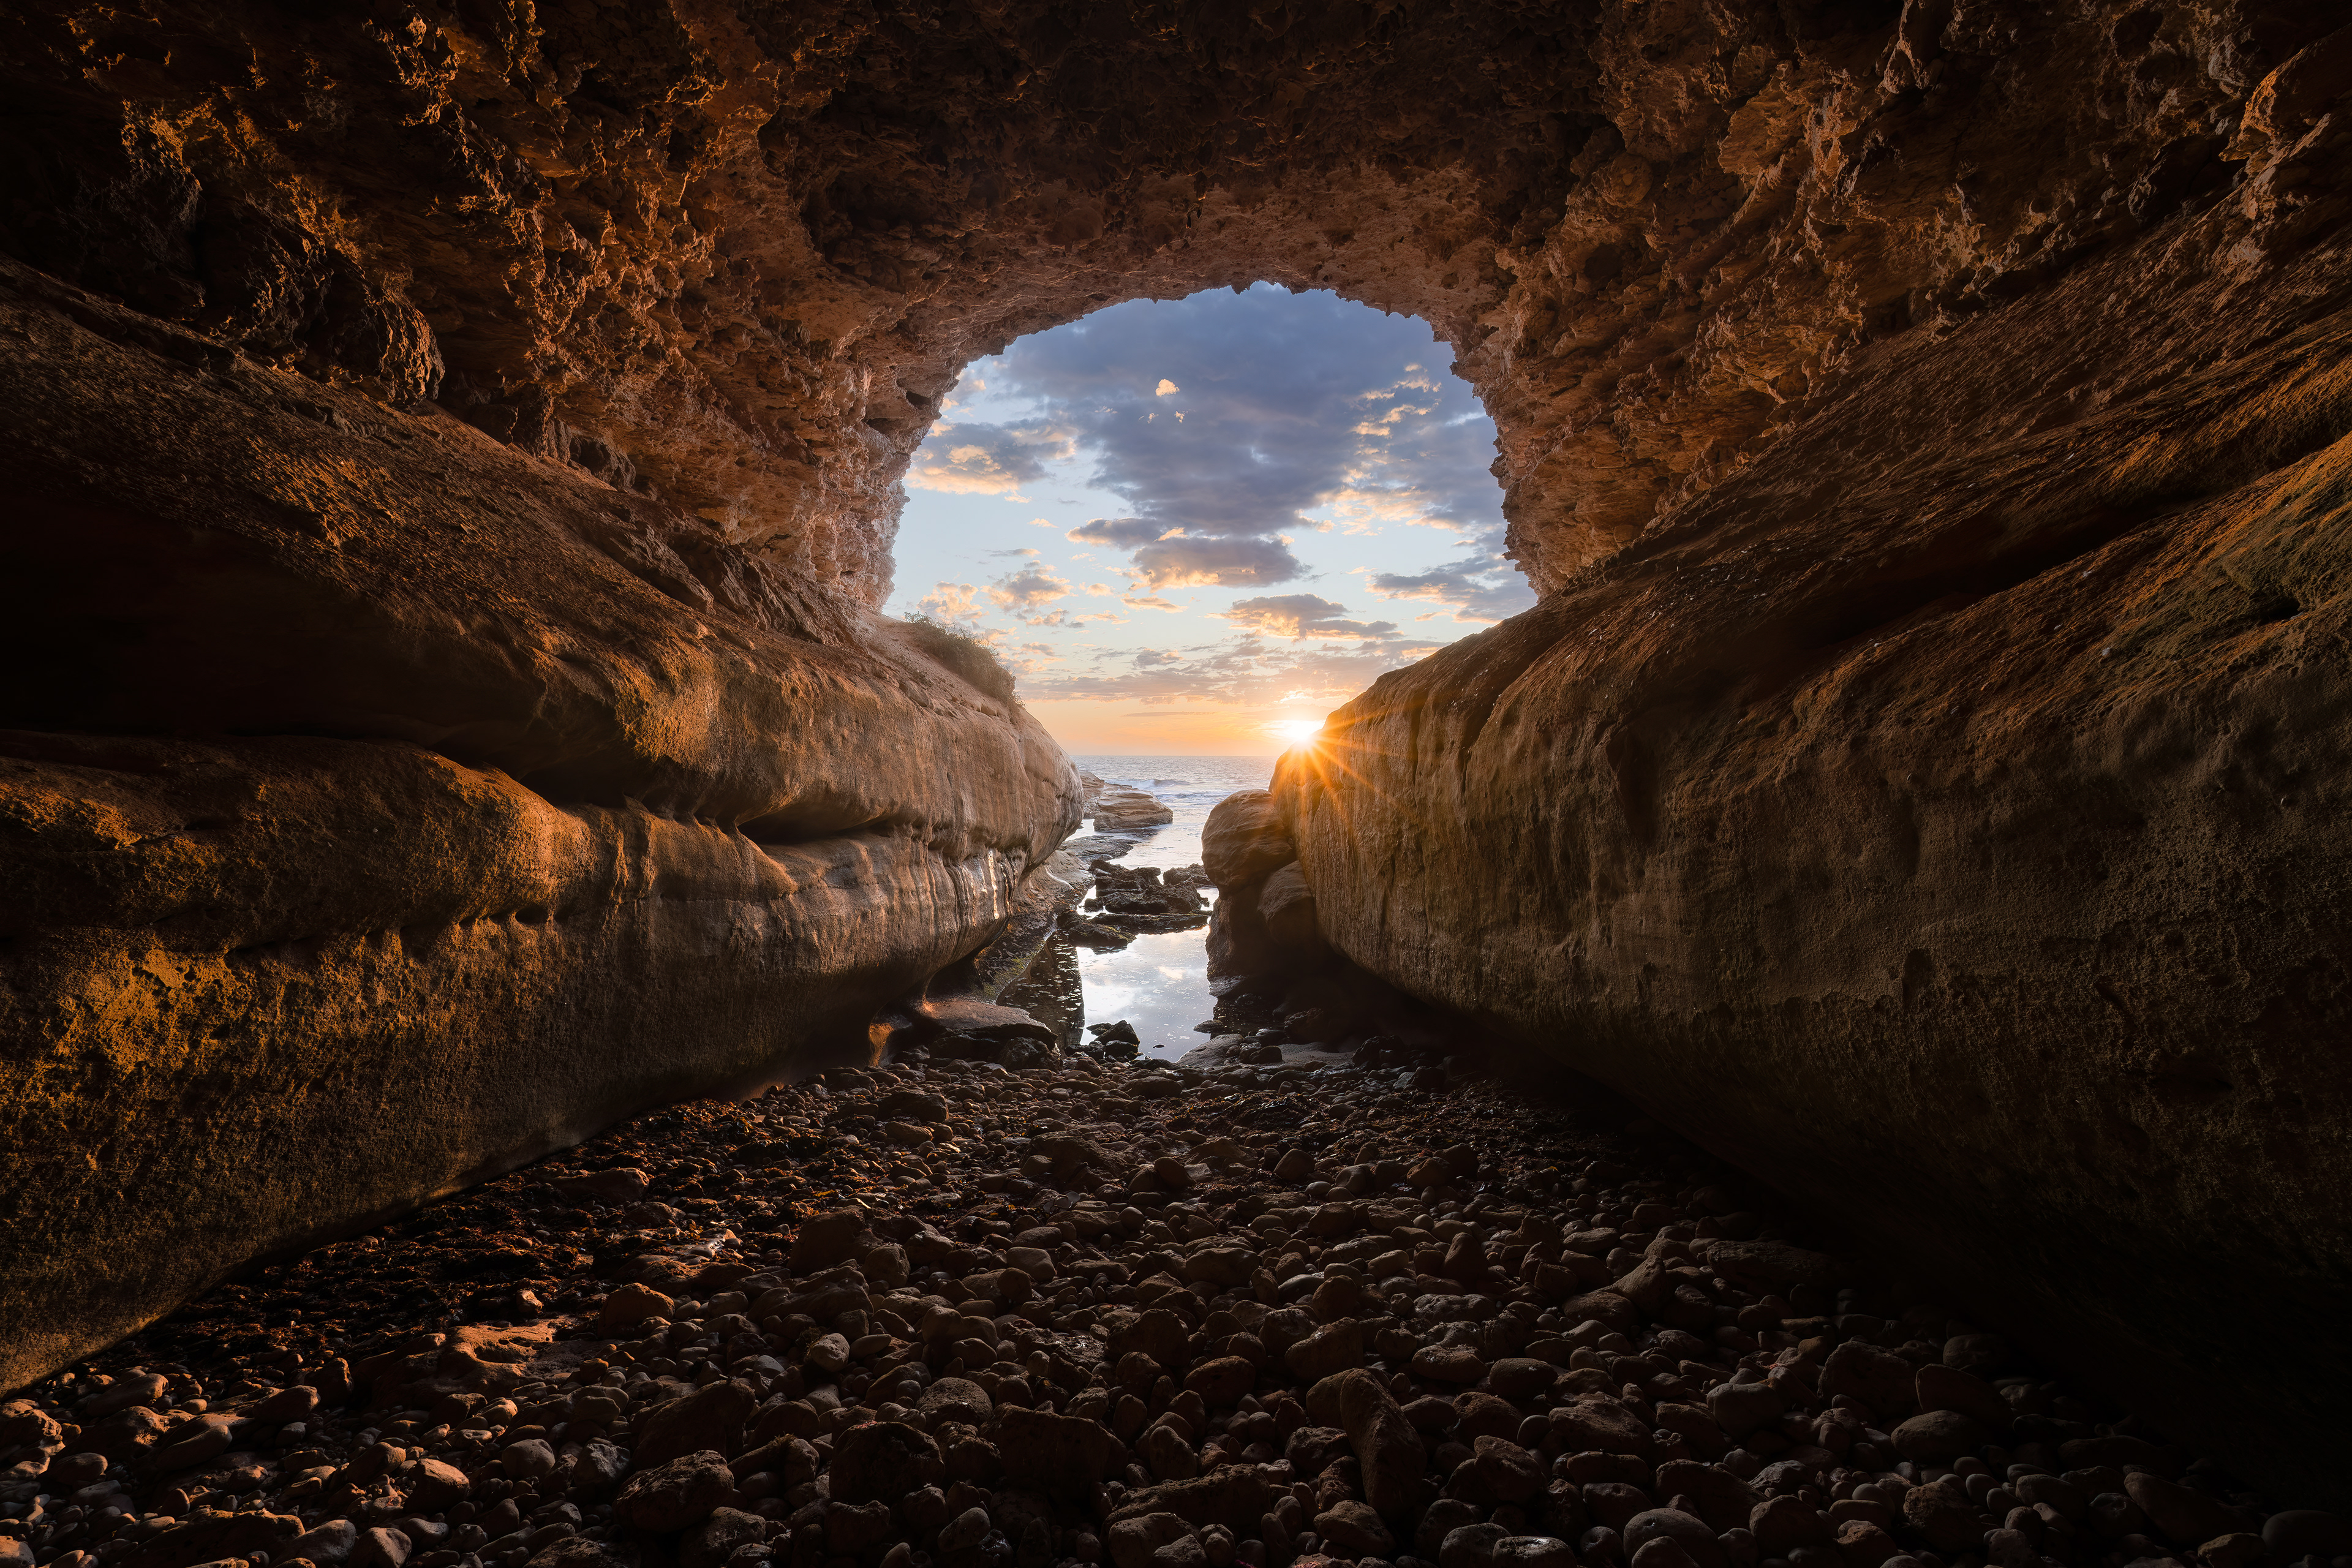
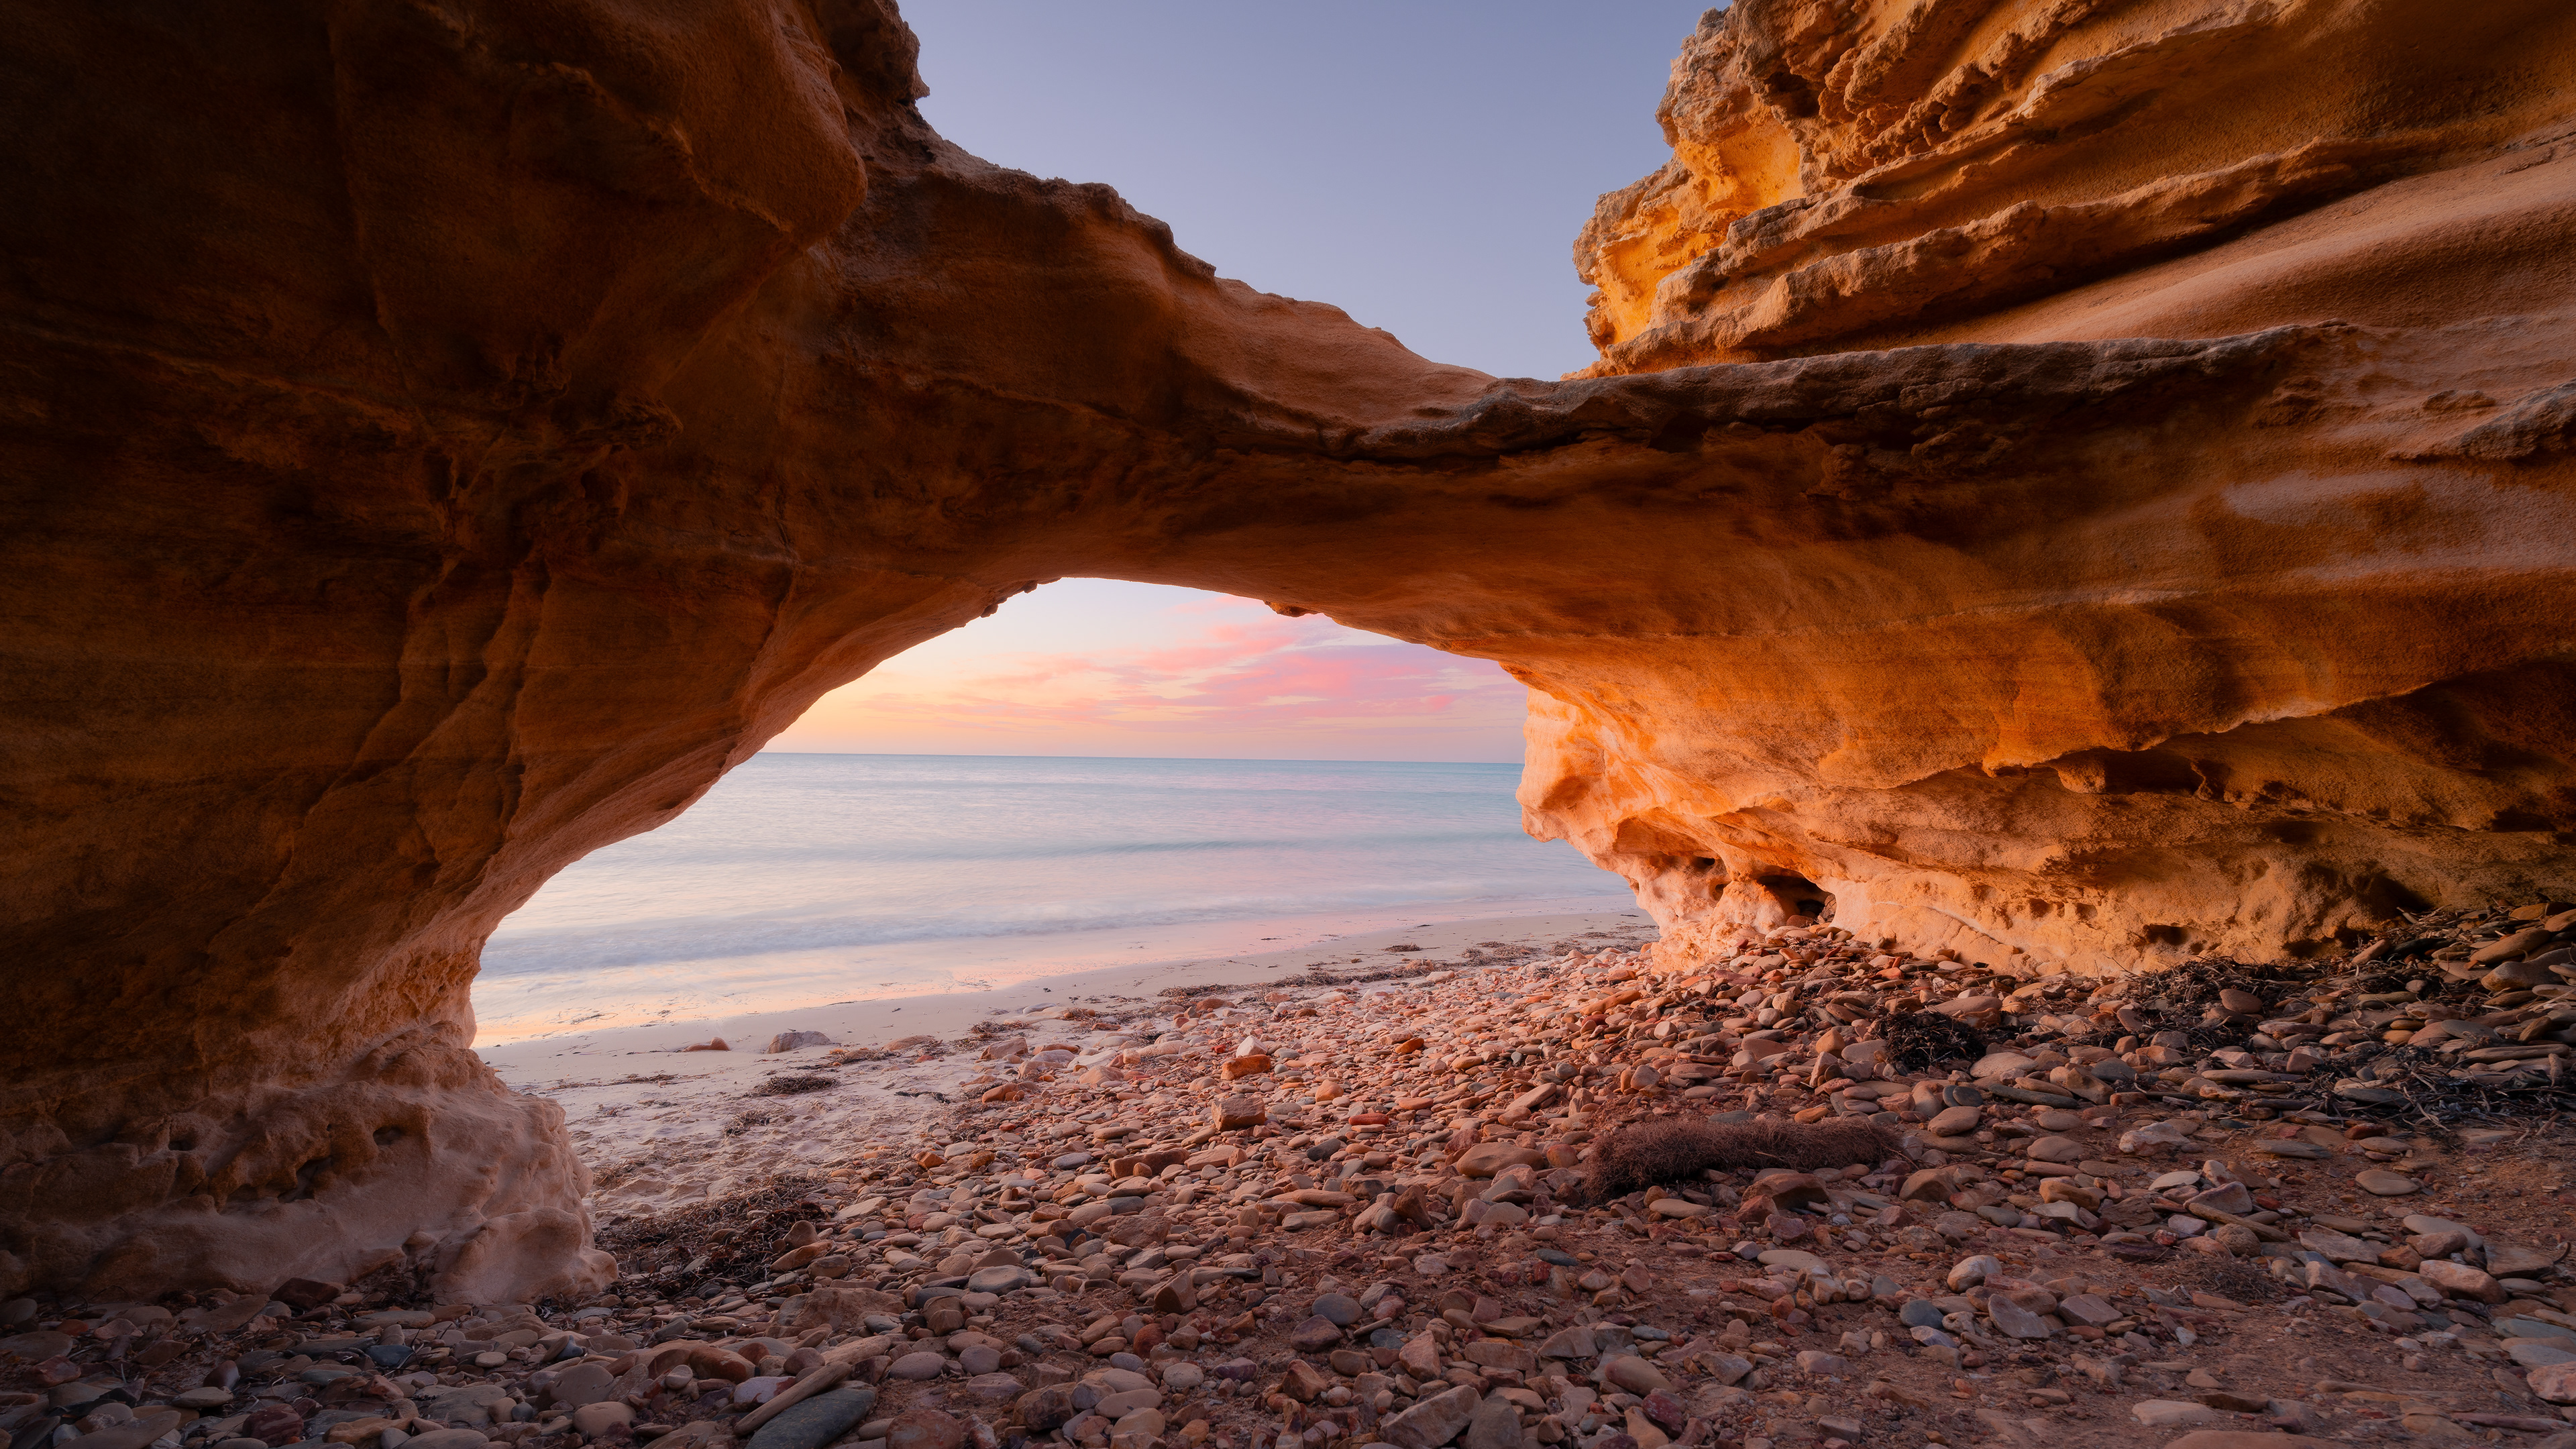
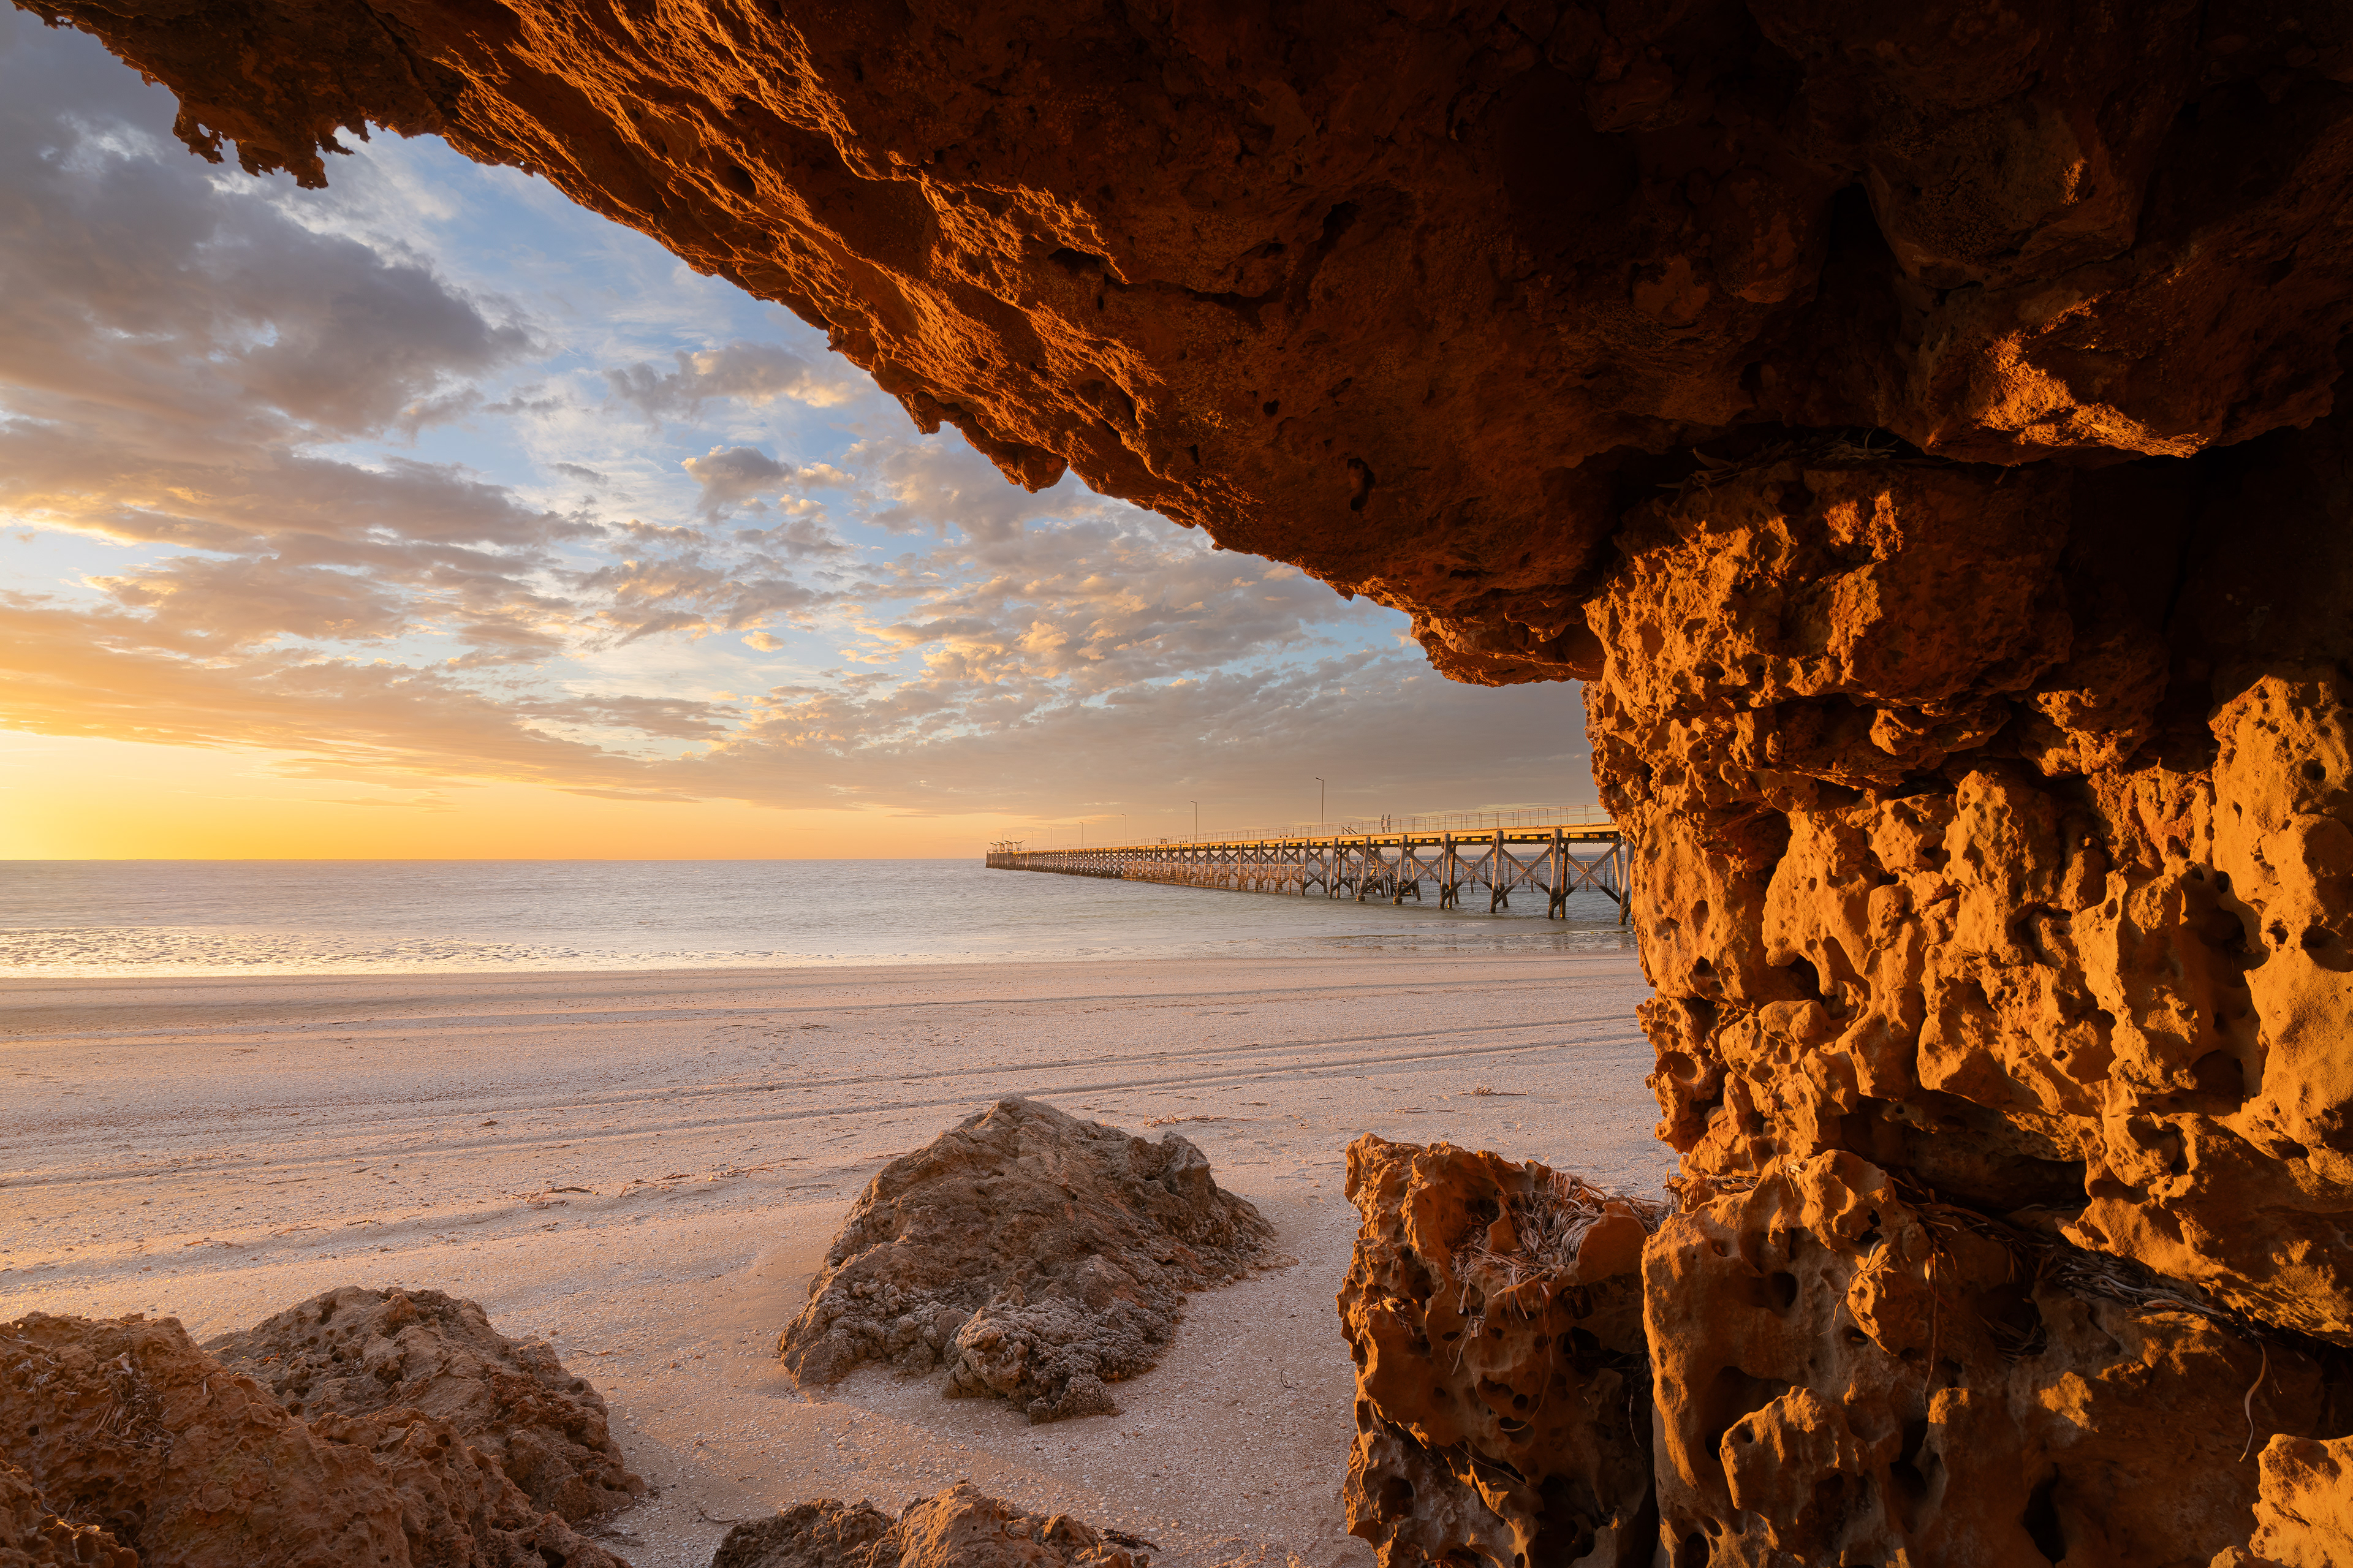
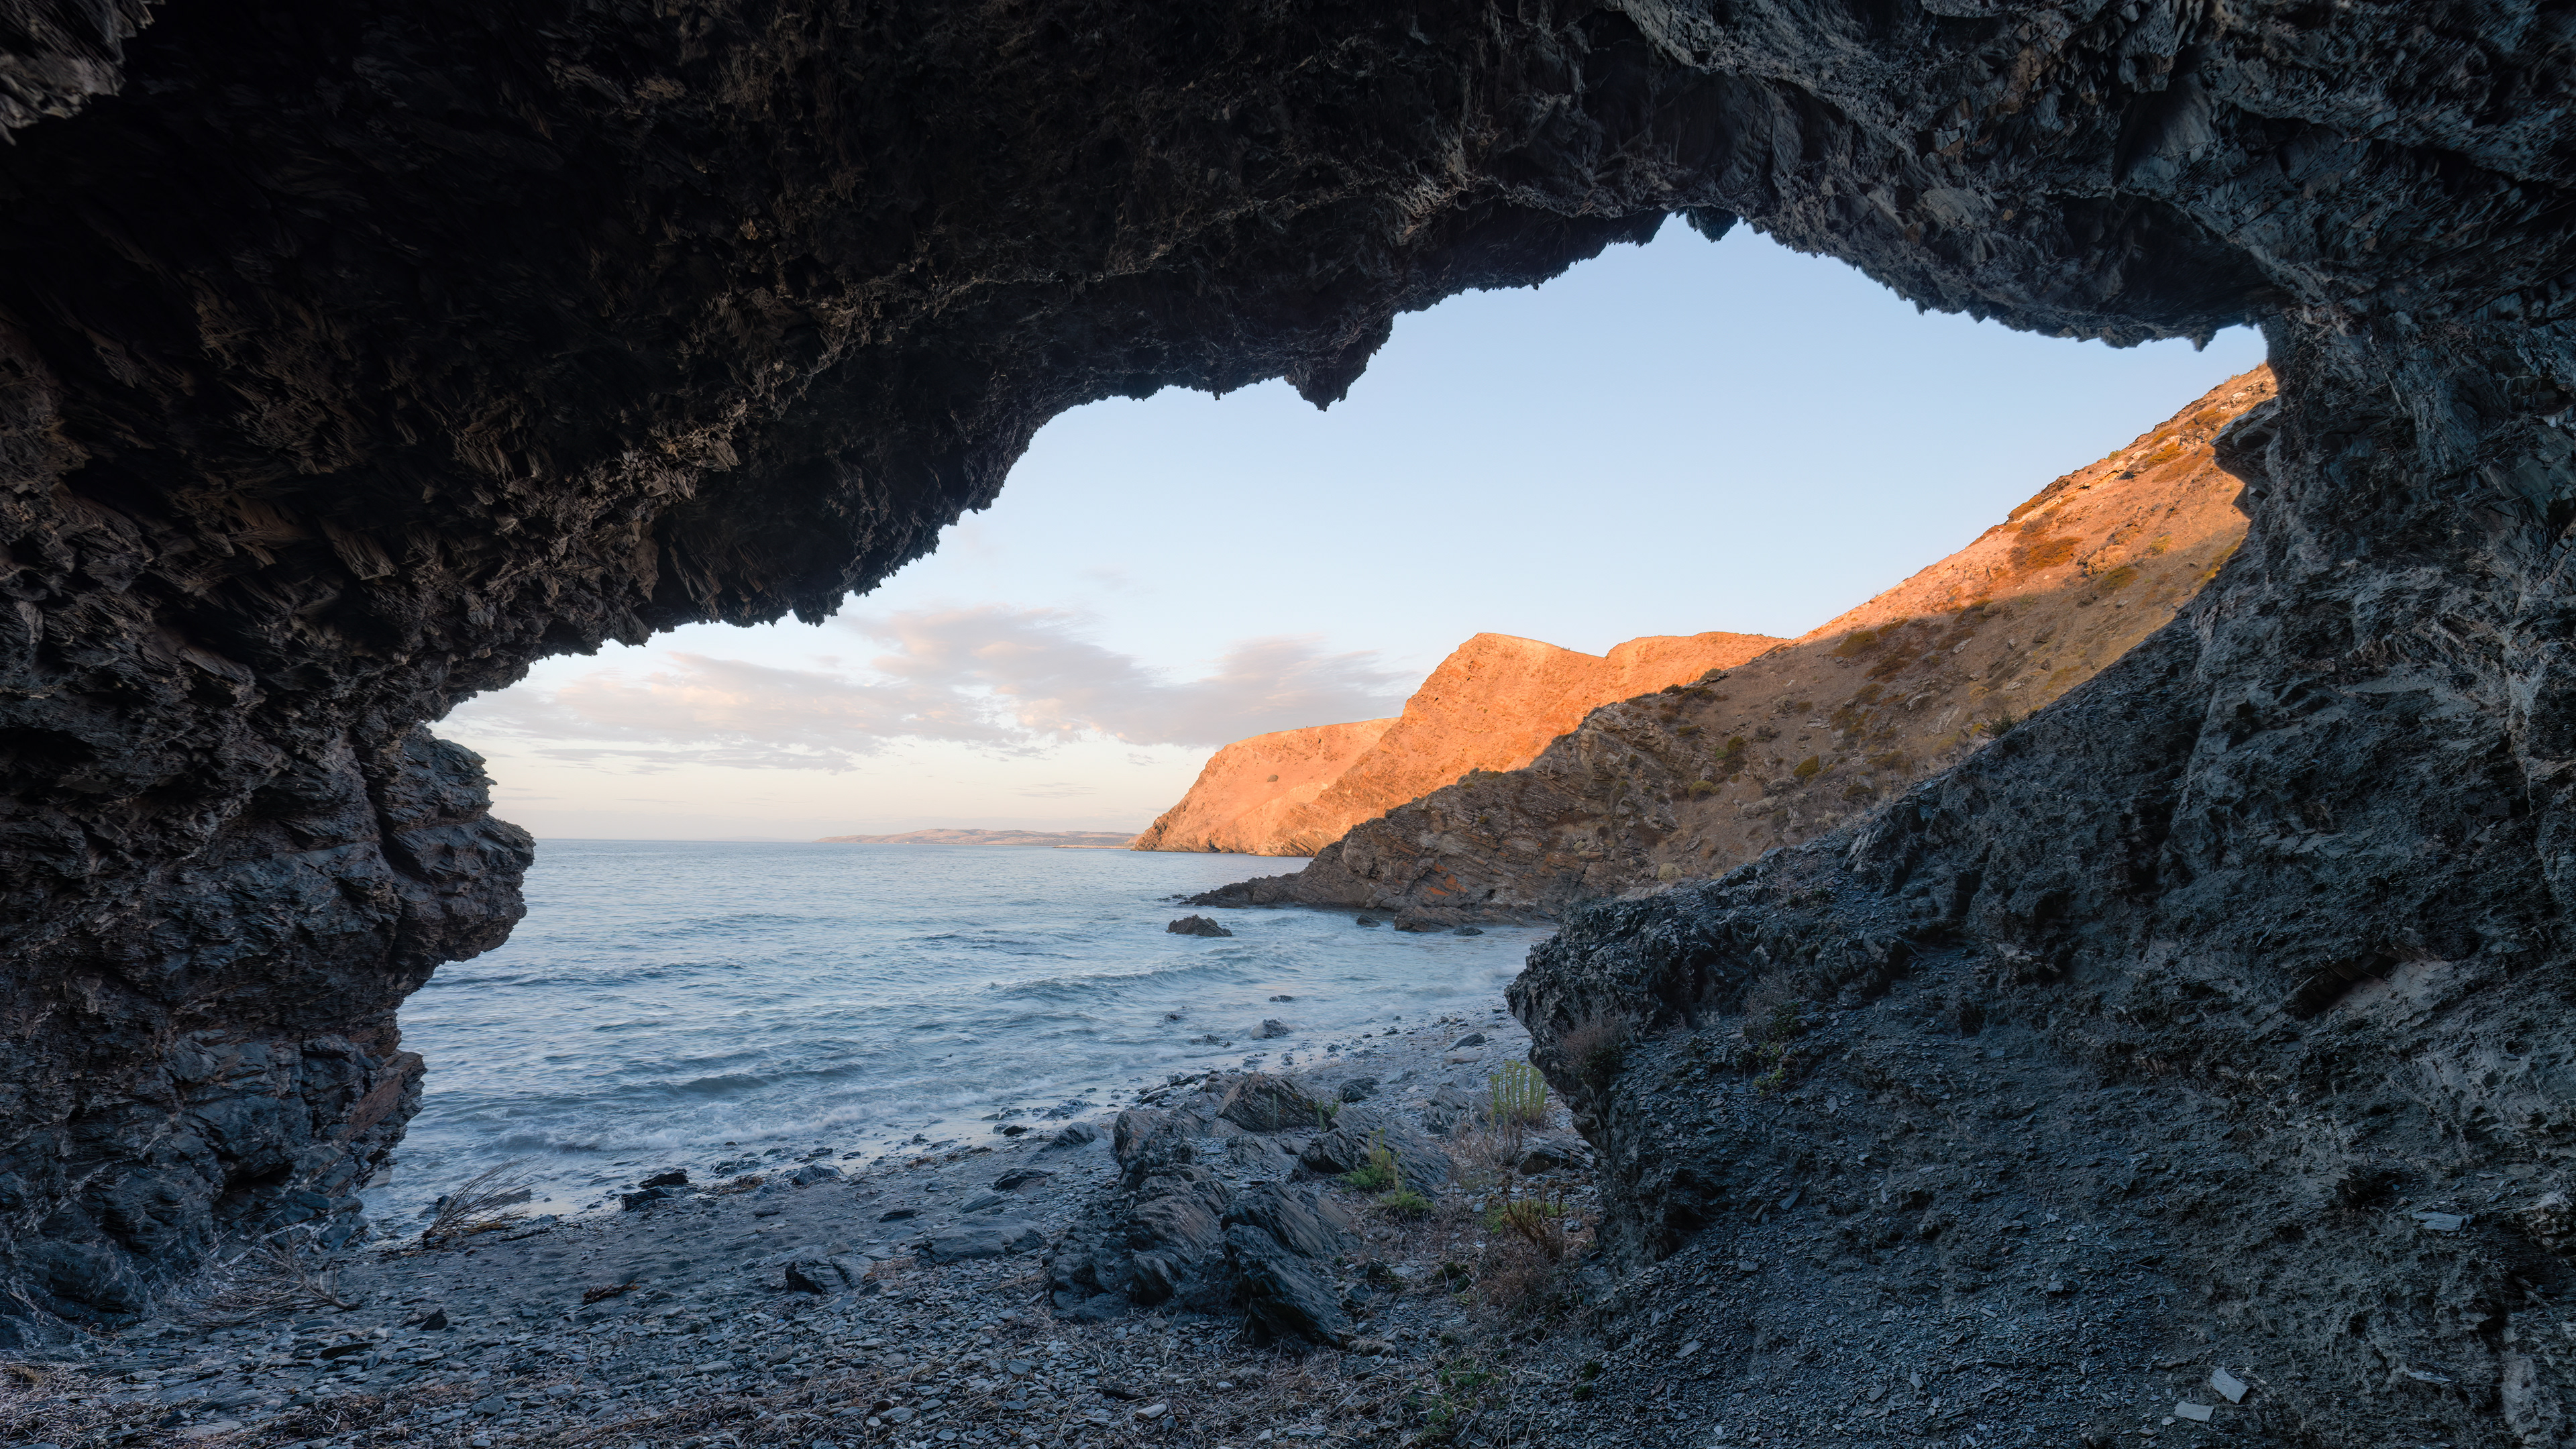
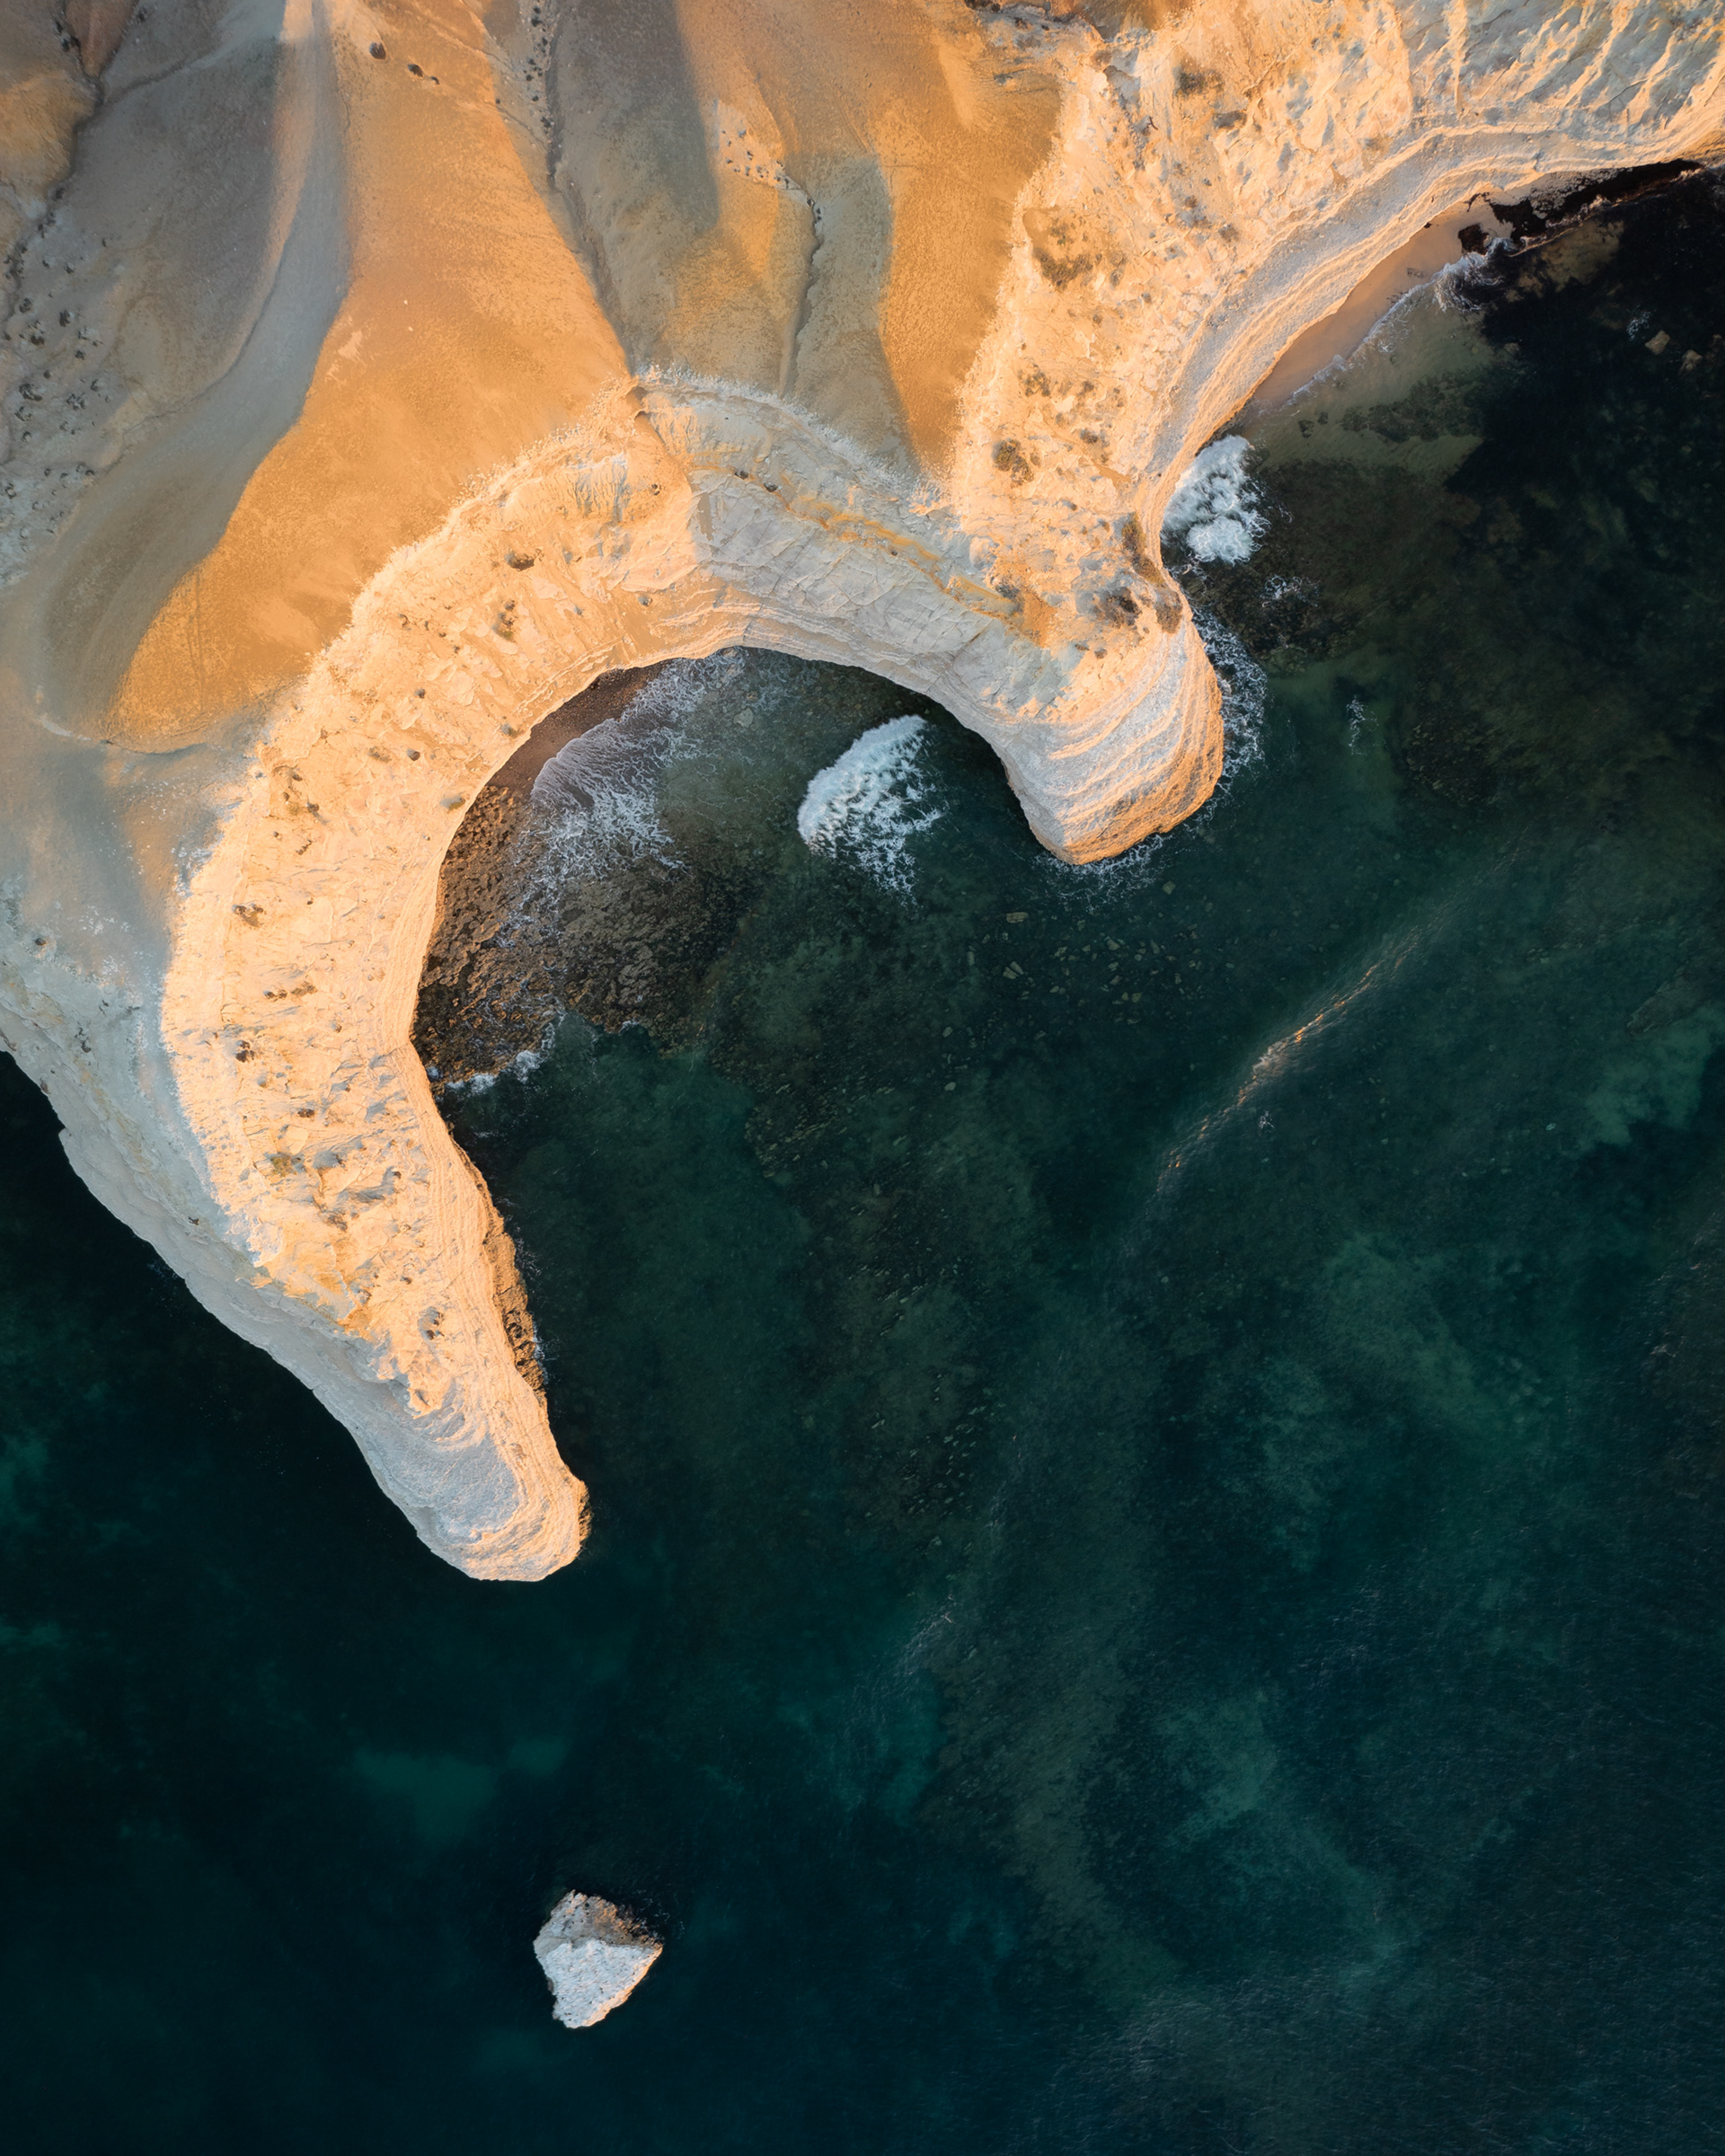
Woolshed Cavern (2:3)
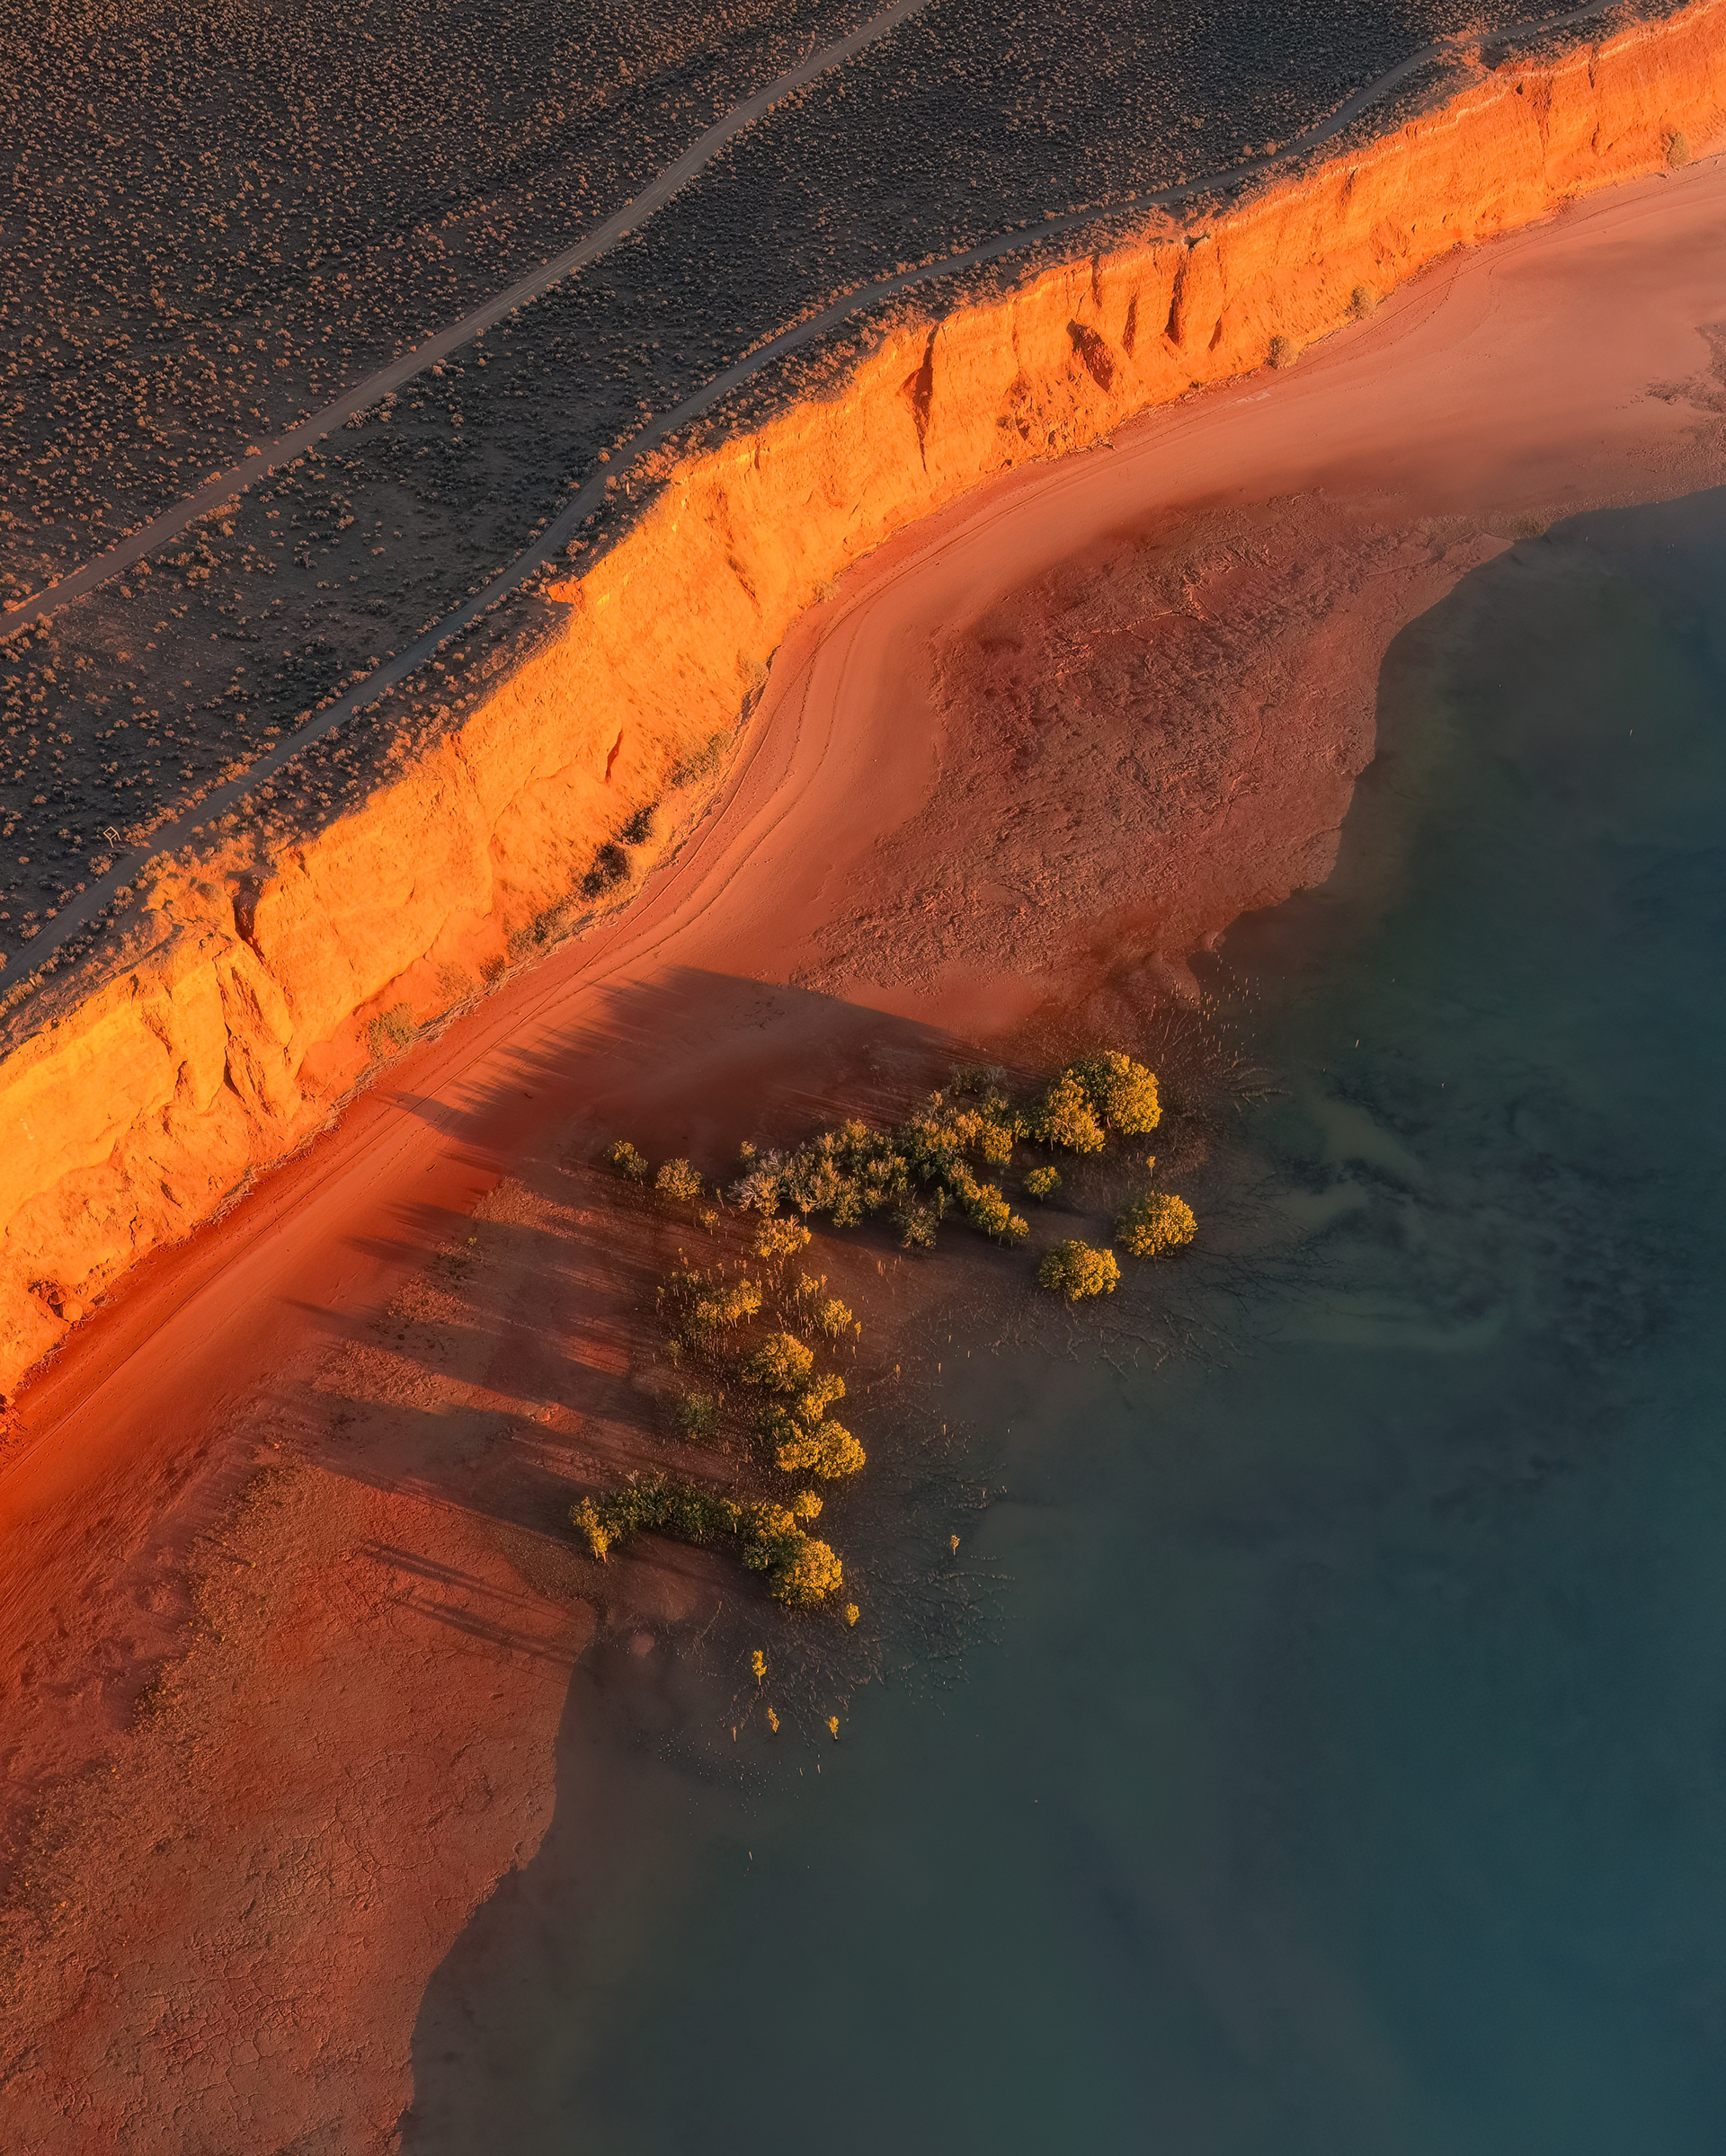
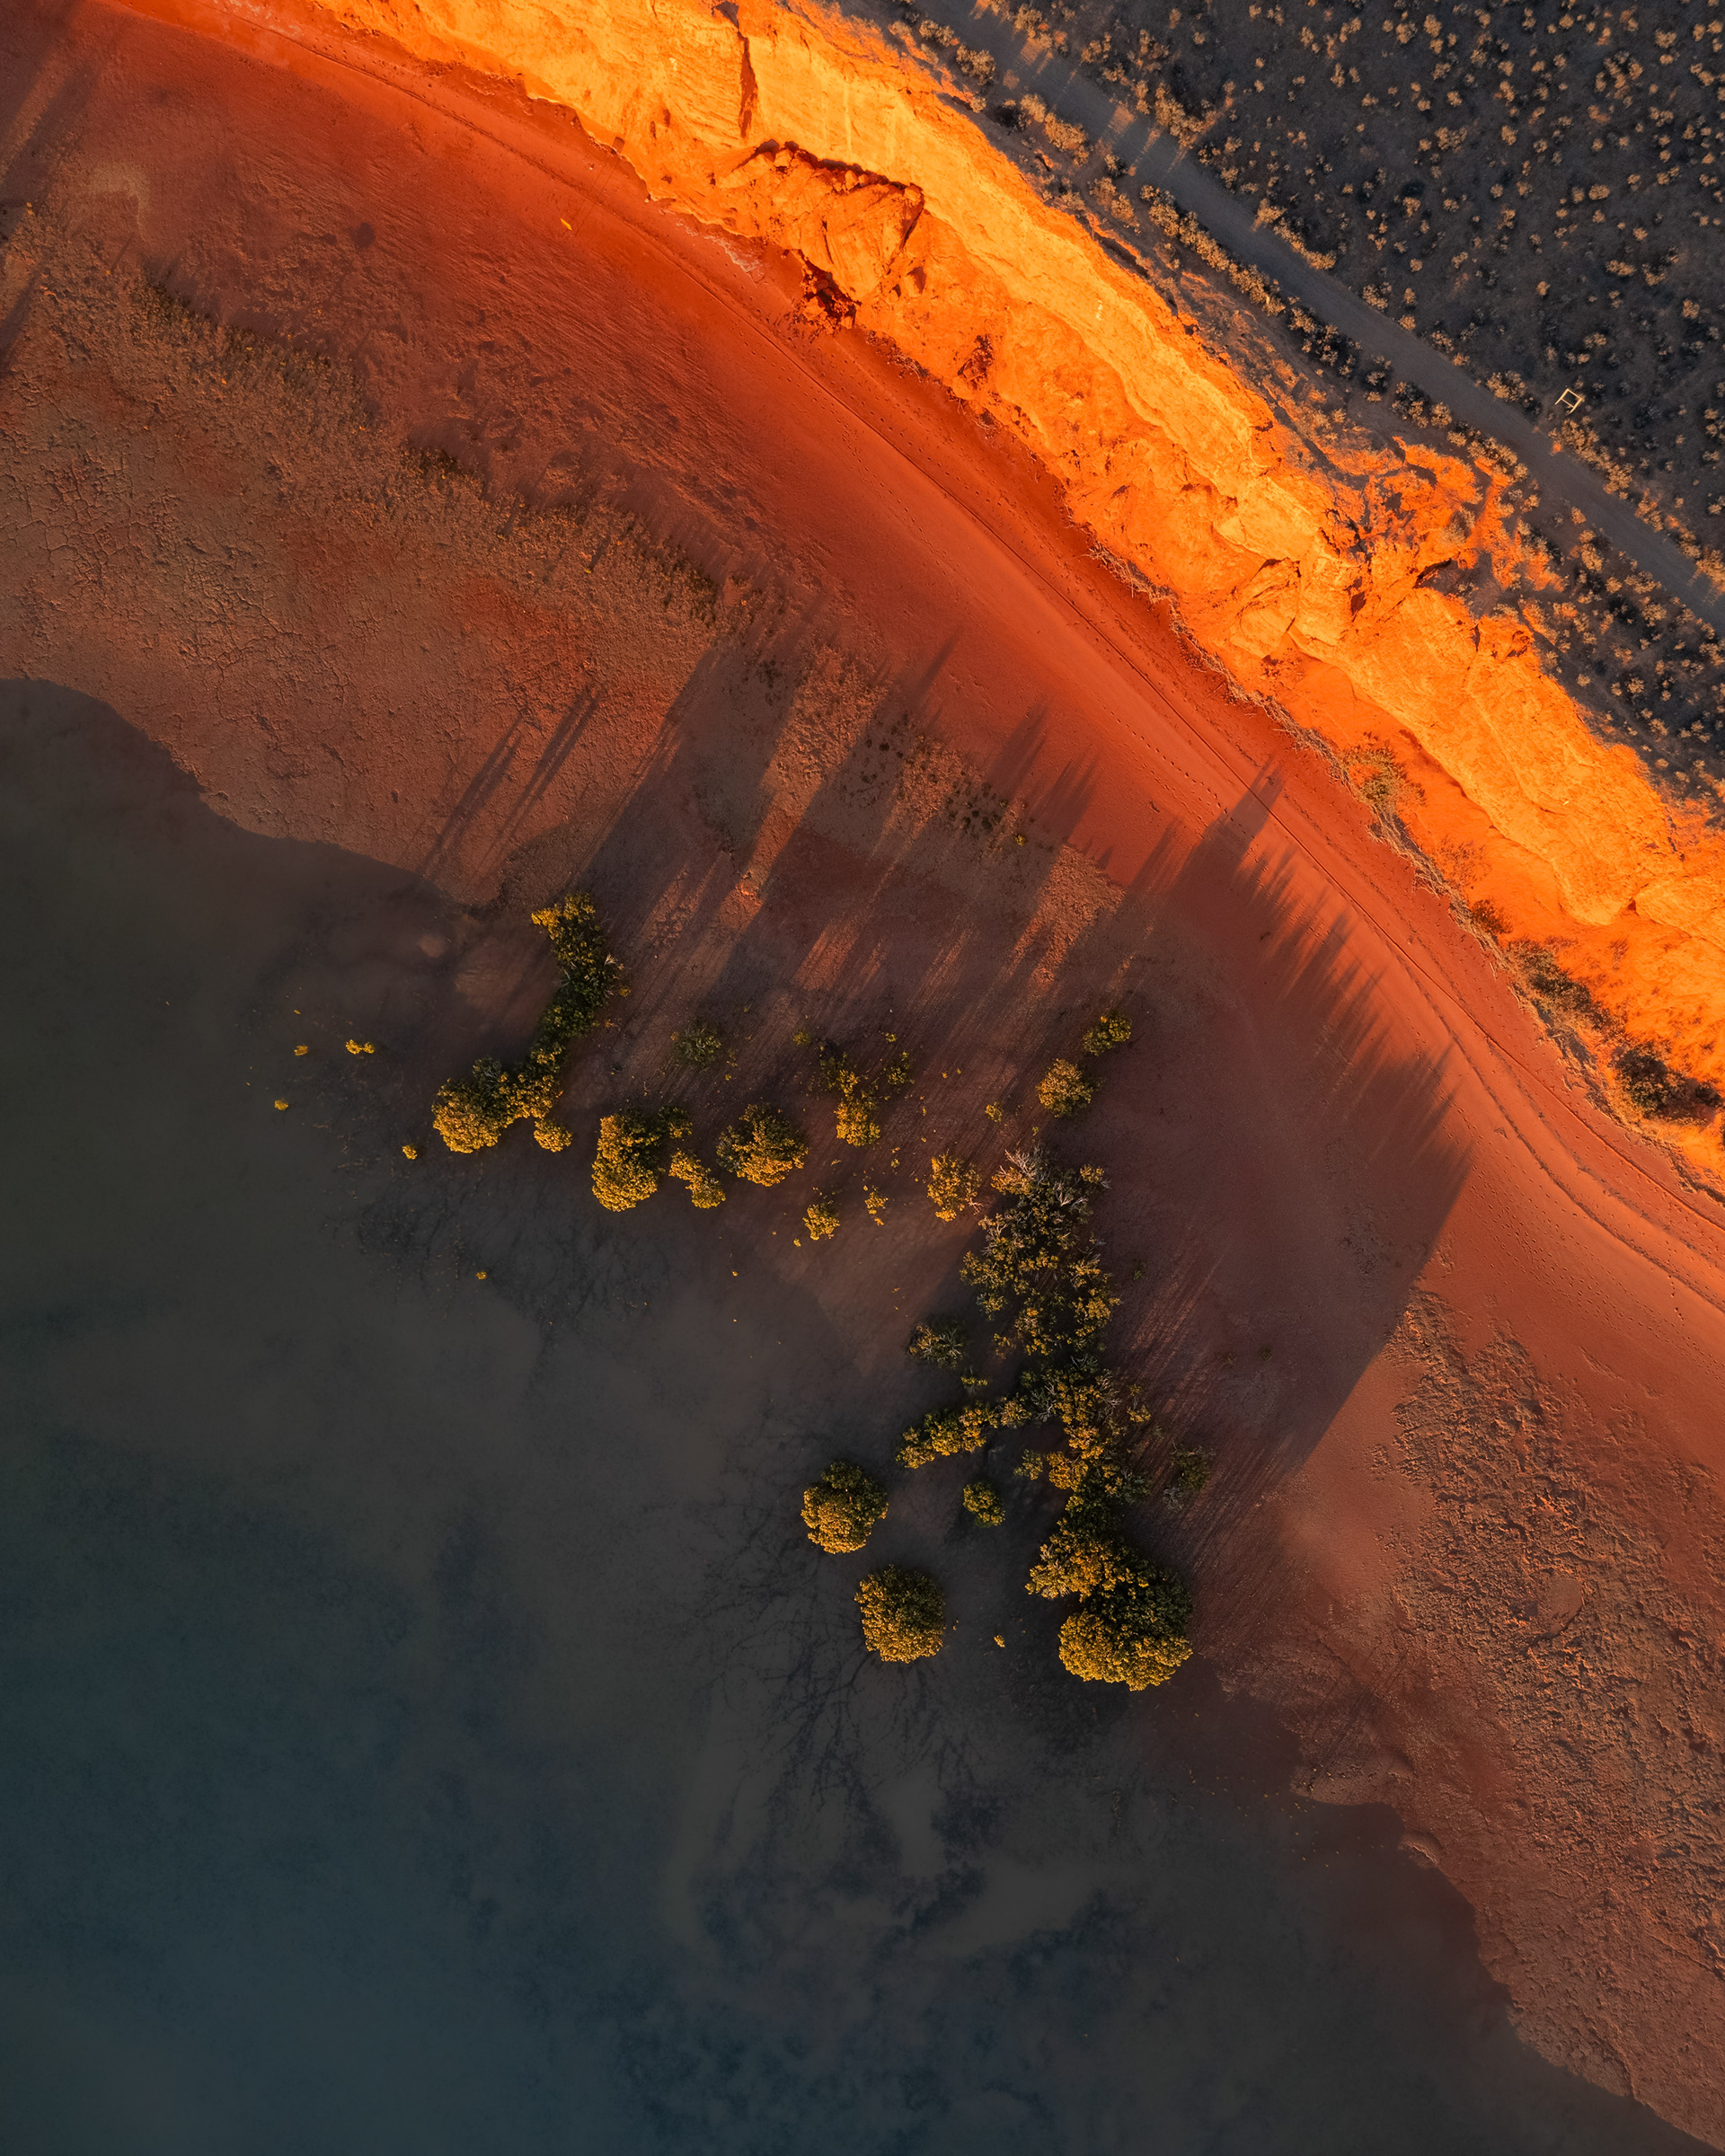
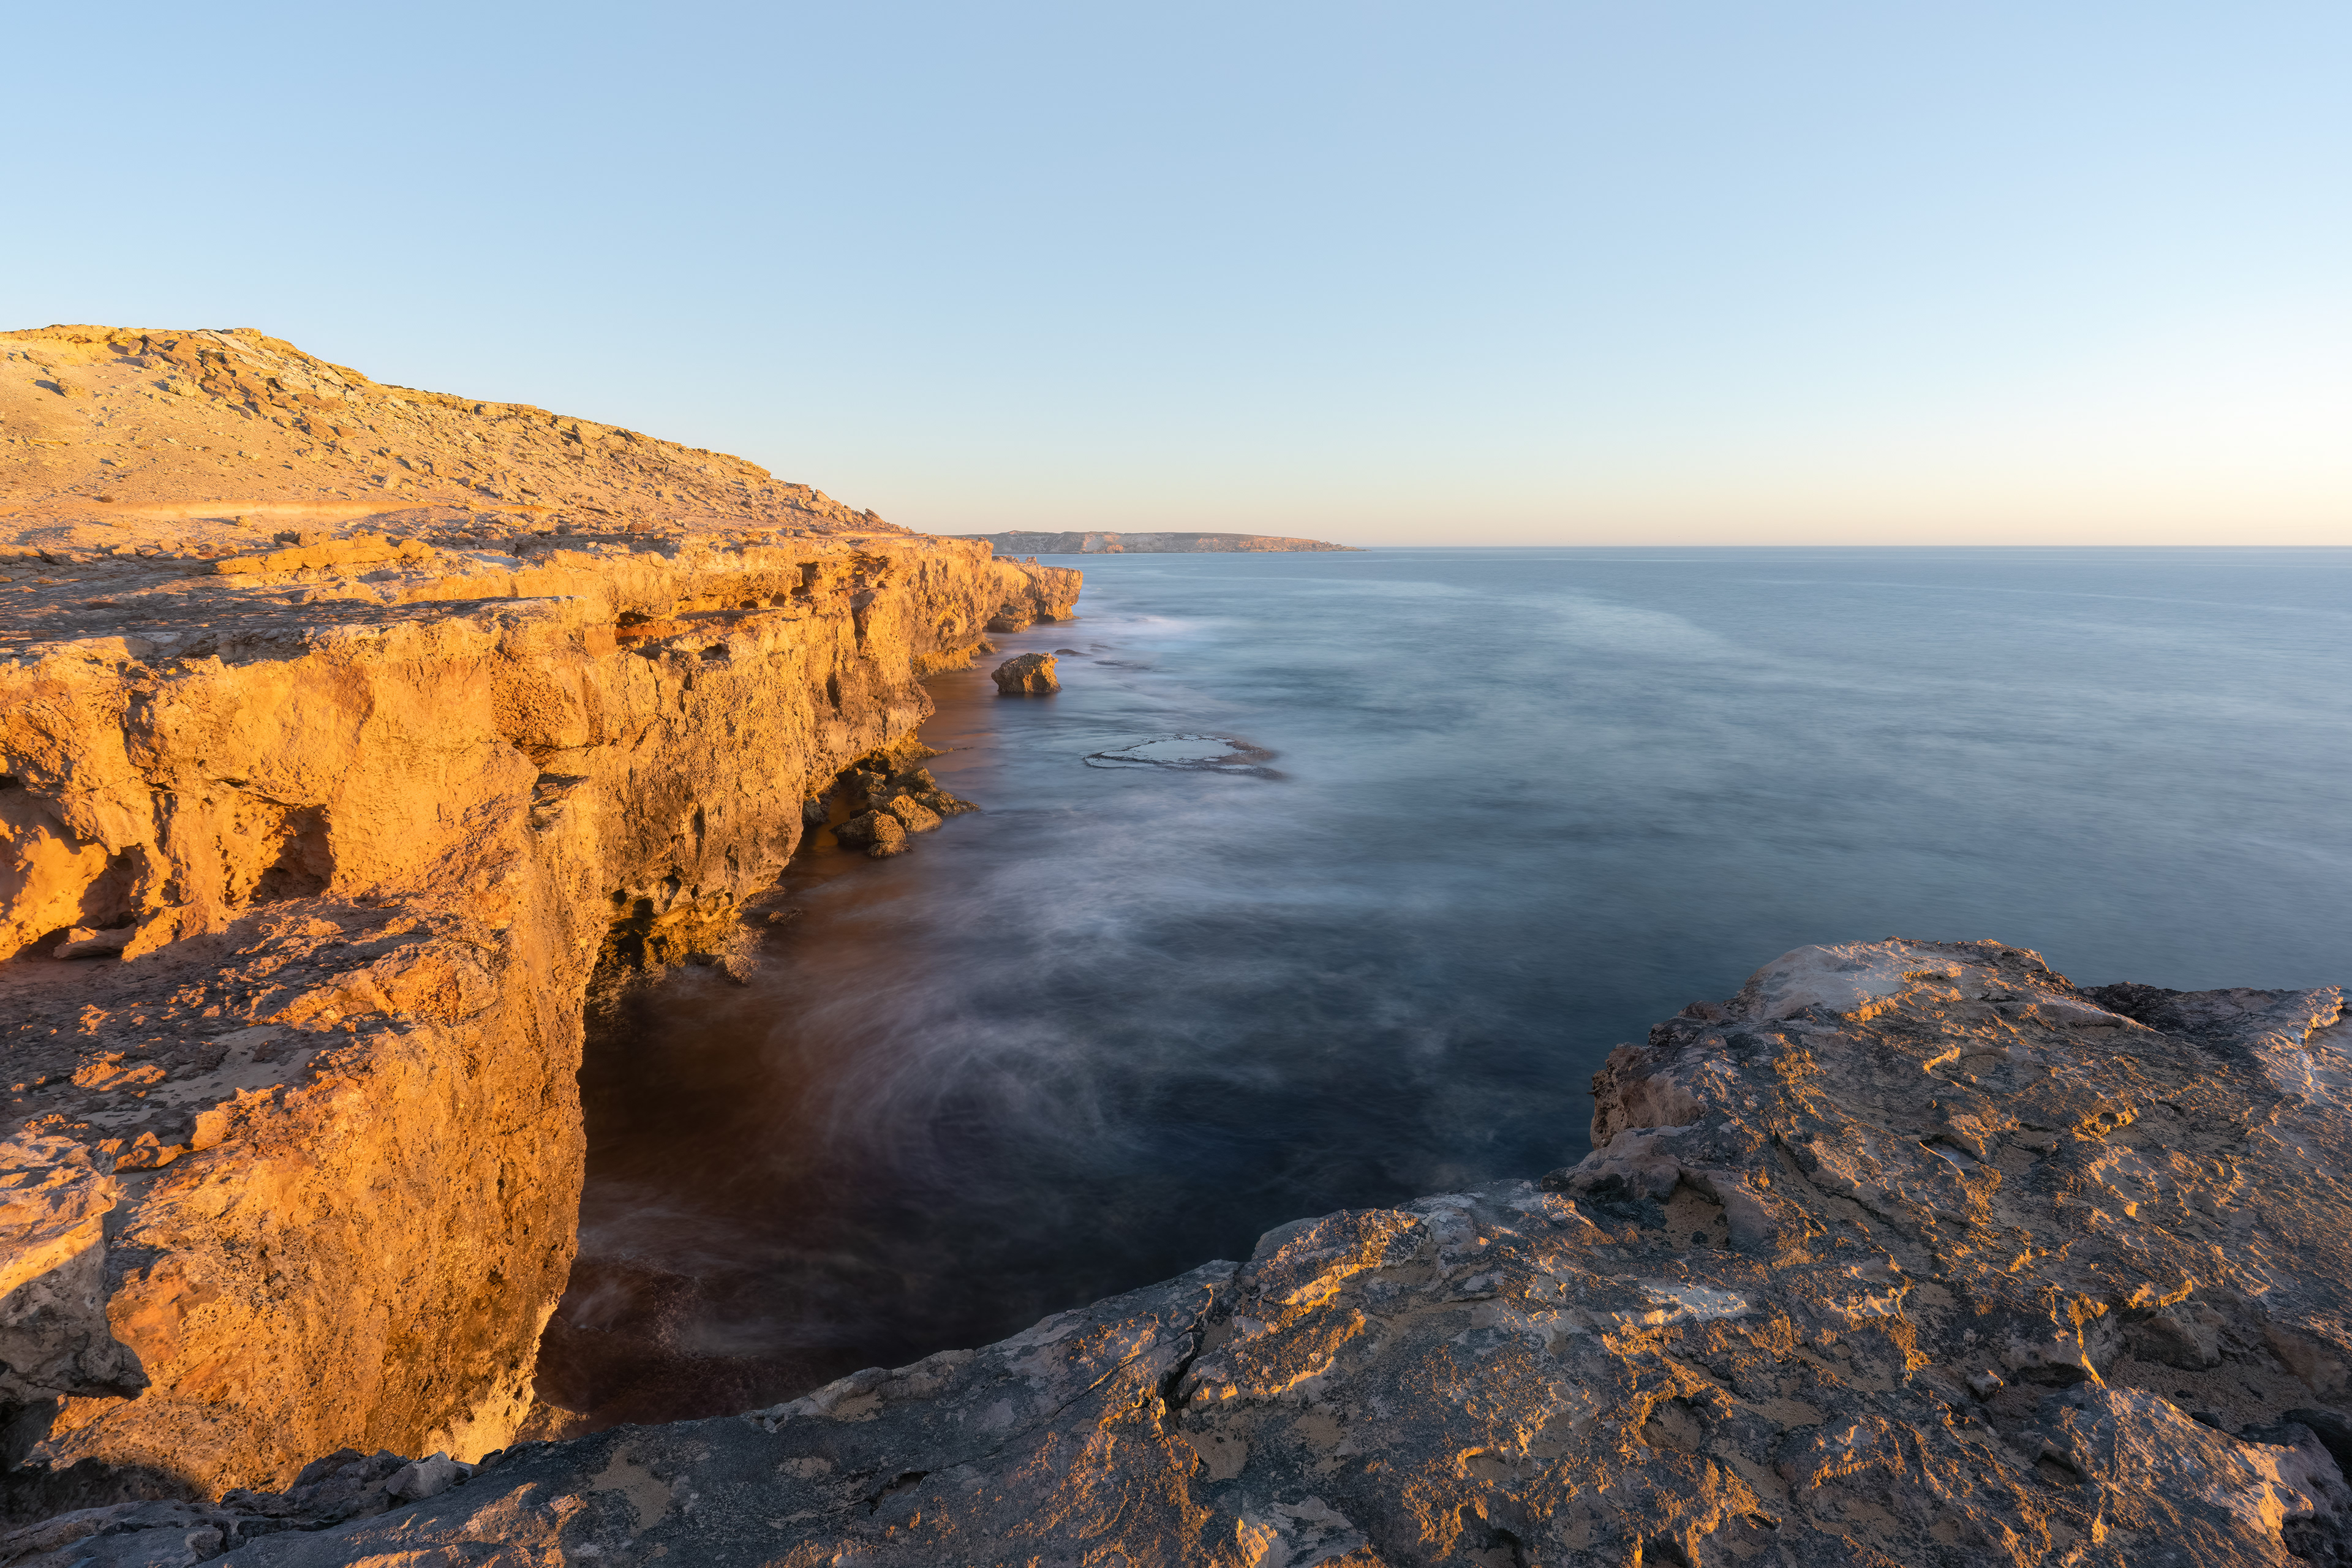
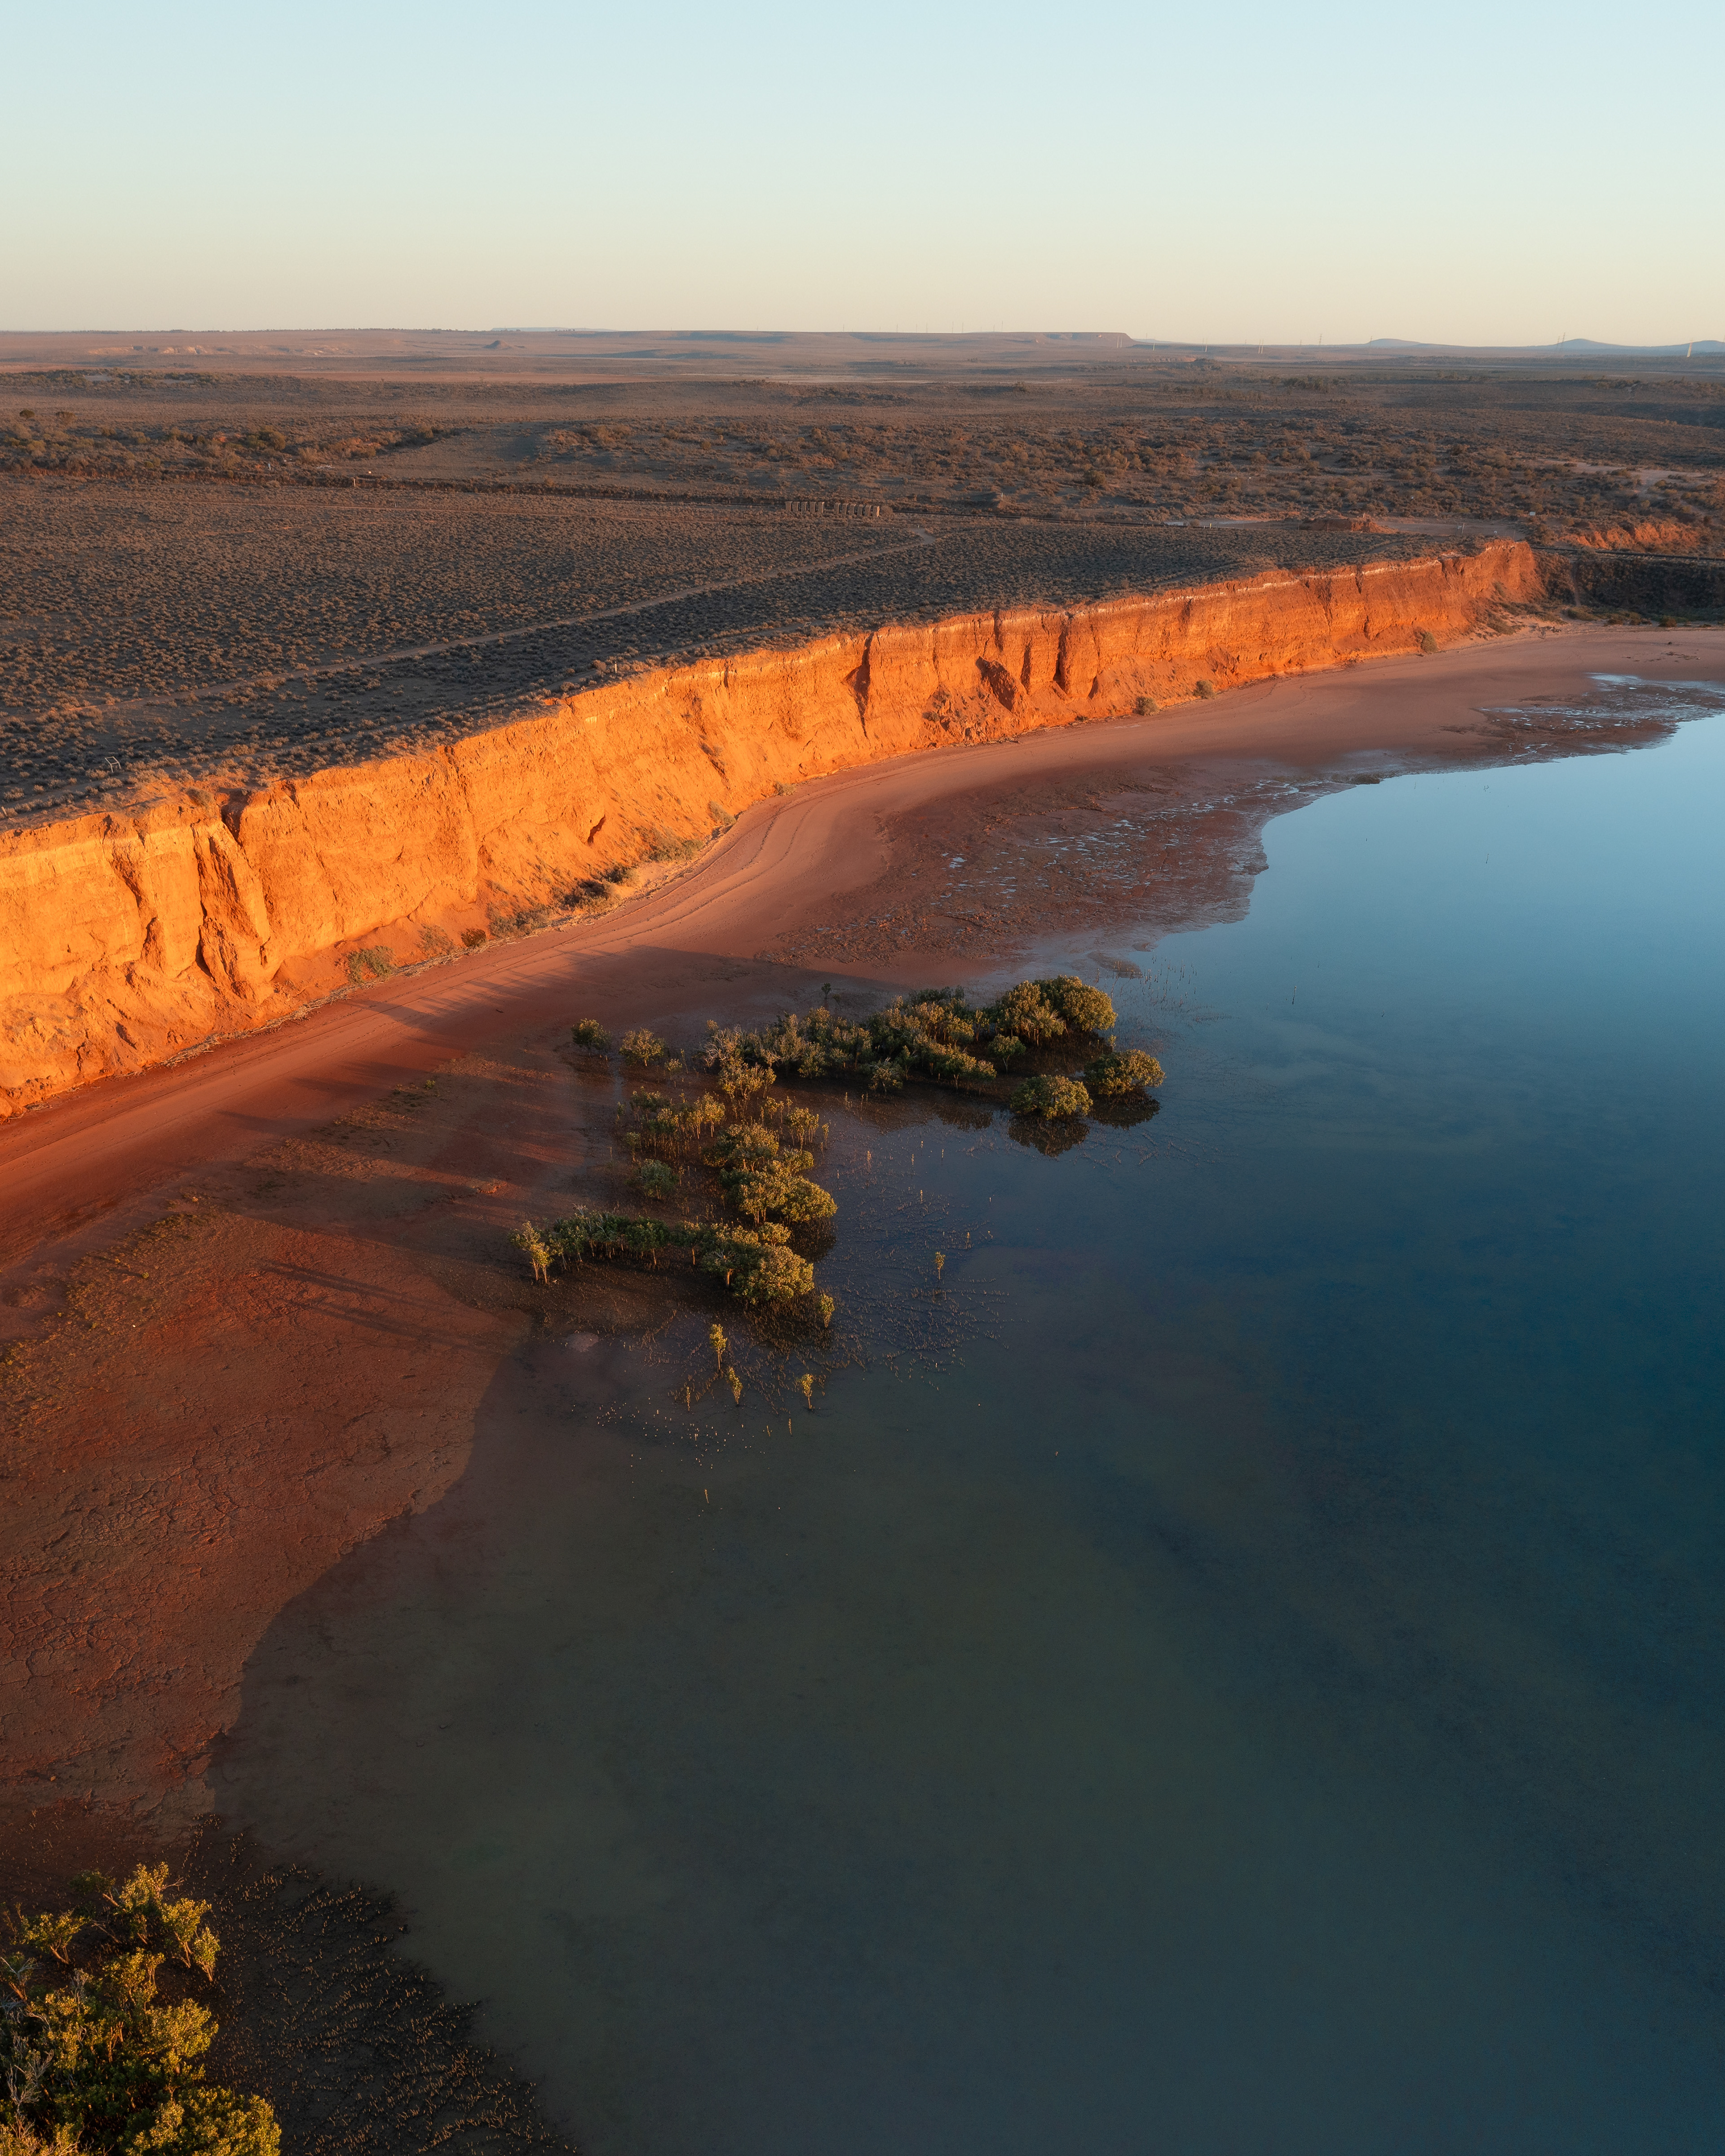
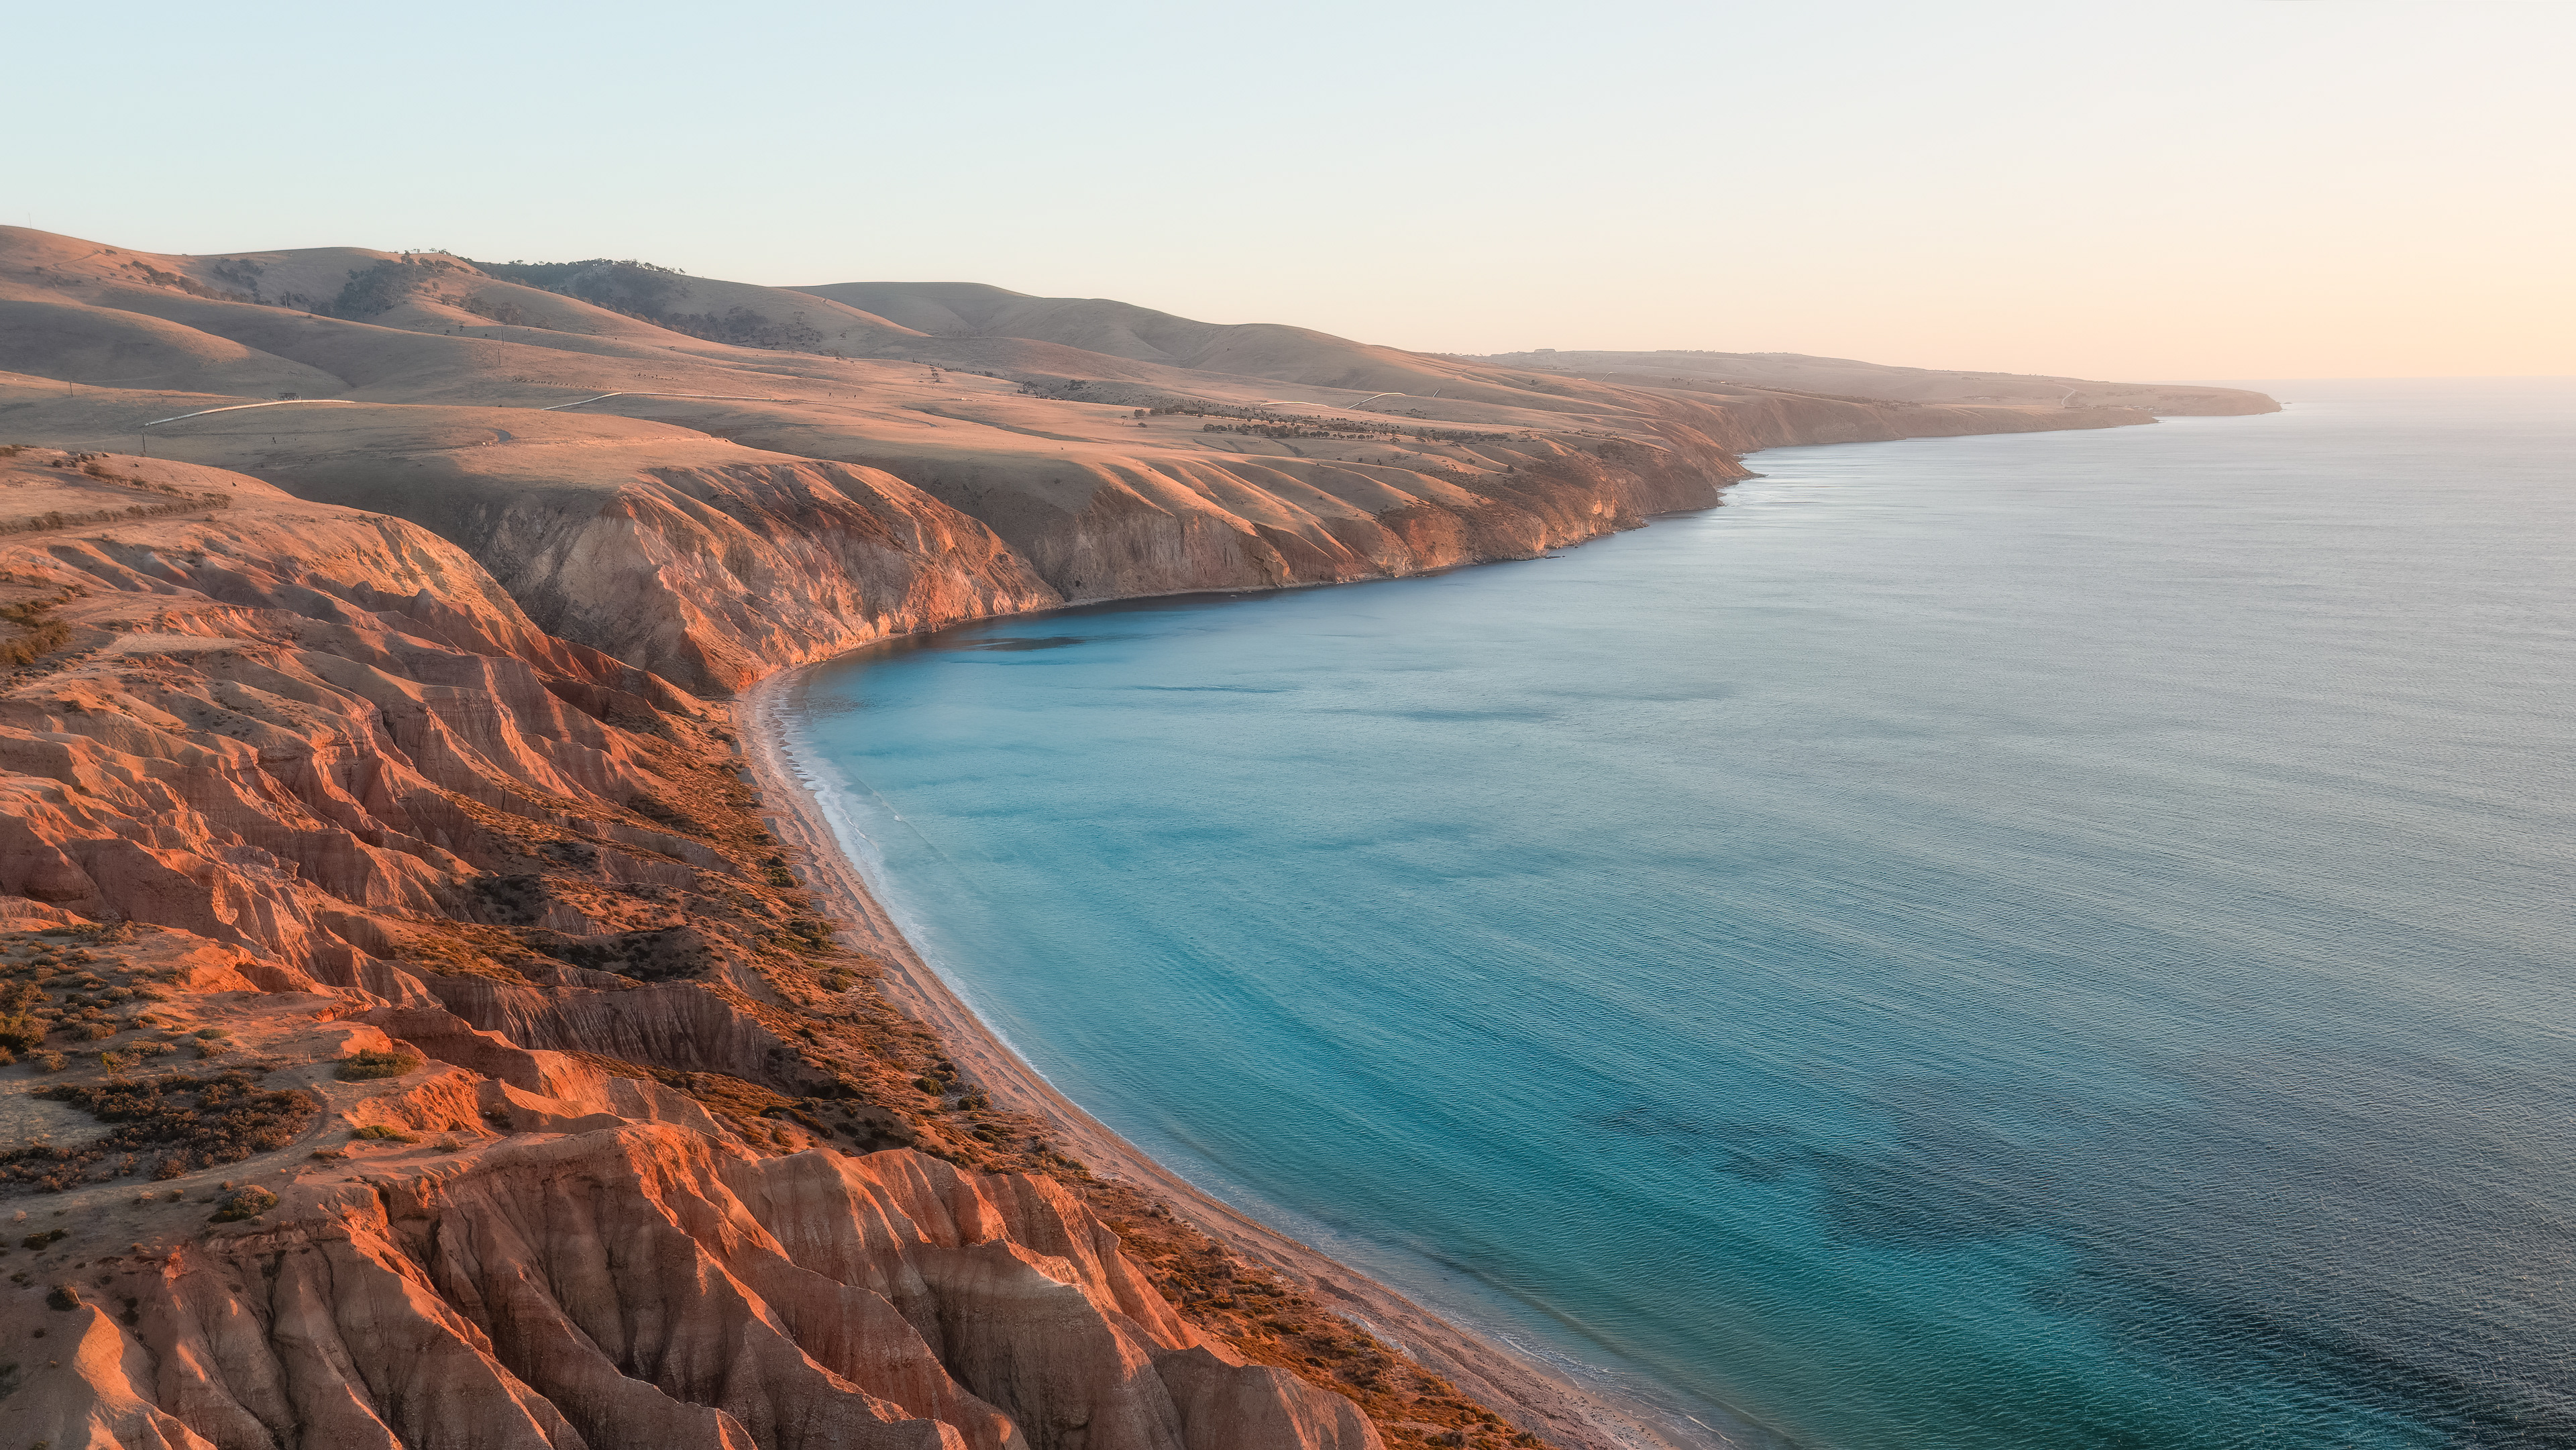
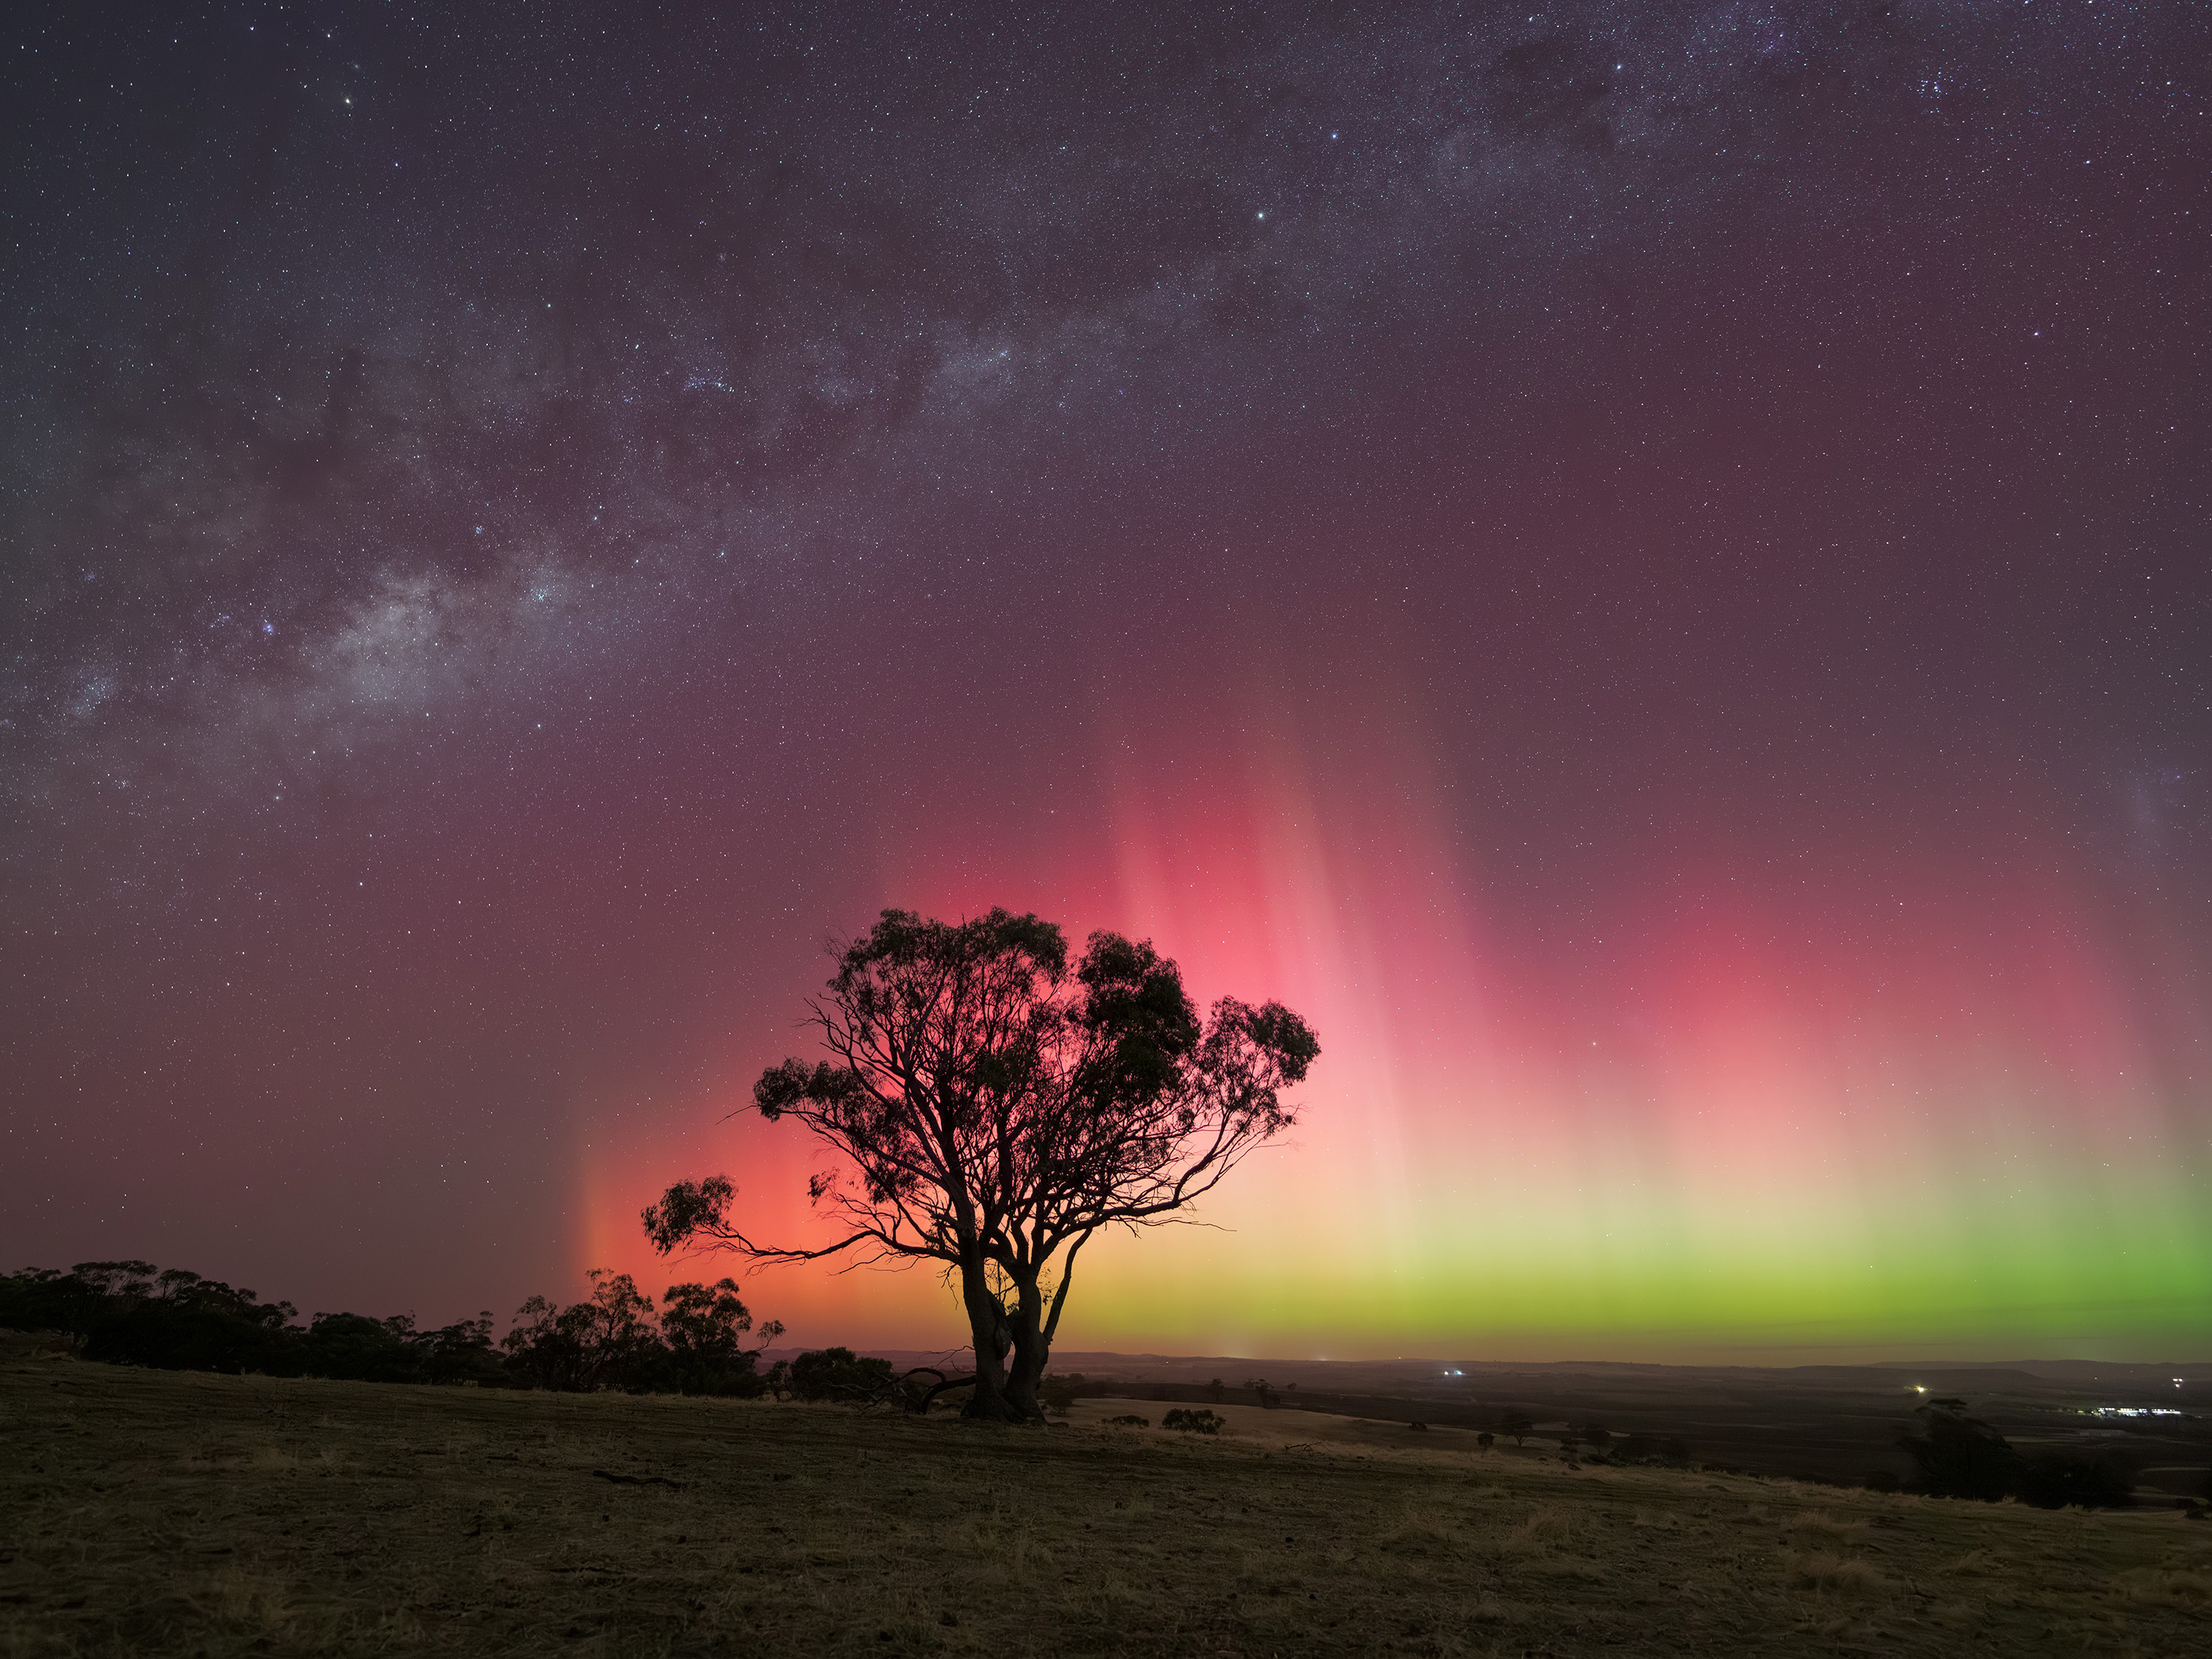
Port Augusta Red Cliffs 01 (4:5)
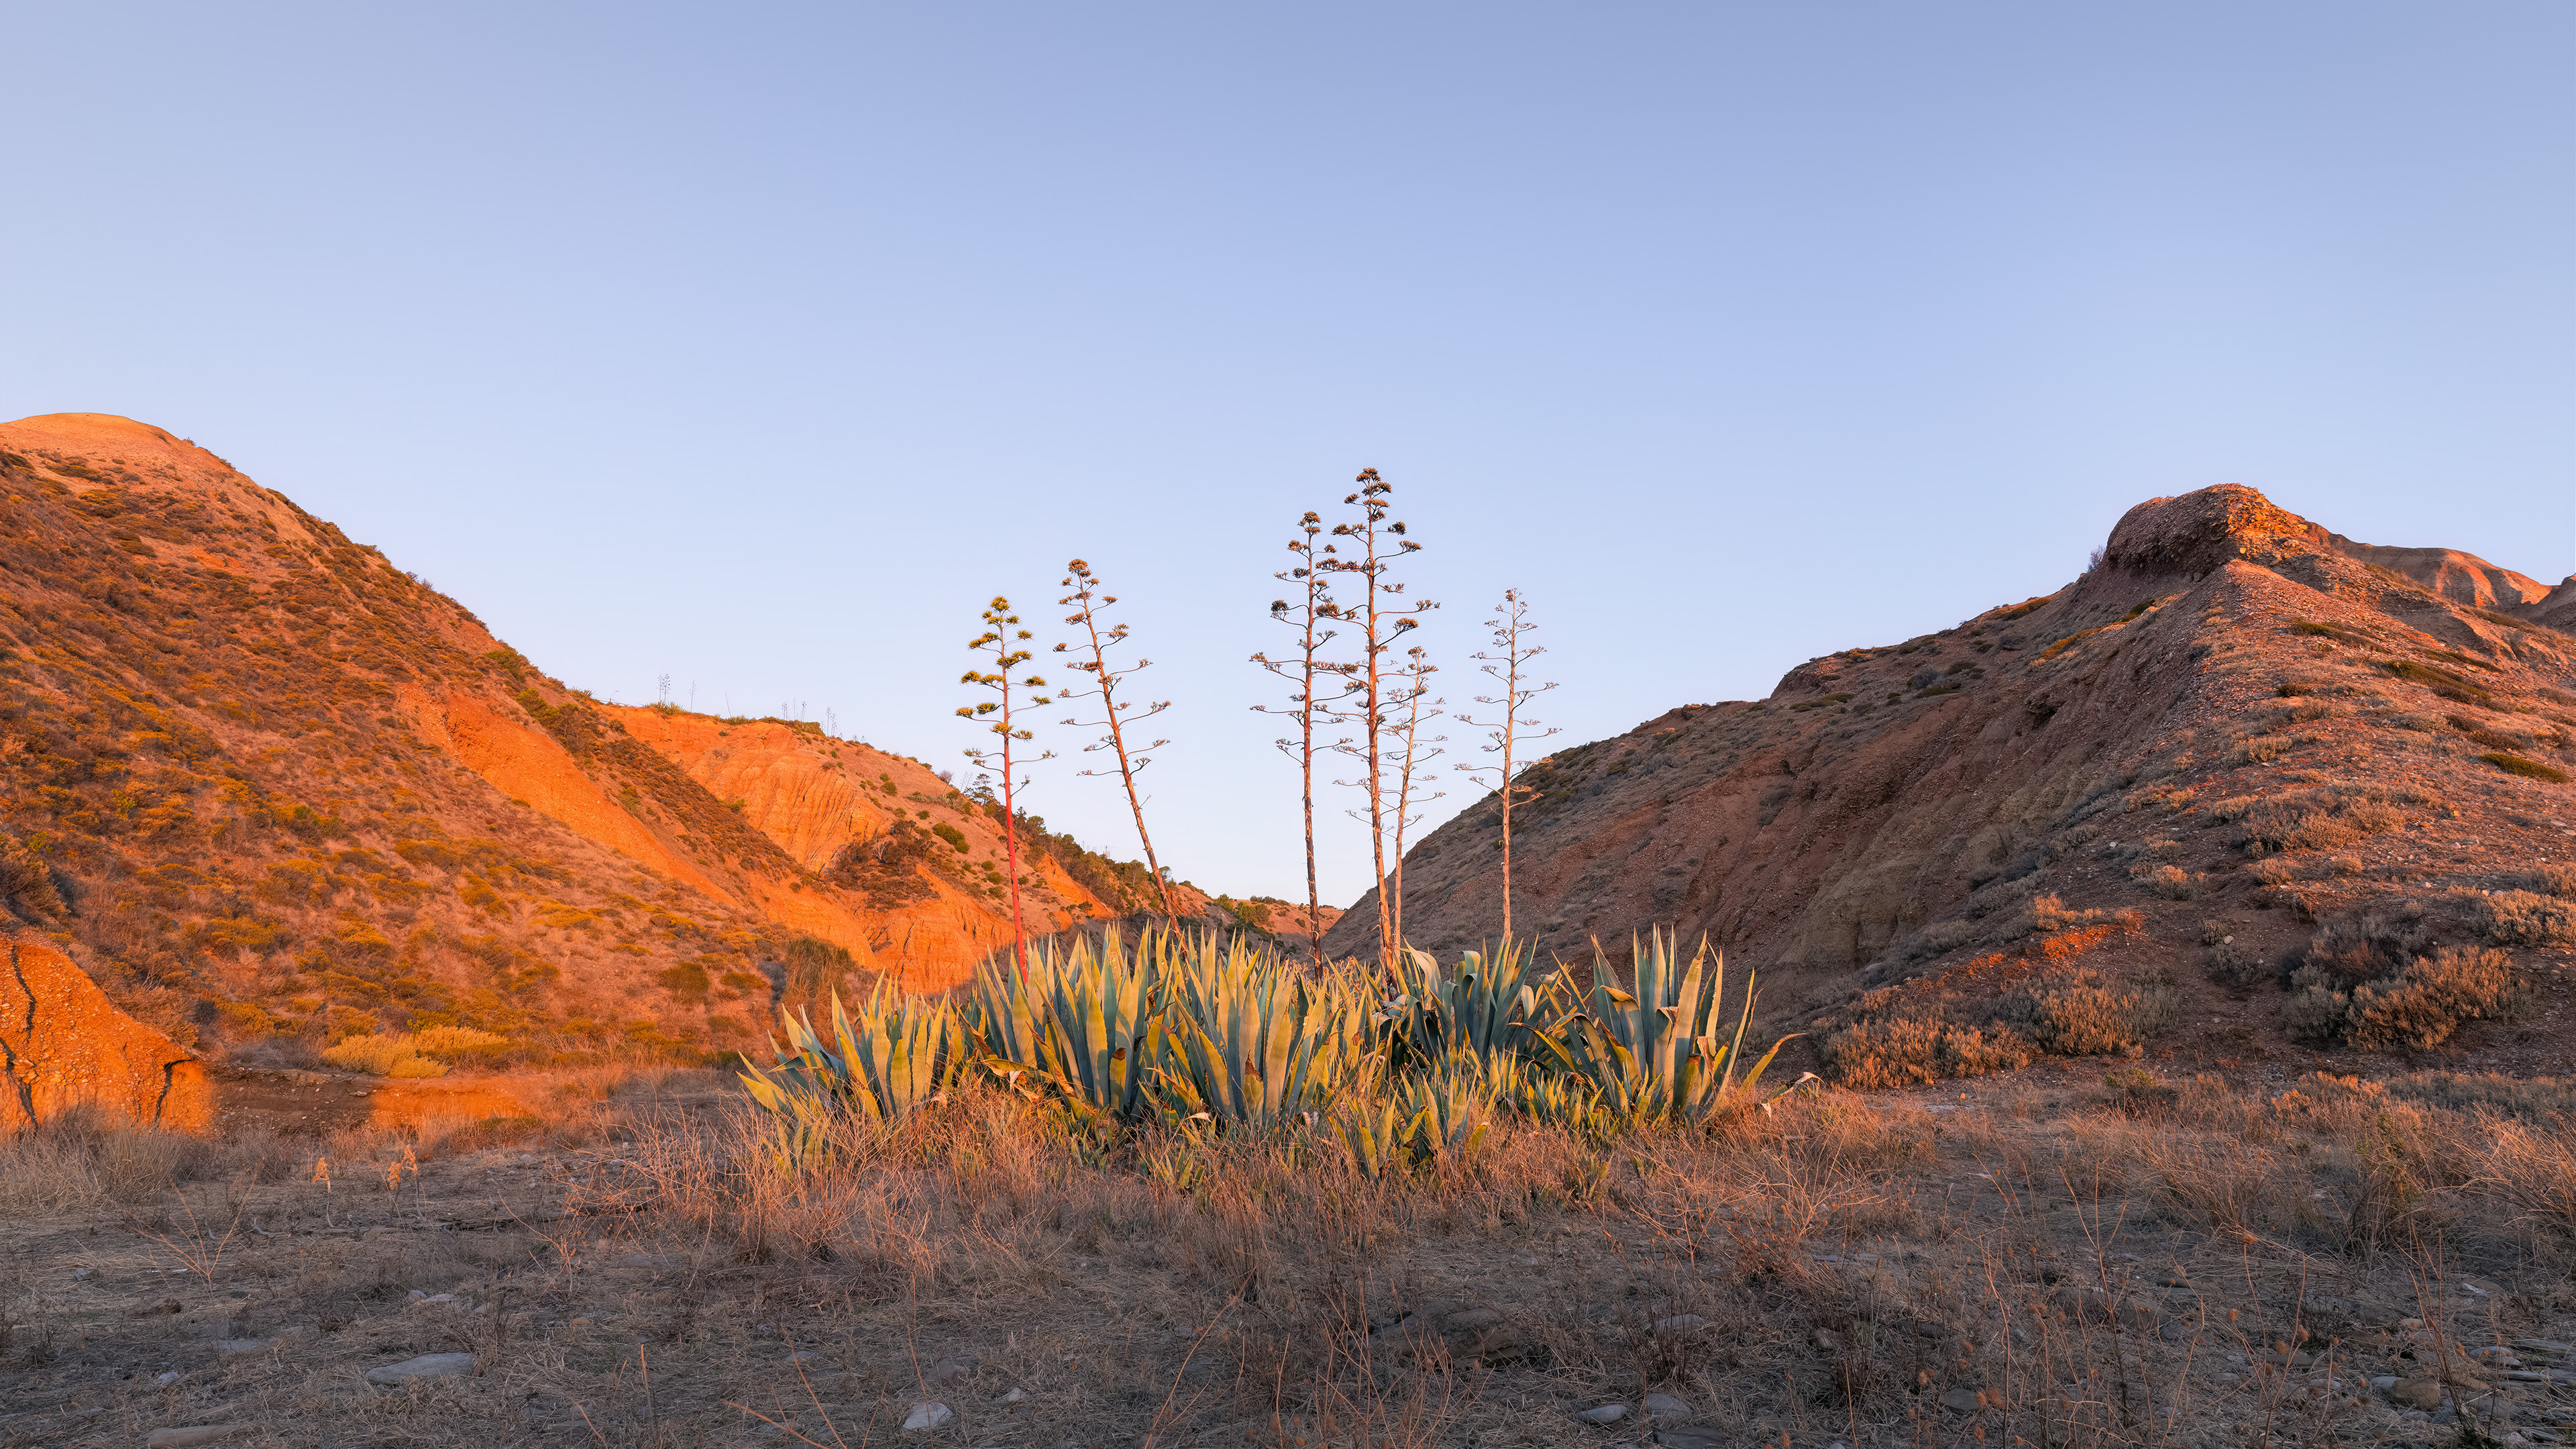
Cactus Canyon 01 (16:9/1:2)
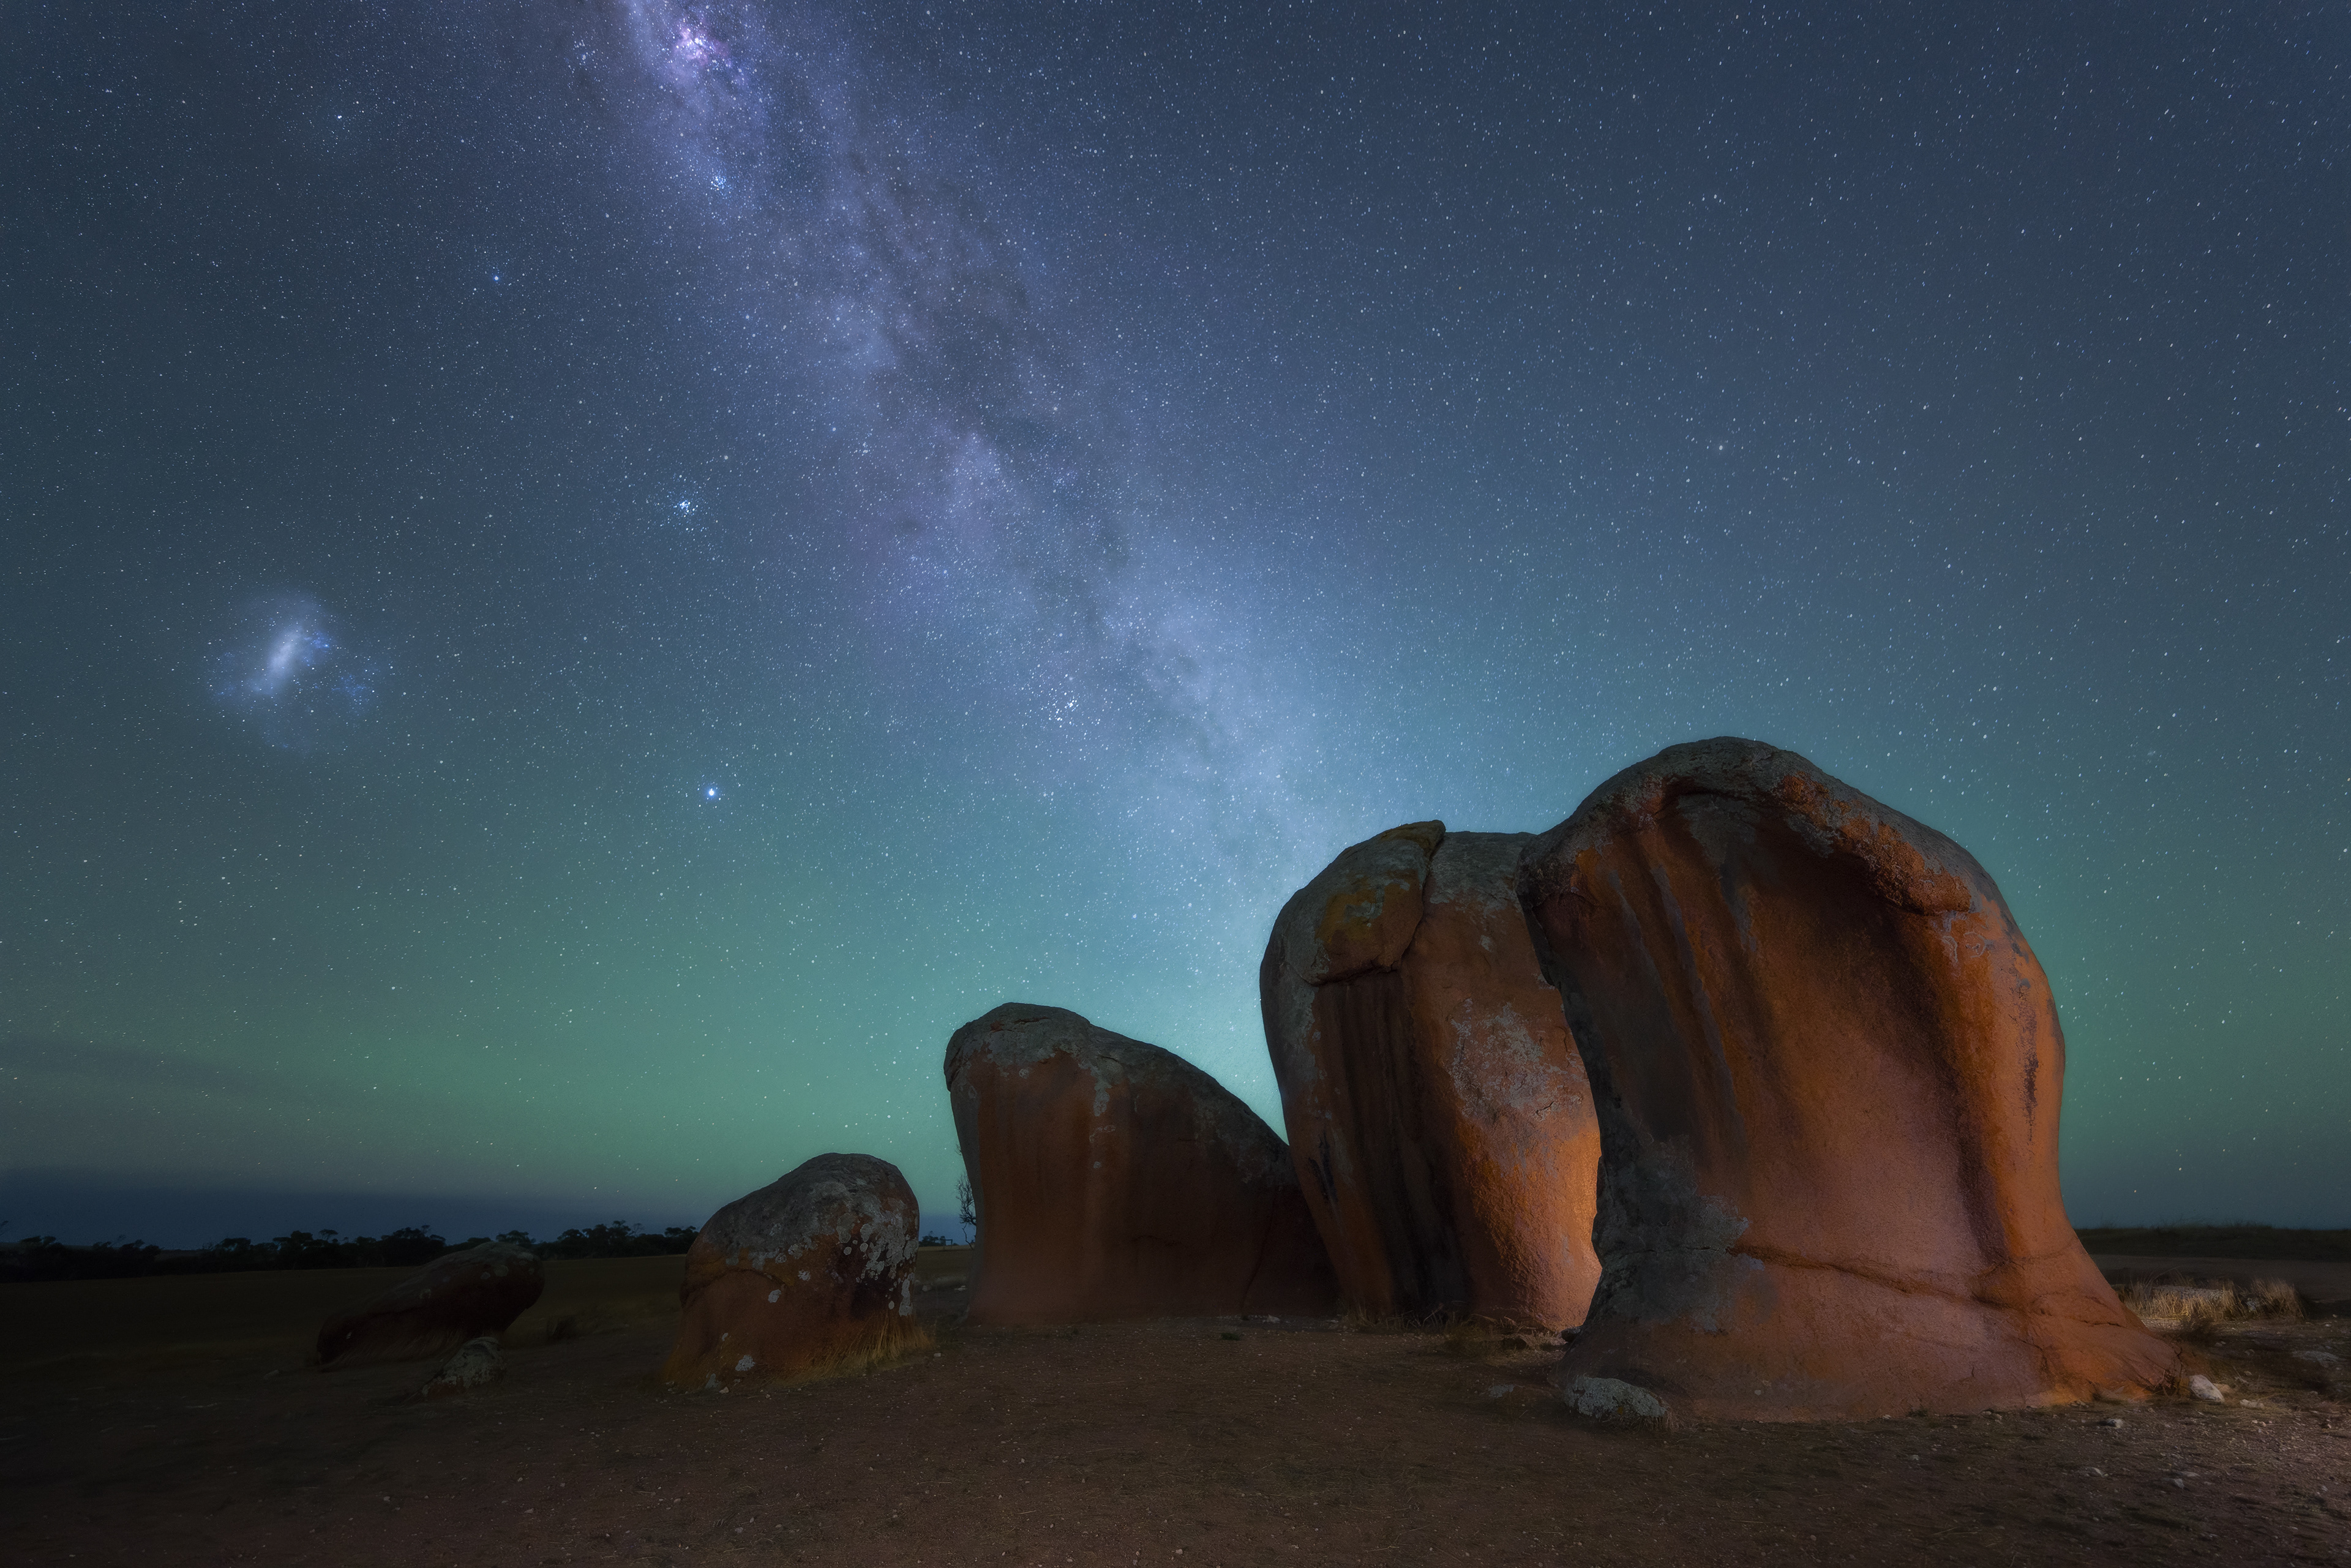
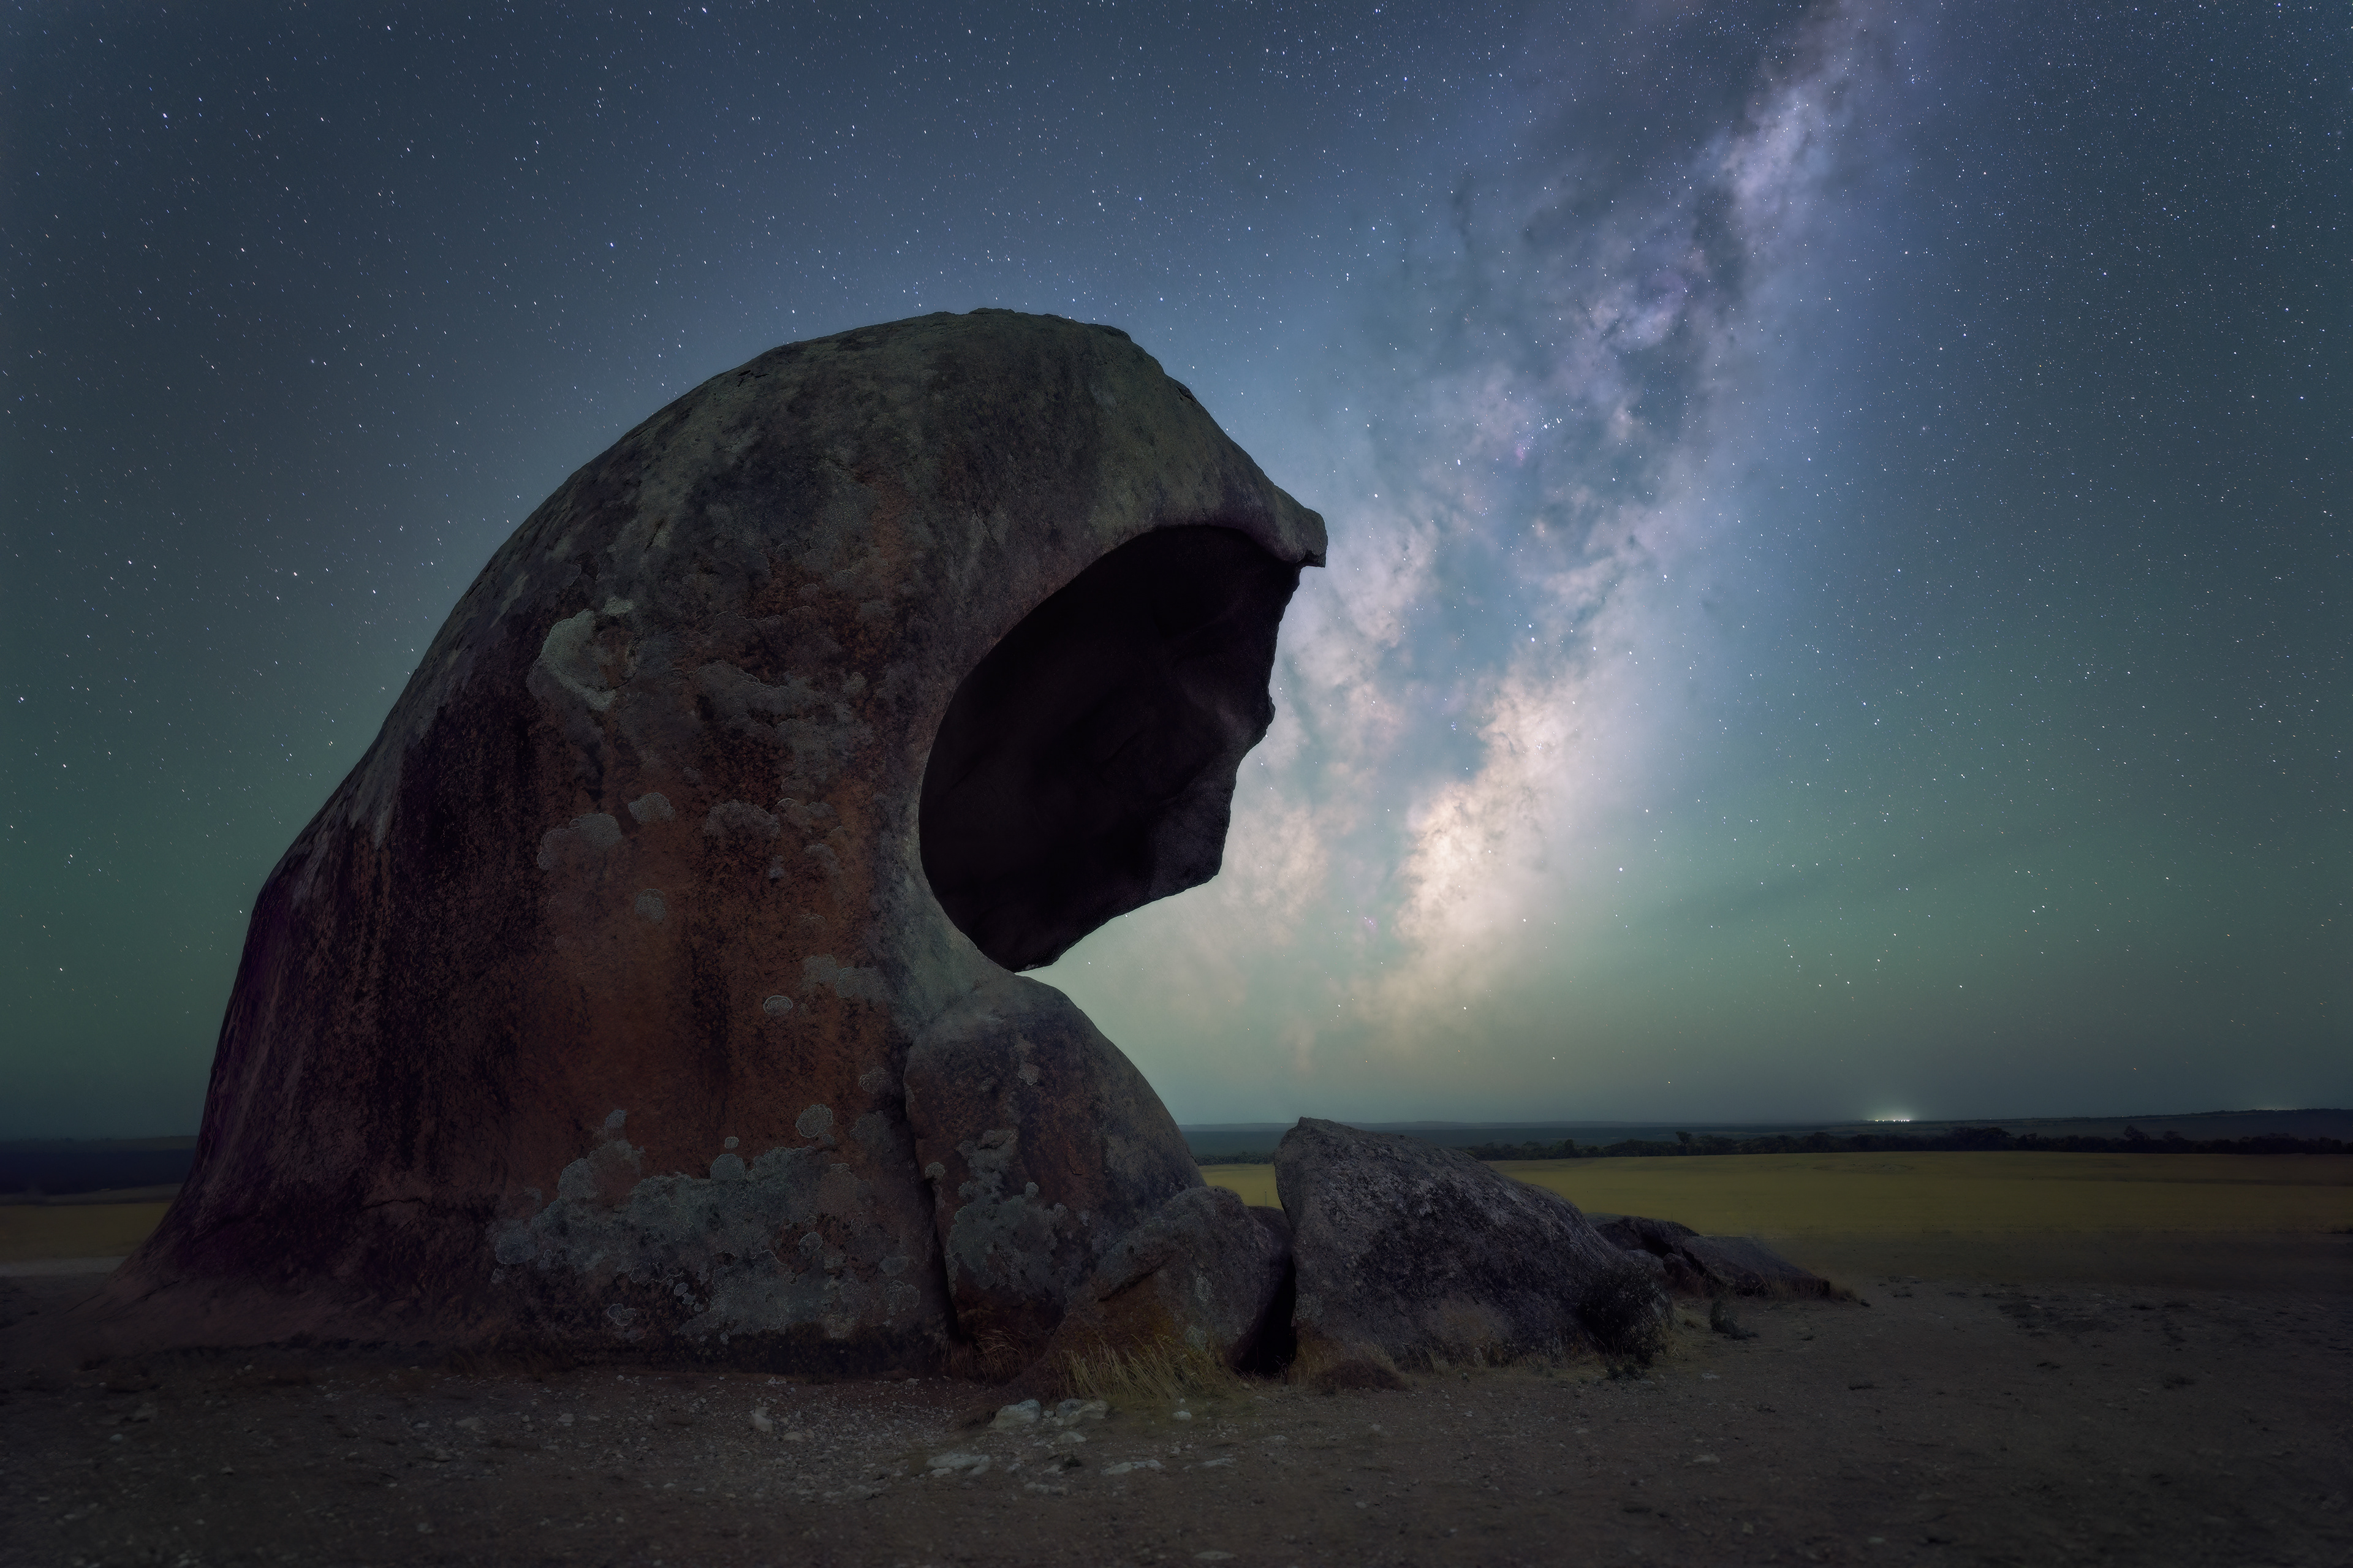
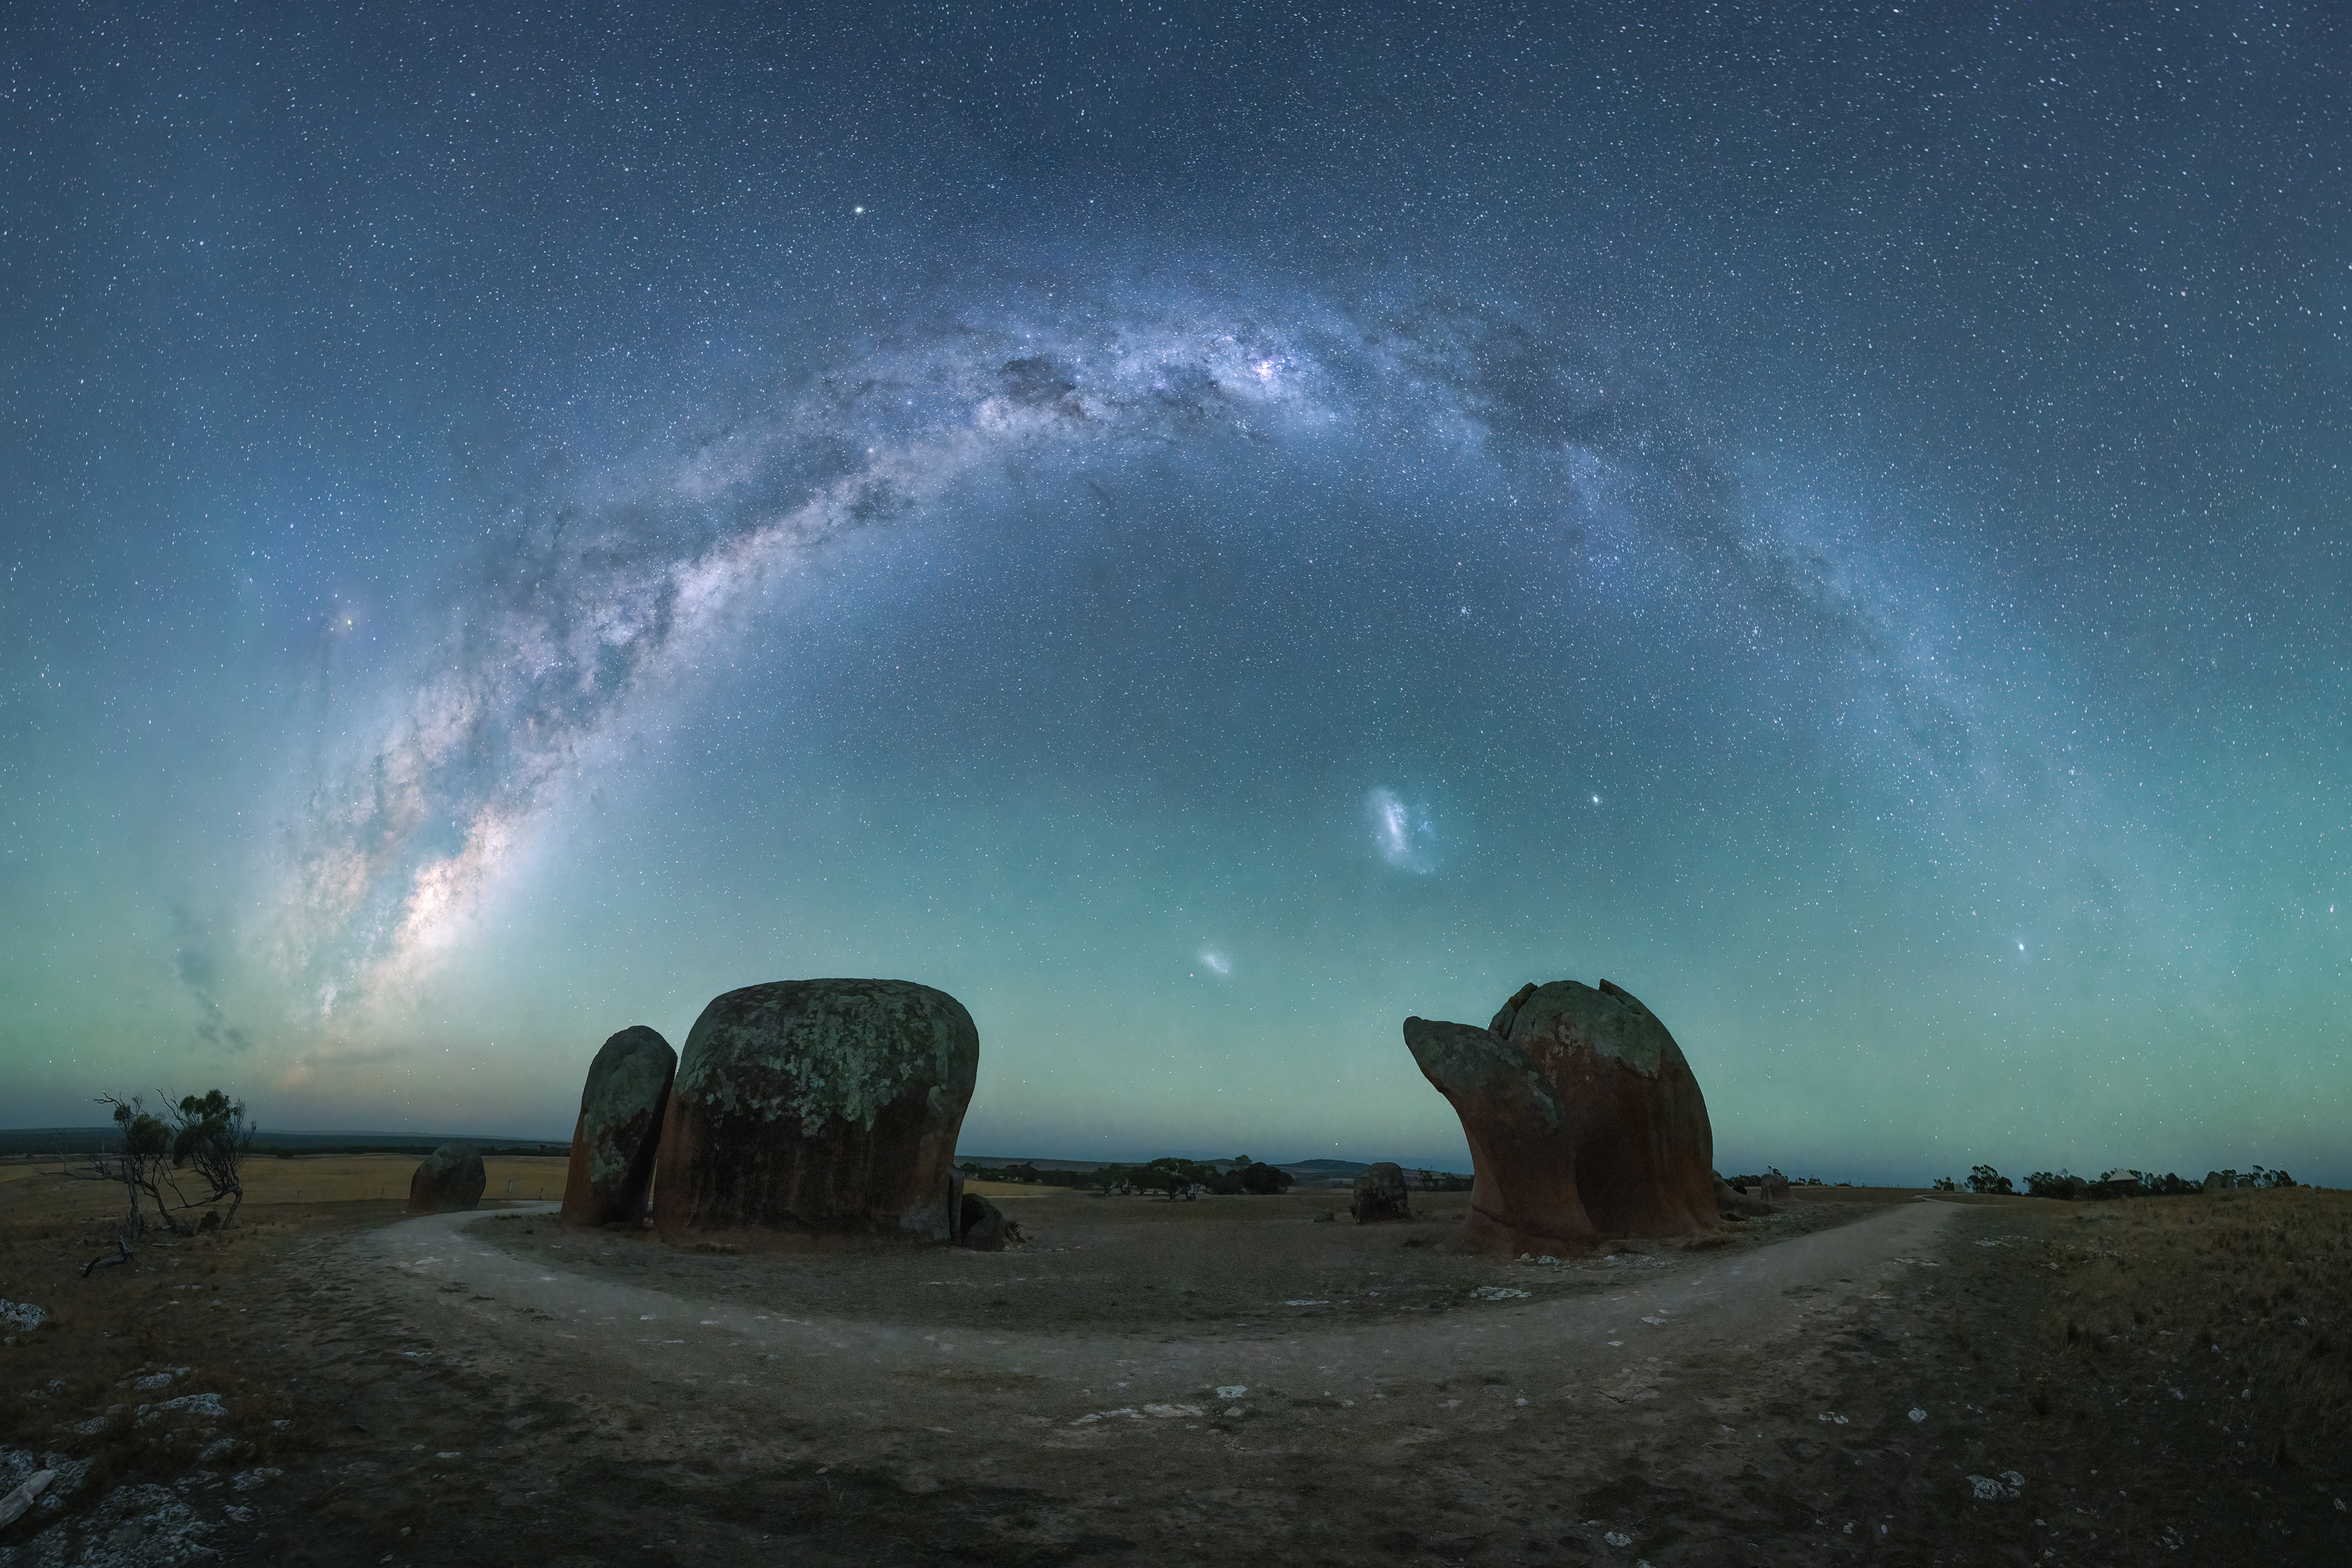
Murphys Haystacks After Dark 02 (2:3)
Port Lincoln Koala (2:3)
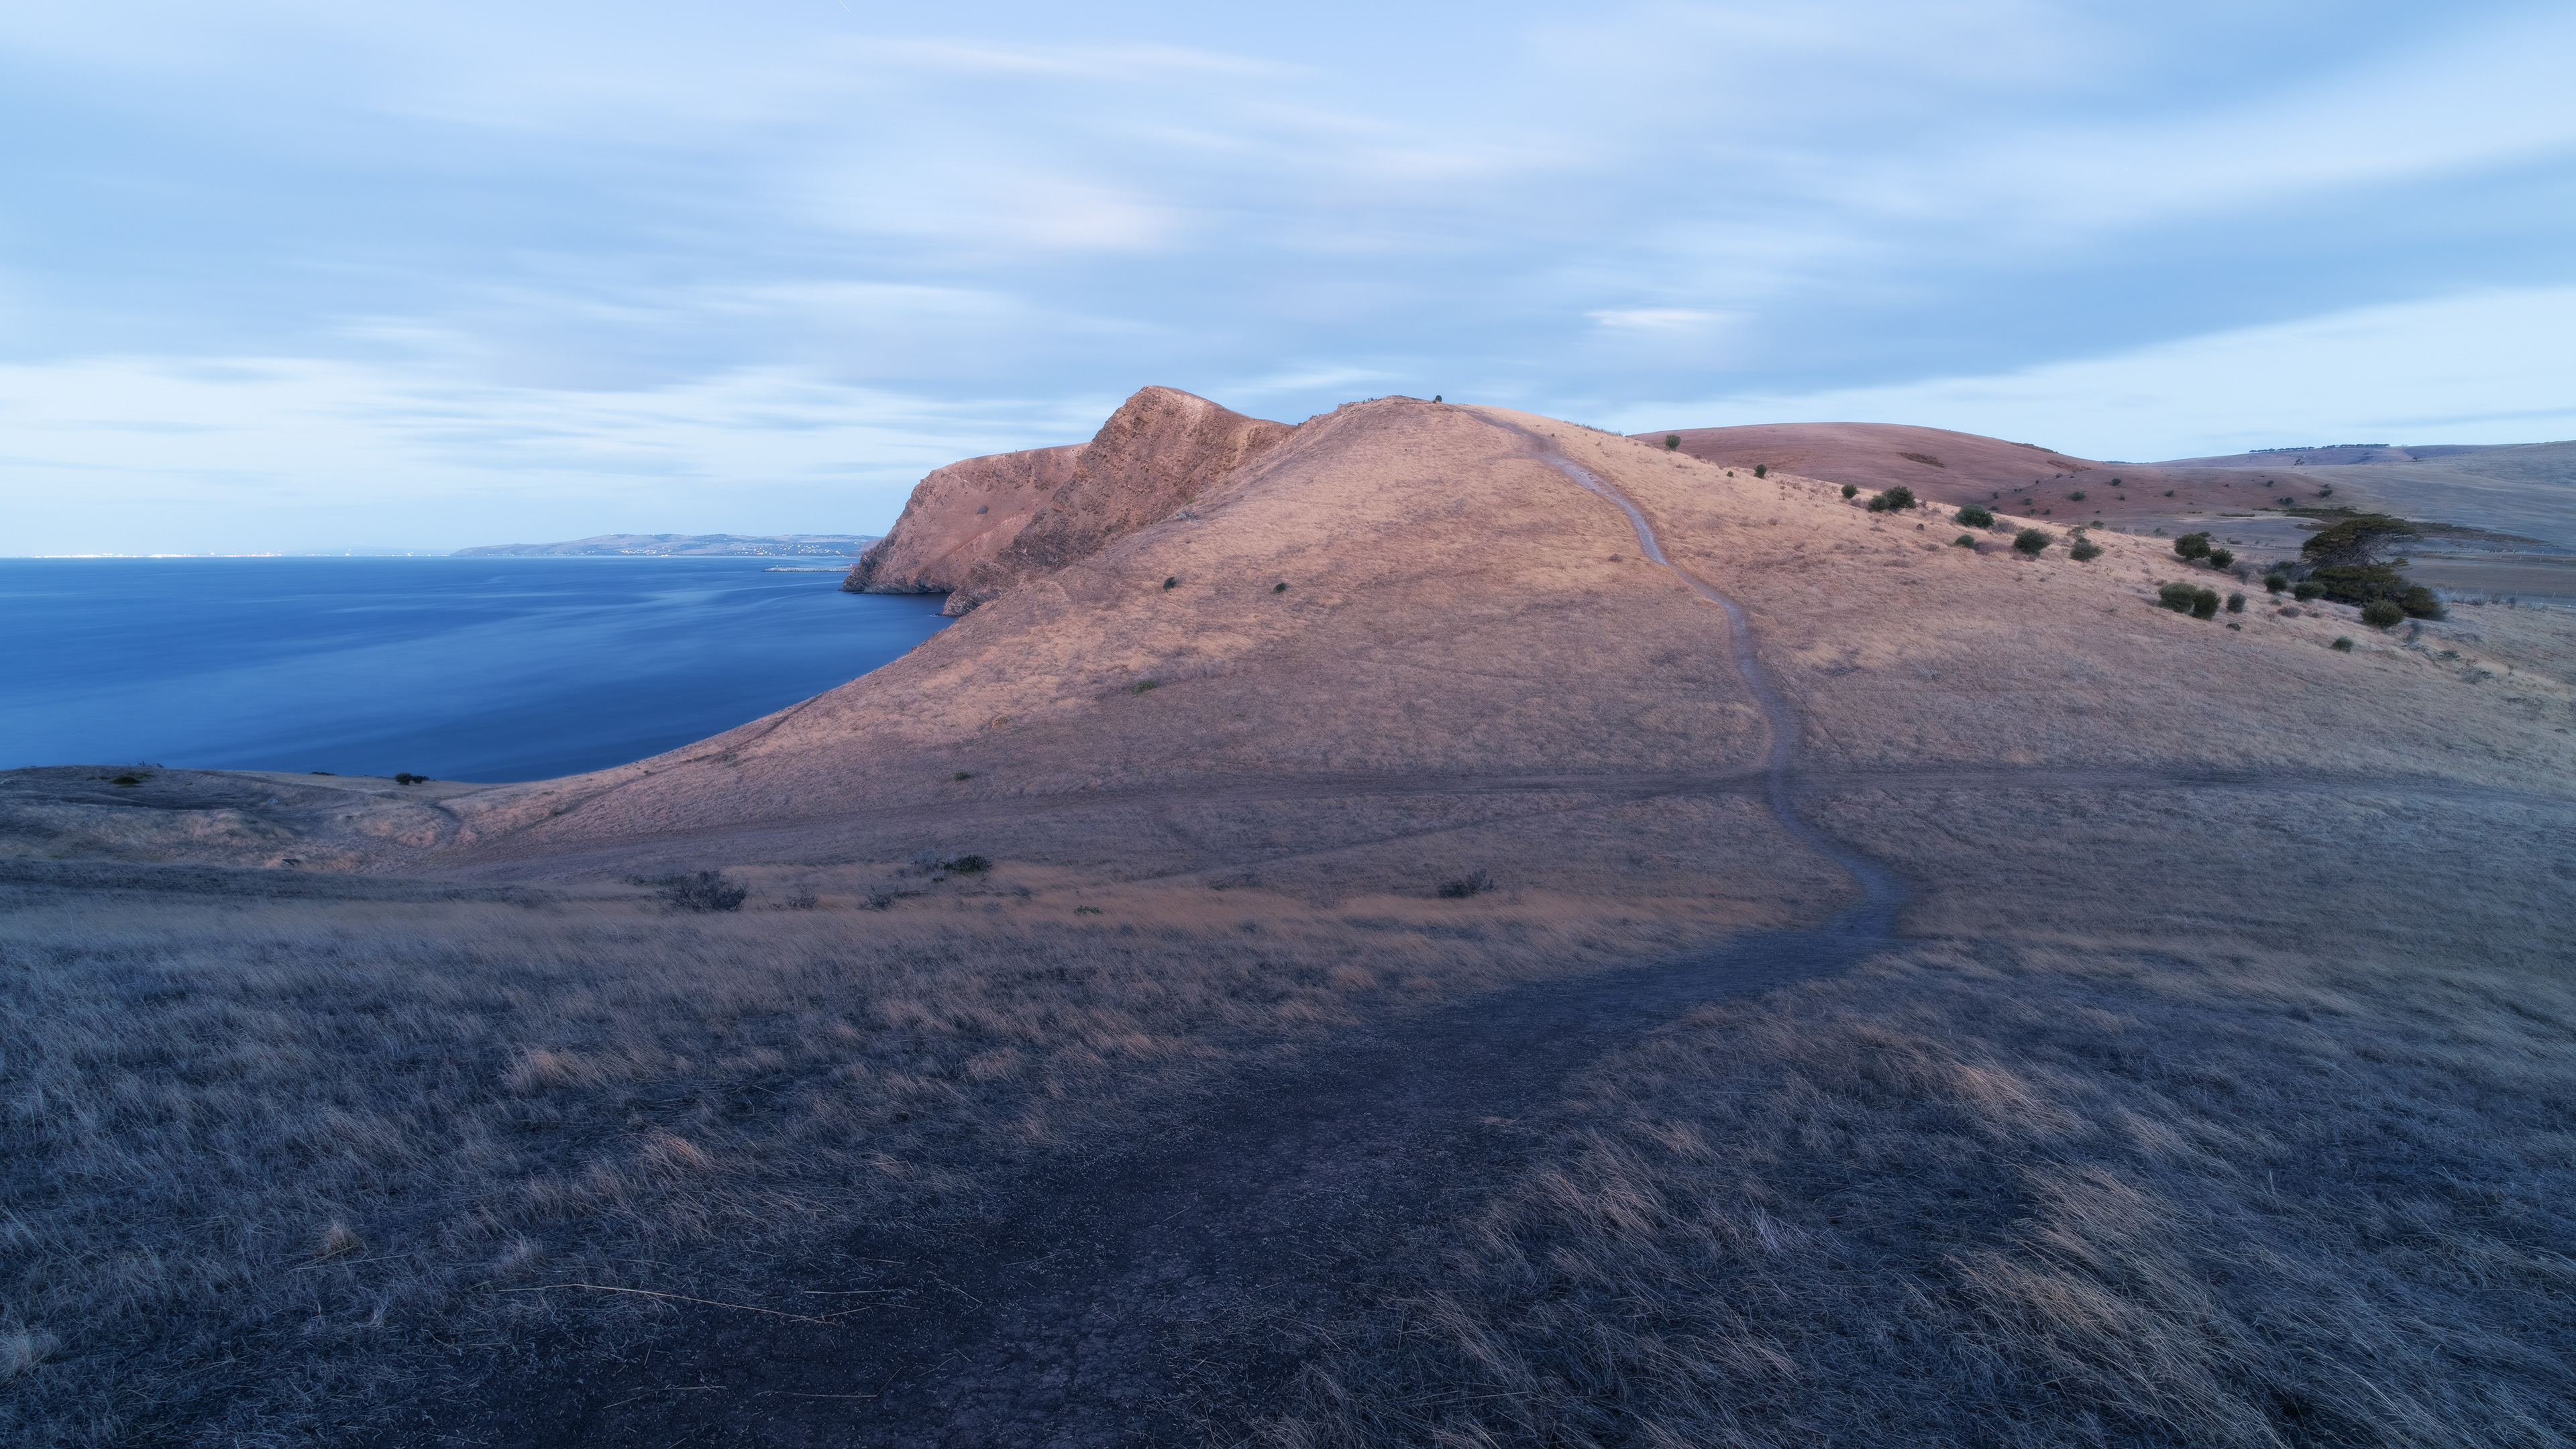
Wild Dog Hill, Whyalla (2:3)
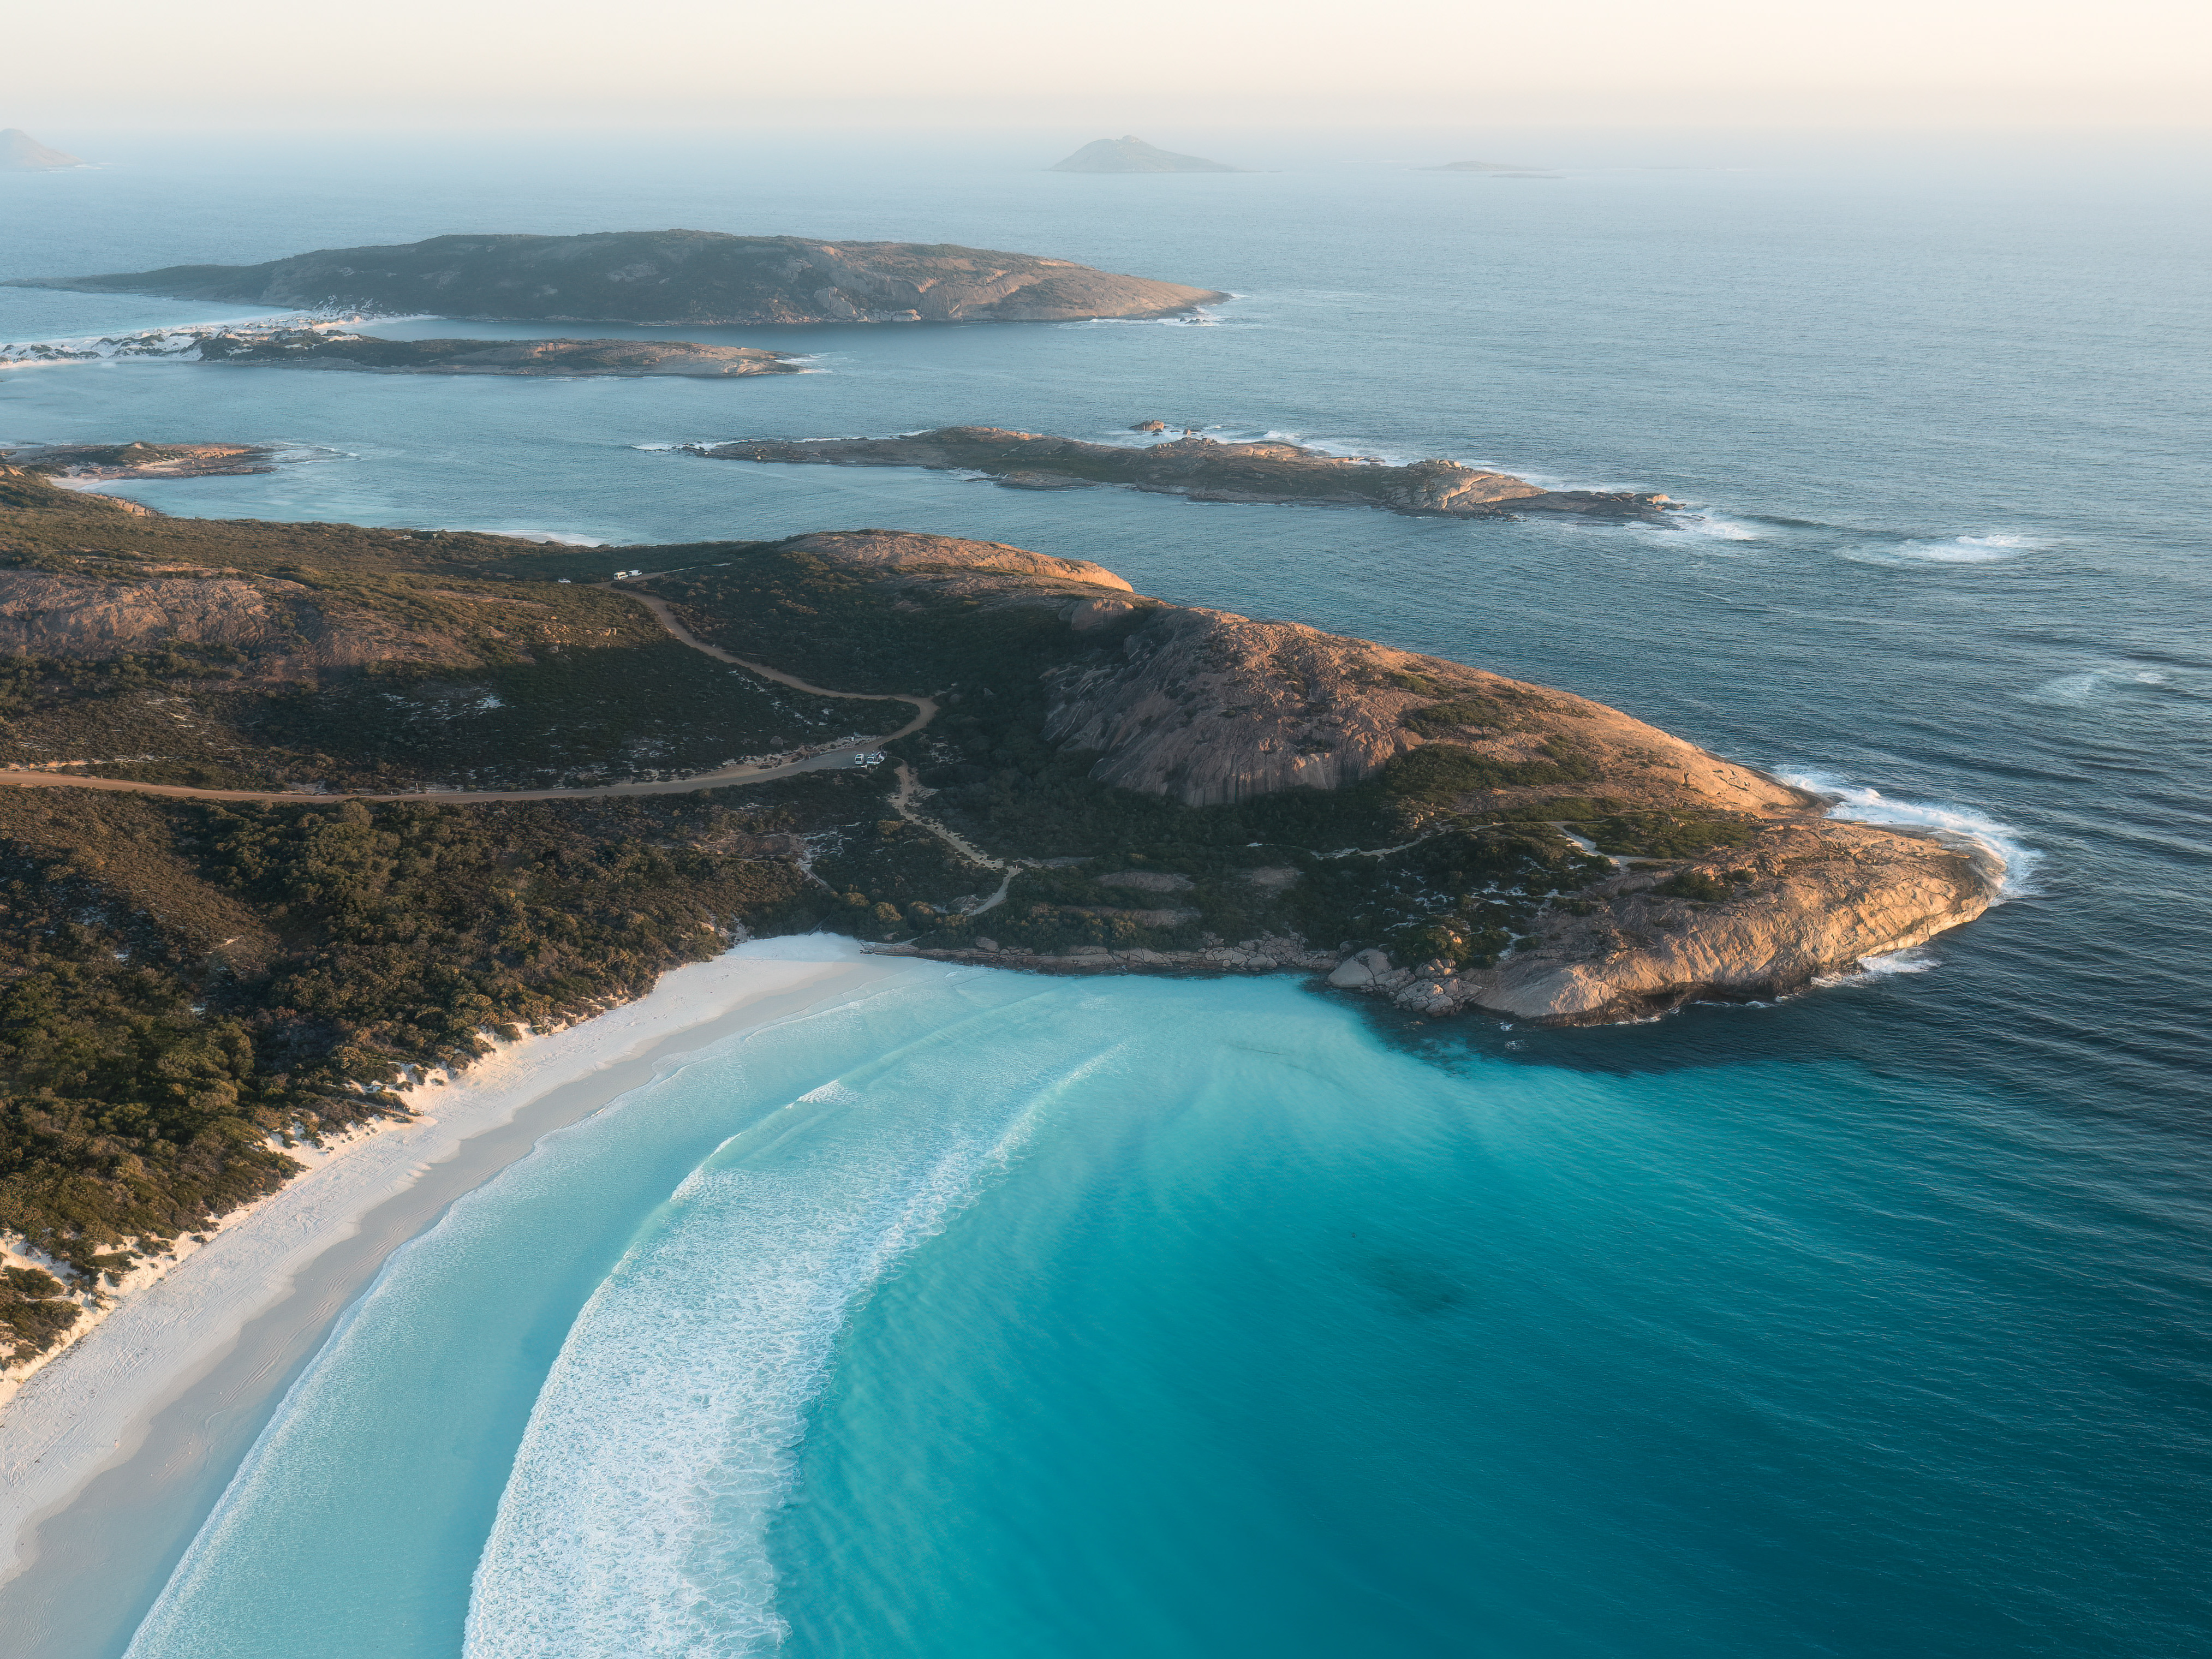
Elliston Coast 1 (2:3/16:9)
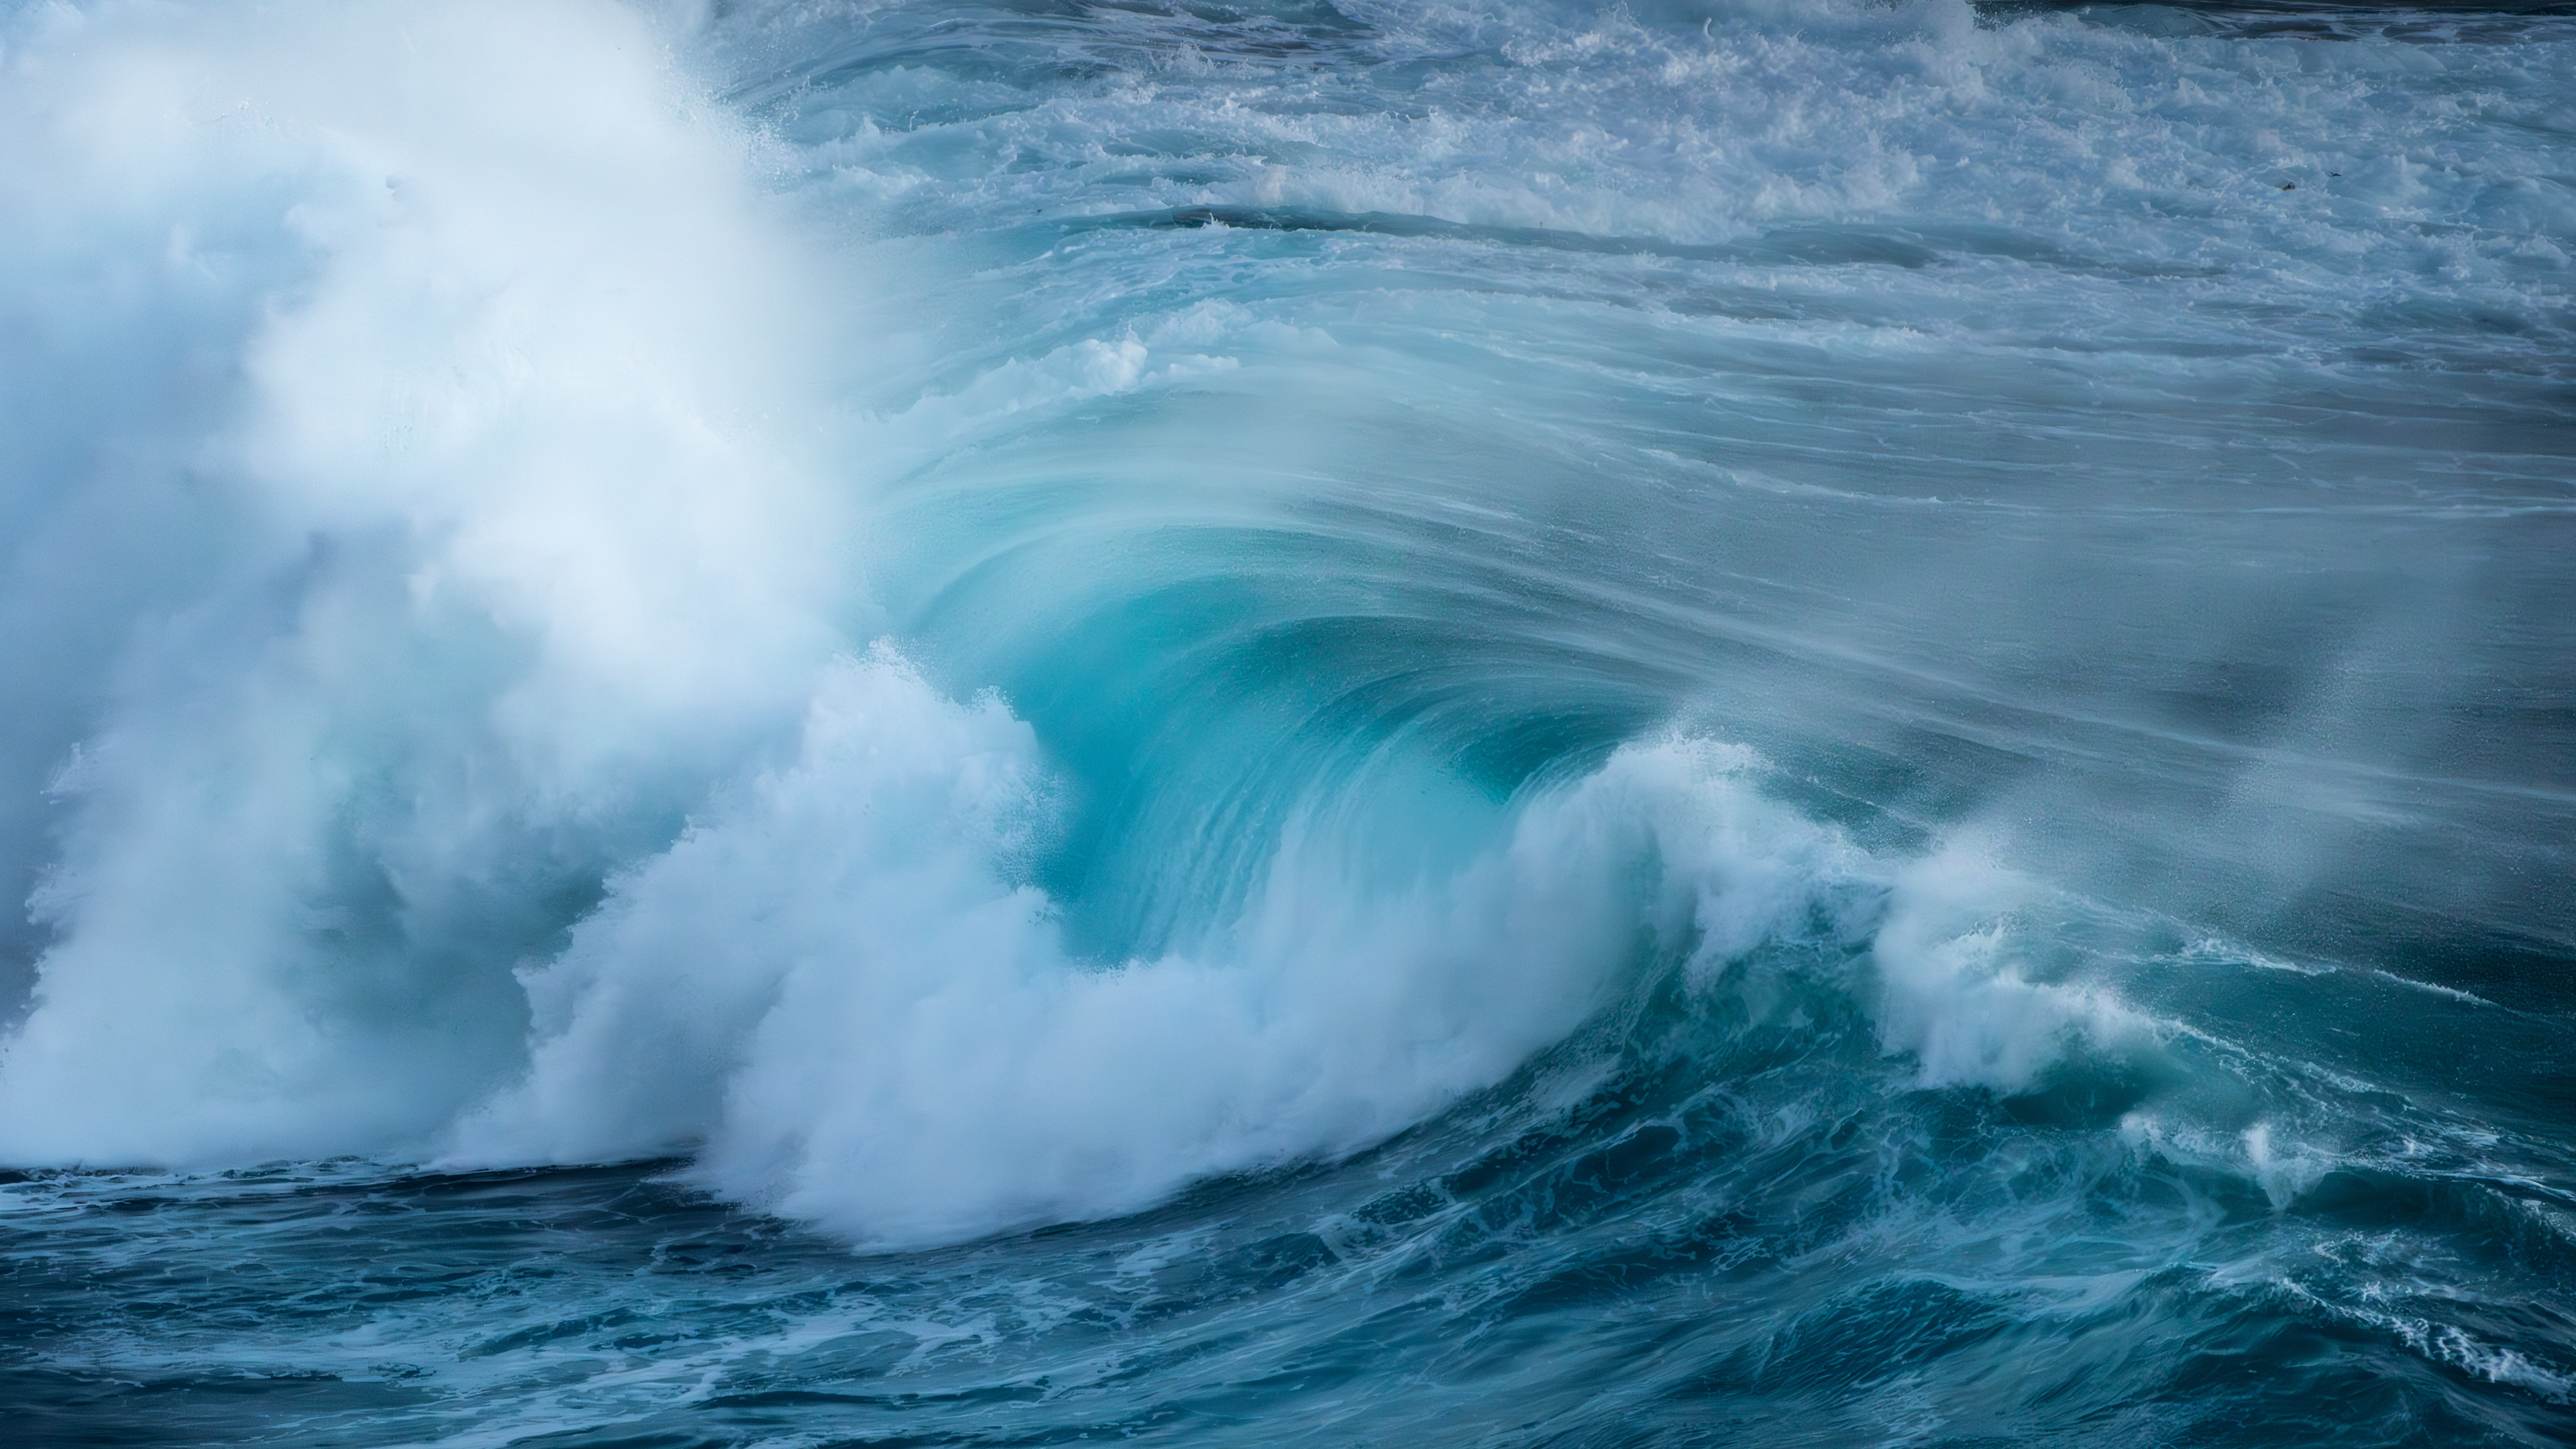
Southern Swell (2:3/16:9)
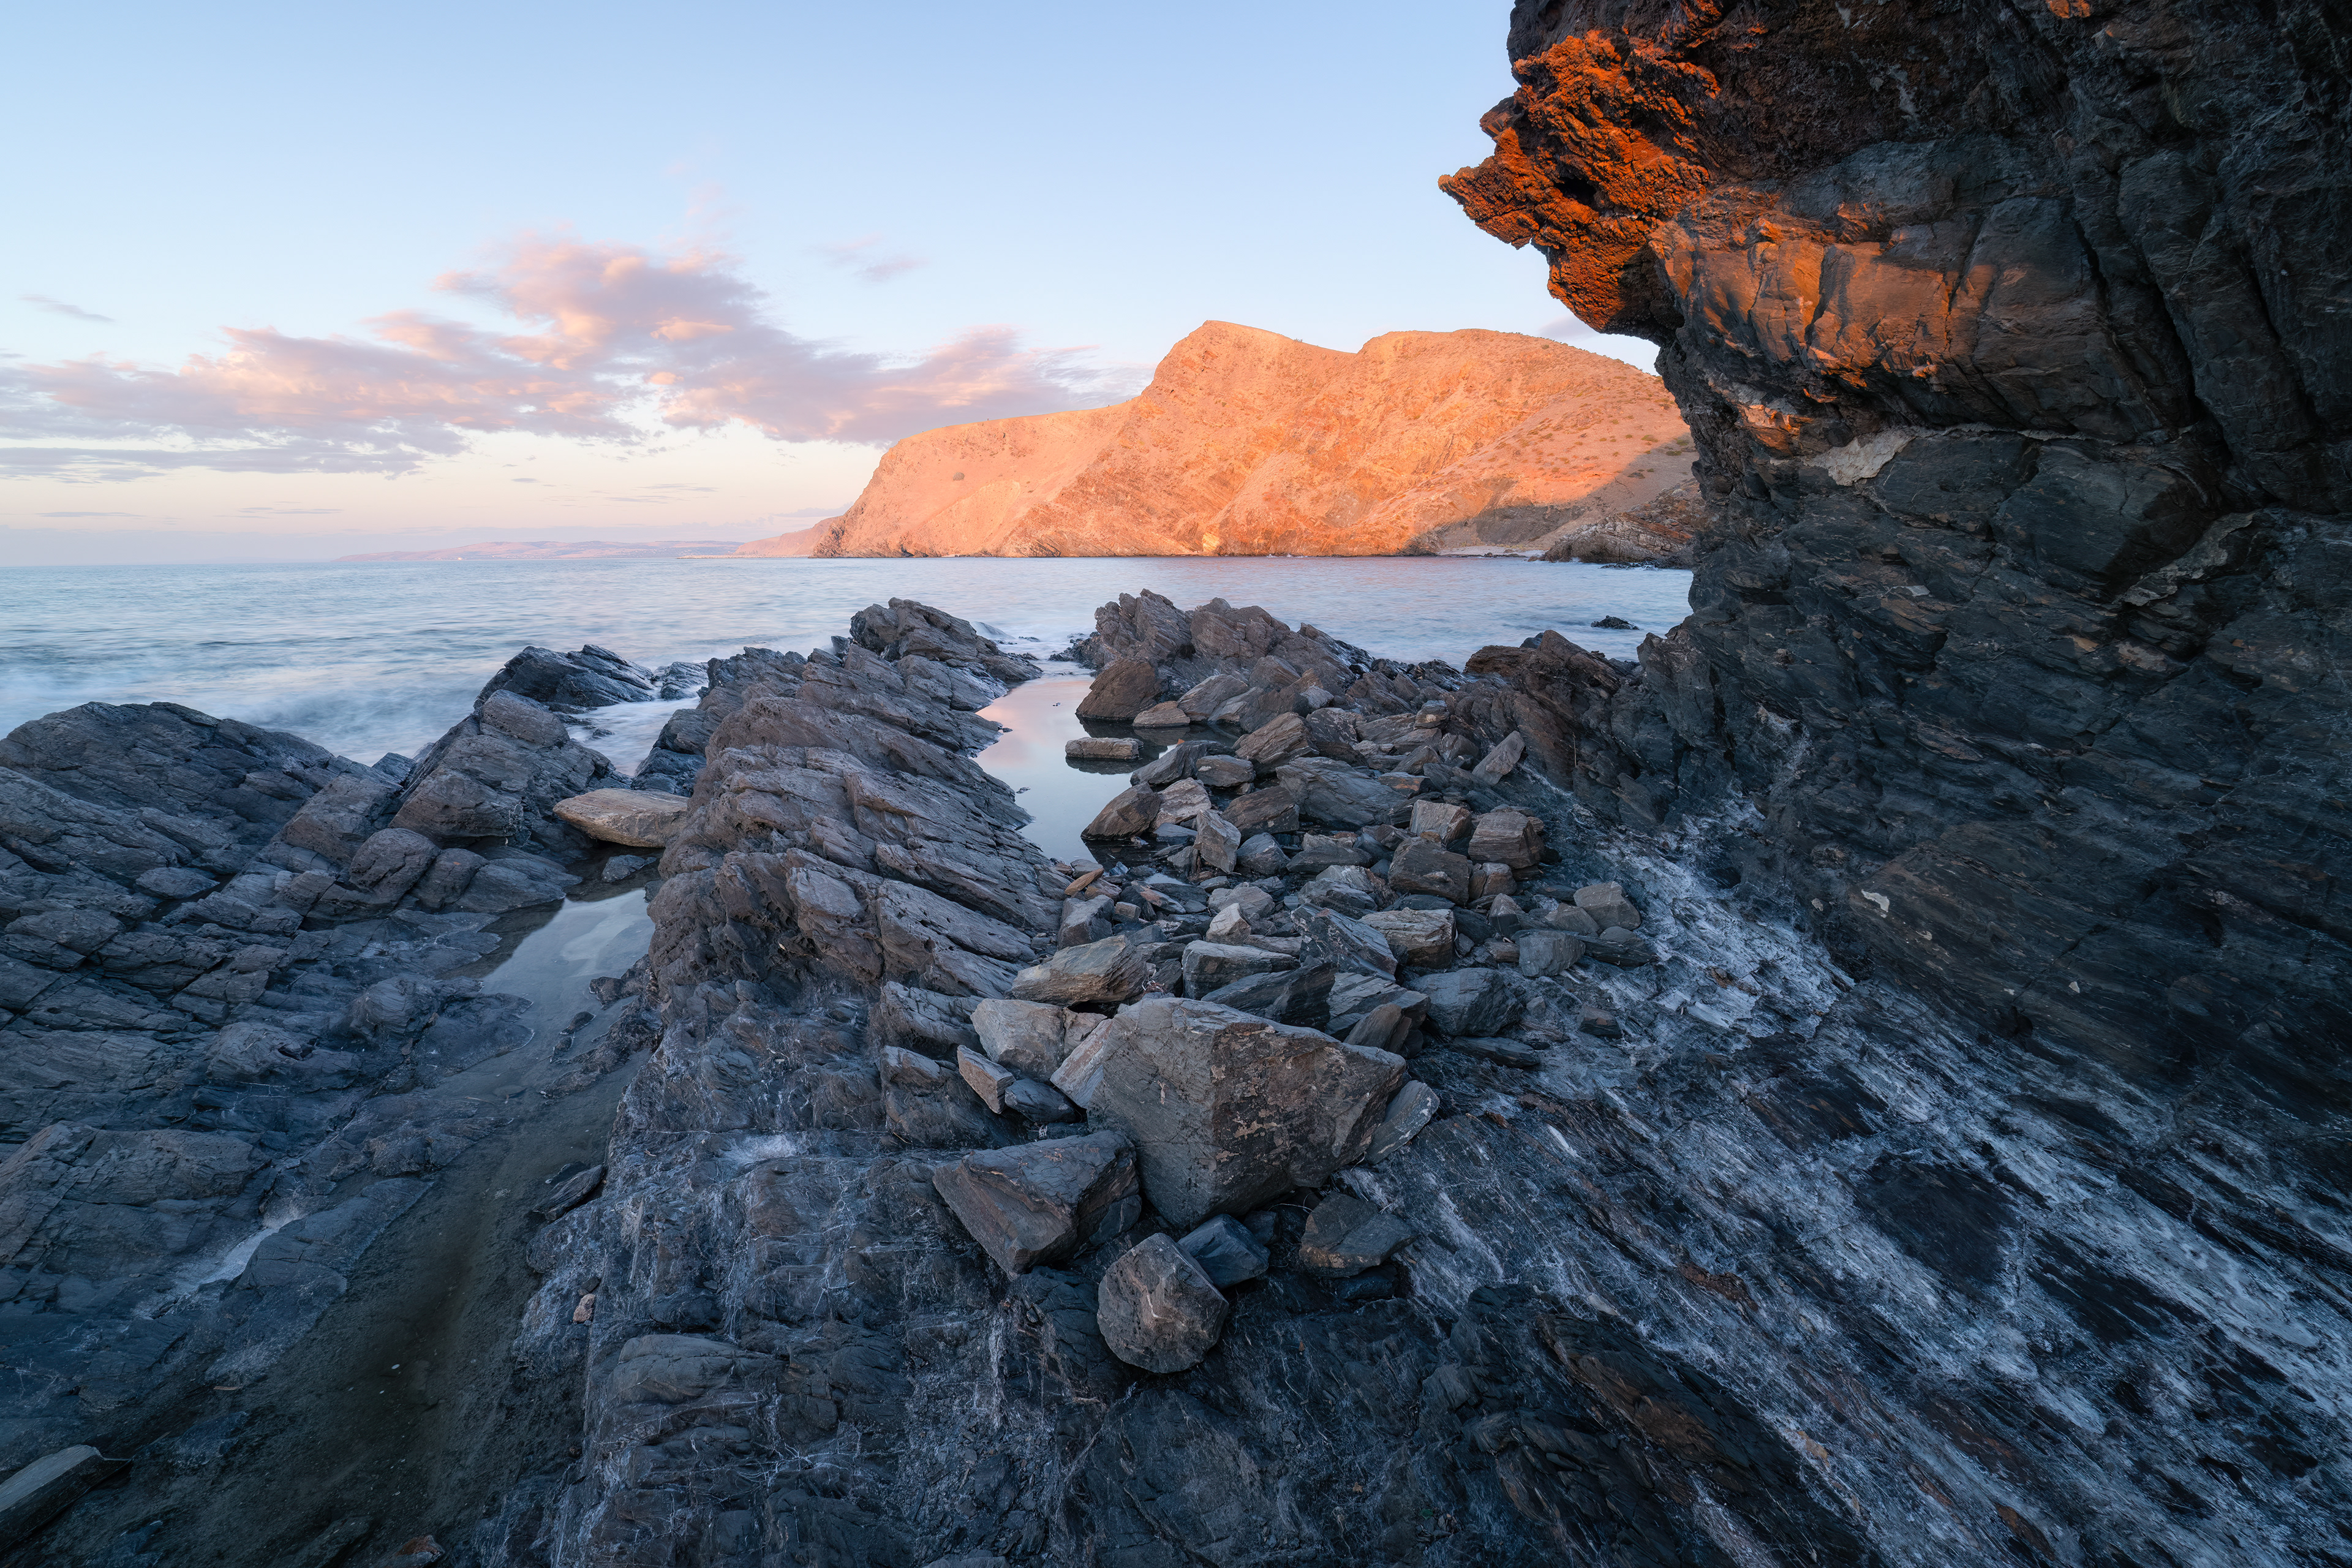
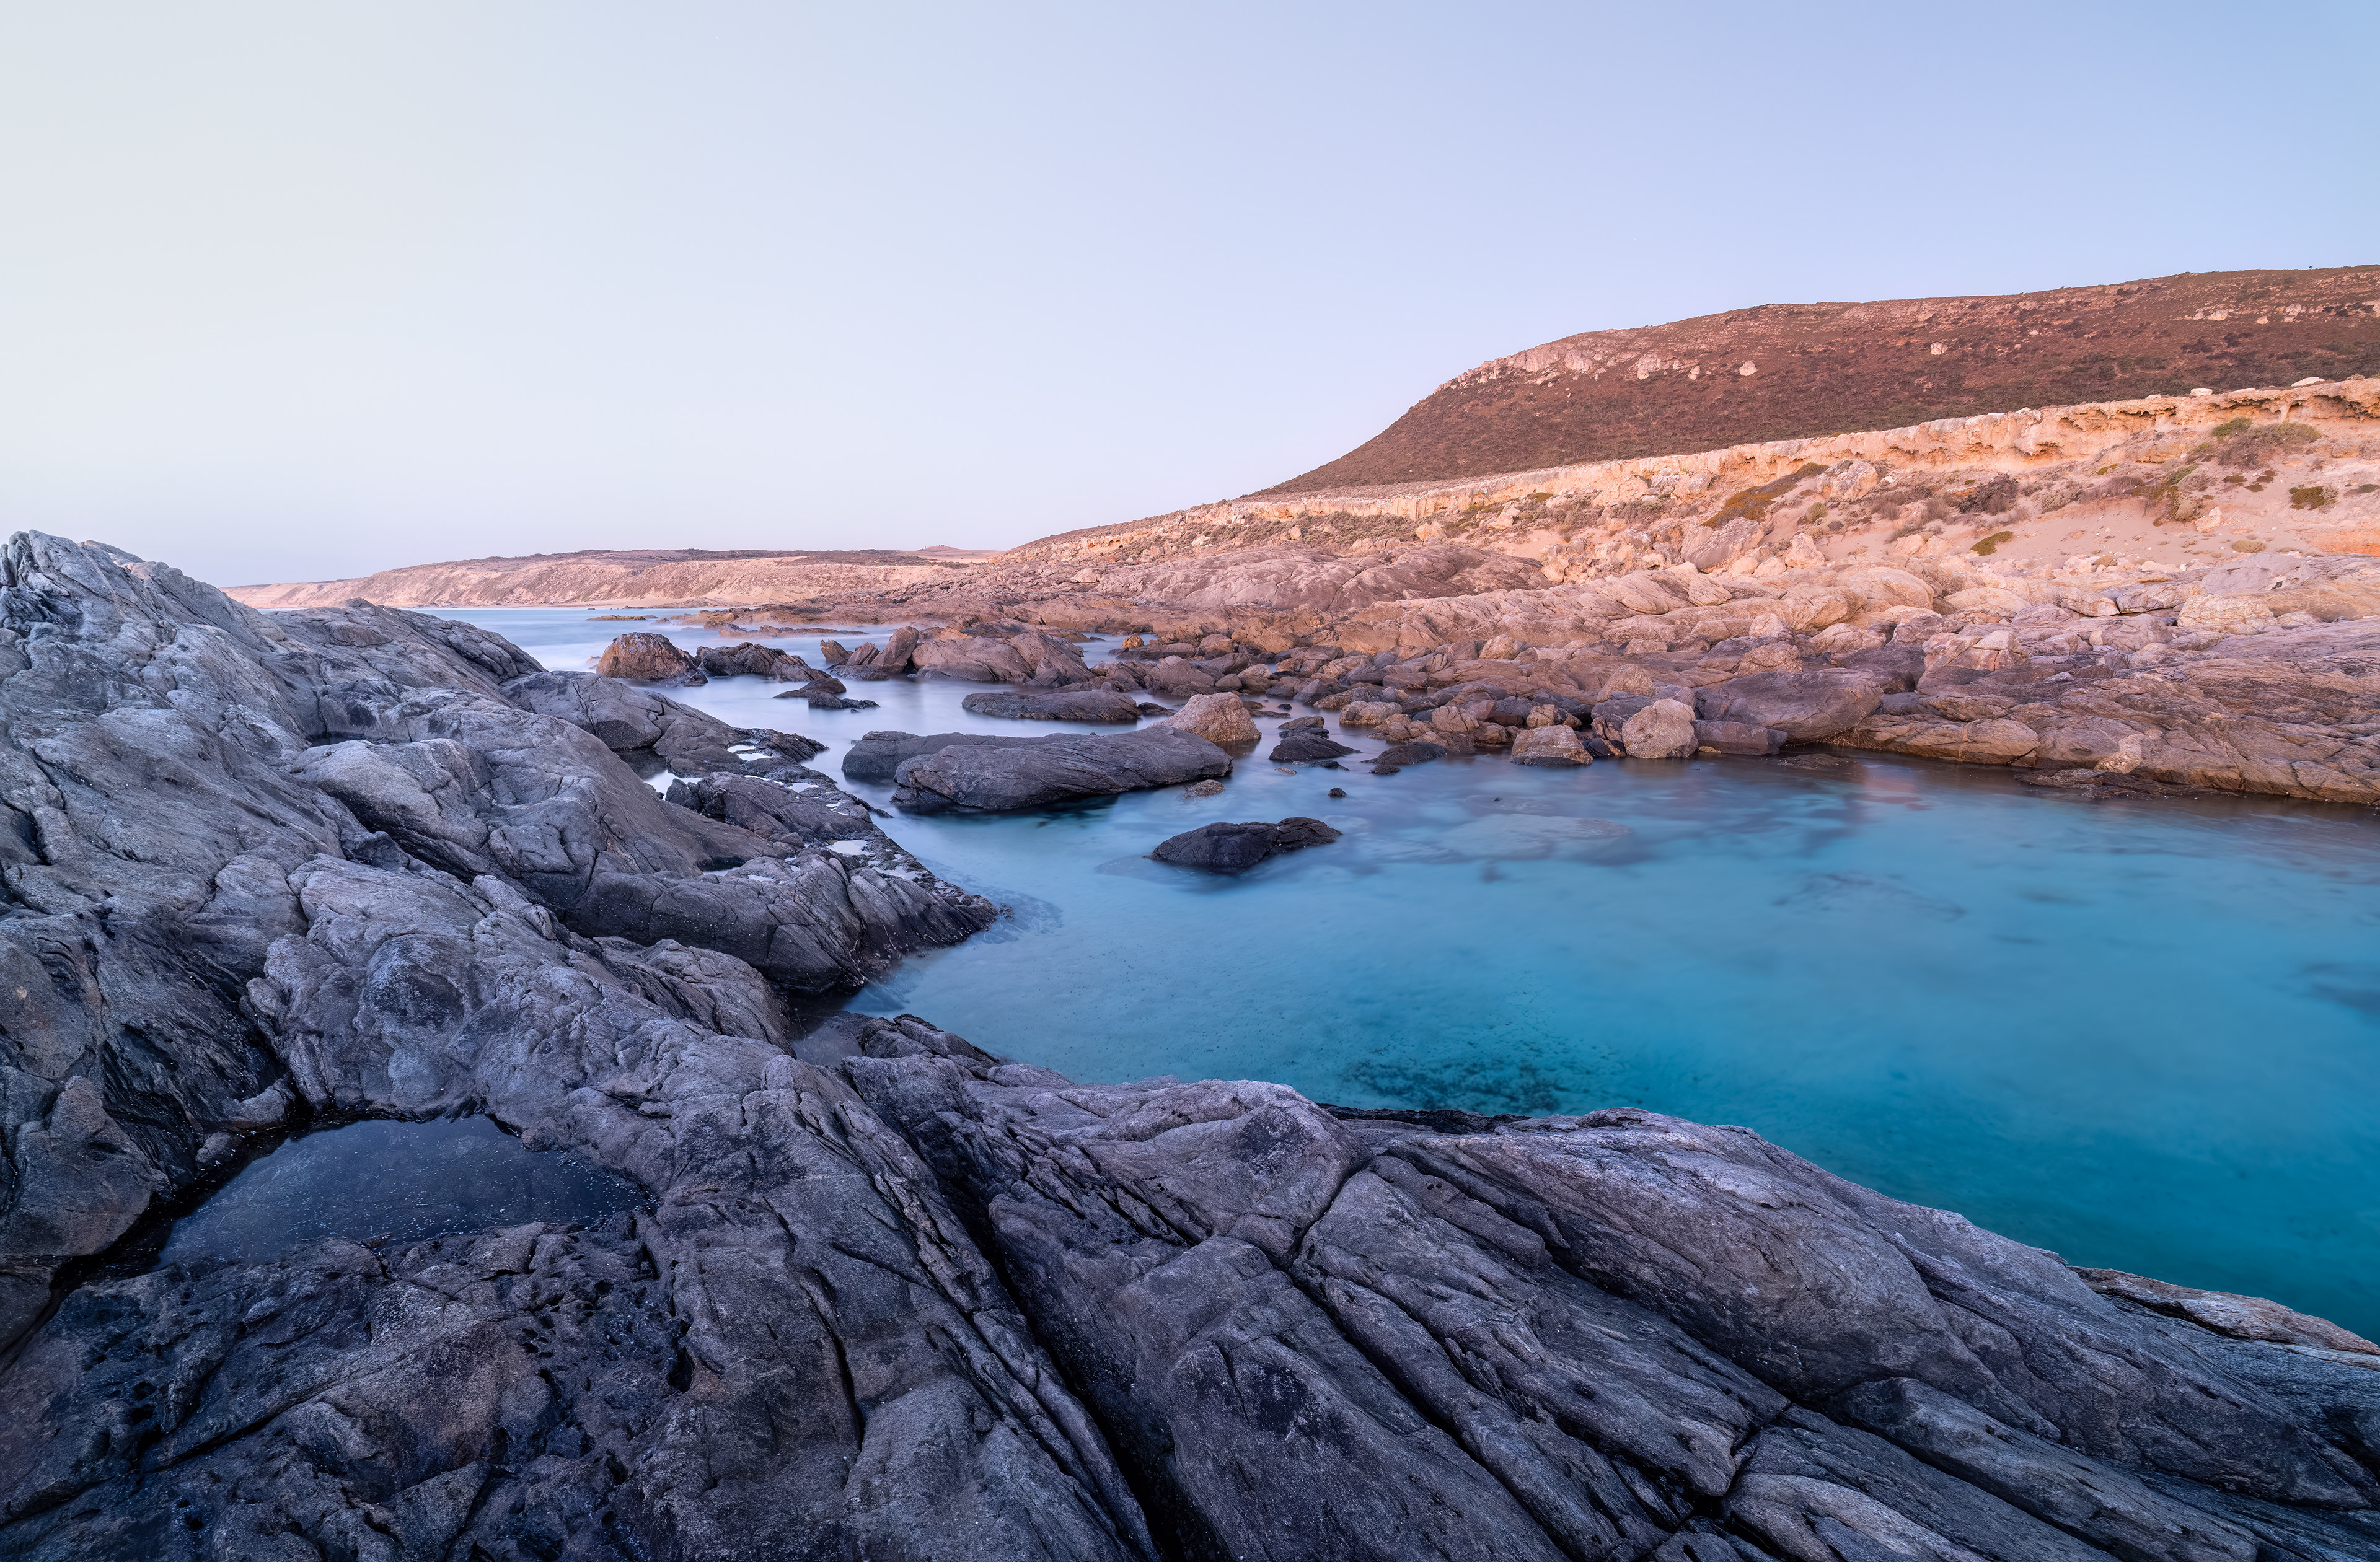
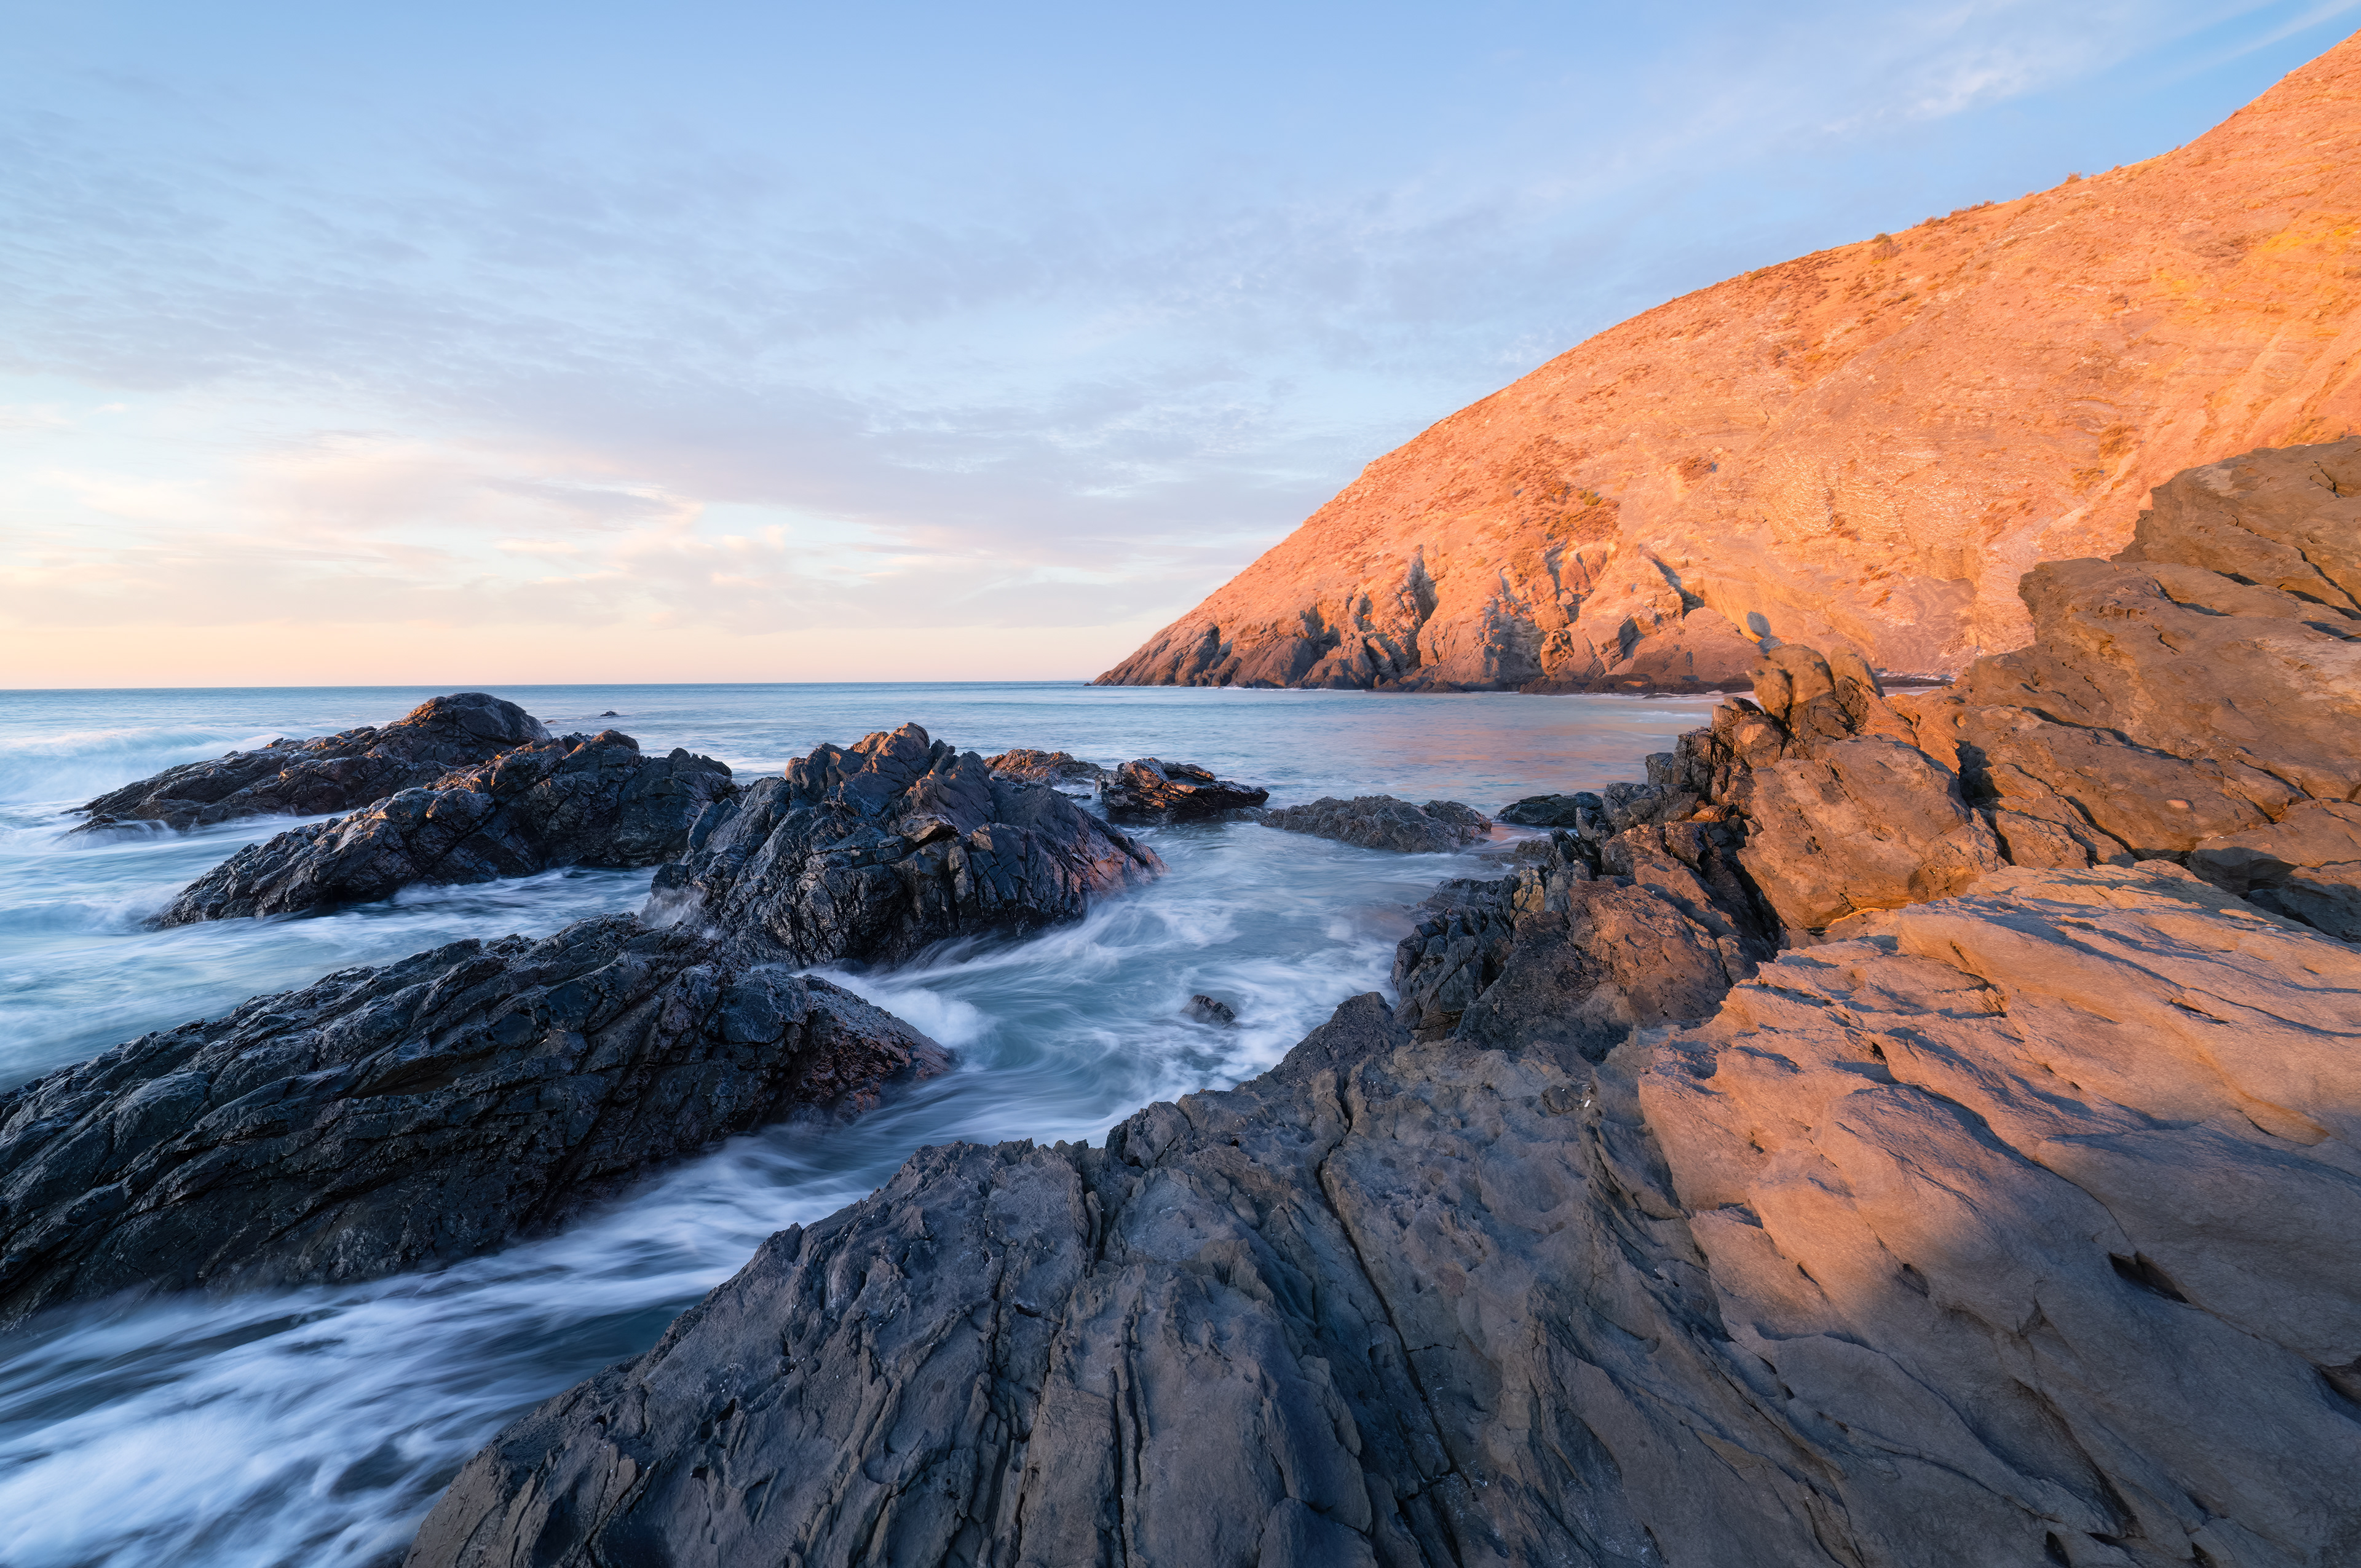
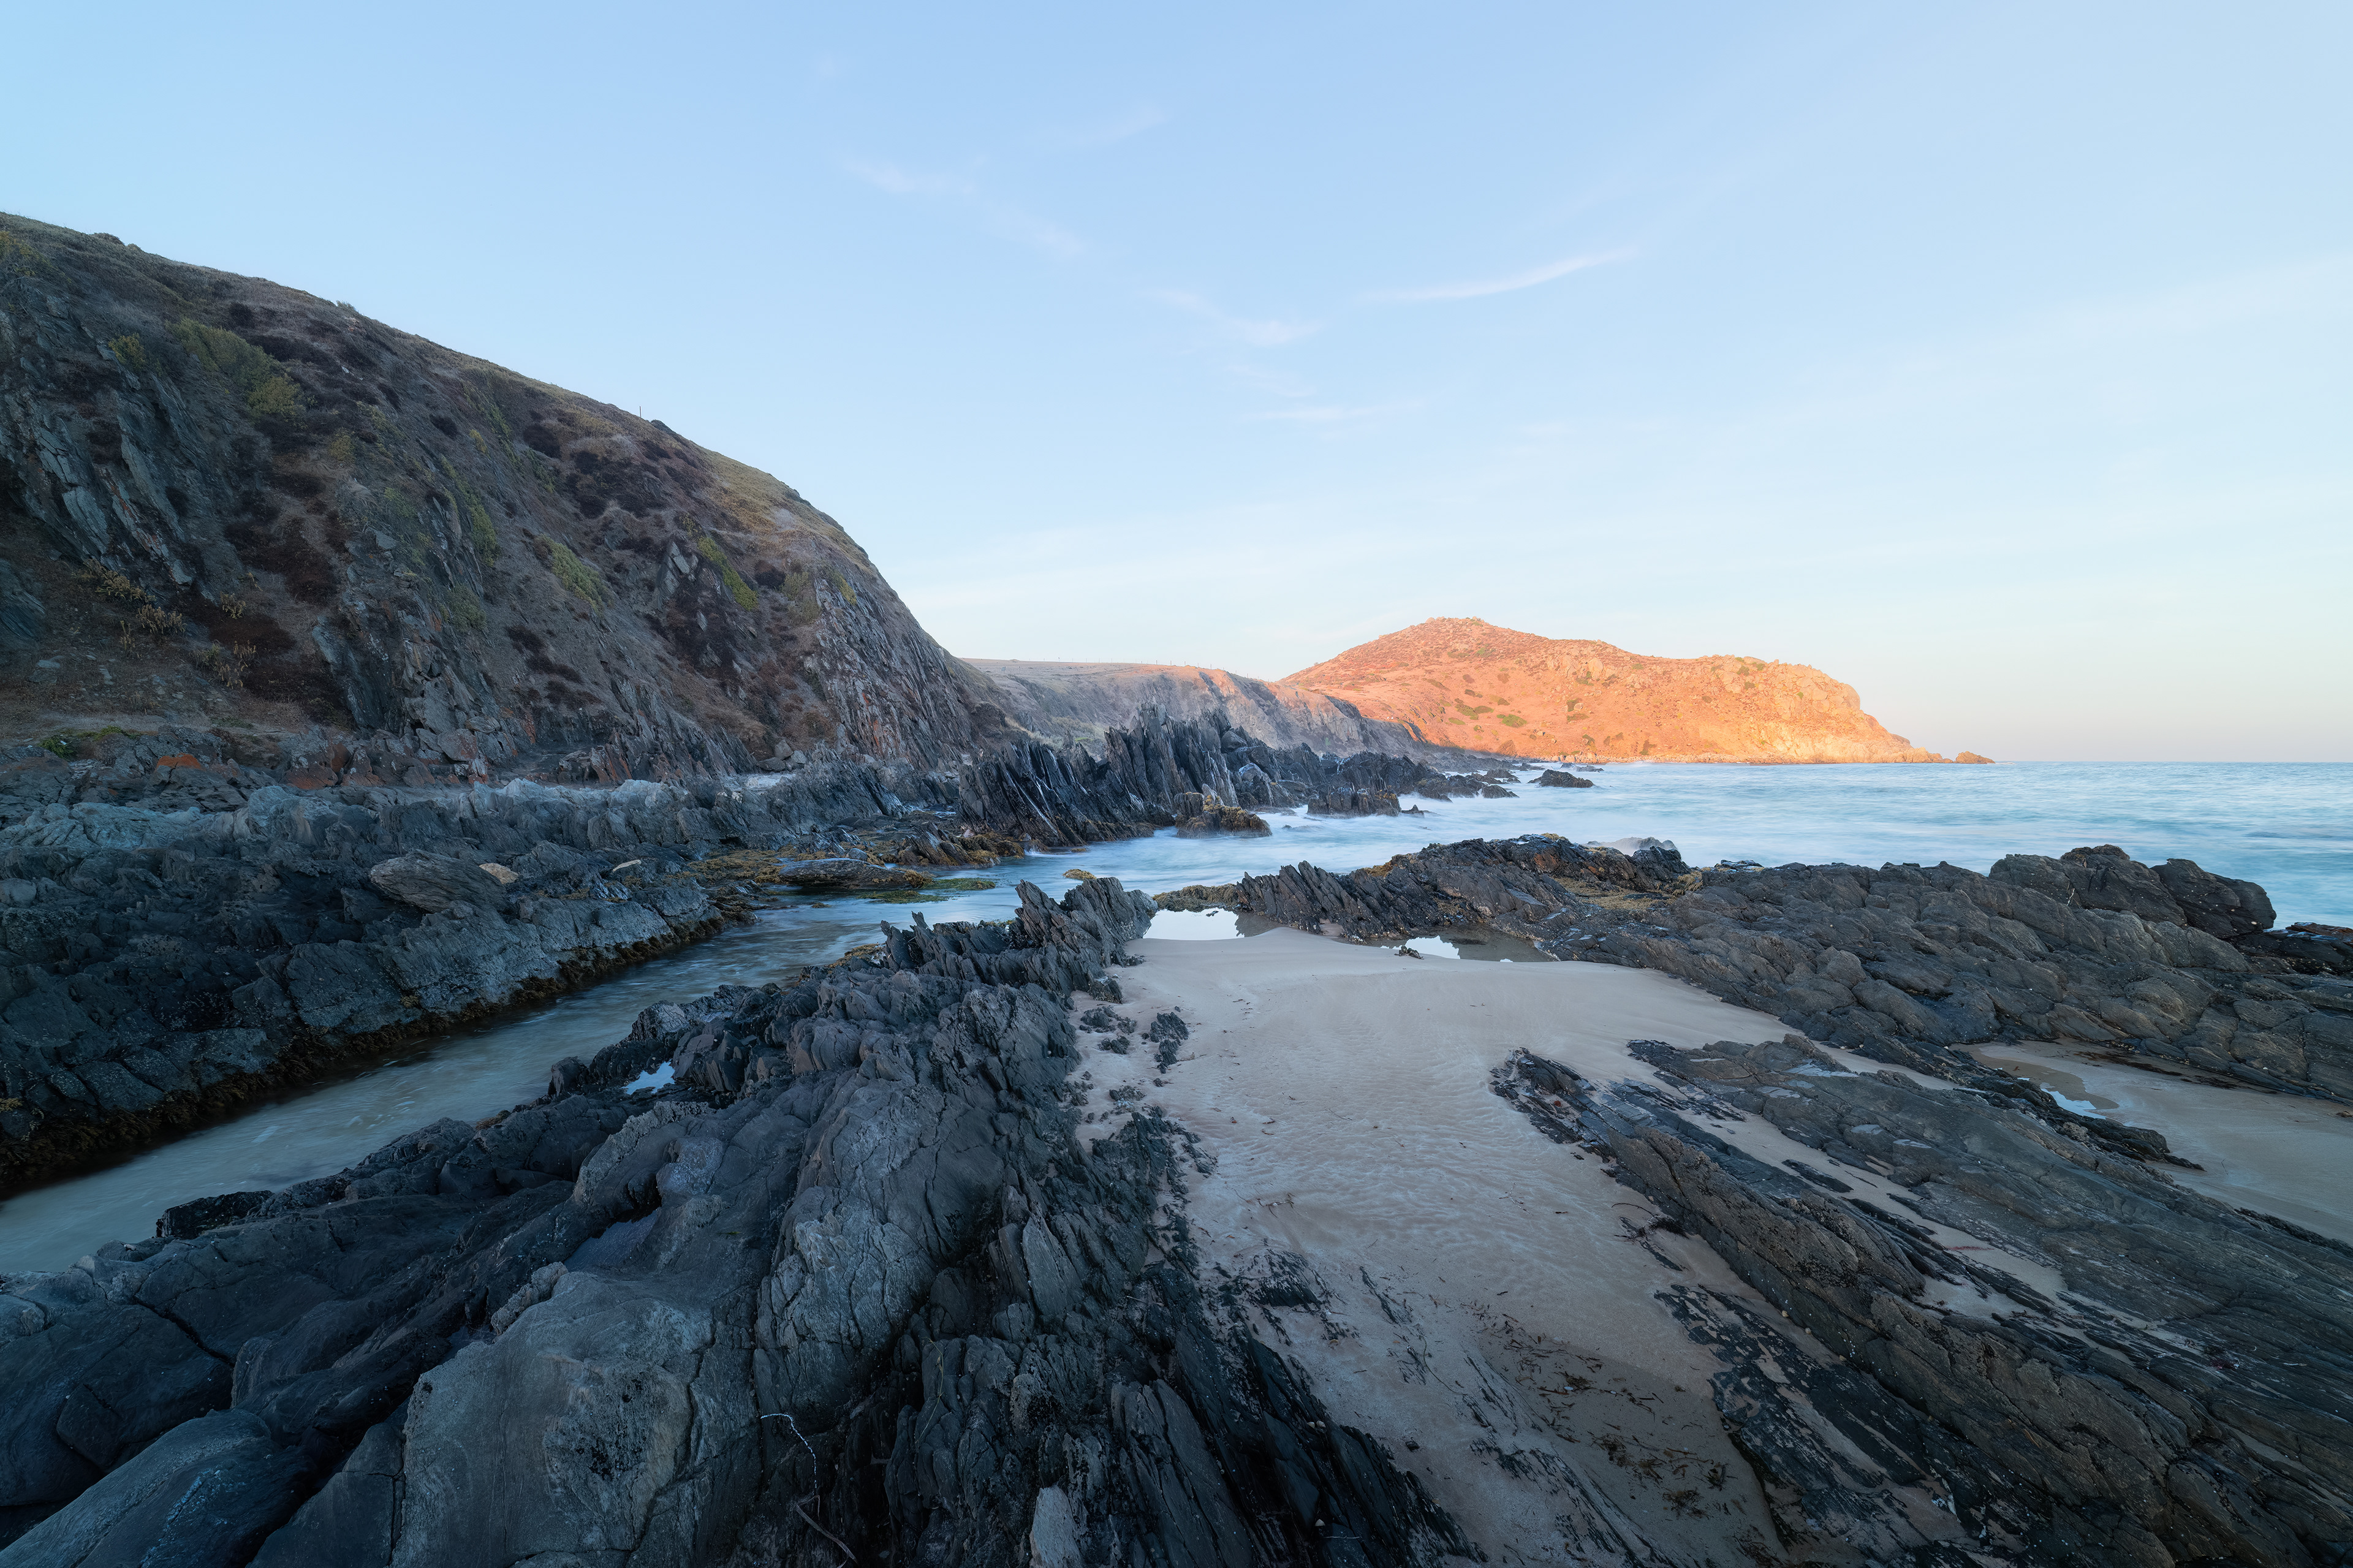
Second Valley Headland (2:3)
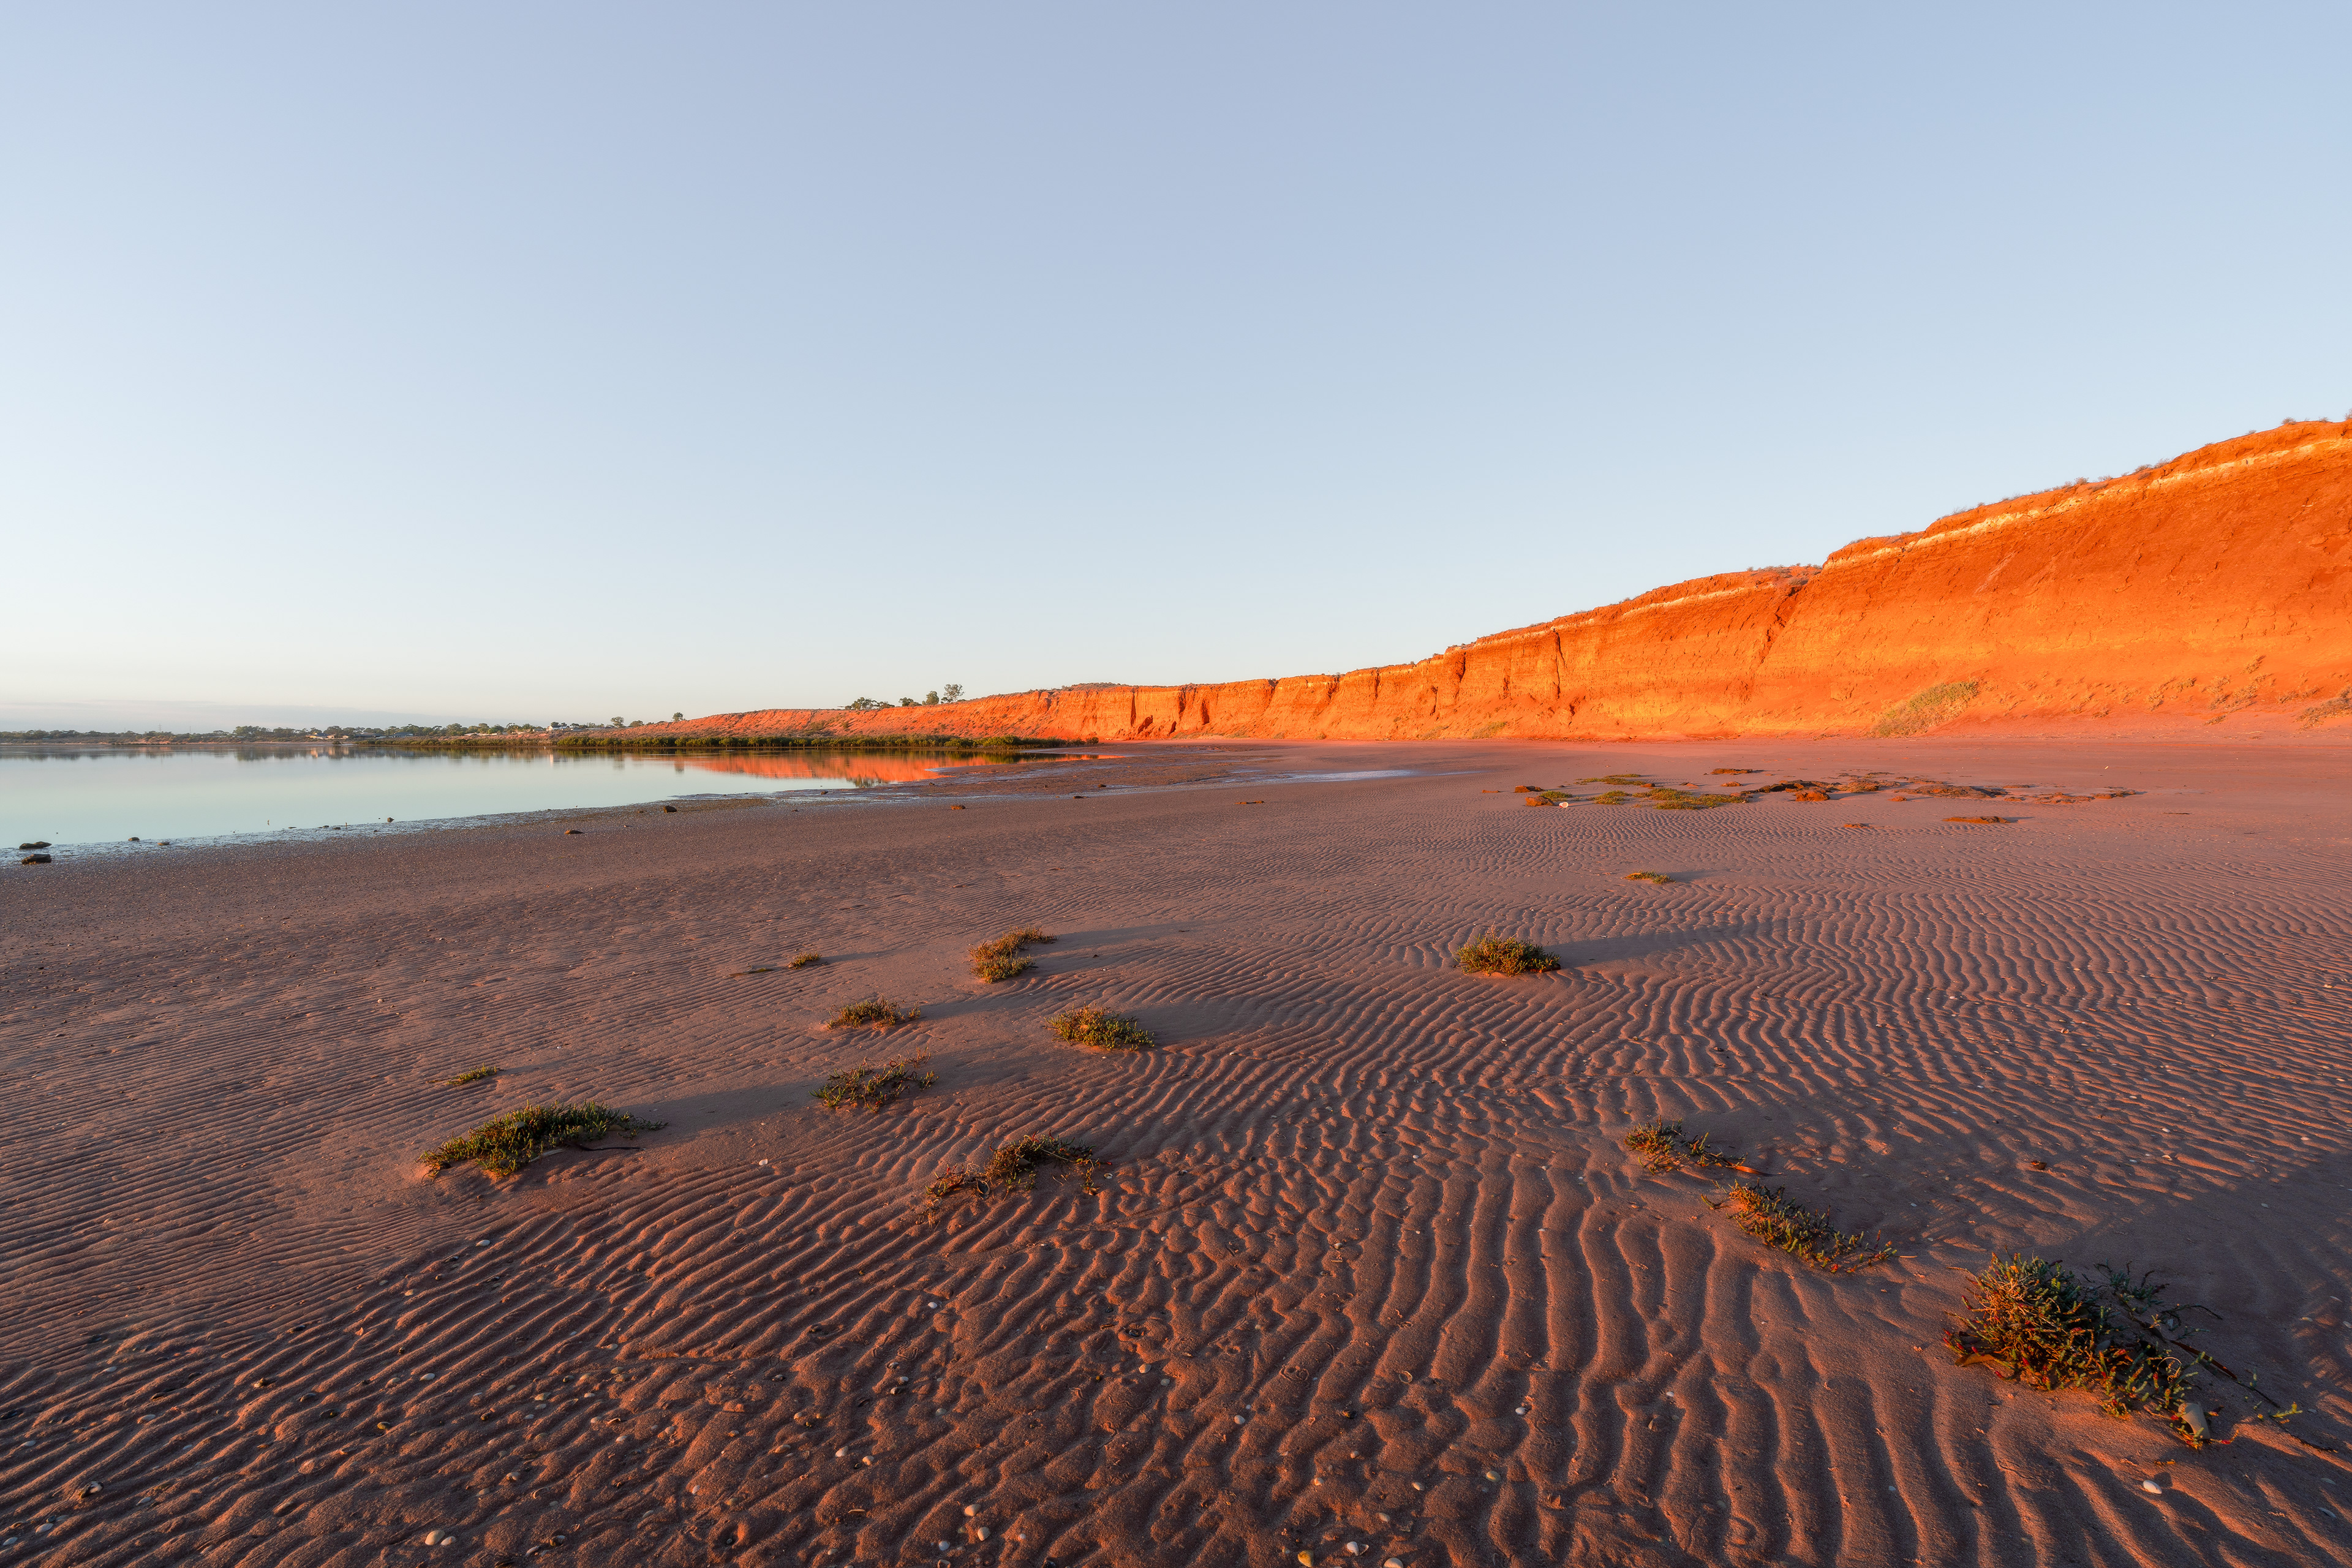
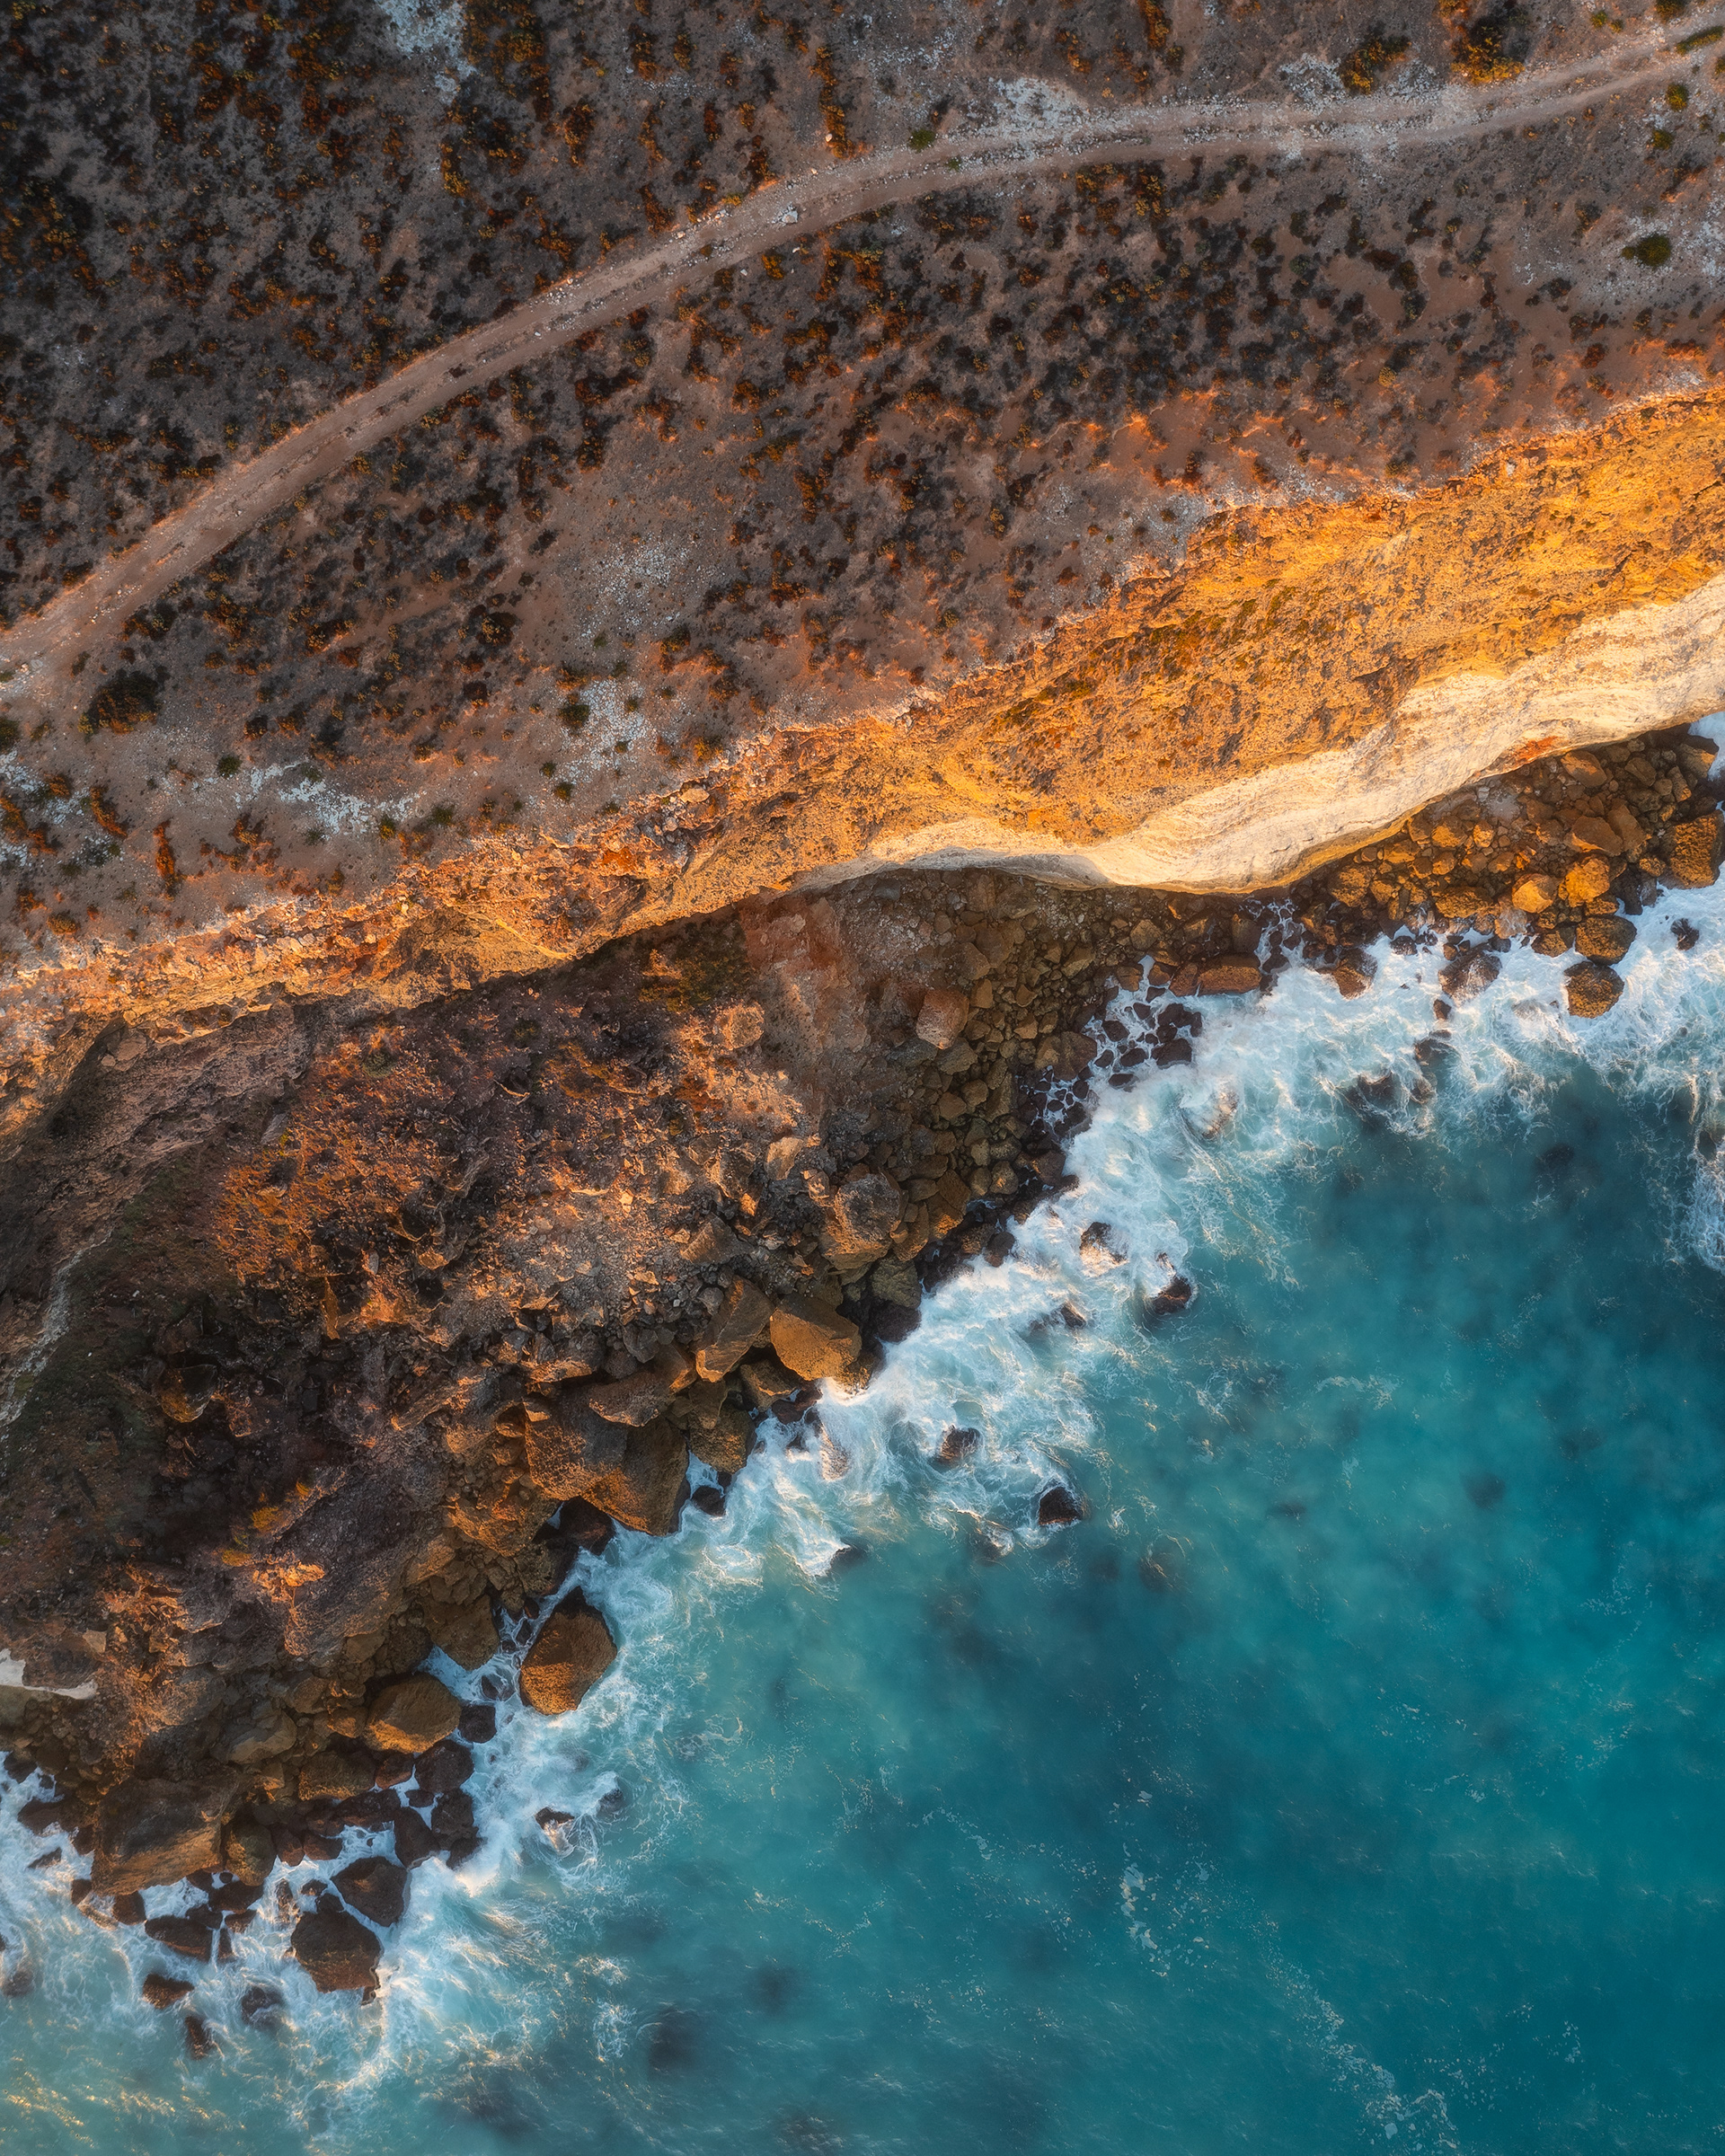
Port Augusta Red Cliffs 03 (2:3)
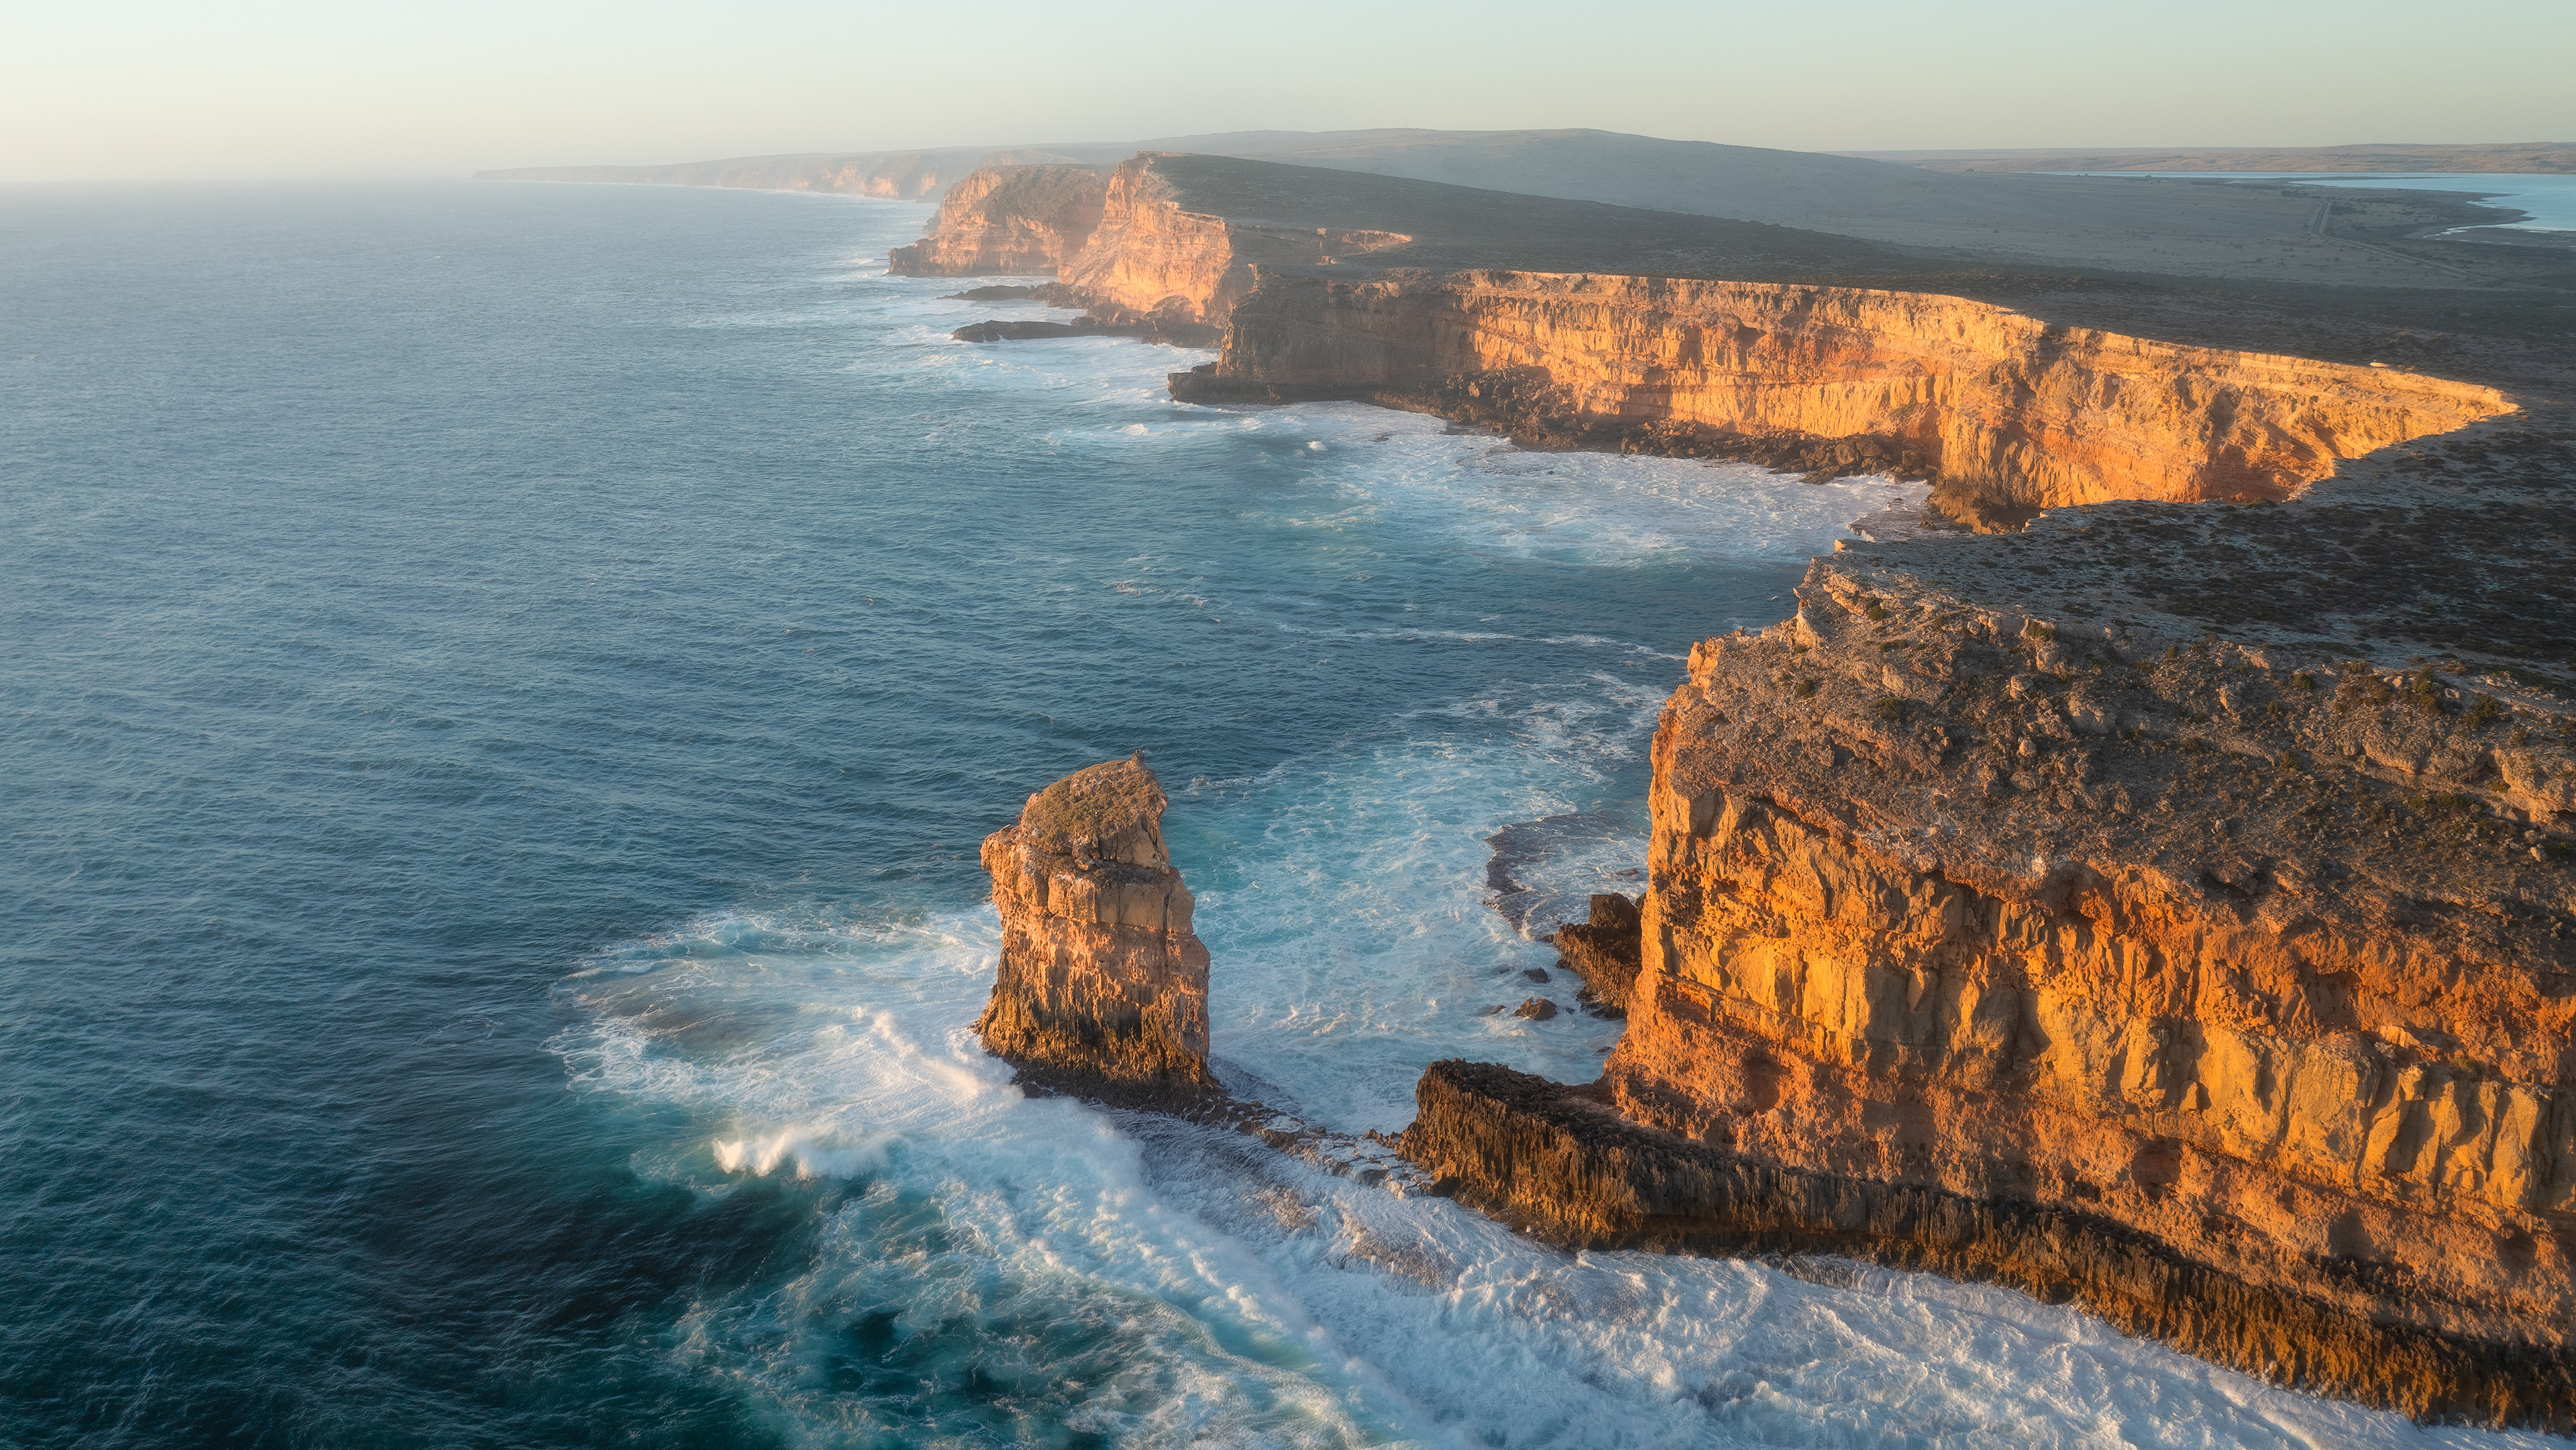
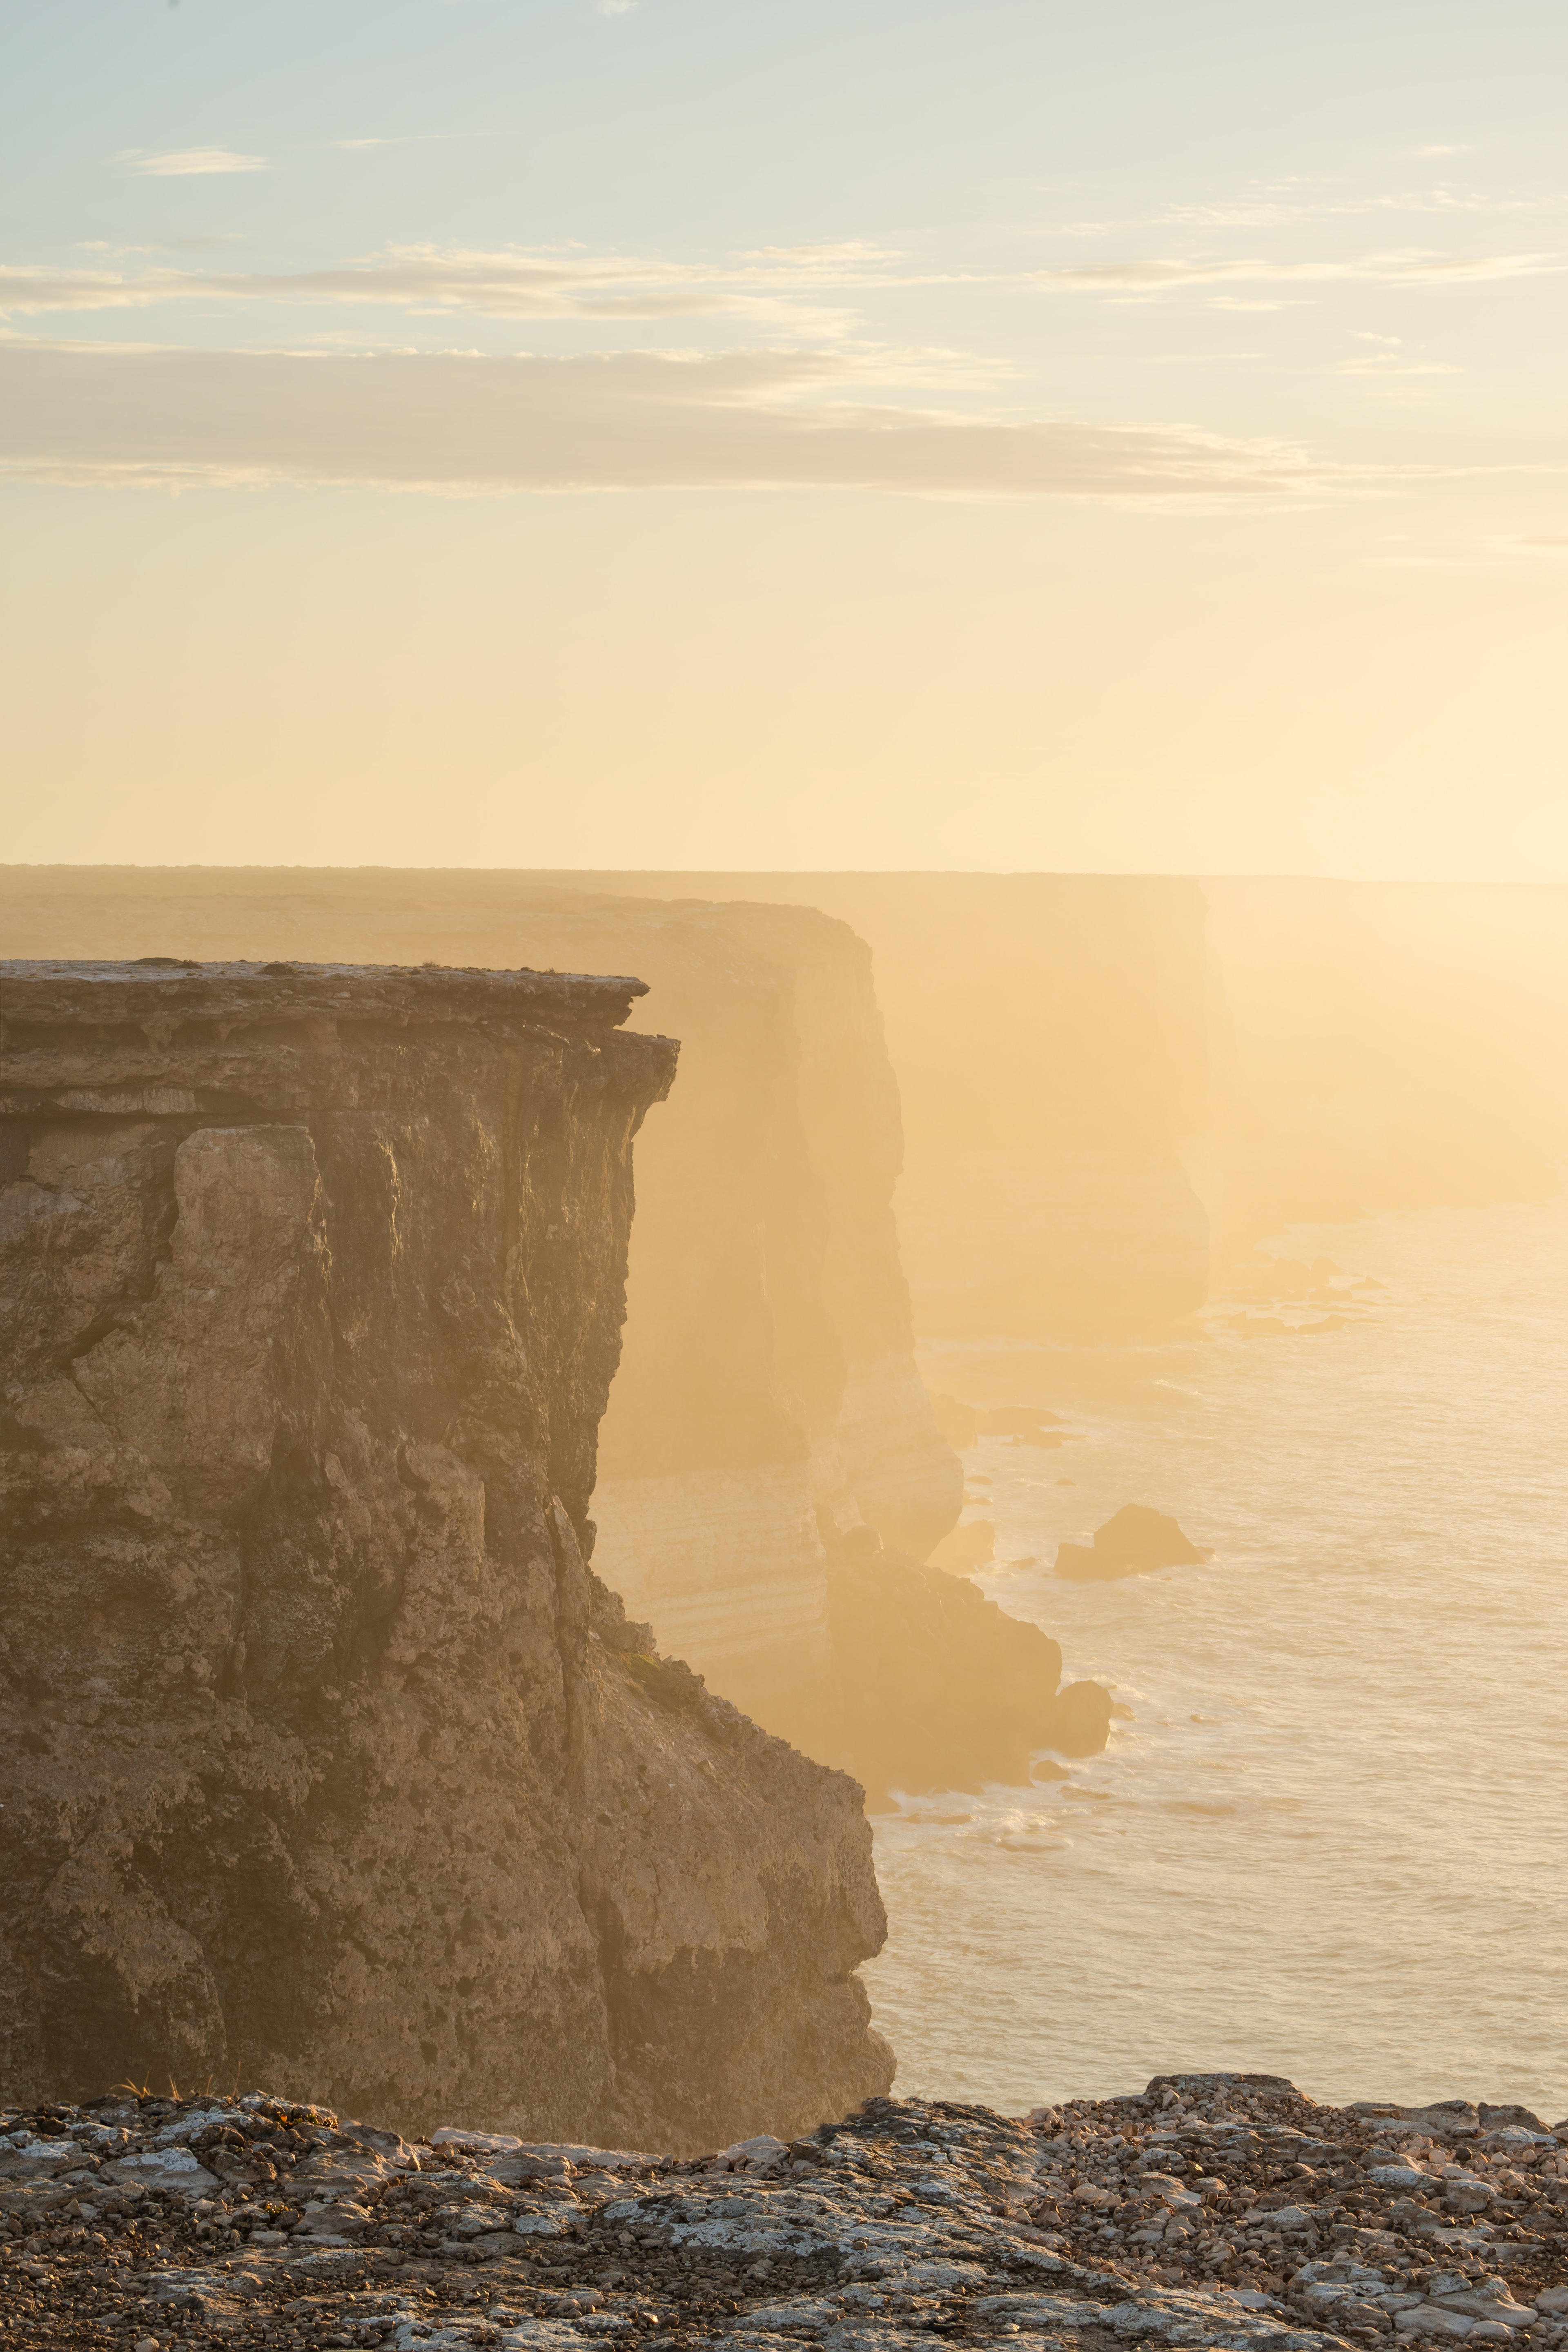
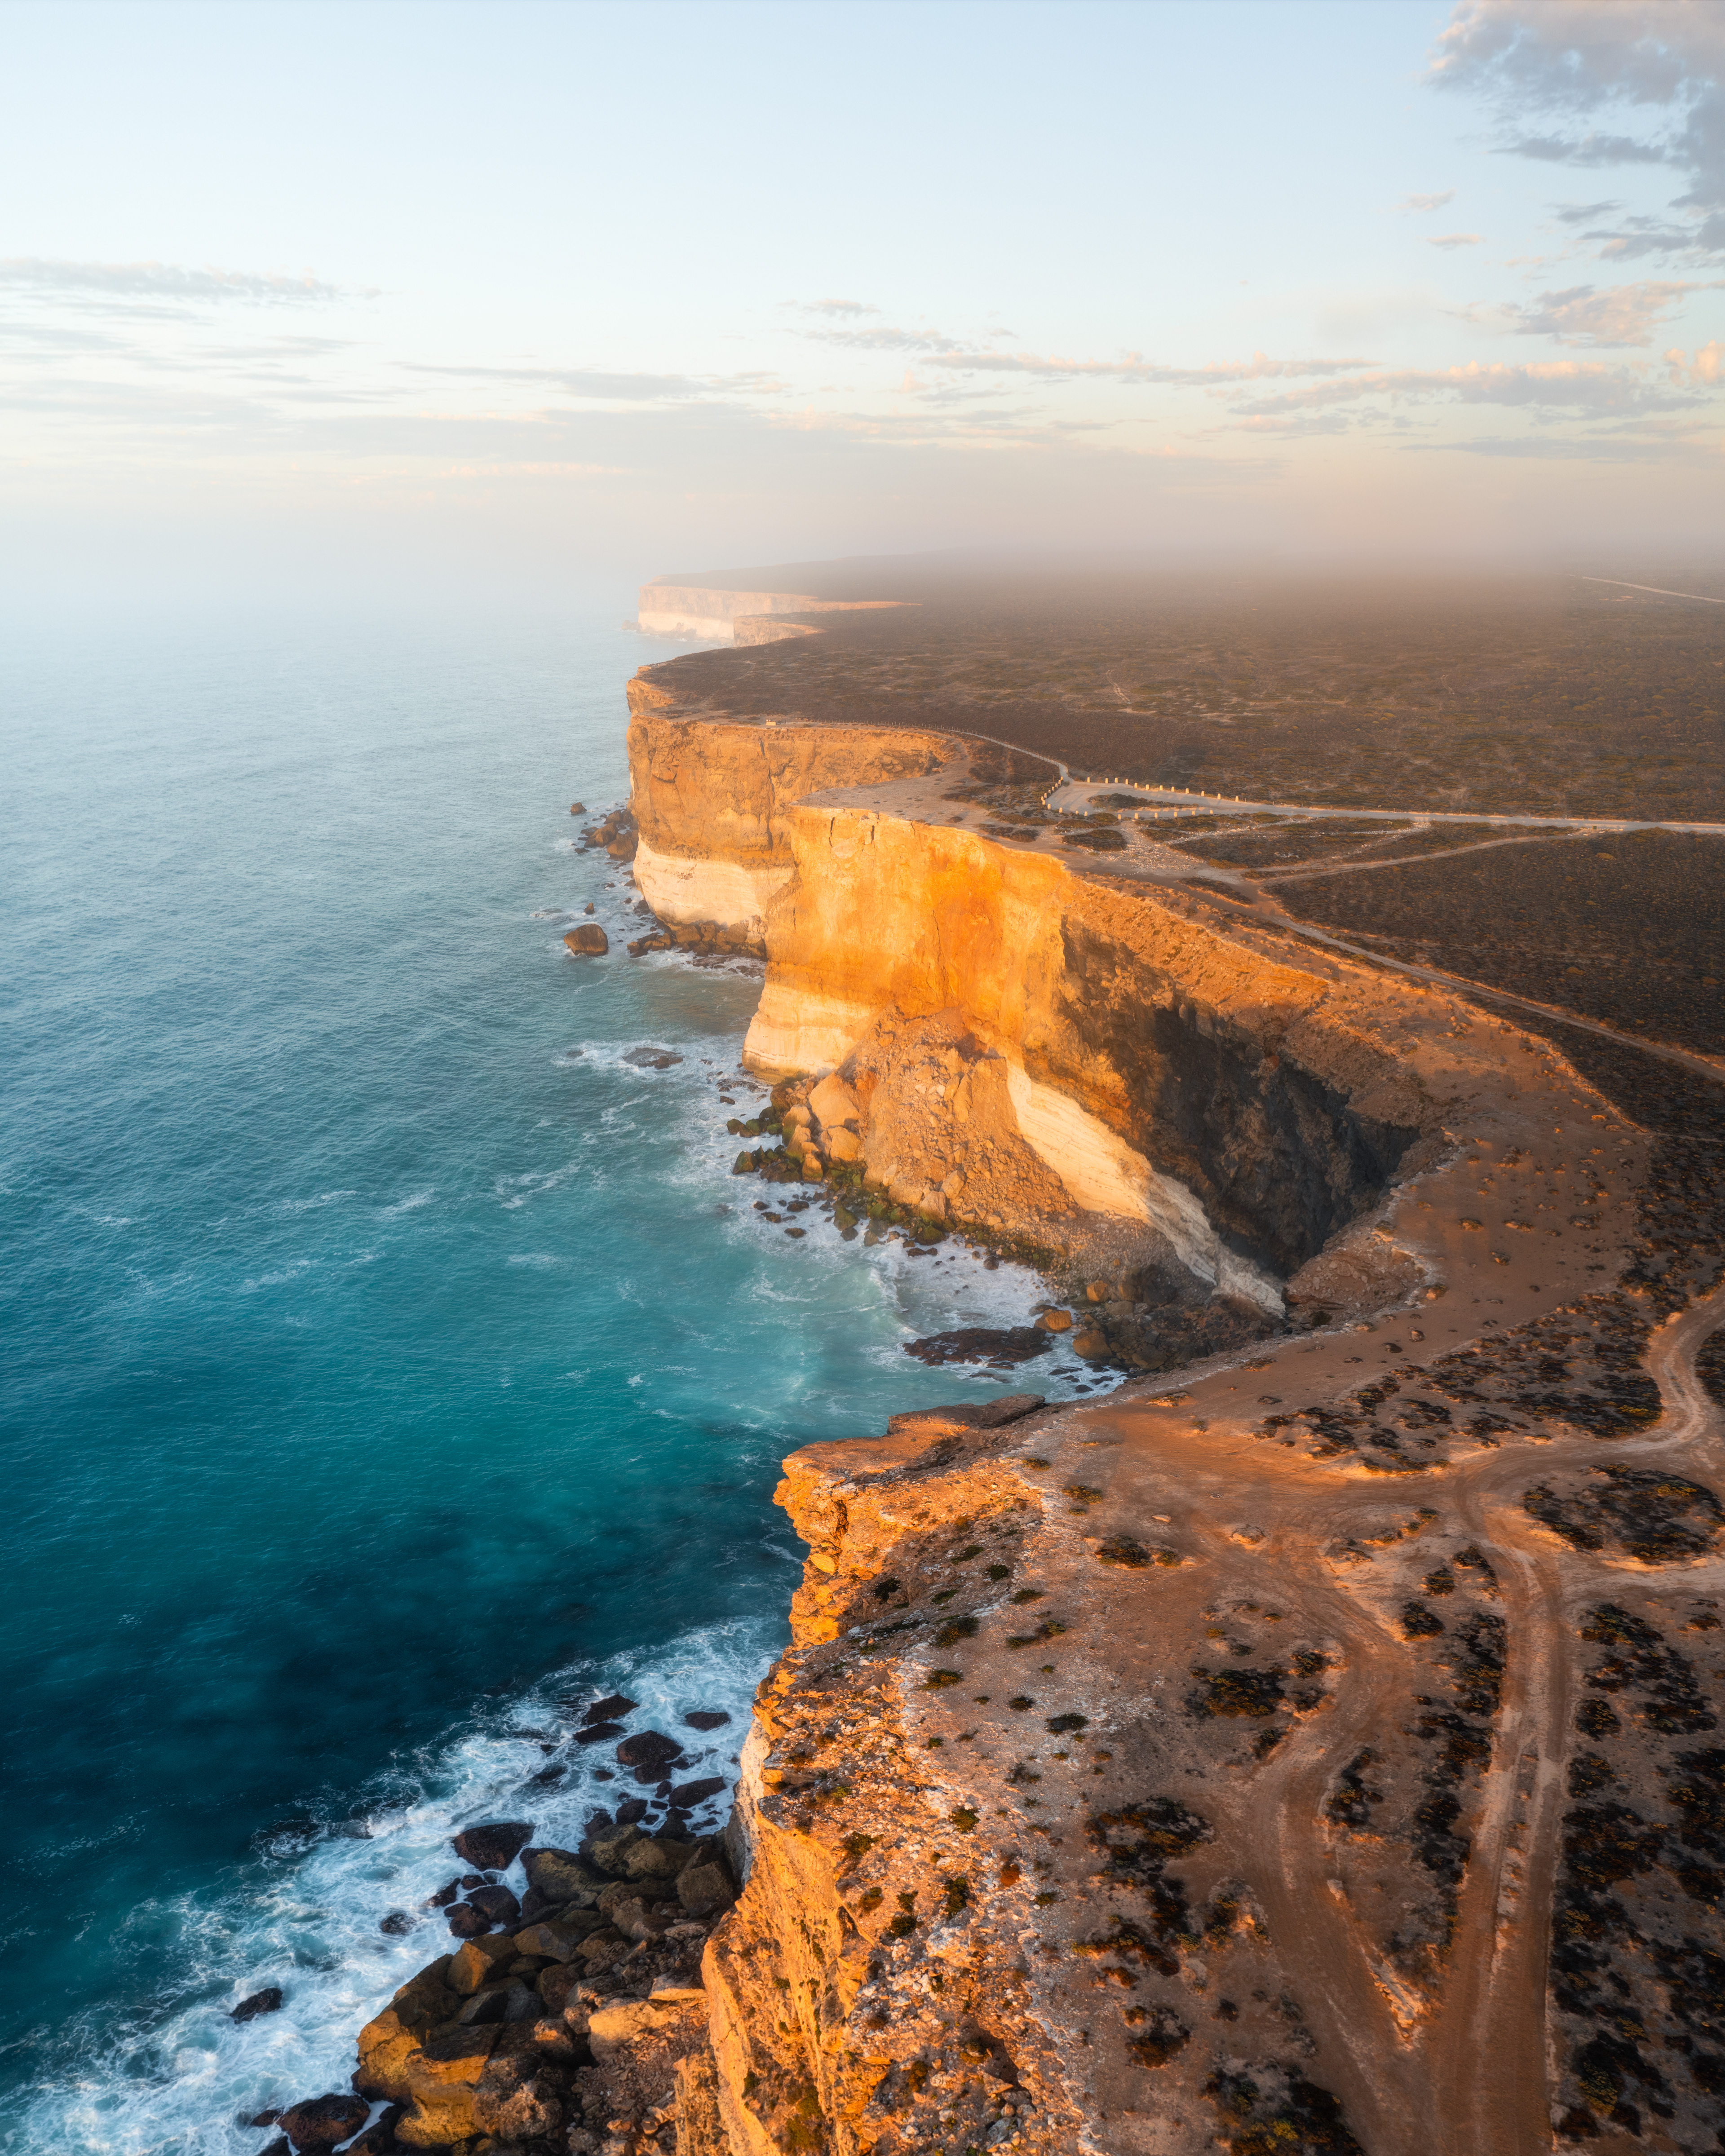
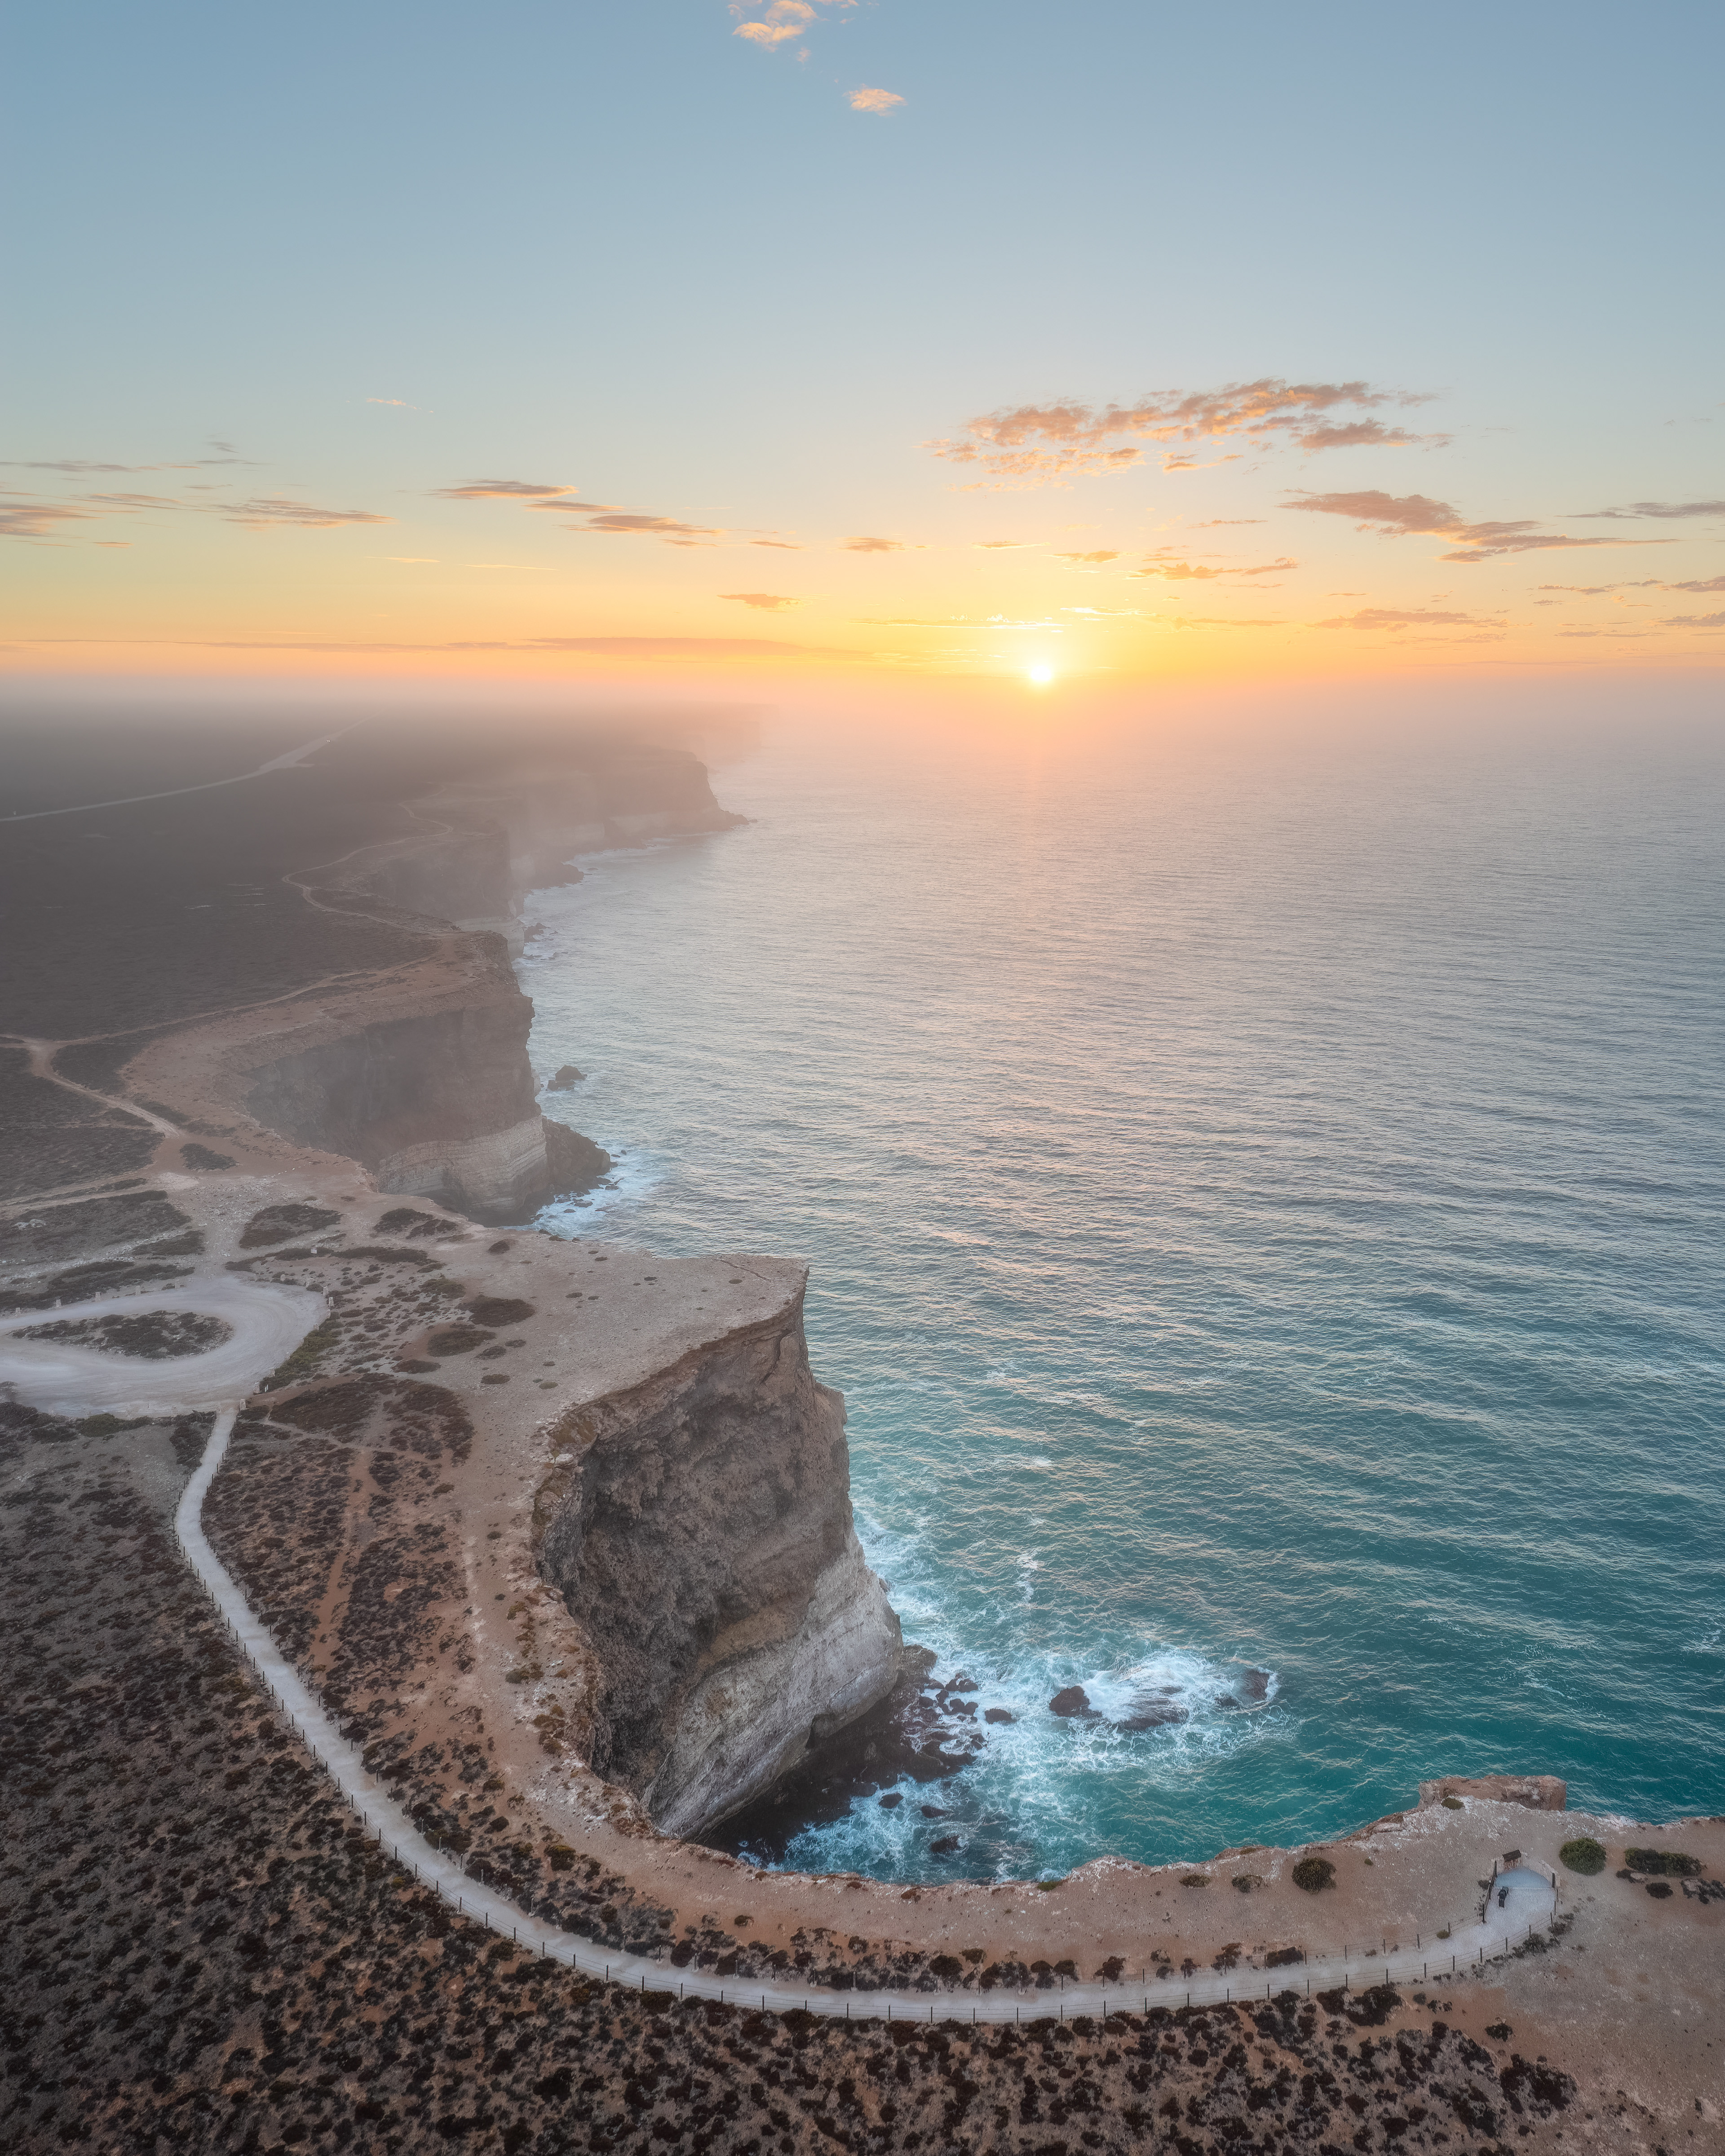
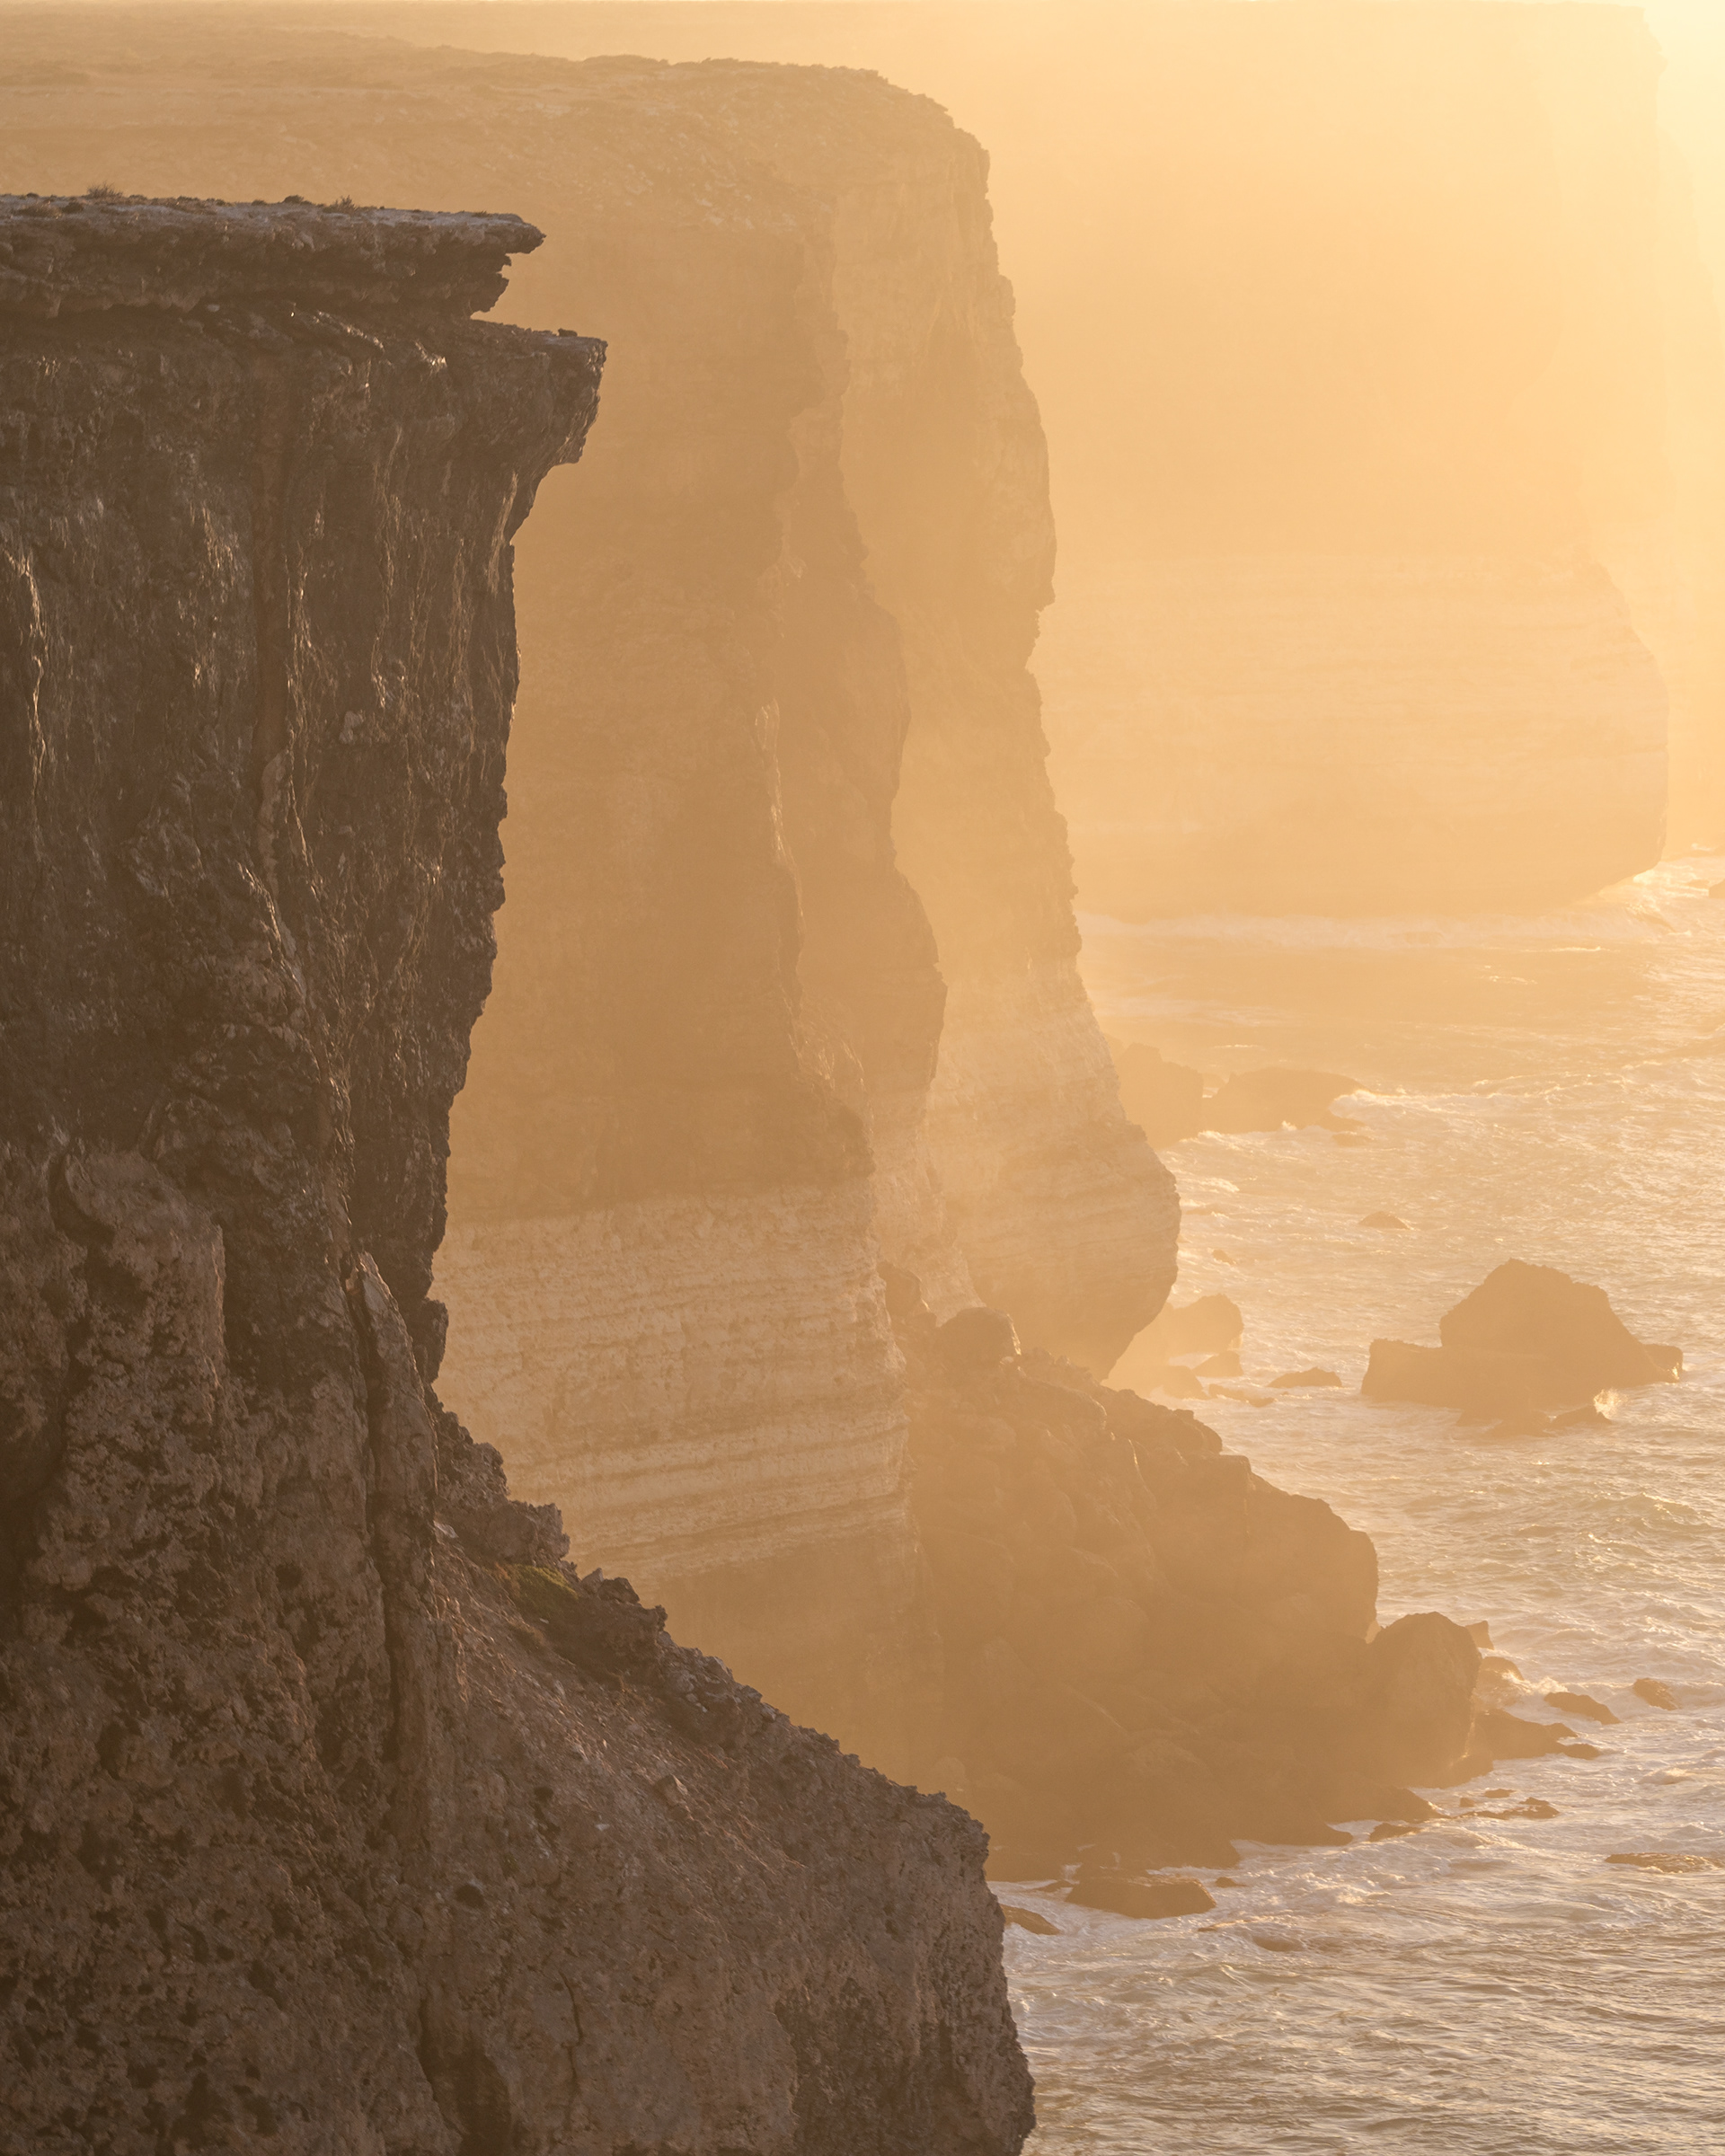
Bunda Cliffs 06 (2:3)
Greenly Beach (2:3)
Greenly Beach (2:3)
Sellicks Beach Archway (2:3/16:9)
Murphys Haystacks After Dark 01 (2:3)
Redbanks Arno Bay 01 (4:5)
Murphys Haystacks 01 (2:3)
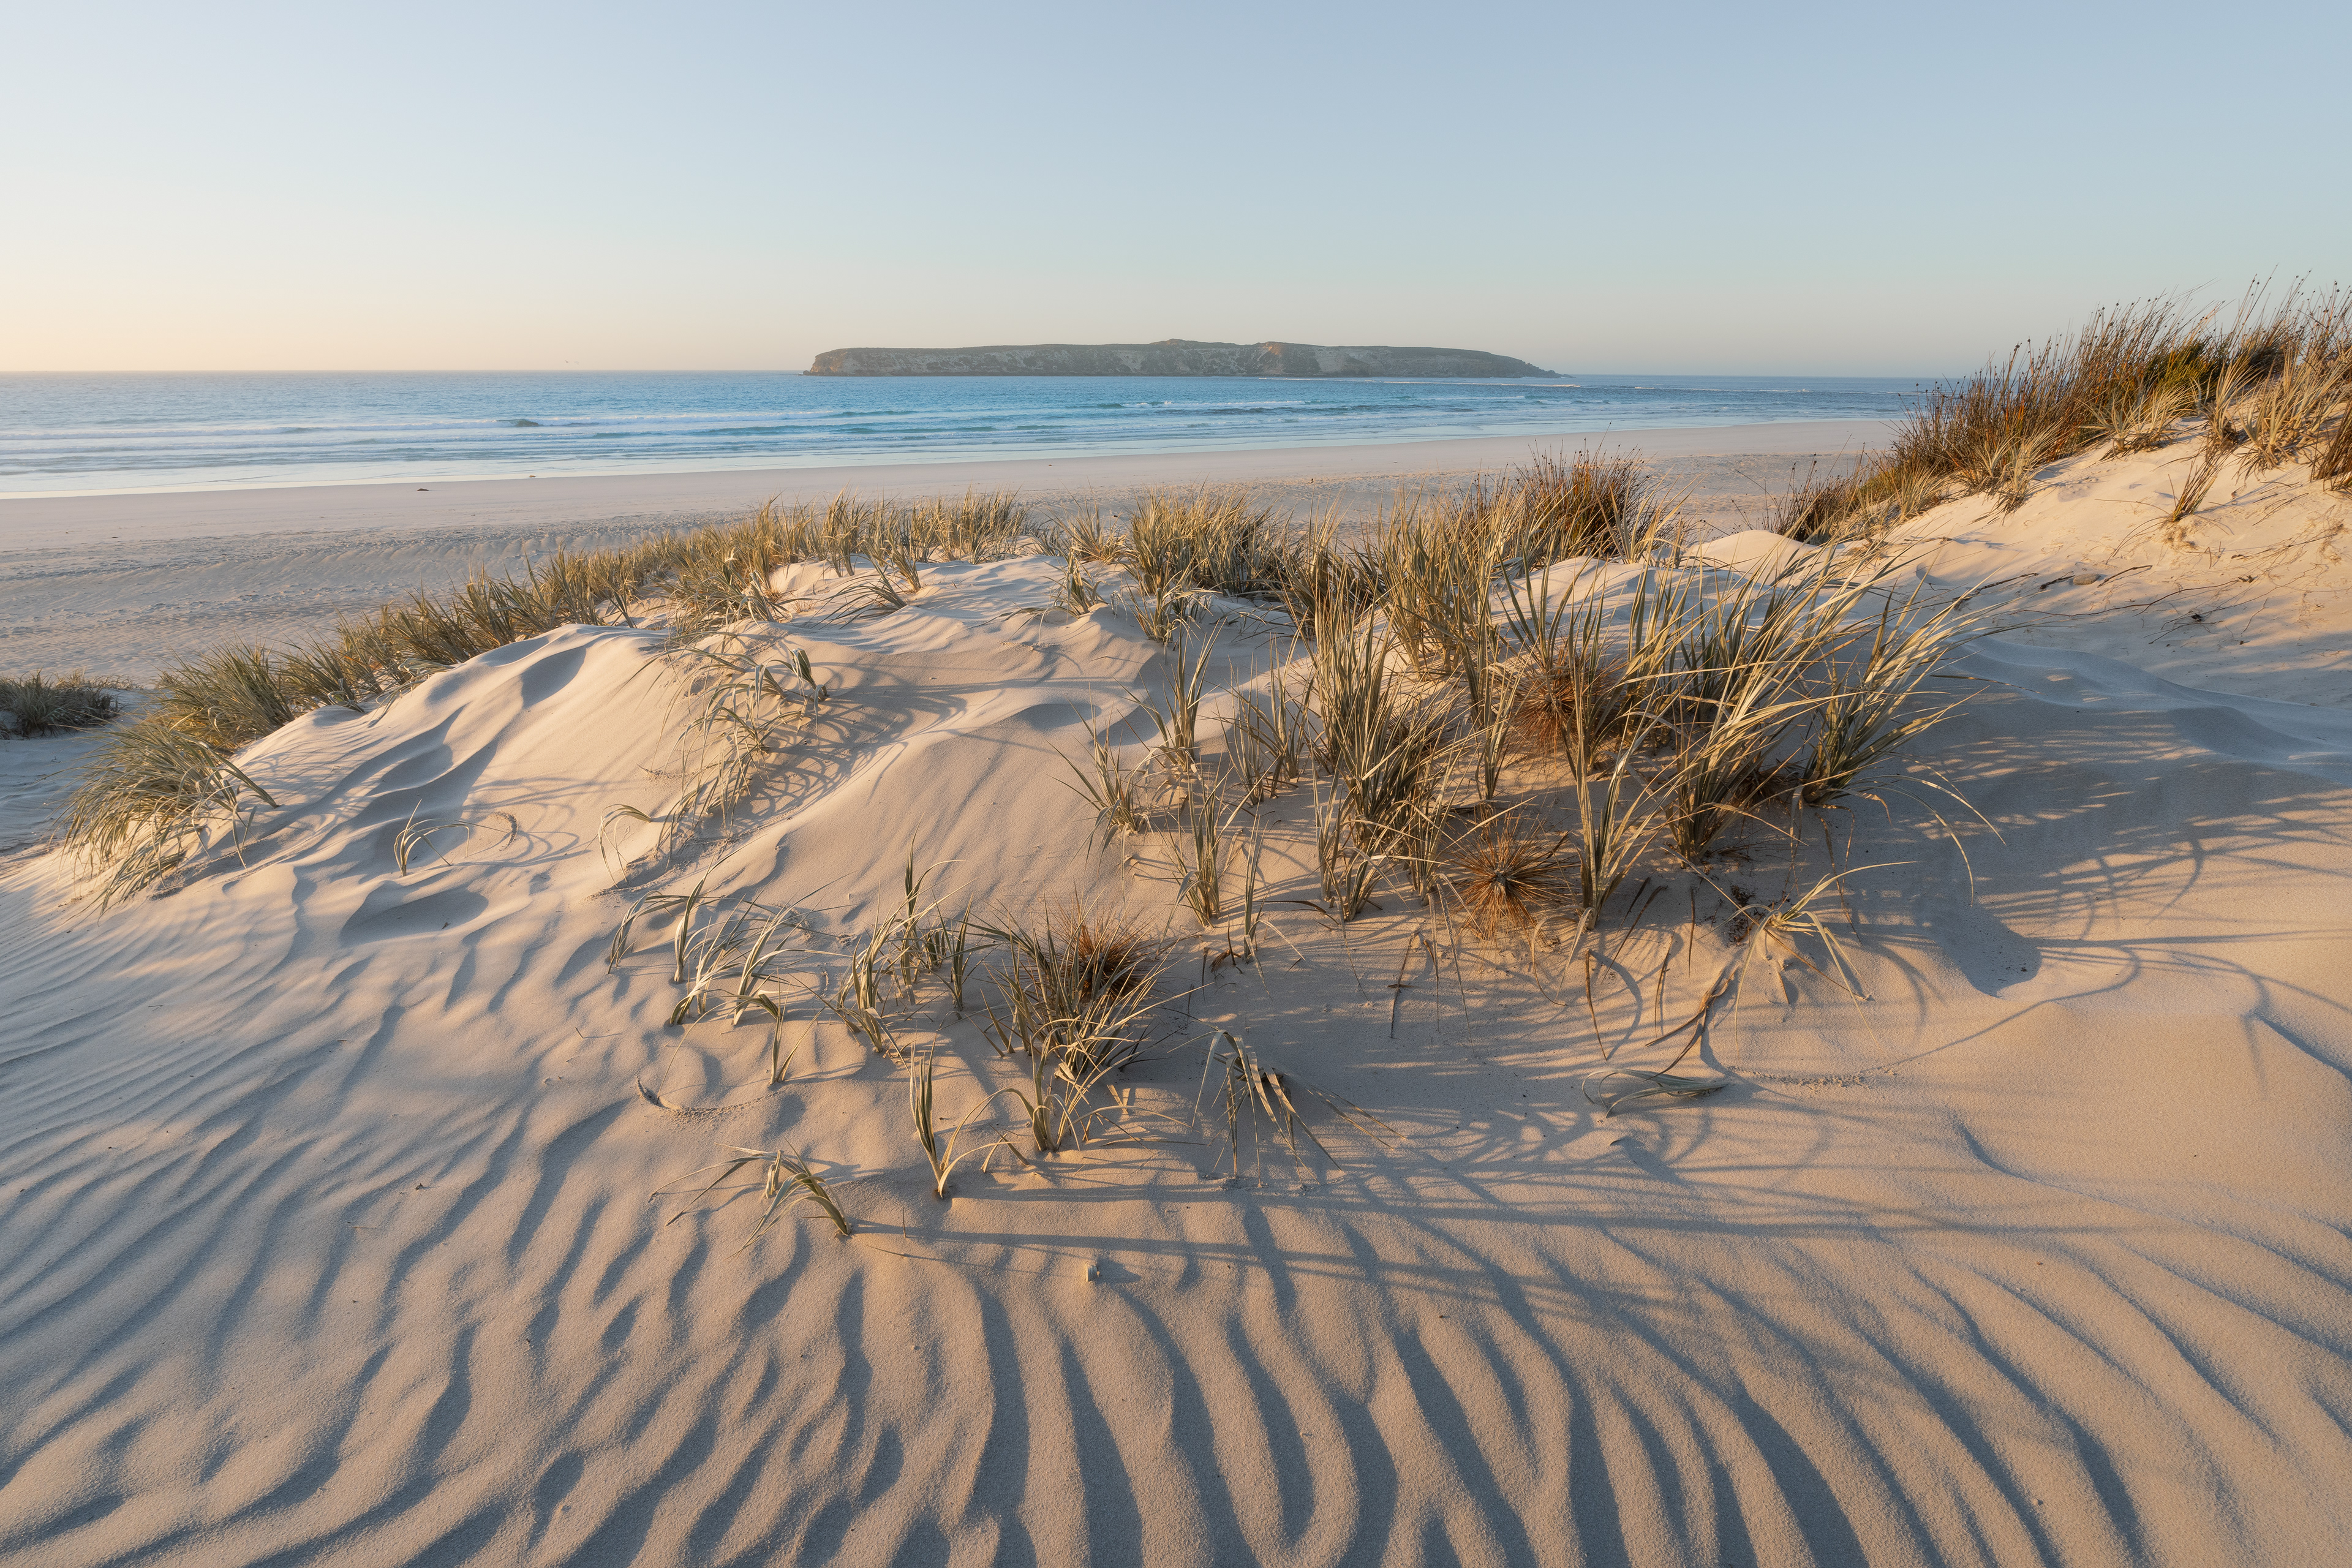
Coffin Bay National Park 01 (2:3)
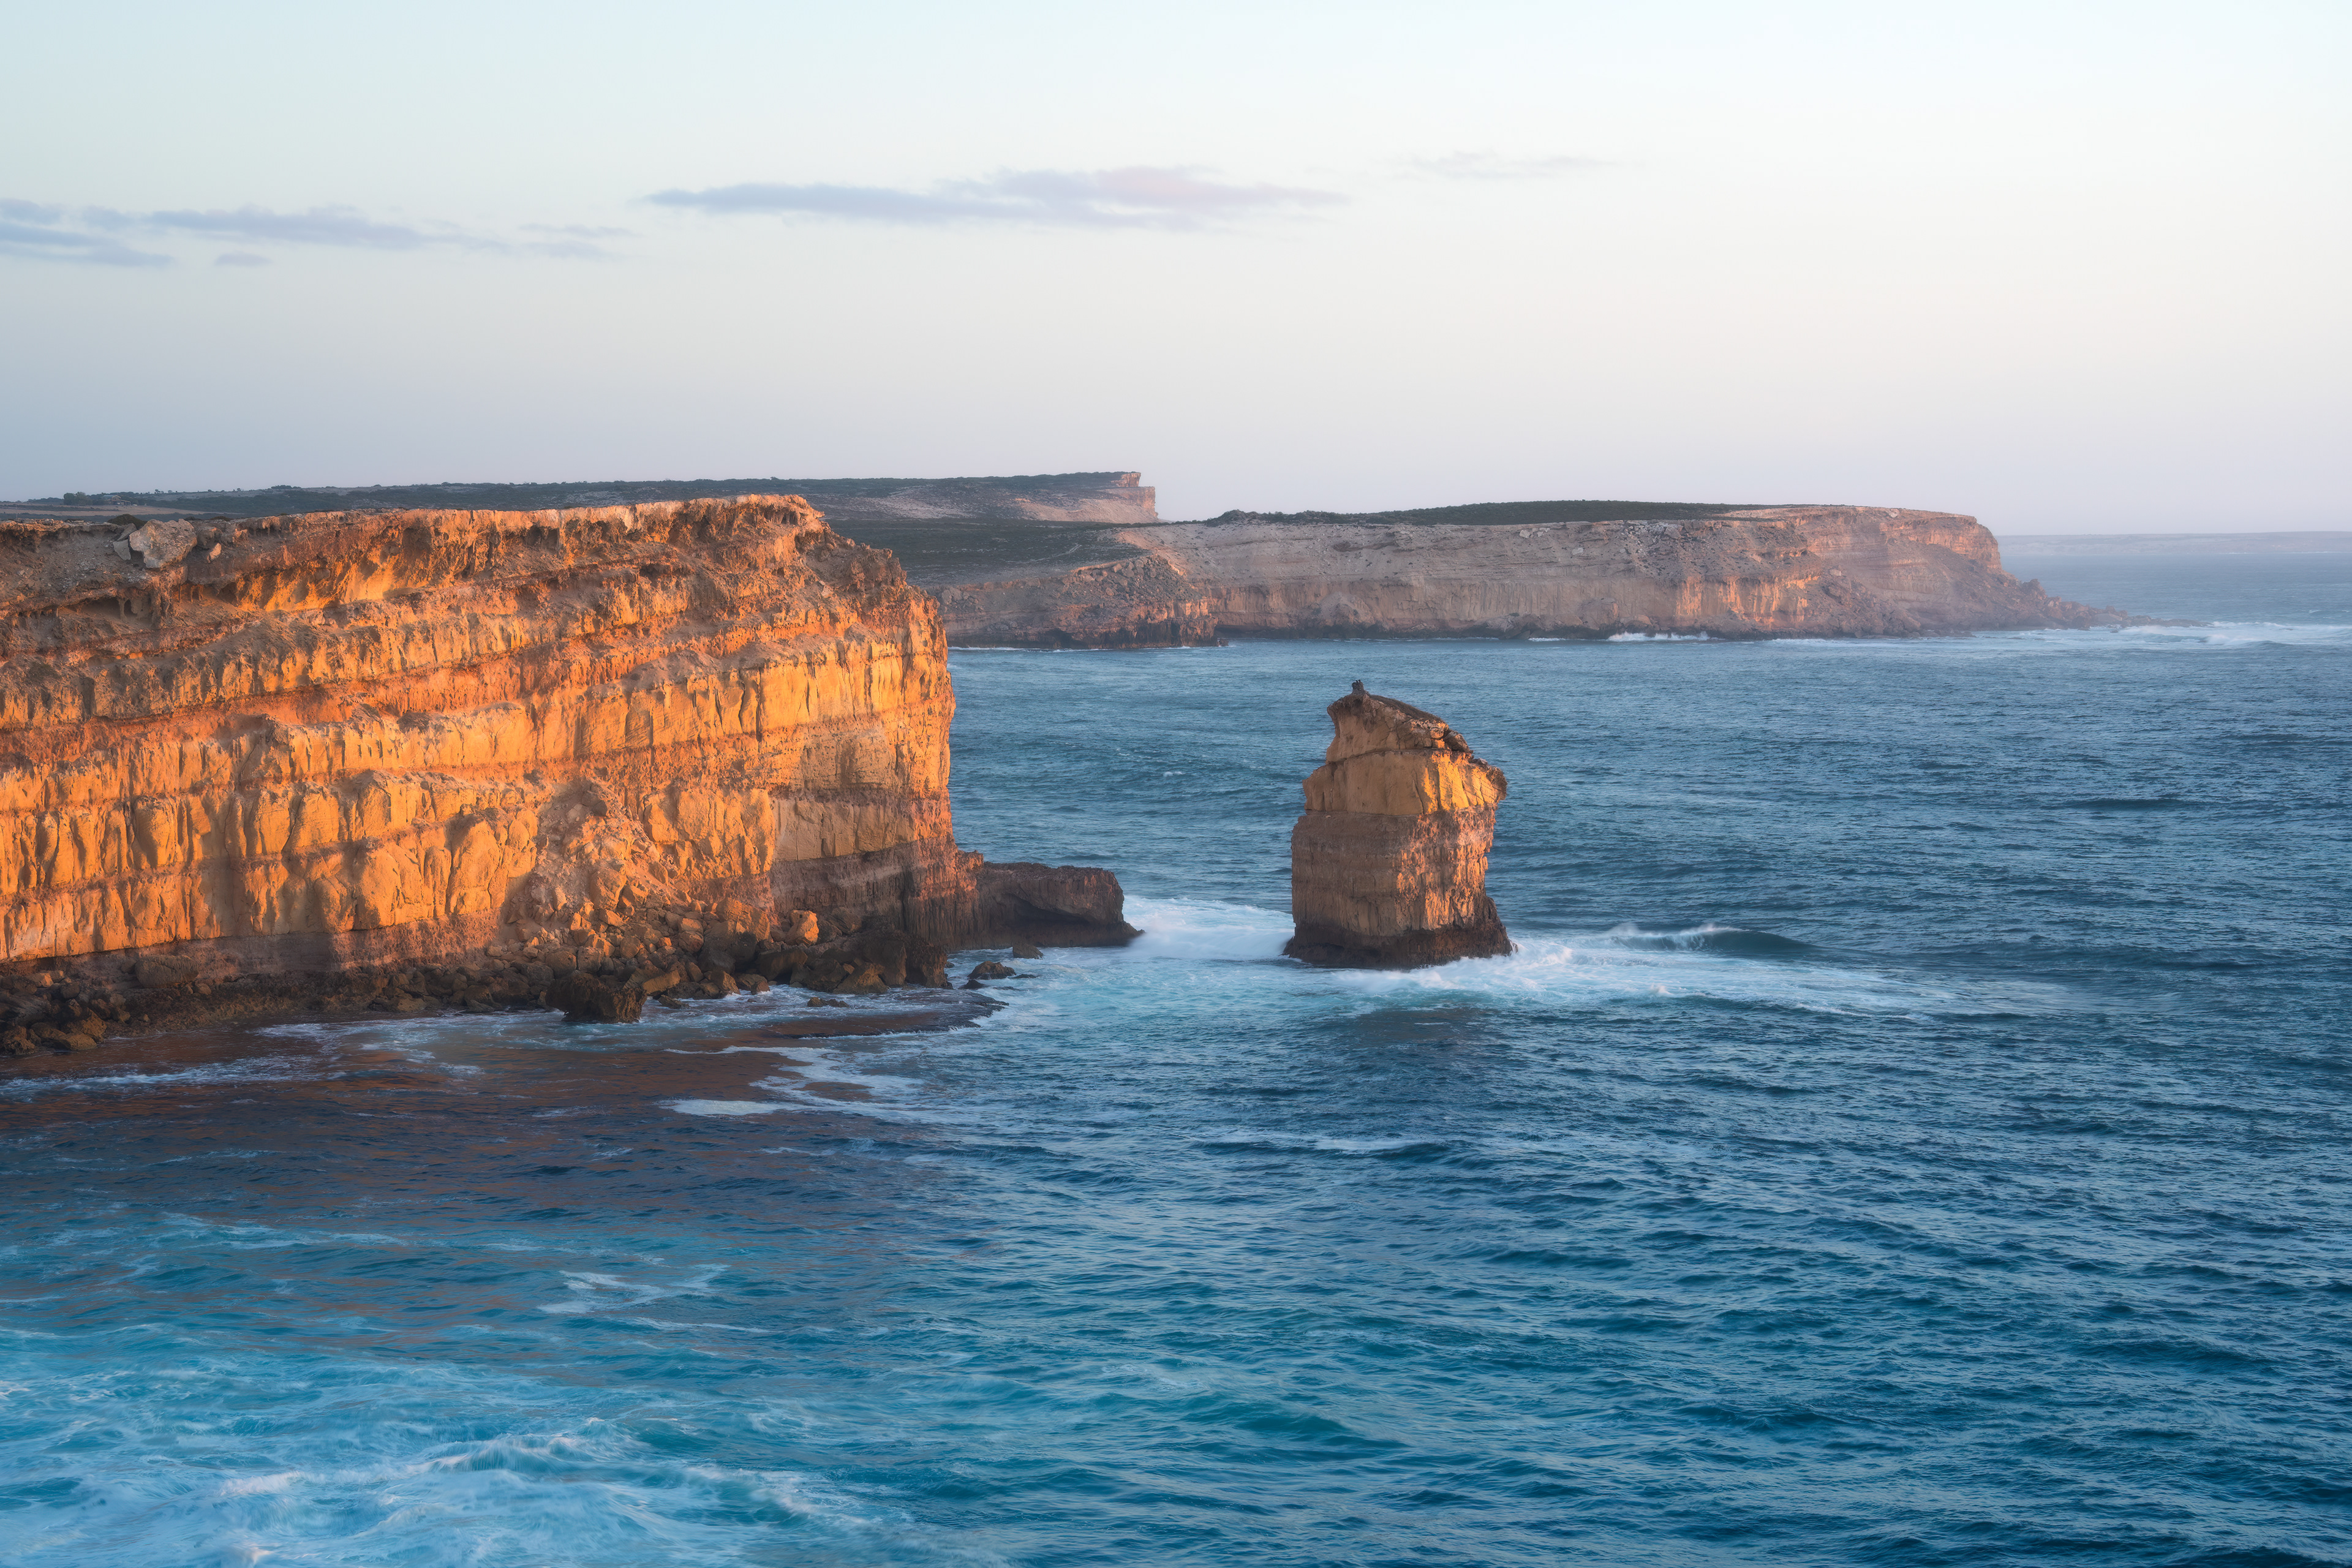
Point Avoid 03 (2:3)
Port Augusta Red Cliffs 04 (4:5)
Smoky Bay Jetty (2:3)
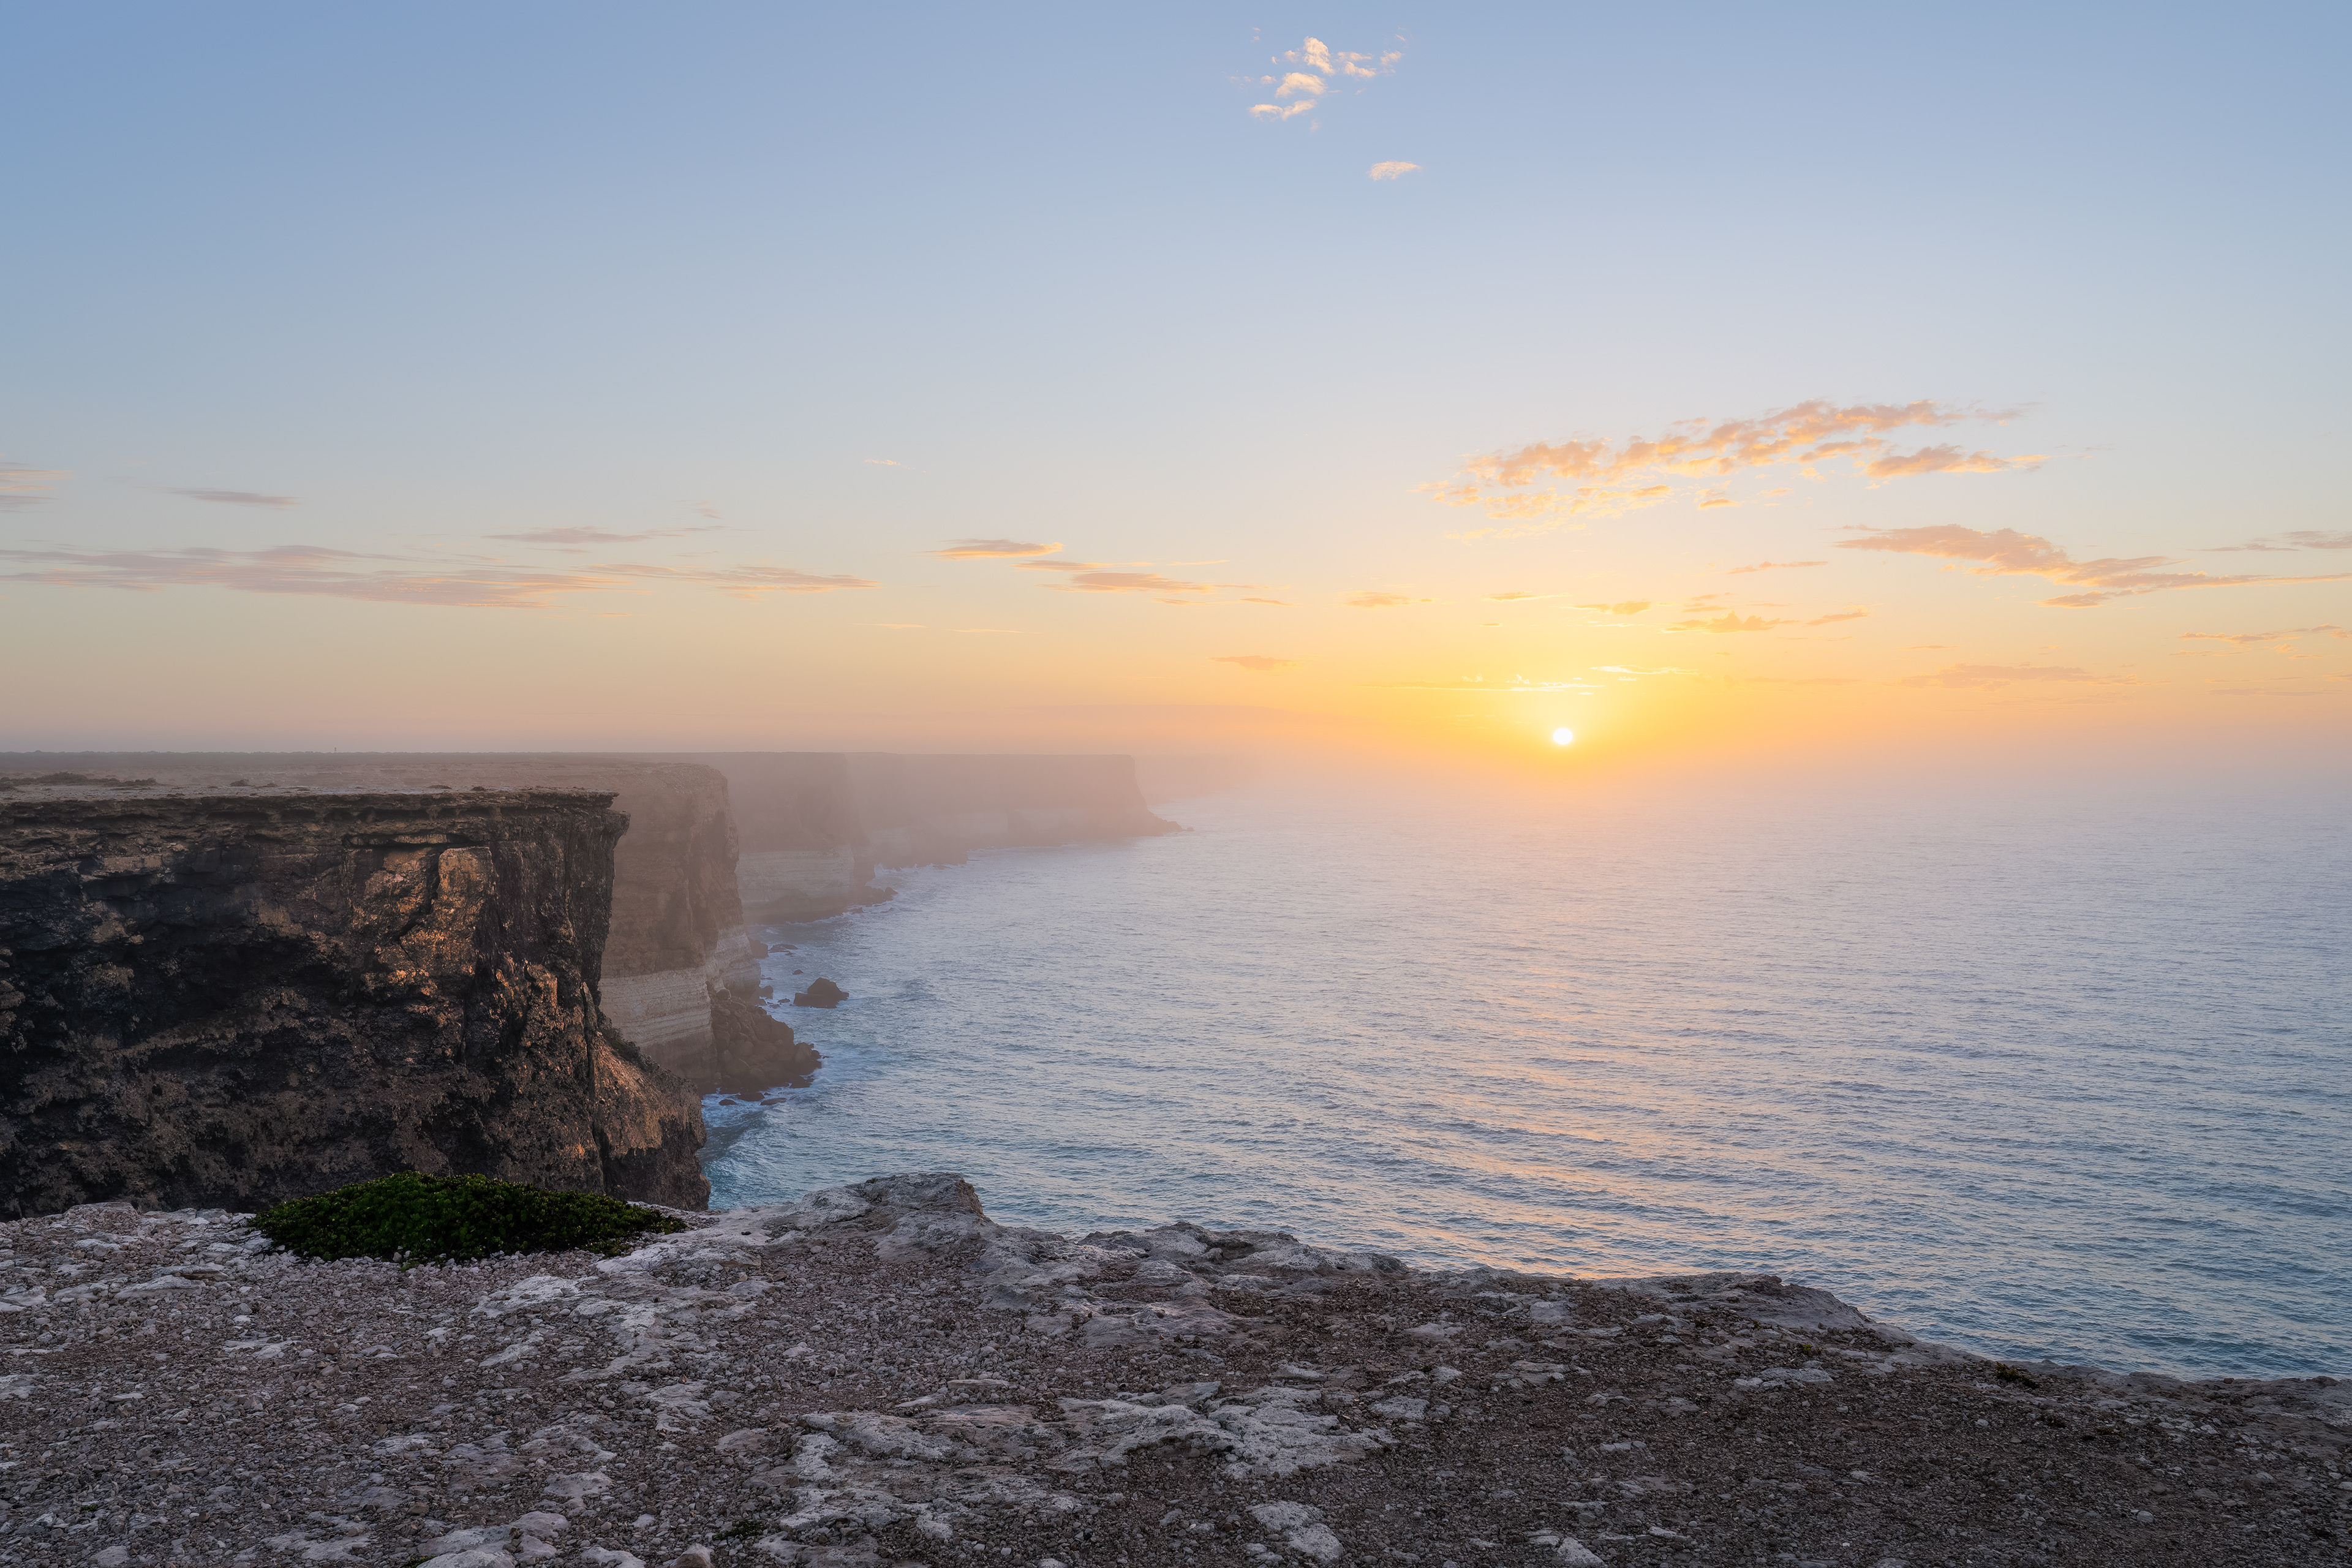
Bunda Cliffs 01 (4:5)
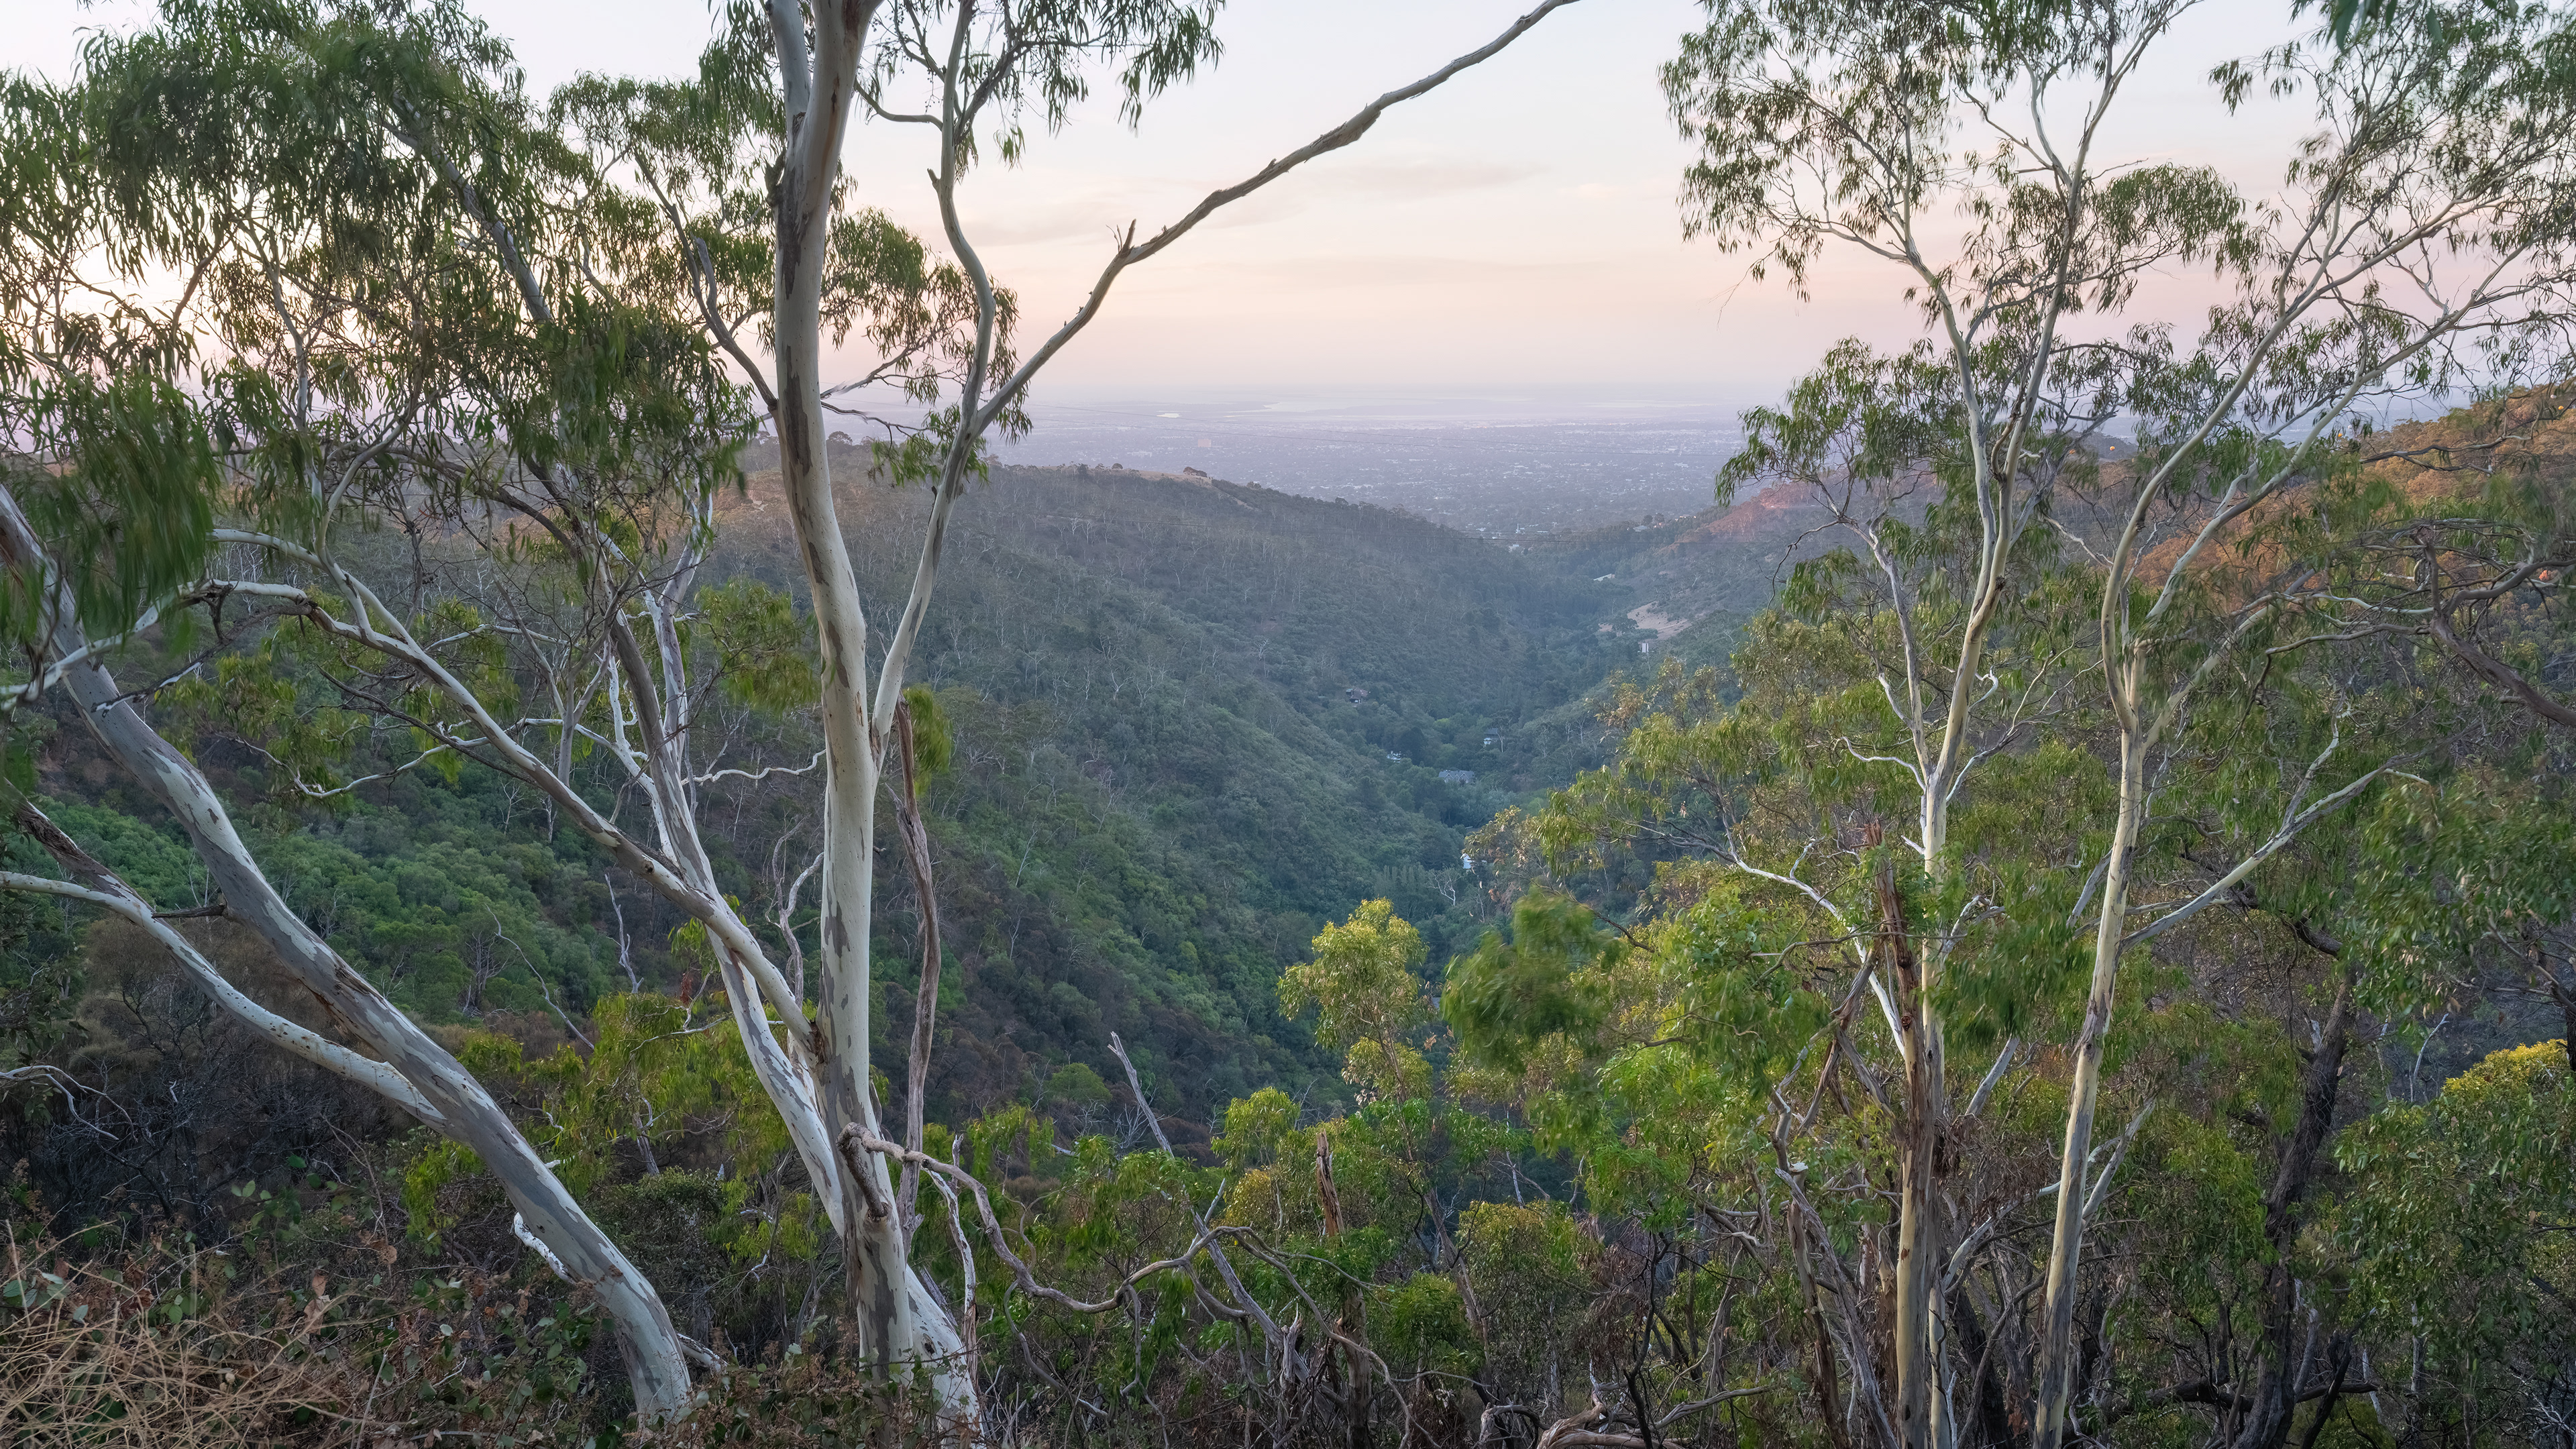
Mount Lofty (2:3)
Mount Lofty (2:3)
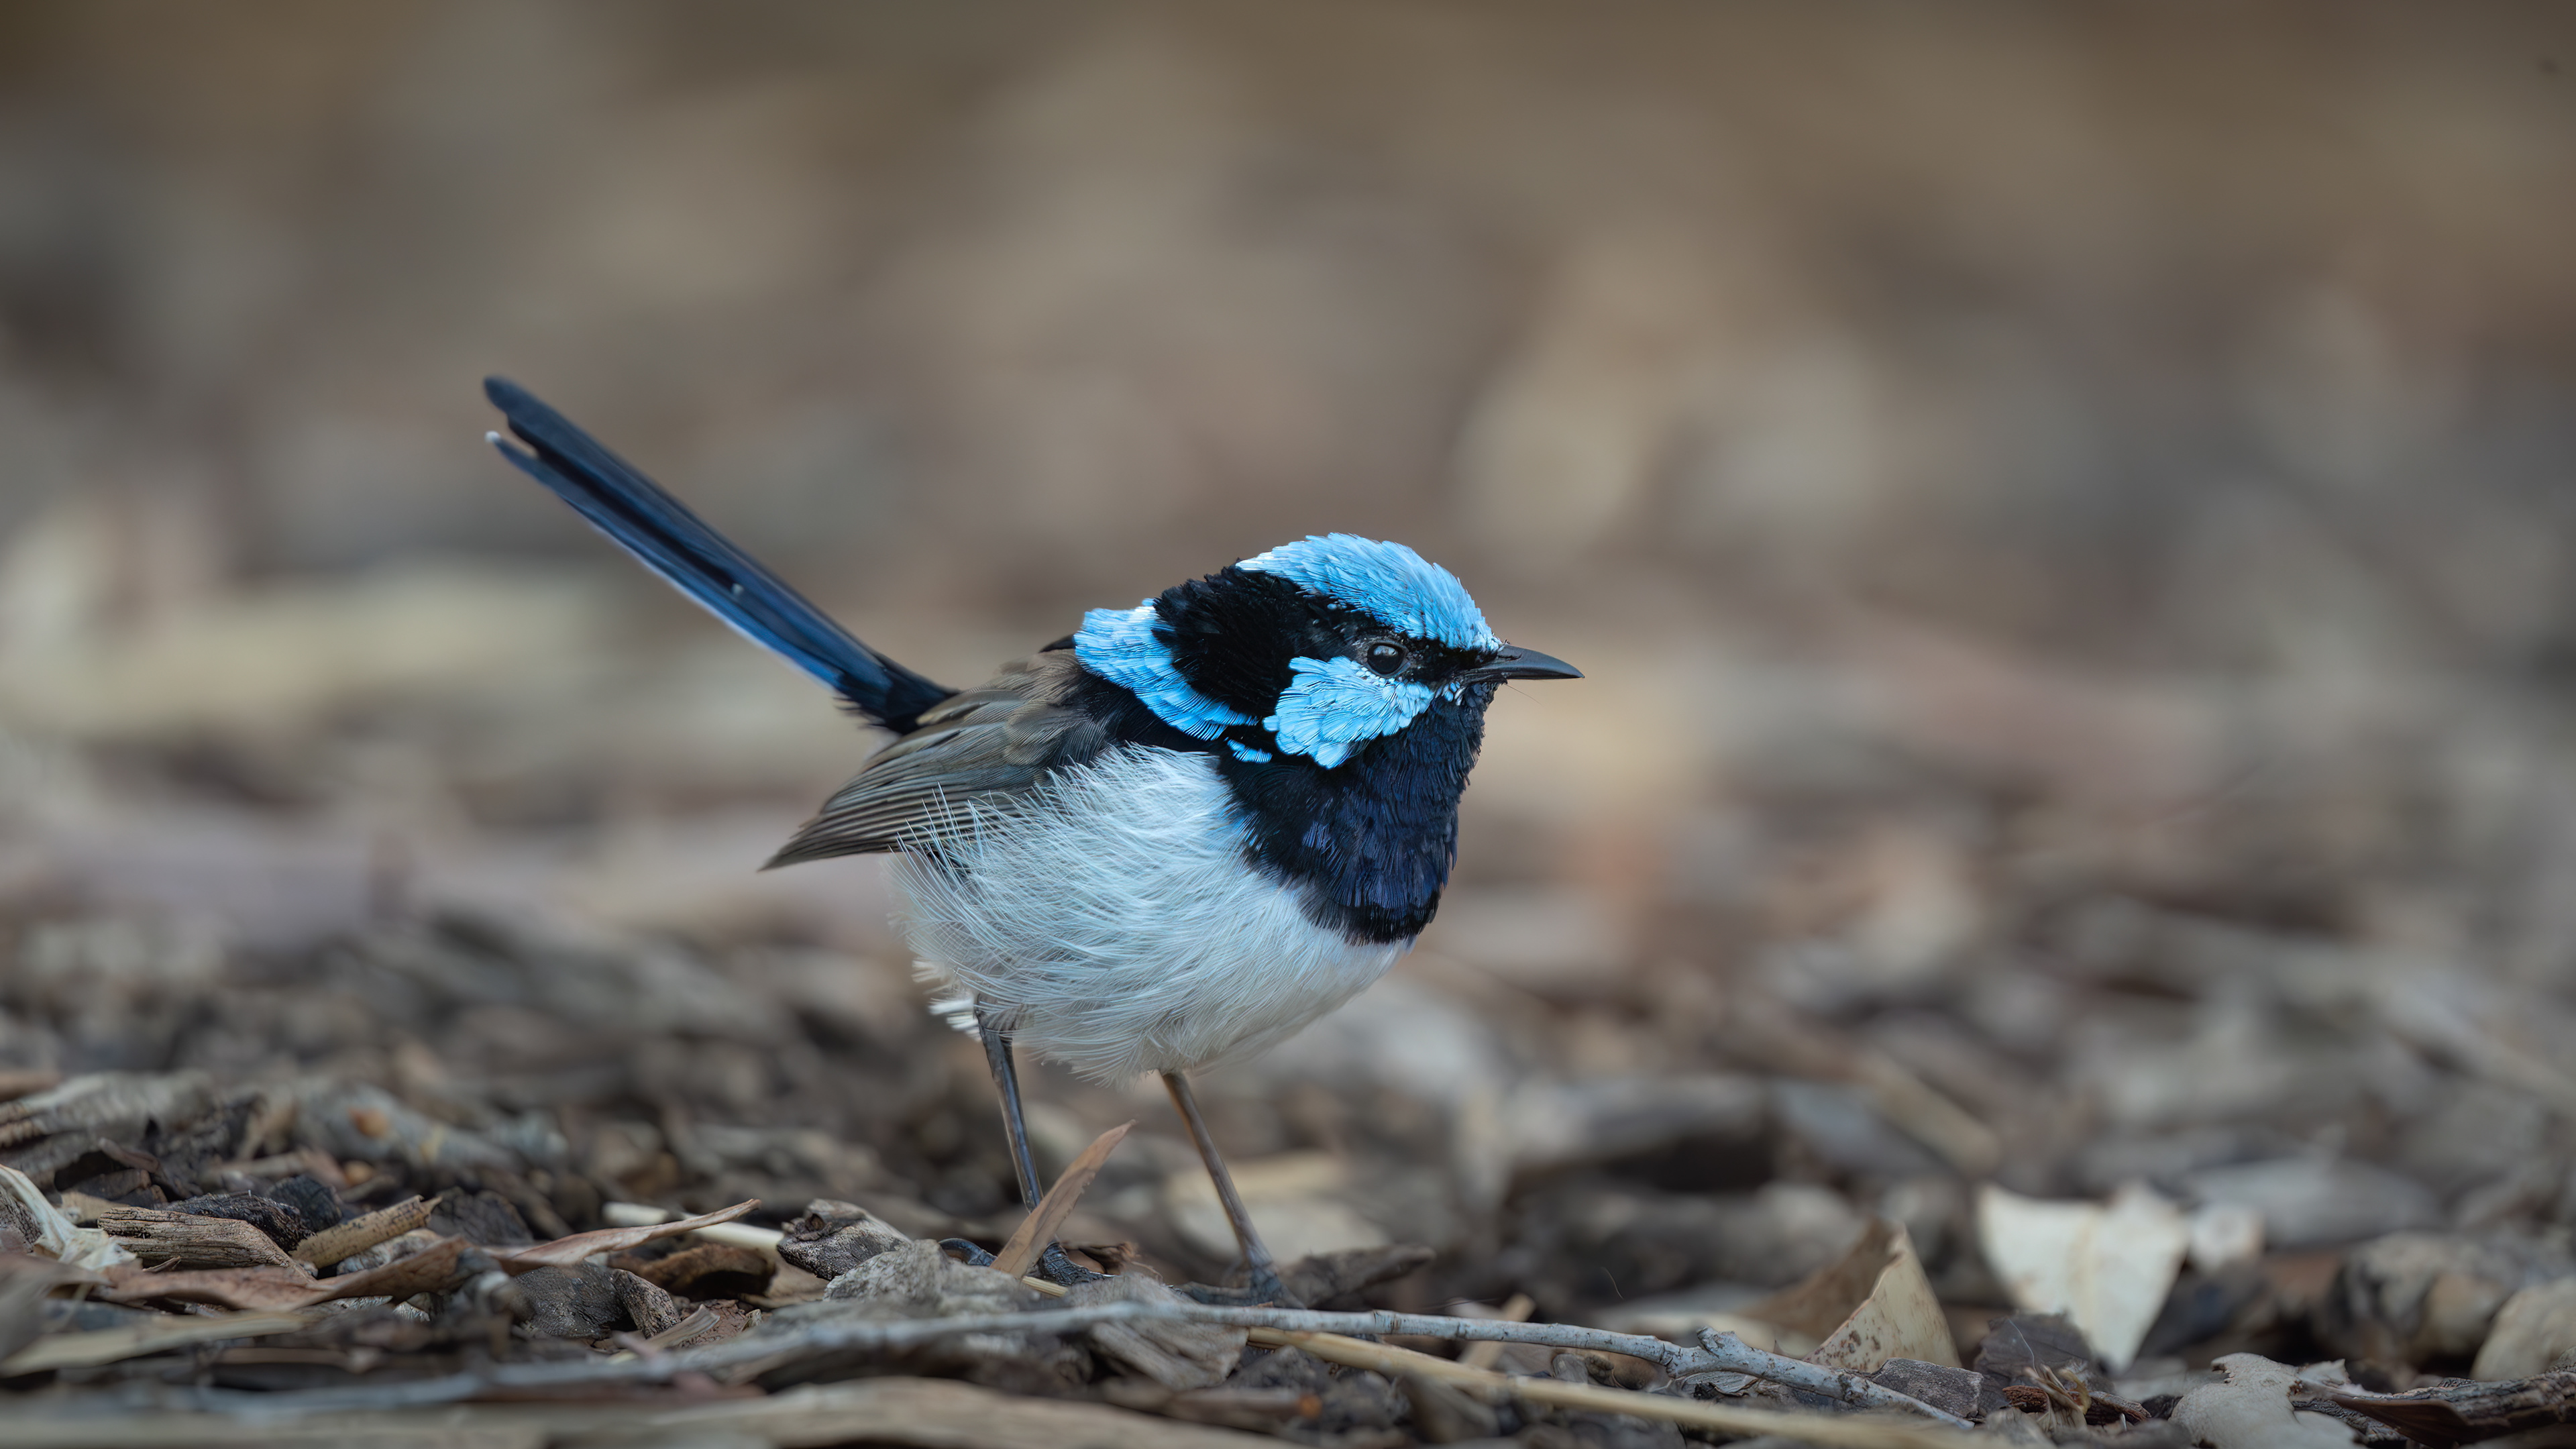
Superb Fairywren (2:3/16:9)
Point Avoid 01 (2:3)
Murphys Haystacks After Dark 03 (2:3)
Second Valley Cave (2:3/16:9)
Cape Barren Geese (2:3)
Bunda Cliffs 03 (4:5)
Murphys Haystacks 06 (2:3)
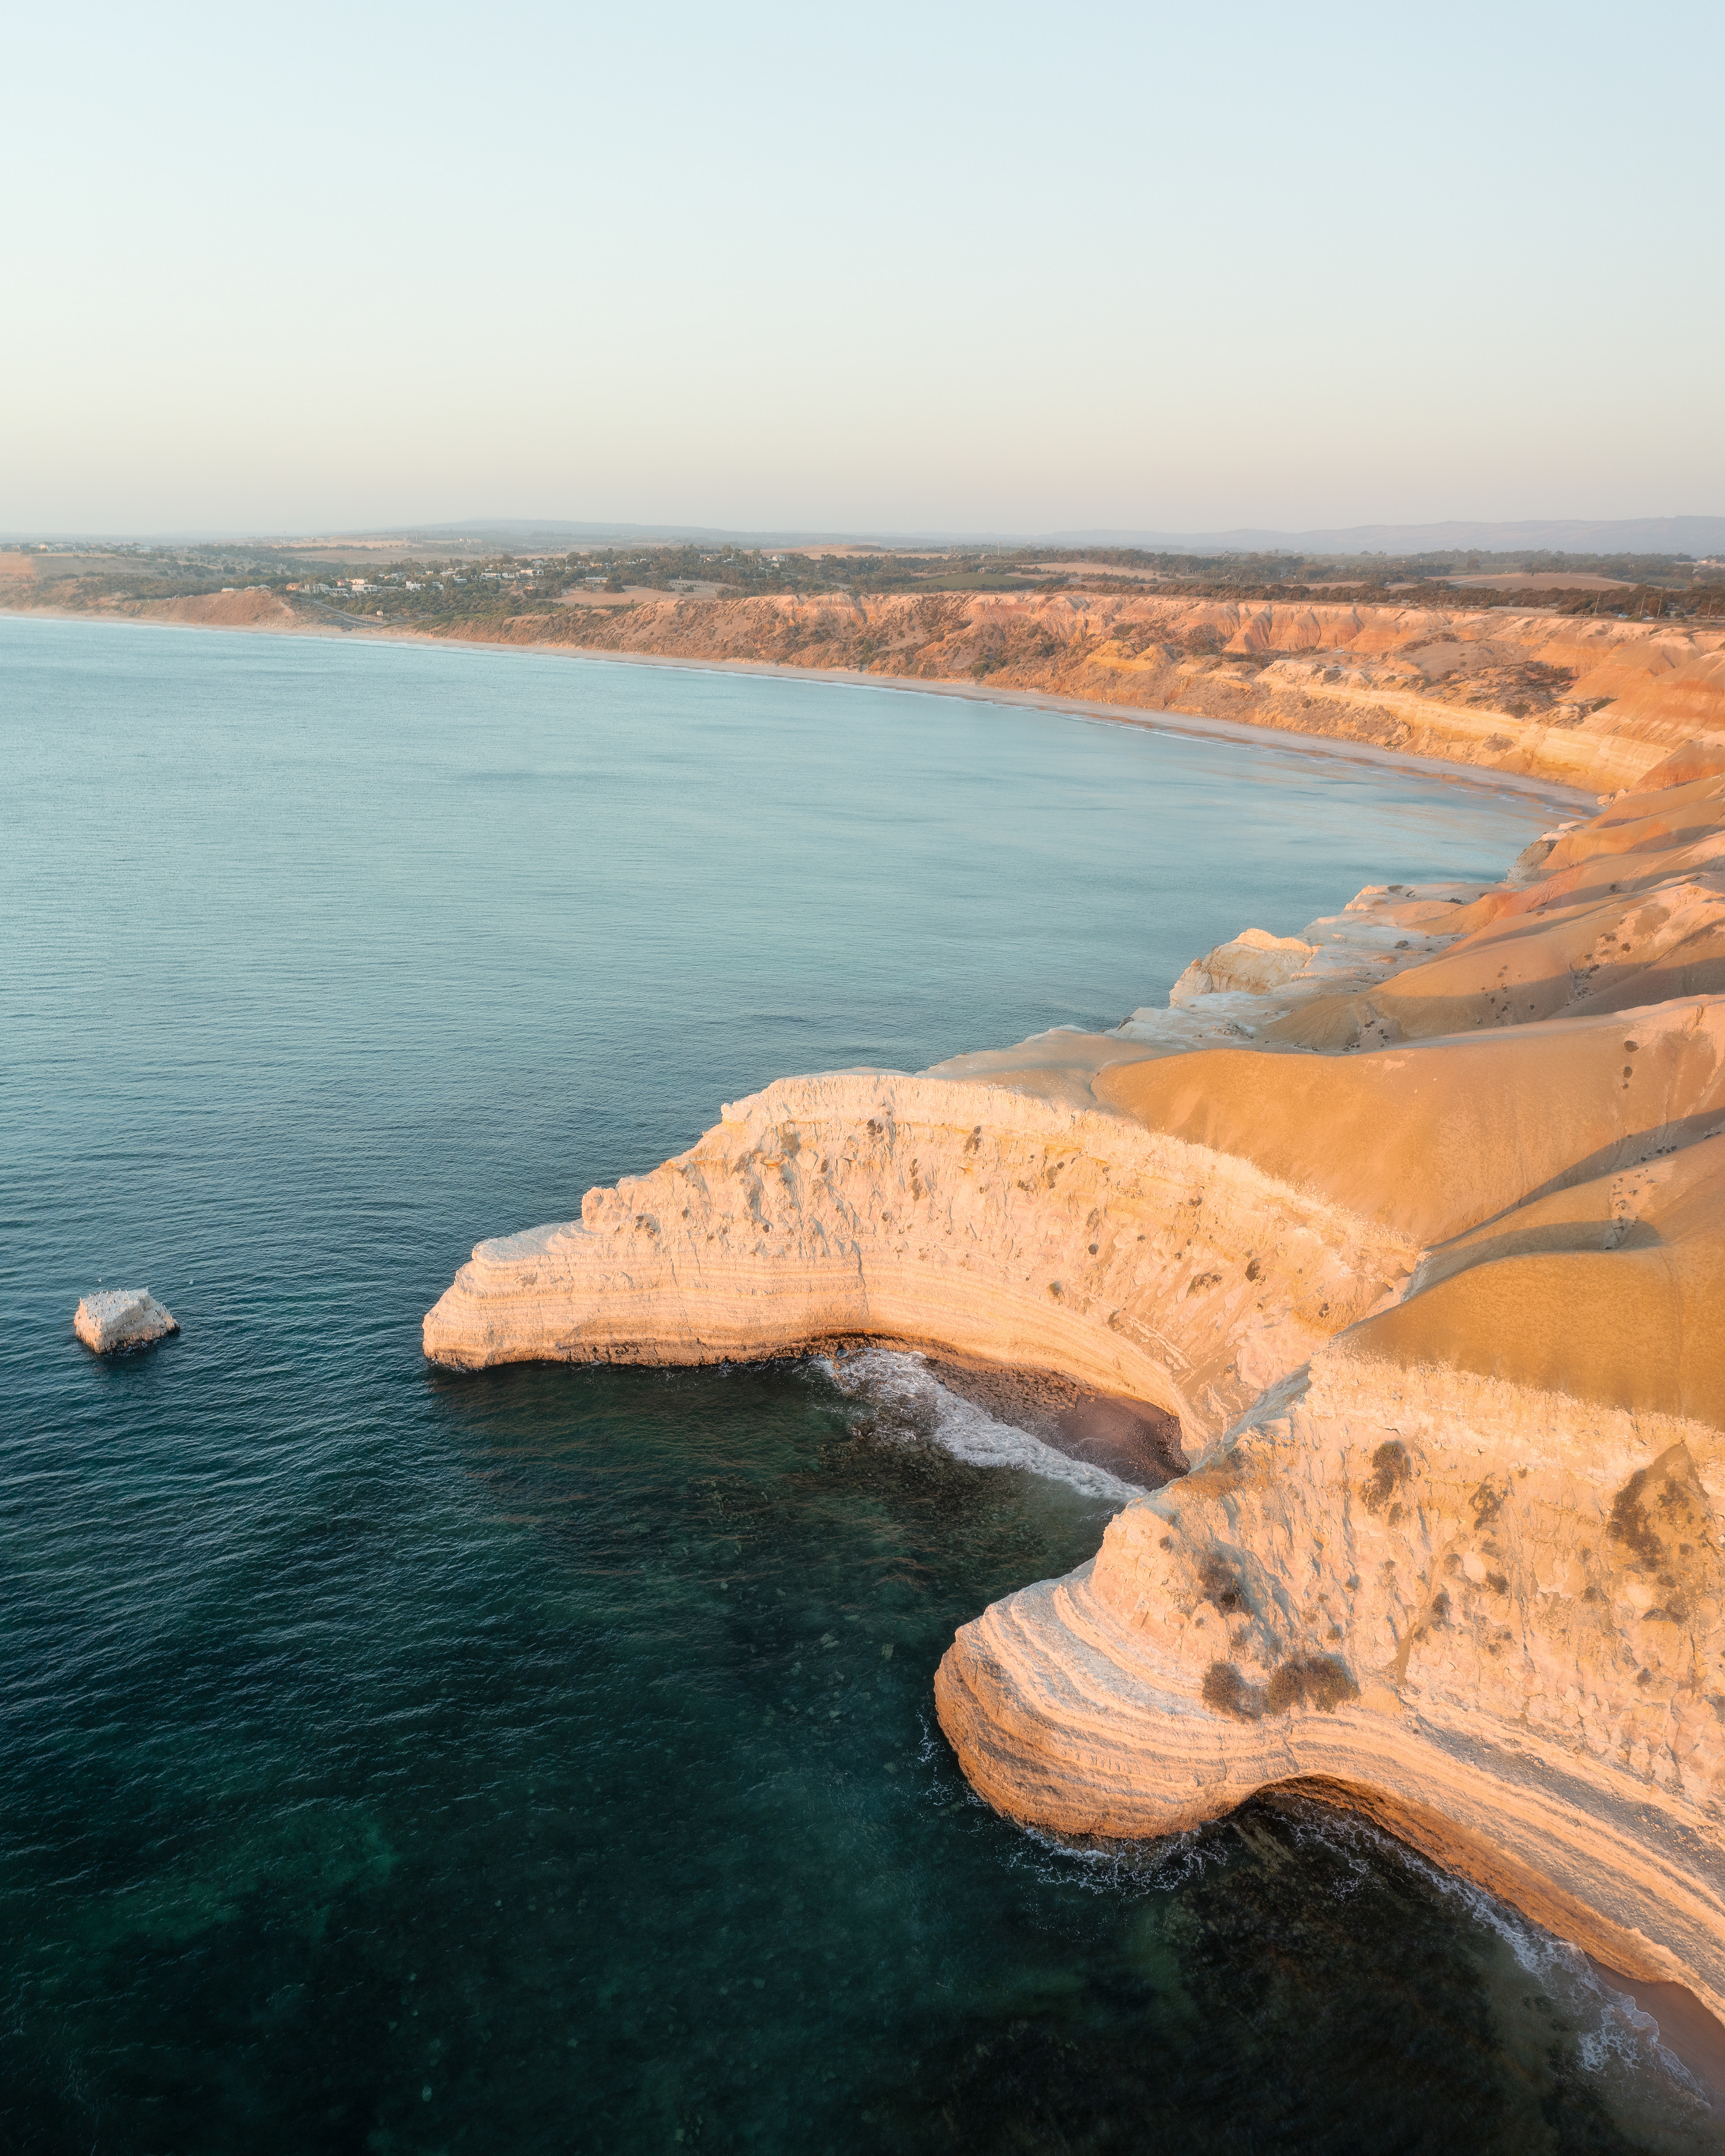
Blanche Point 01 (4:5)
Adelaide Hills (2:3/16:9)
Elliston Coast 3 (2:3)
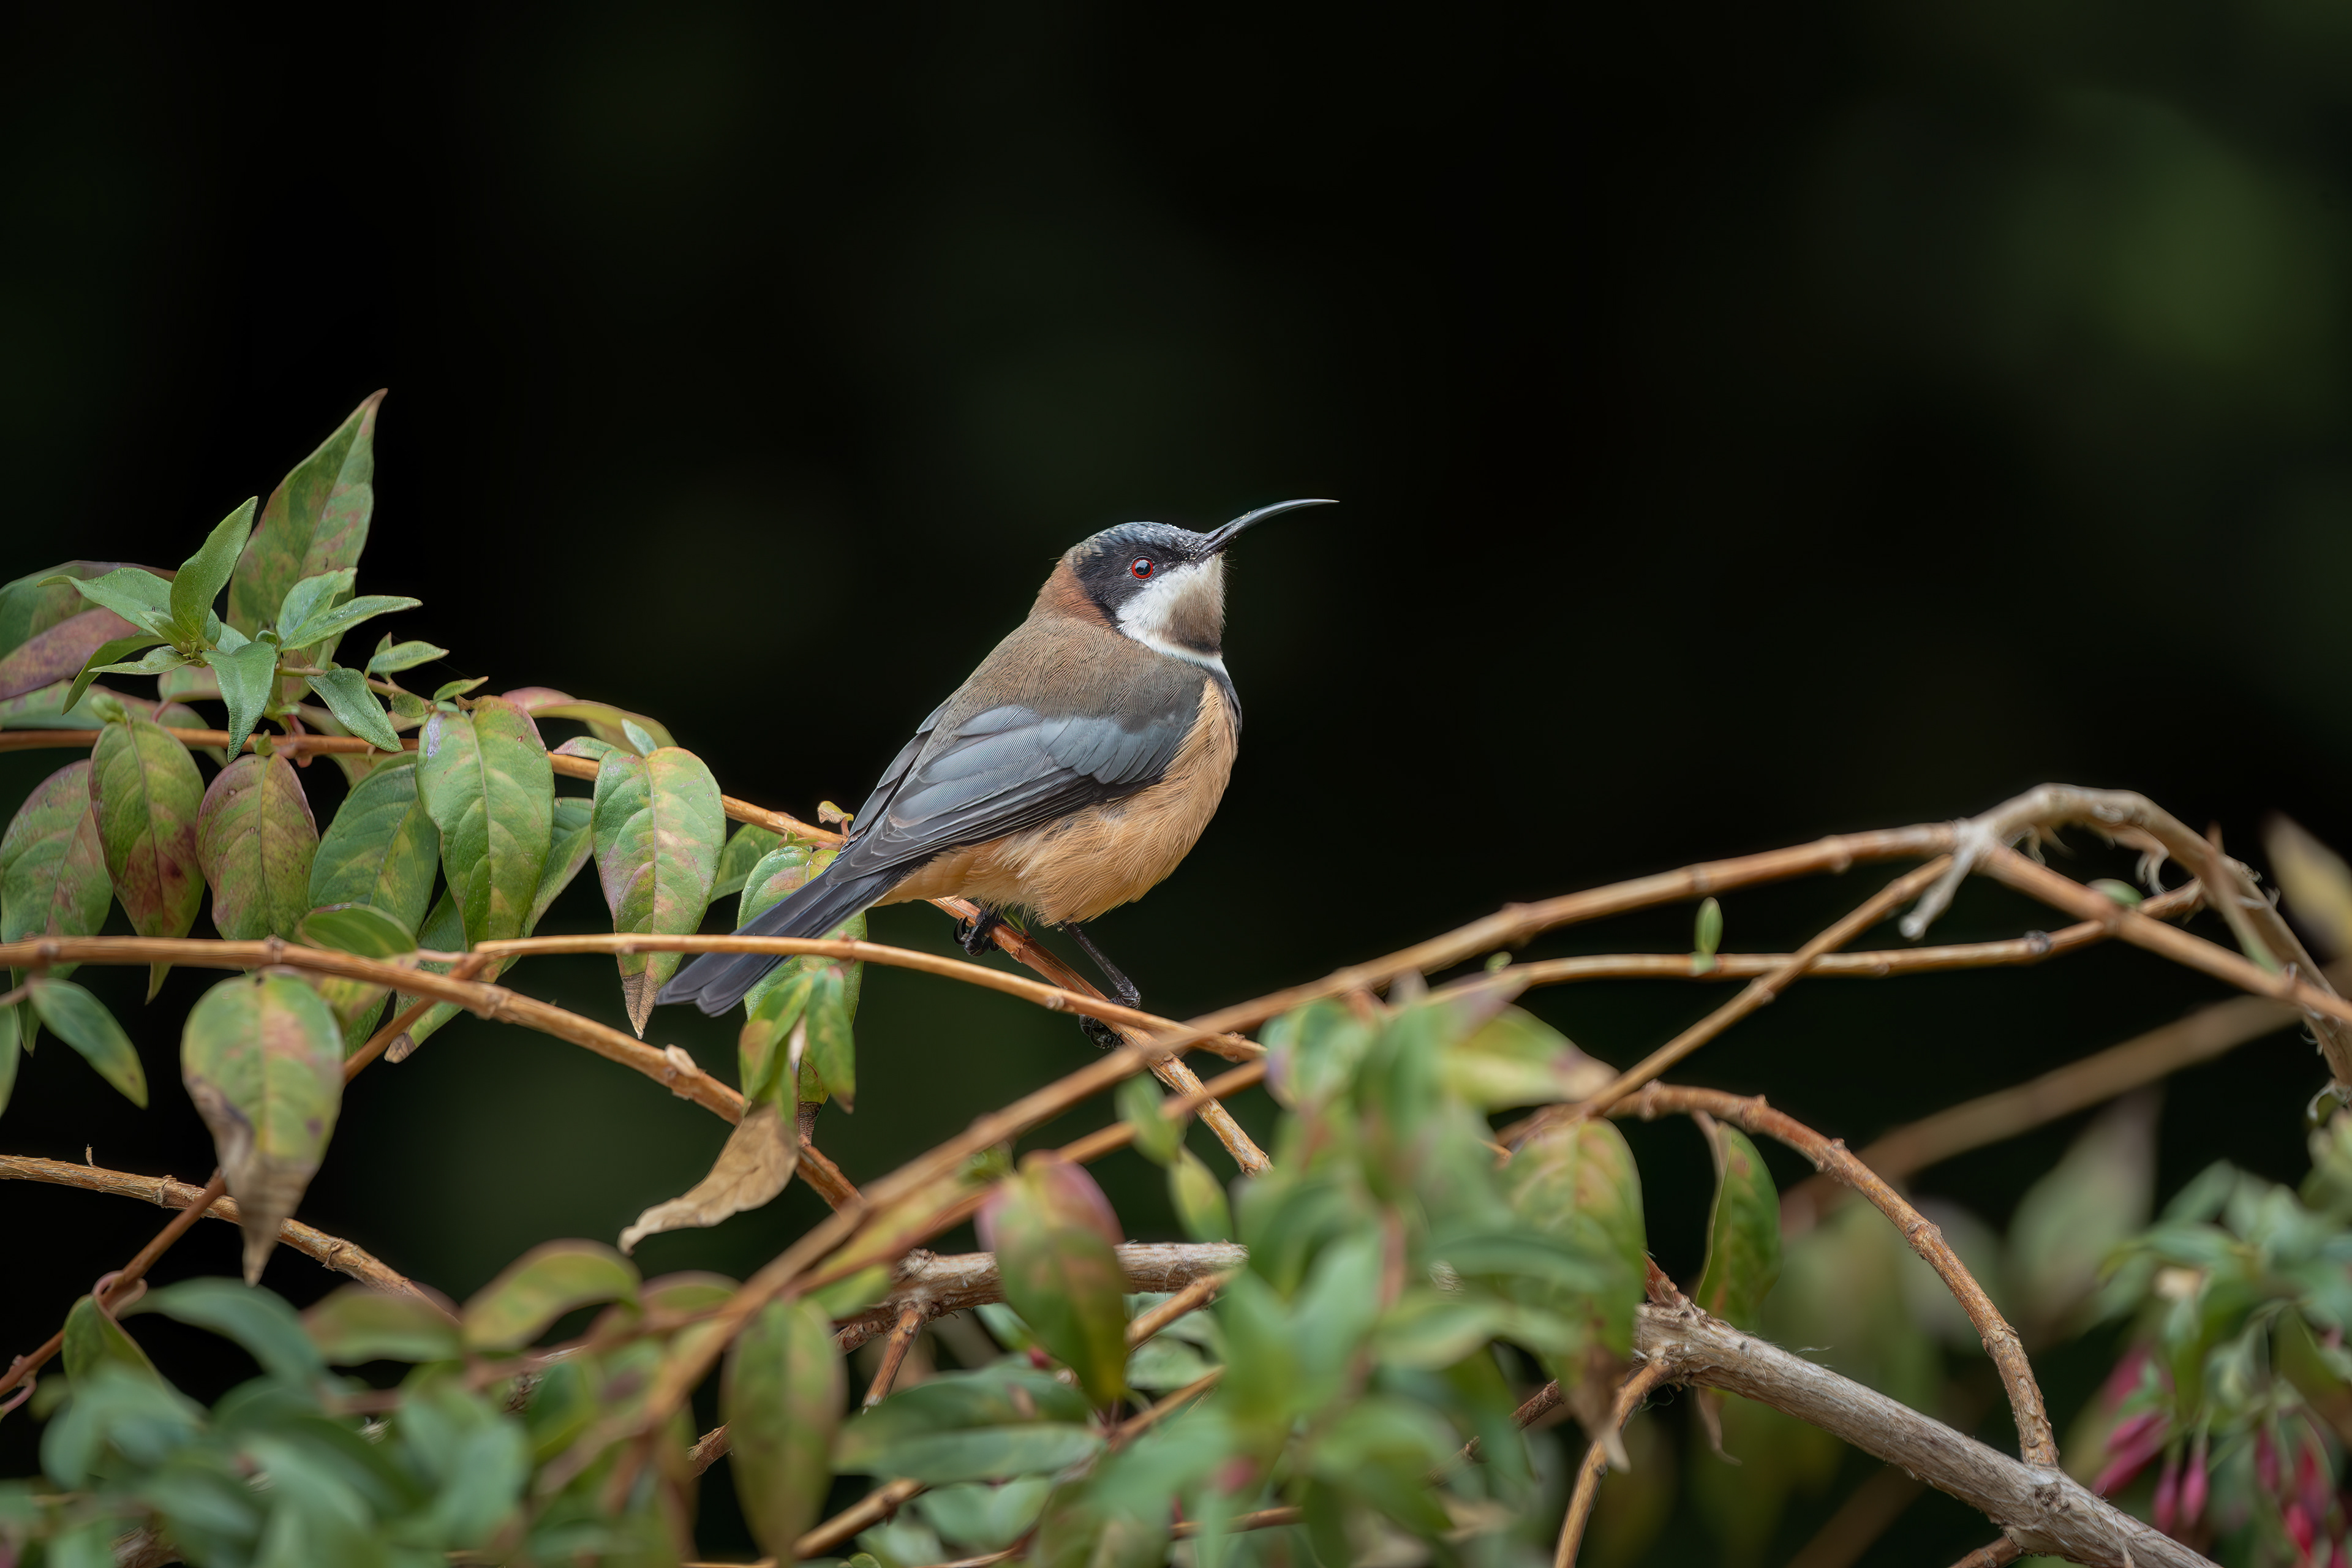
Eastern Spinebill (2:3)
Redbanks Arno Bay 02 (2:3)
Murphys Haystacks 04 (2:3)
Point Avoid 02 (2:3)
Murphys Haystacks After Dark 04 (2:3)
Bunda Cliffs 02 (4:5)
Coffin Bay National Park 02 (2:3)
Bunda Cliffs 04 (2:3)
Murphys Haystacks 02 (2:3)
Elliston Coast 2 (2:3/16:9)
Port Augusta Red Cliffs 02 (4:5)
Golden Island (2:3)
Golden Island (2:3)
Bunda Cliffs 05 (2:3)
Carrickalinga Beach (2:3)
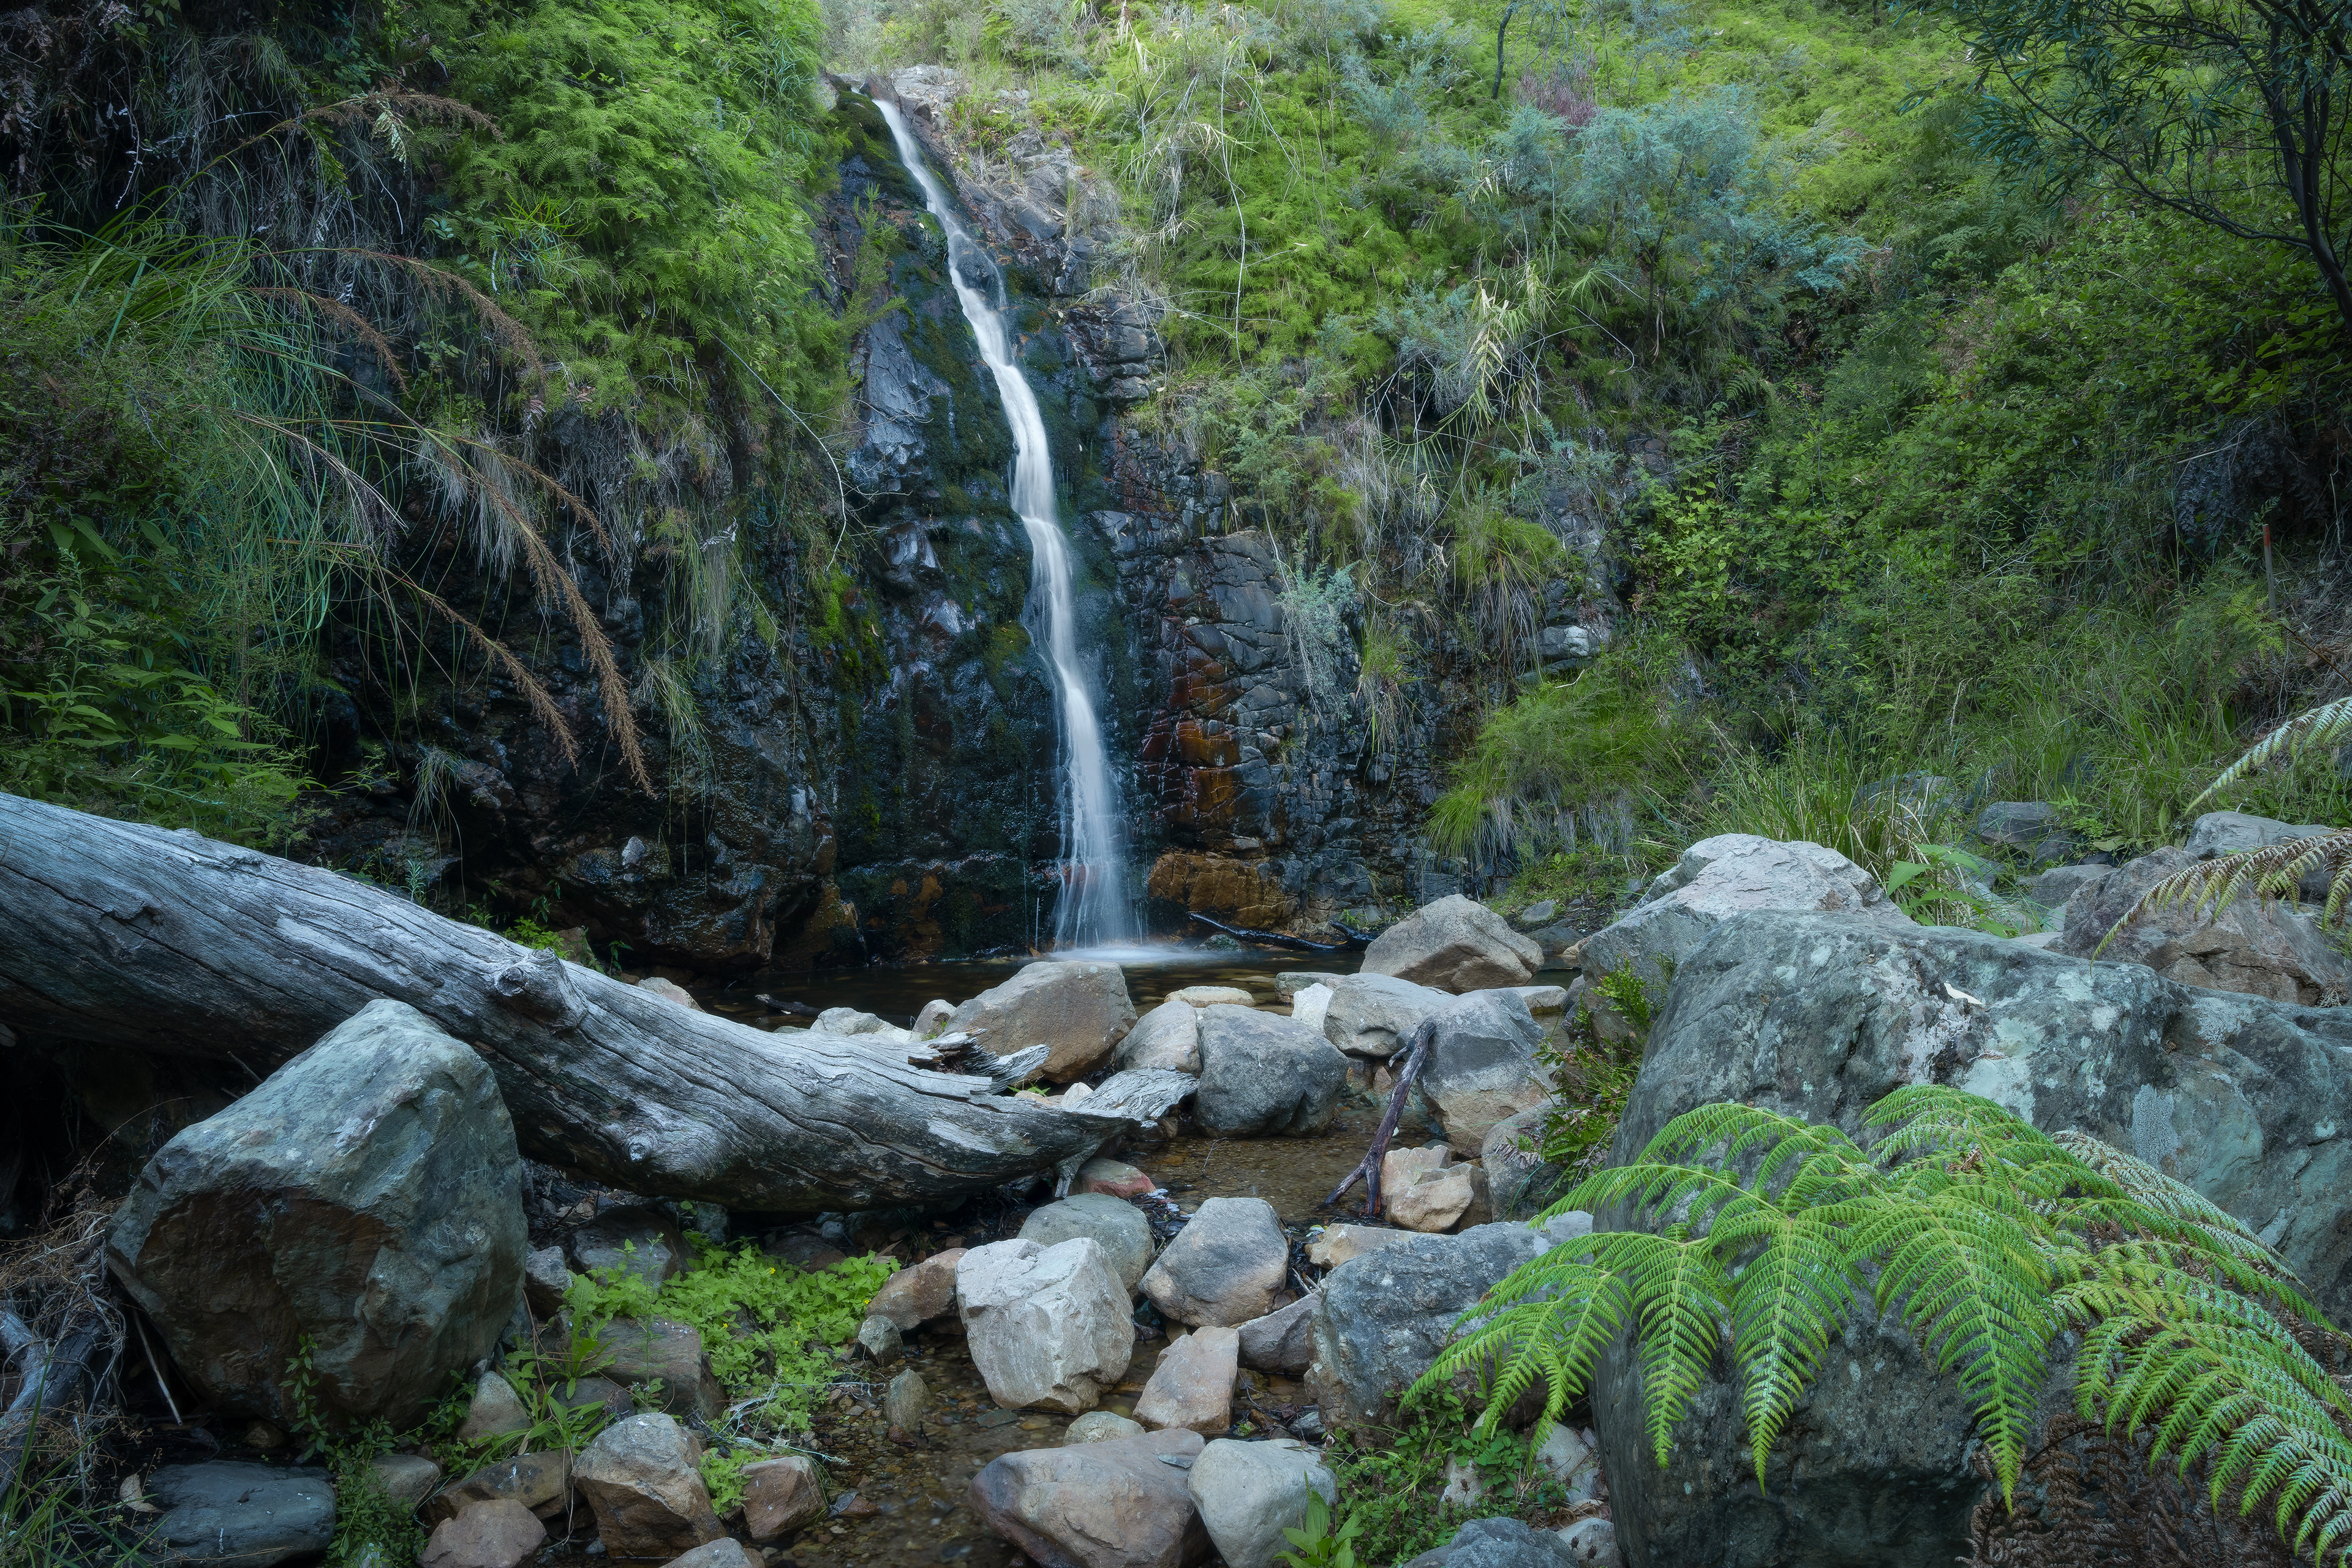
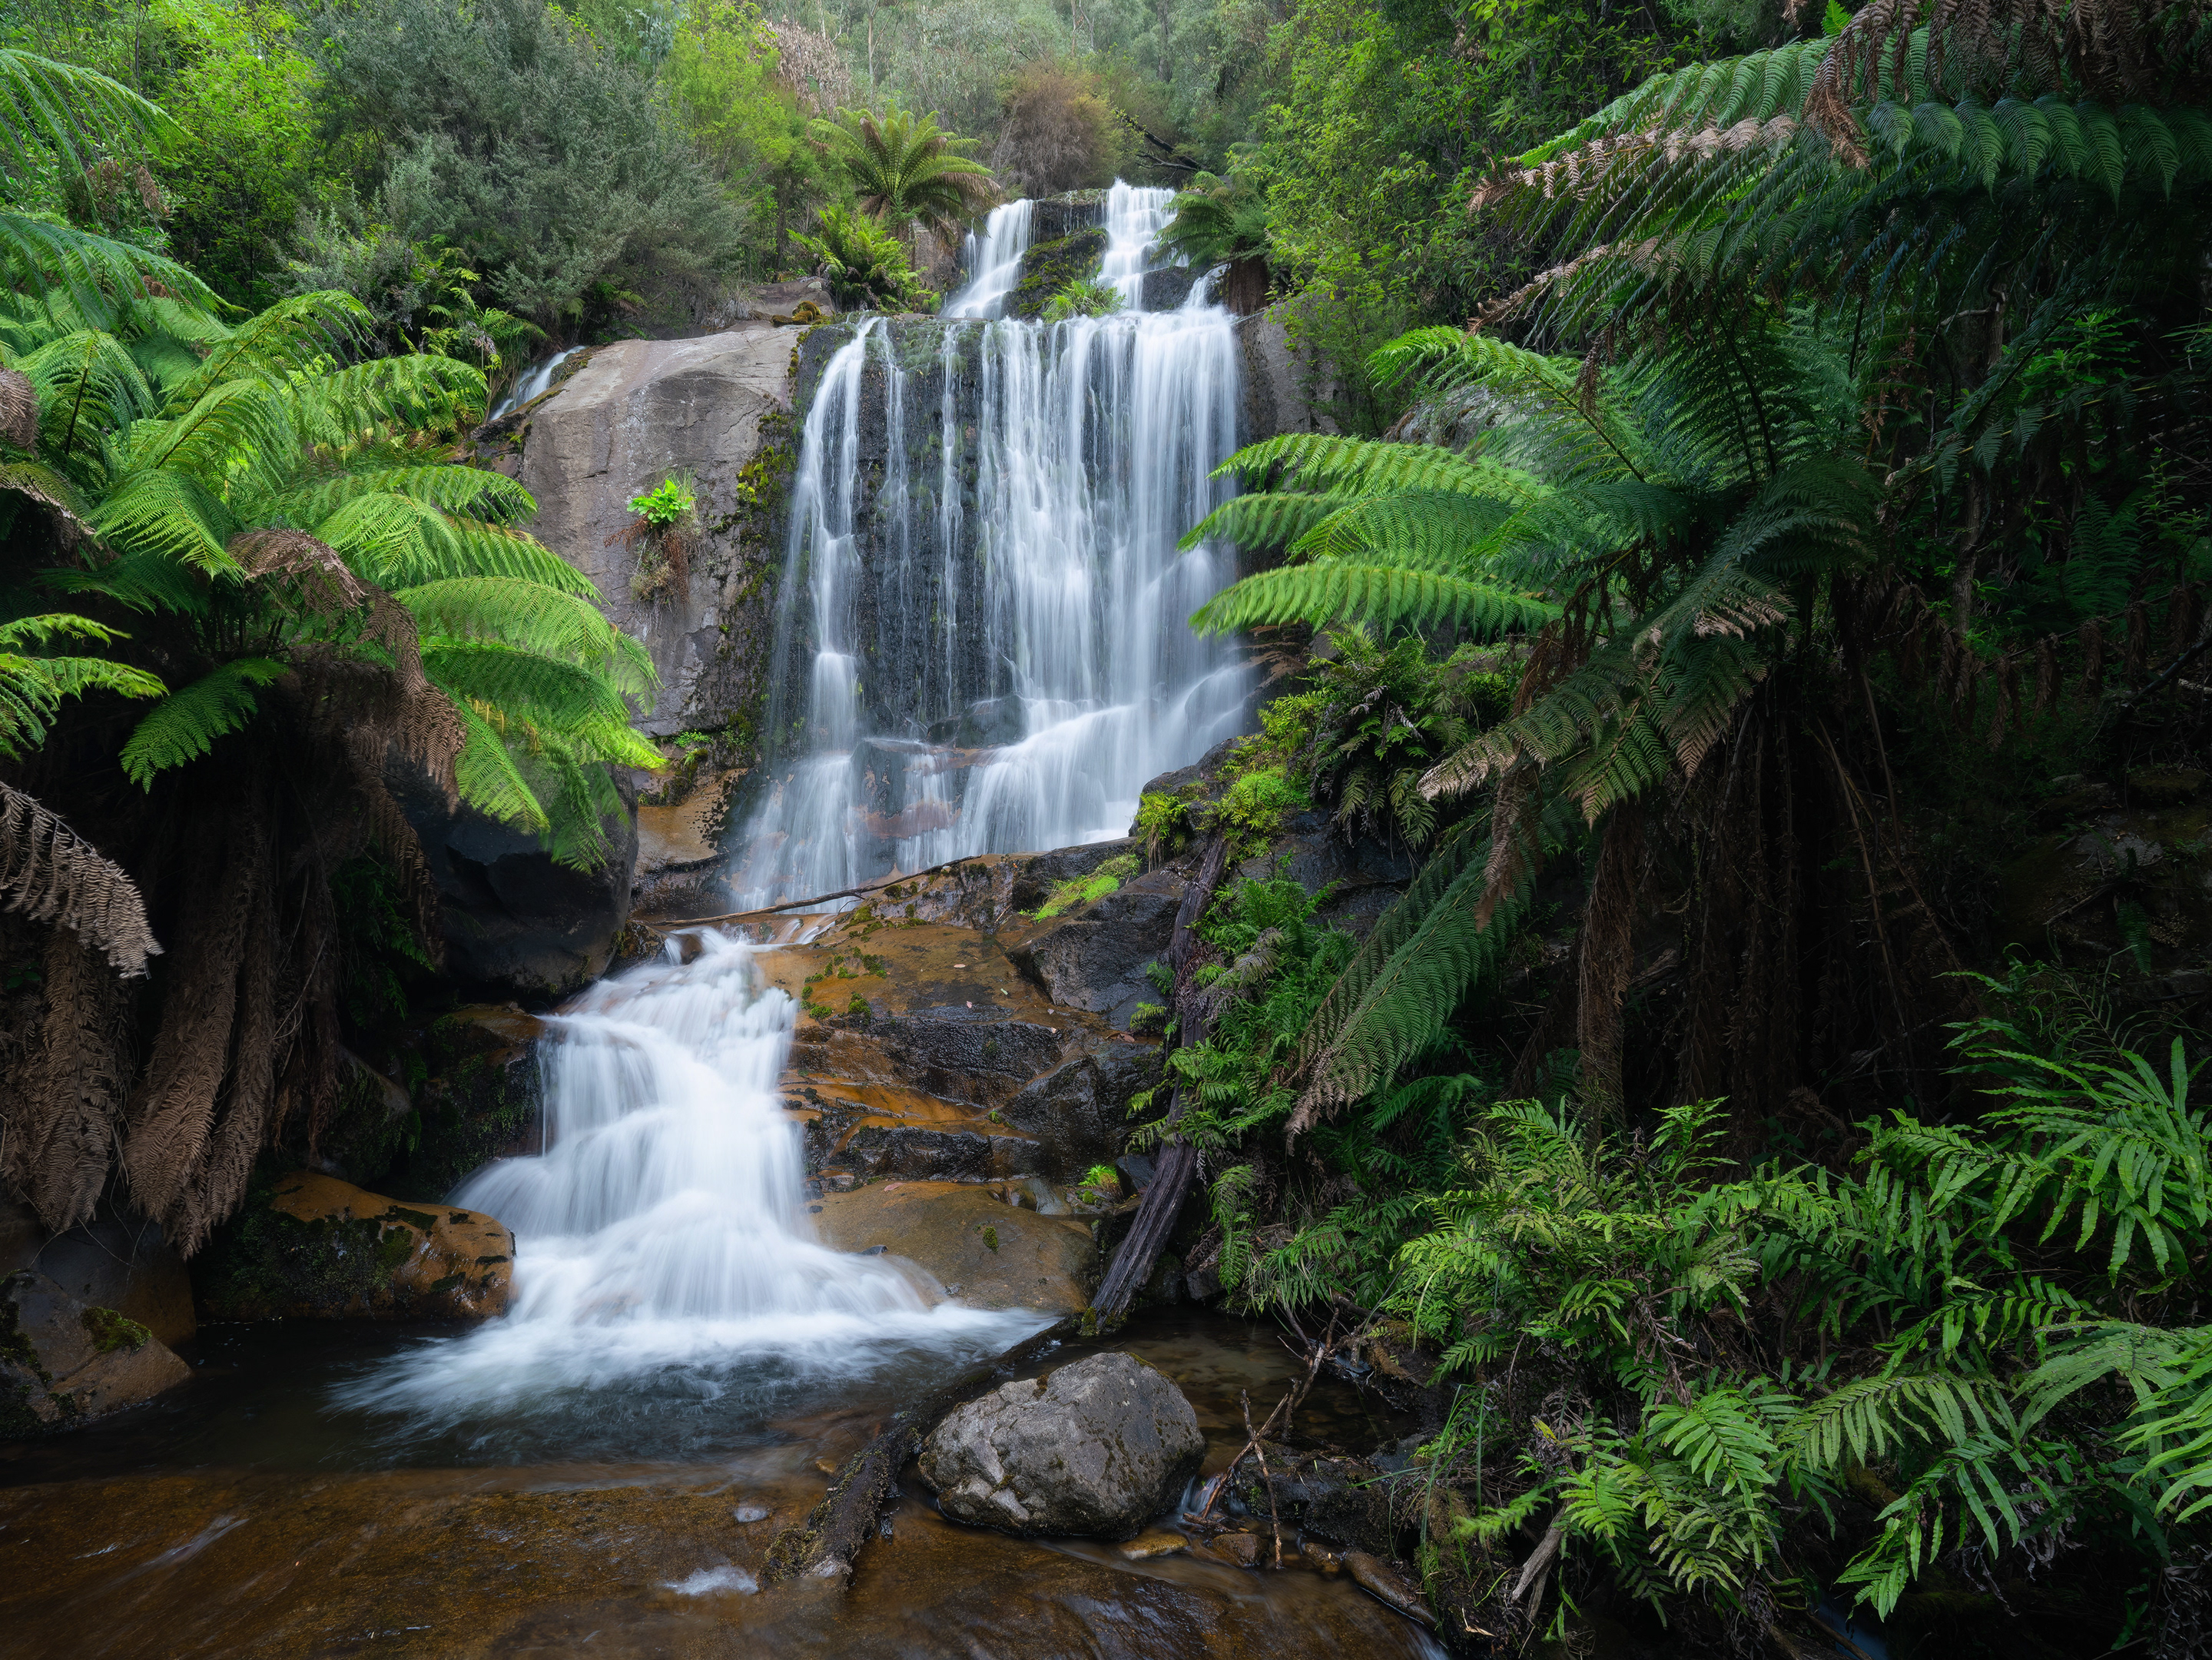
Waterfall Gully (2:3)
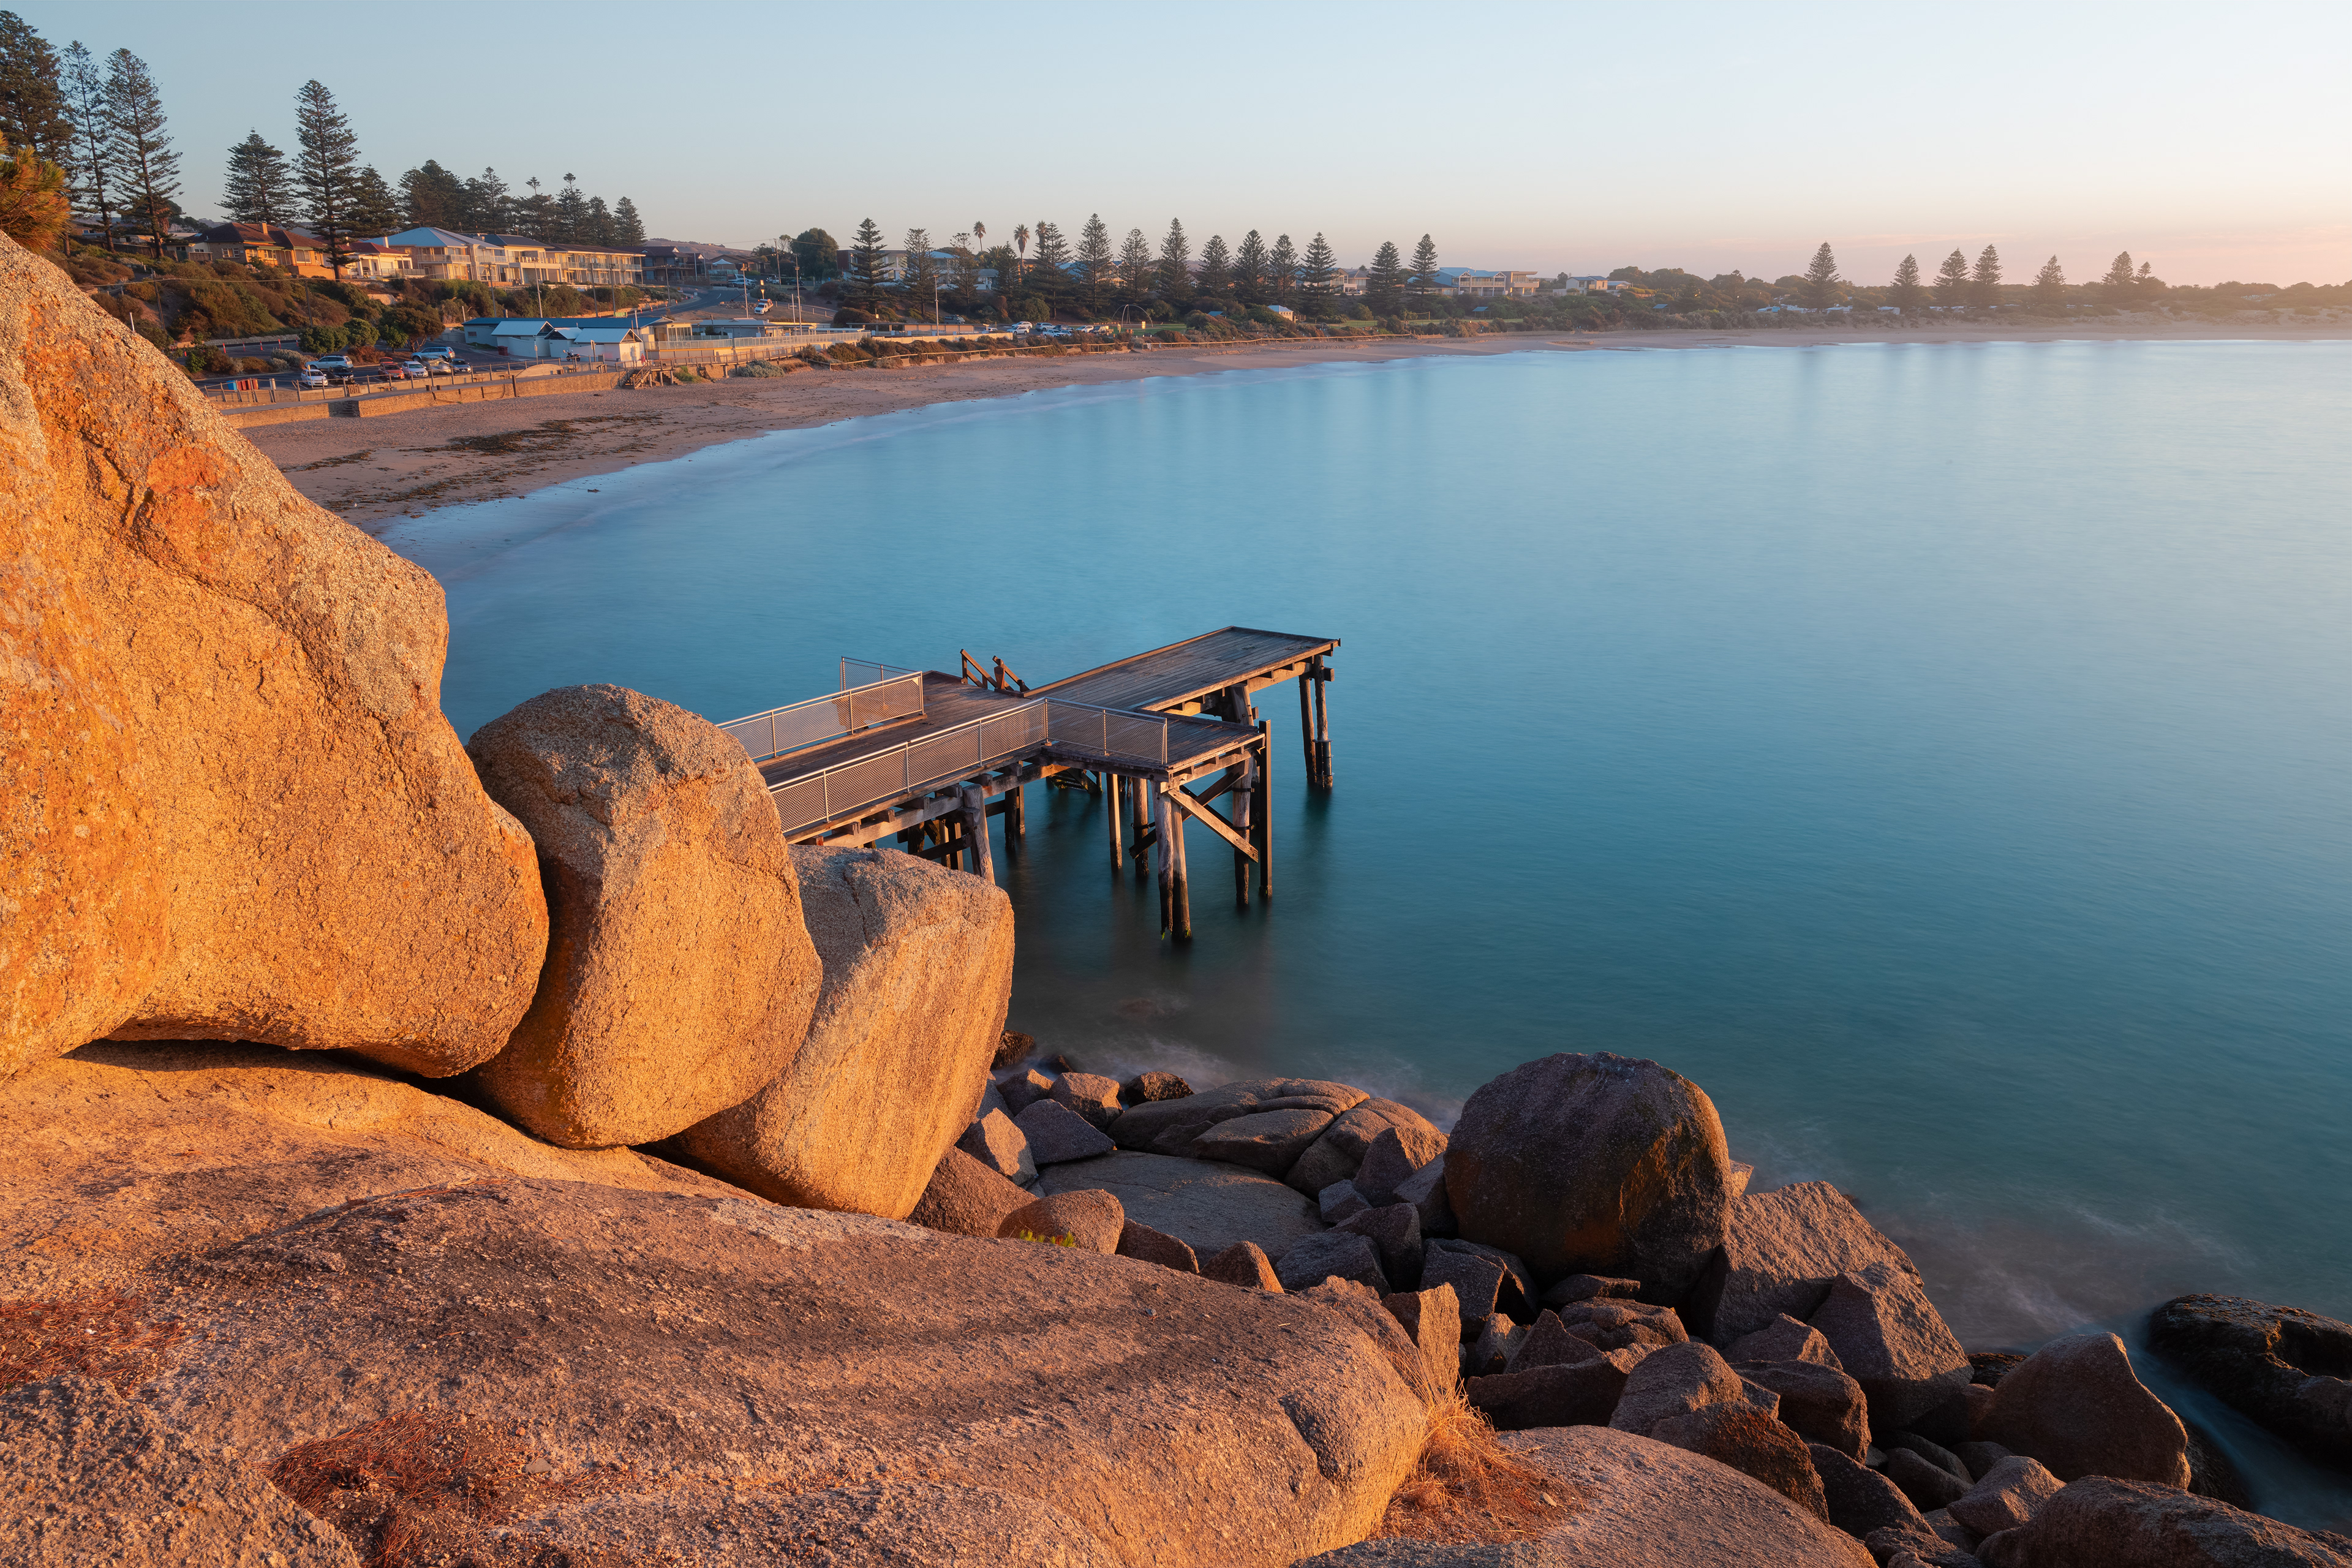
Port Elliot (2:3)
Port Elliot (2:3)
Murphys Haystacks 05 (2:3)
Sellicks Beach 03 (2:3)
Petrel Cove 01 (2:3)
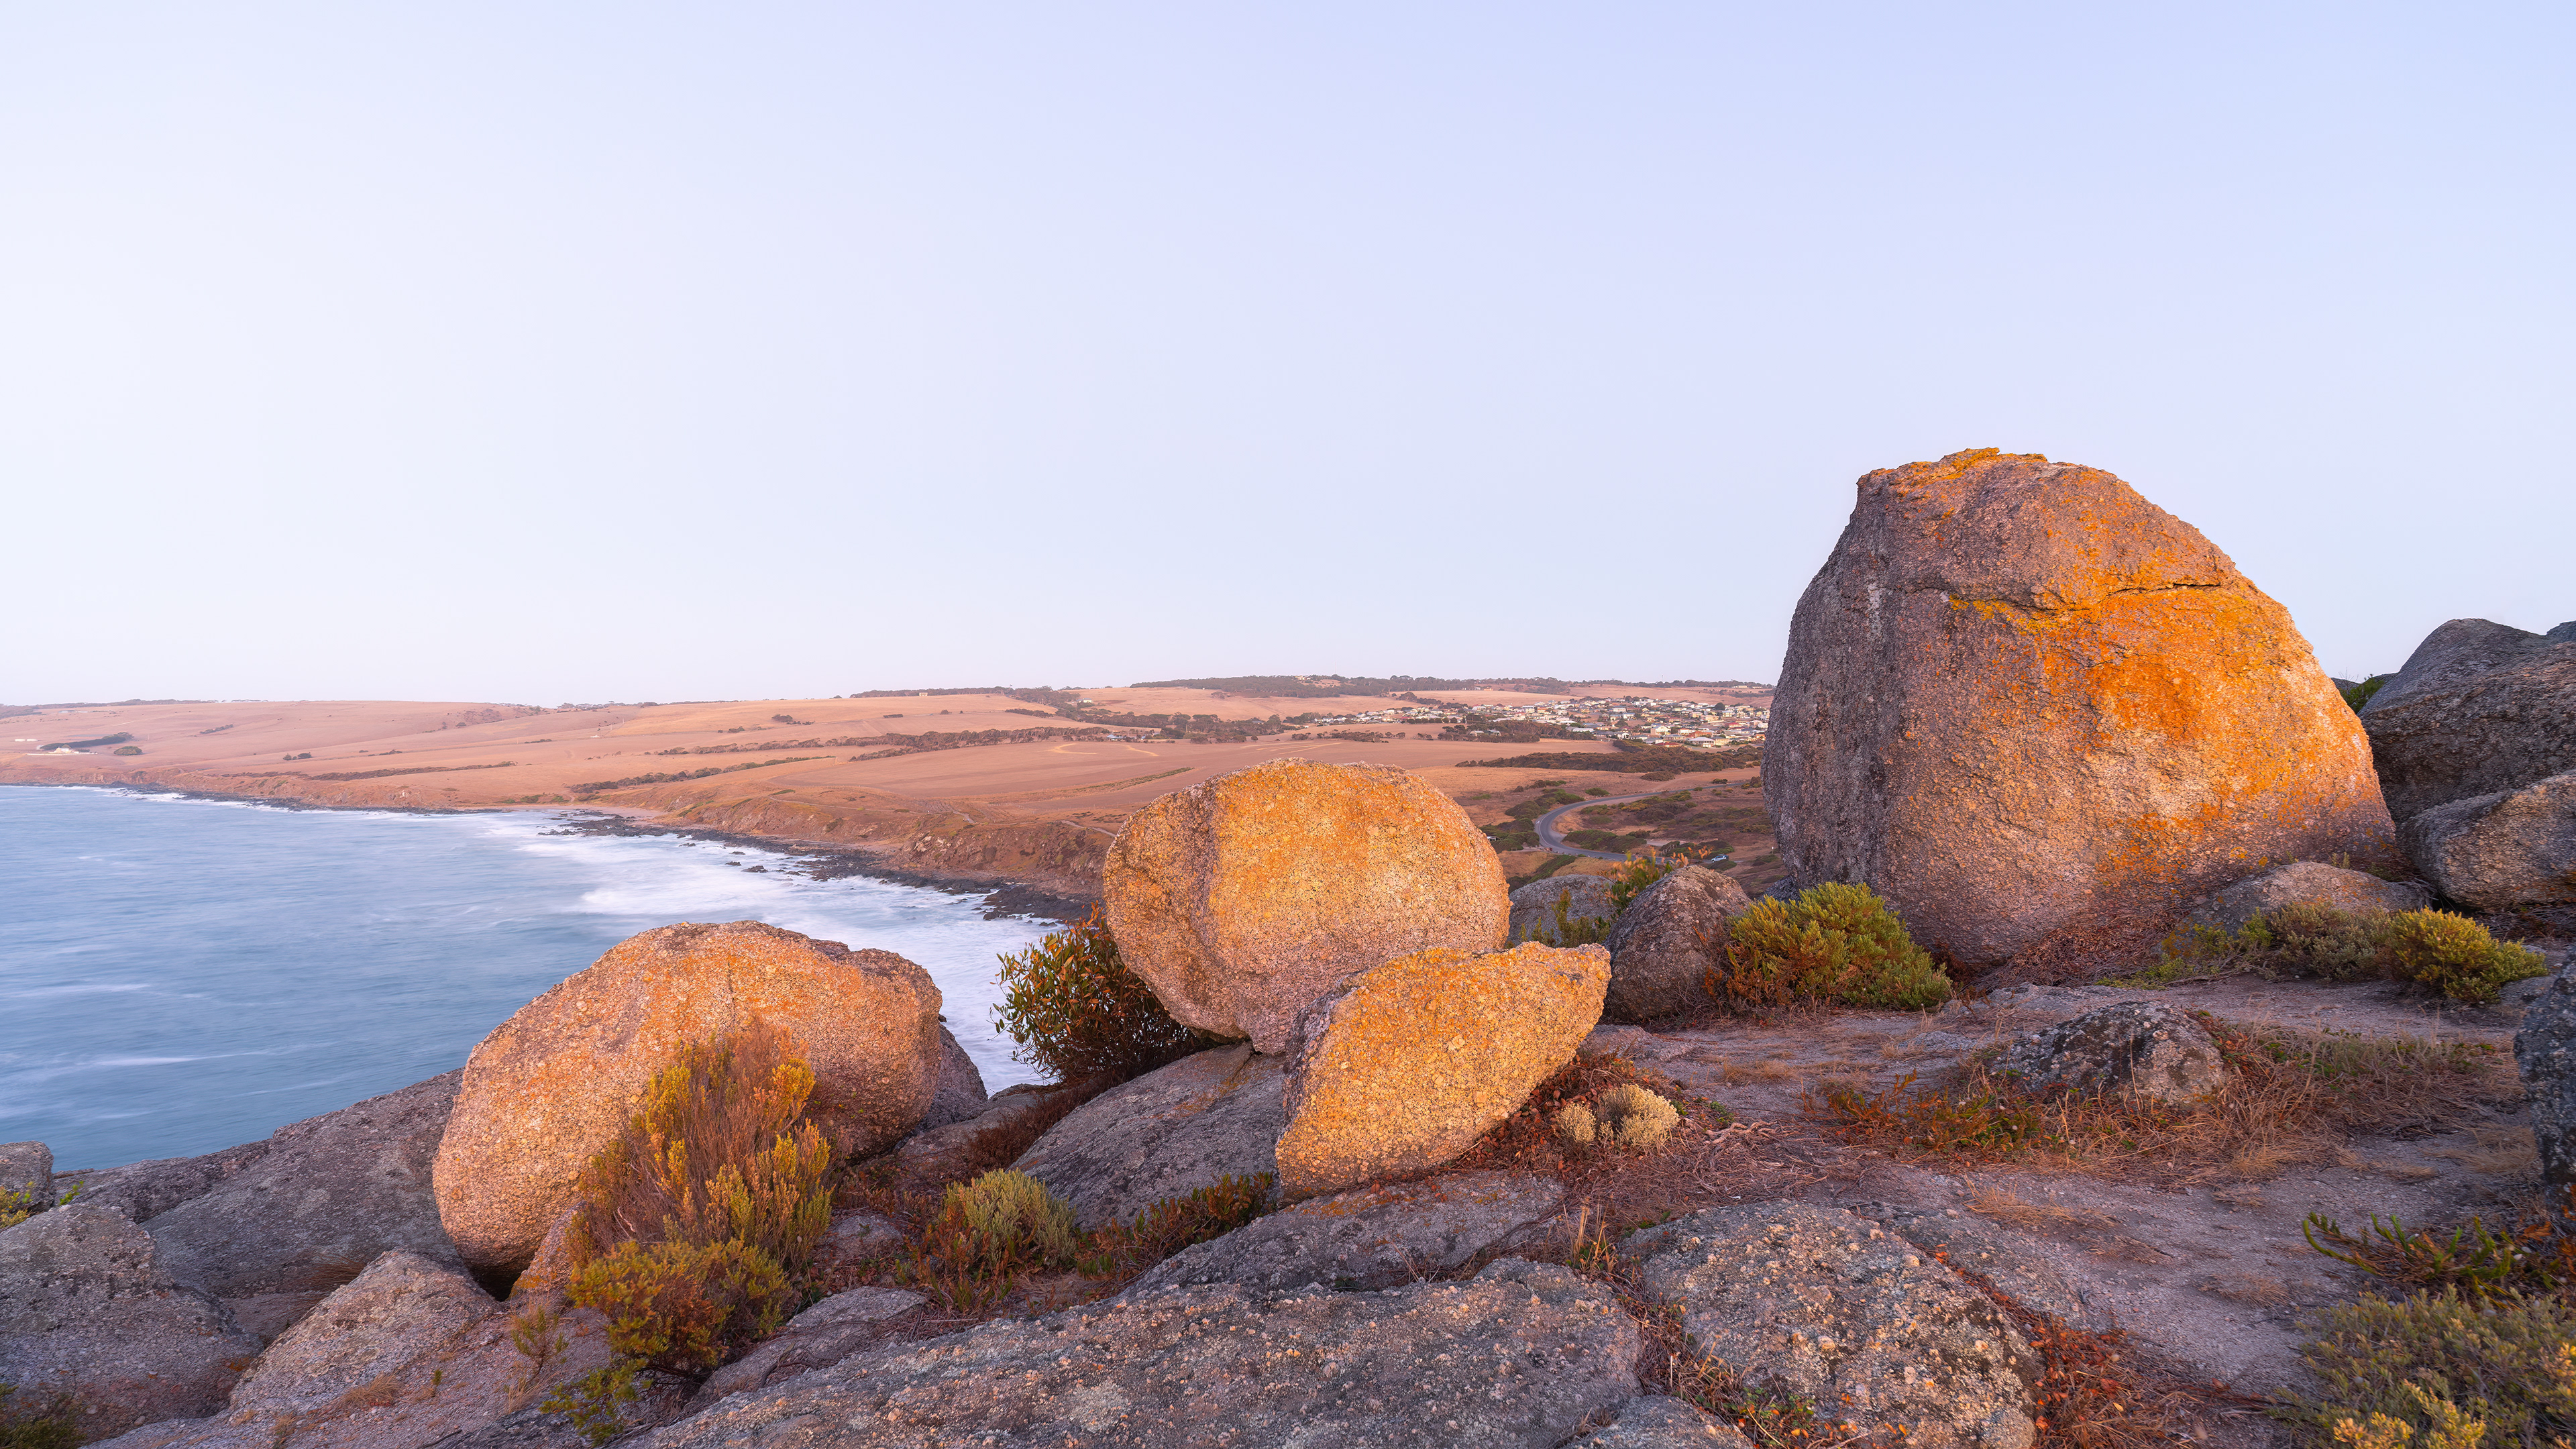
Rosetta Head (2:3/16:9)
Sellicks Beach 02 (4:5)
Cactus Canyon 02 (2:3)
Port Willunga Beach (2:3/16:9)
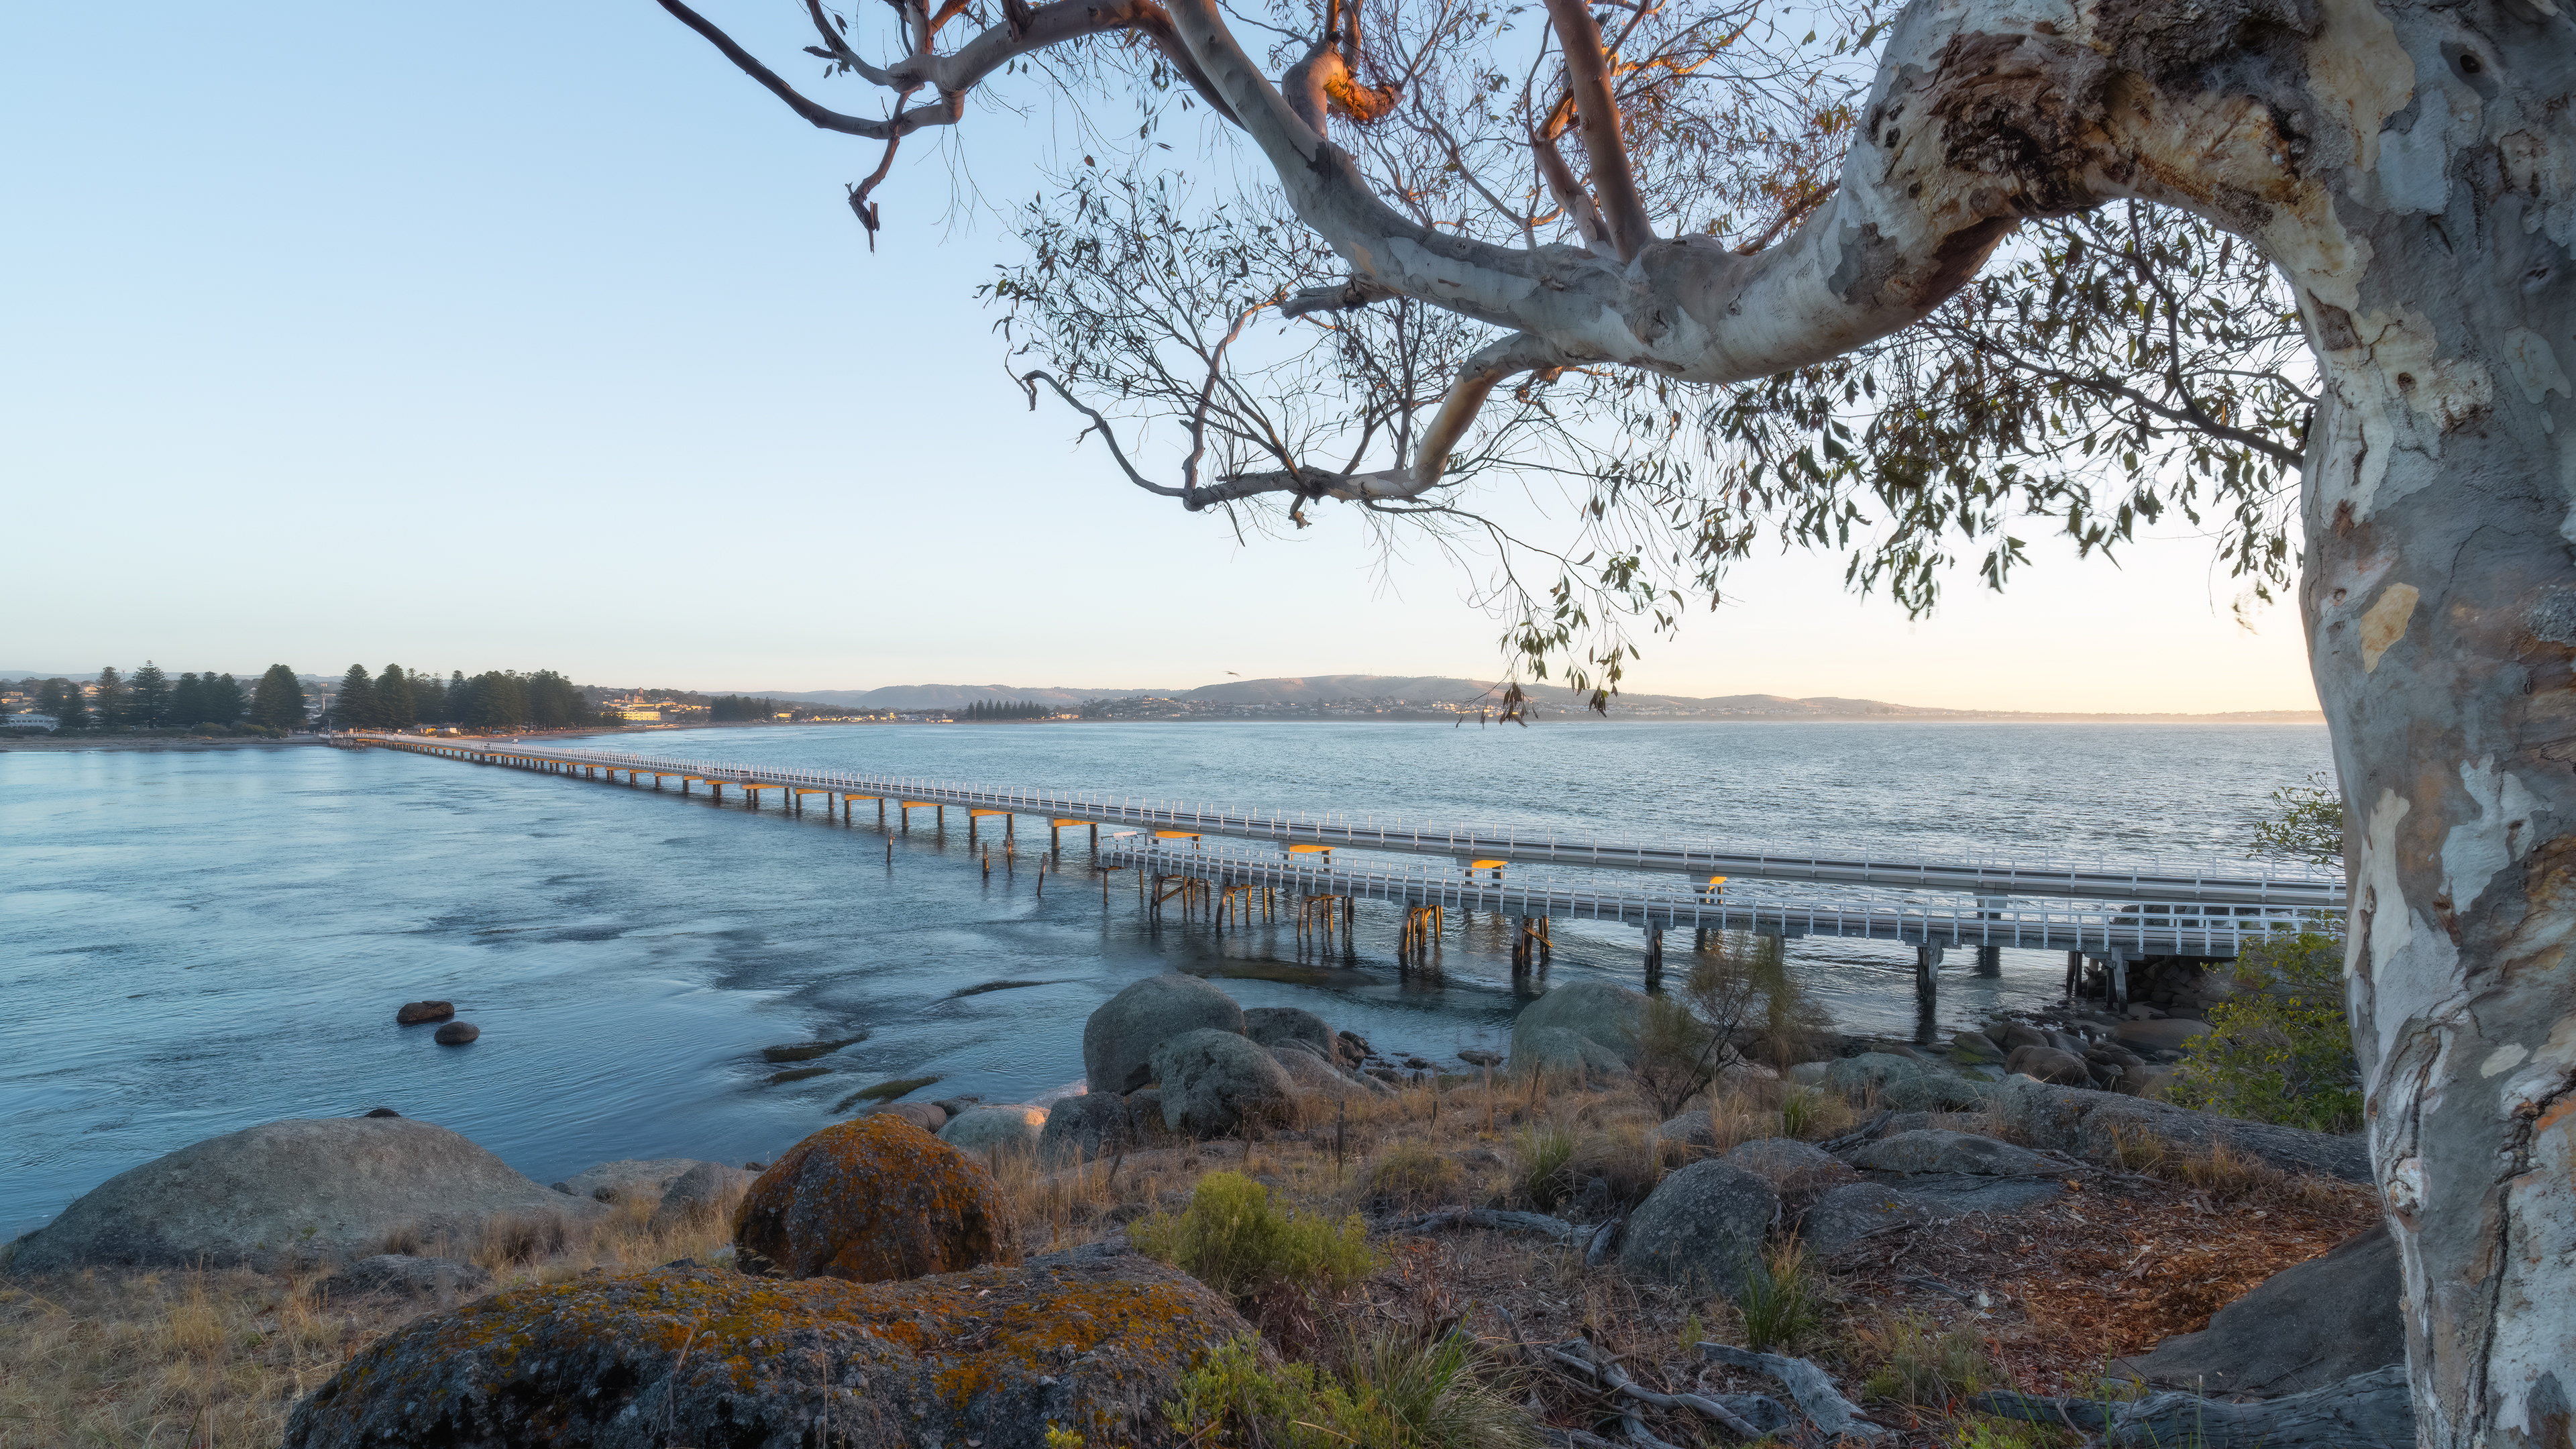
Granite Island Bridge (2:3/16:9)
Blanche Point 02 (4:5)
Second Valley Blue Hour (2:3/16:9)
Sellicks Beach 04 (2:3/16:9)
King Brown/Mulga Snake (2:3/16:9)

You may also like

Back to Top